 Hello, sew-alongers! Today, we’ll start sewing our lining into the jackets, putting the whole thing together. There’s a lot to cover in this step, so stay with me as we go through it all. We’ll be sewing the lining into the jackets completely by machine, so it’s not particularly difficult, just time-consuming.
There’s one step – sewing the lining to the cuffs – that calls for slipstitching, but we can even do that part by machine with a little trick.
Want to catch up on previous Sew-Along posts? Click the links below to read more:
- Minoru Sew-Along #1: Let’s Get Started!
- Minoru Sew-Along #2: Sewing Sleeves and Topstitching Tips
- Minoru Sew-Along #3: Gathering!
- Minoru Sew-Along #4: Sewing the Hood
- Minoru Sew-Along #5: The Secret Hood Zipper
- Minoru Sew-Along #6: Sewing the Hood to the Collar (Quick Post!)
- Minoru Sew-Along #7: We Finally Get to Pull the Gathers!
- Adding Pockets to the Minoru Jacket: Amy’s Awesome Tutorial
- Minoru Sew-Along #8: Front Plackets, Front Zipper
- Minoru Sew-Along #9: All About Cuffs
- Minoru Sew-Along #10: Little Hidden Pockets
- Minoru Sew-Along #11: A Useful Hanging Loop
- Minoru Sew-Along #12: Sewing the Lining
Let’s get started! First, lay your partially-constructed jacket on your sewing table, right side up. Now lay the constructed lining on top of the jacket, right side down, and start pinning!
Pin all along the top edge of the collar. I found that the easiest place to start. Then, pin down the plackets, and pin across the bottom edge of the placket.
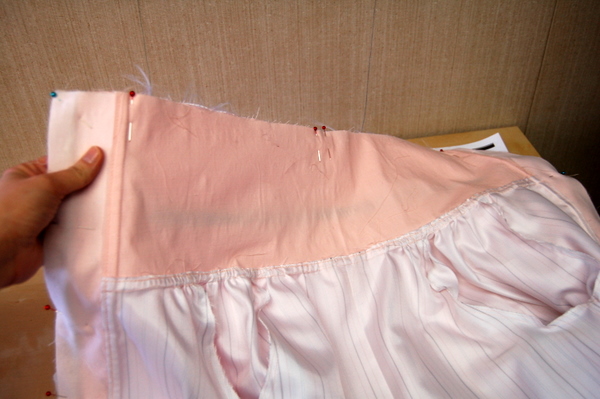
Sew across the bottom edge of the plackets, taking a normal seam allowance (5/8″ or 1.5cm).
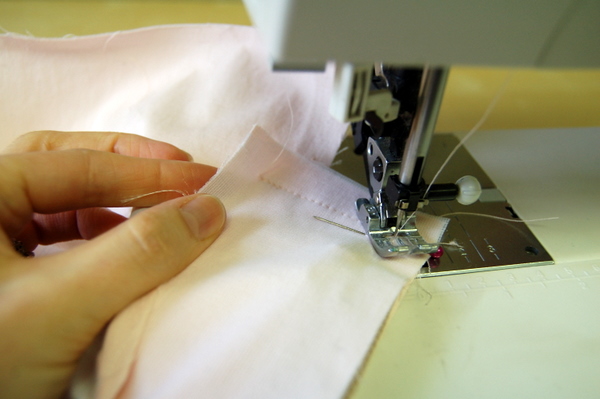
Now, when we get to the corner, we’ll pivot up and sew along the zipper edge. It’s easier if we switch our sewing machine to a zipper foot. You may prefer to sew the lining to the jacket in stages, rather than switch back and forth between sewing machine feet. (I switched, but it was a little bit annoying to do..)
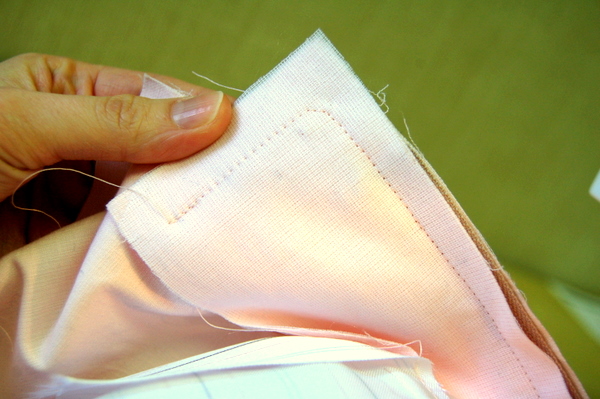
Take one or two stitches diagonally, before turning the corner. This will make it easier to form the corner with less bulk.
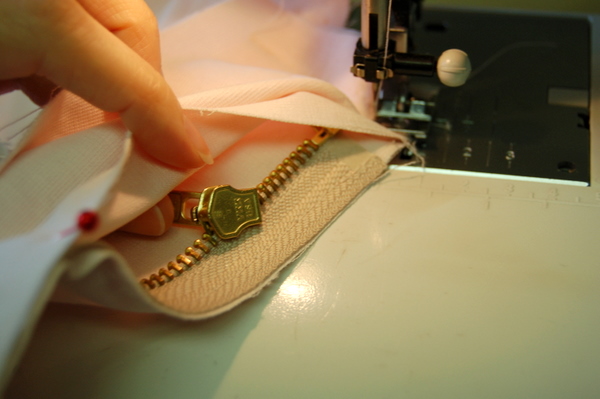
Move the slider out of the way as you sew, pulling it up as you go. When you run out of room to pull it upwards, move it back down below where you’re stitching to keep it out of the way.
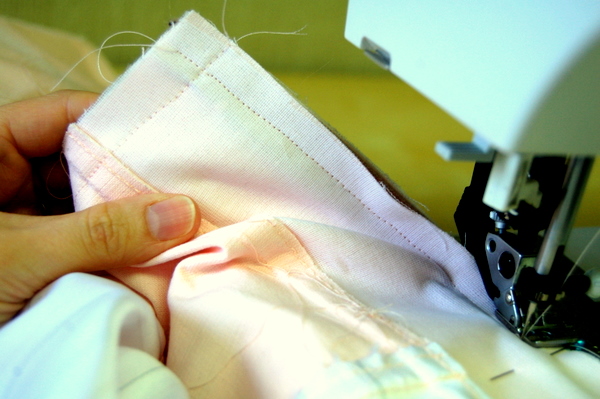
Trim across the corners diagonally, and trim the seam allowances.
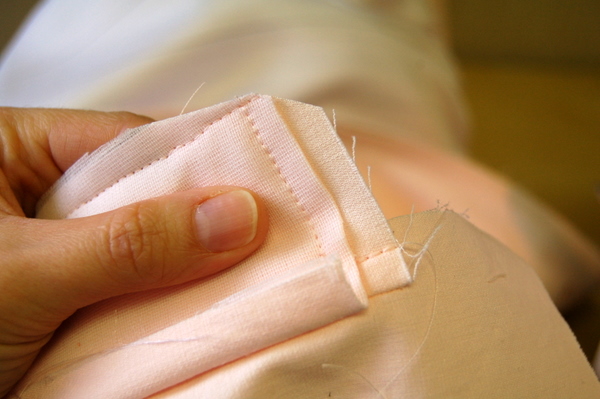
Turn the jacket right side out. Our work-in-progress is looking more and more like a real jacket!
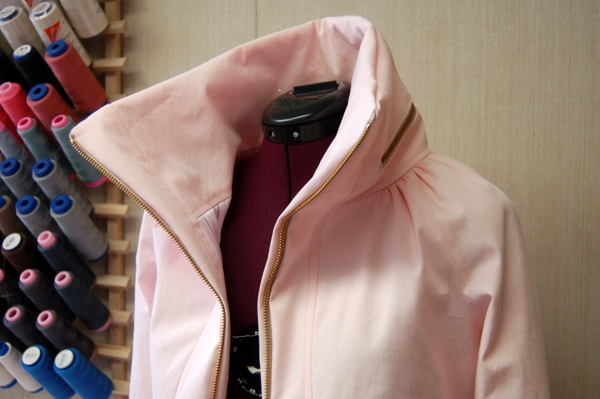
I put it on the dressform to show you what it’s looking like so far. You can see the outer edges are puffy and could do with a good press! I’m going to lightly press around the top edge of the collar and along the plackets, without ironing on top of the zipper teeth.
Our next step is to topstitch around the collar and along the zipper edge. Remember to use the same kind of topstitching you decided on back in this first topstitching post, for a consistent look.
One important point is to check underneath and make sure your inner placket isn’t getting caught in the topstitching. Push it to the left and out of the way.
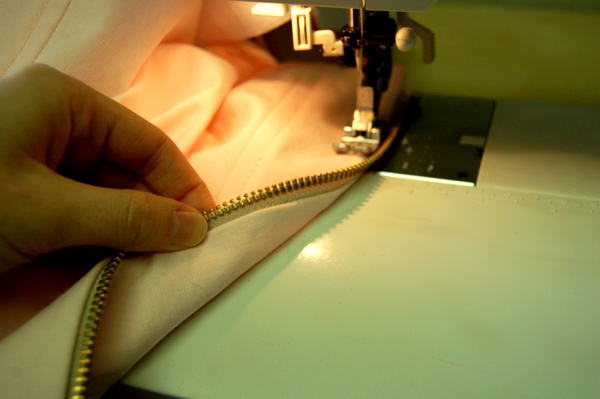
I topstitched straight up from the hem along the zipper, pivoting at the collar to stitch across the top edge, and pivoting again to topstitch the other side of the zipper.
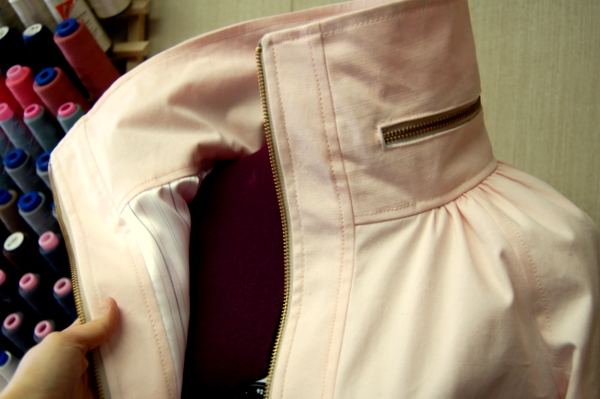
The last thing we’ll do to secure the lining is stitch our sleeve lining to the cuff. I’m going to put that in a separate post, because I’d like to show you an alternative way of sewing the lining to the cuff. If you are dying to skip ahead, and want to slipstitch your cuffs like the instructions direct, here is a post on slipstitching.
(Want to pick up the Minoru Pattern and make it your own, too? Visit the shop here!)

Looking forward to seeing your alternative way of sewing the cuffs!
It’s up! http://sewaholic.net/minoru-sew-along-15-an-alternative-to-slipstitching-cuffs/
Your jacket looks great! I bought the Minoru pattern recently and can’t wait to start making one myself!
Thank you! :)
I also found the lining wanting to catch into the stitching and I managed to keep the layers under control by sewing at a slower pace. There is a speed guide on my Janome that I can use to slow the stitching speed.
Oh nice! It’s so neat that newer machines have a speed guide. Better than having to stop and hand-wheel it during the tricky parts!