 Hello everyone! If you need to catch up, here is a recap of what we’ve covered so far:
Yaletown Sew-Along: Fabric Suggestions, Choosing a Size, and FAQ
Yaletown Sew-Along: FBA and SBA Tutorials and Tips
Yaletown Sew-Along: Cutting, Gathering Supplies
Yaletown Sew-Along #1: Preparing Bodice and Sewing Facing (Instruction Steps 1-4)
Yaletown Sew-Along #2: Finishing Facing, Sewing Bodice Side Seams (Instruction Steps 5-7)
Today: Sewing Skirt / Lower Blouse (Instruction Steps 8-10)
TBA – Sewing Bodice to Skirt, Sewing Elastic Casing (Instruction Steps 11-13)
TBA – Sewing & Attaching Sleeves (Instruction Steps 14-17)
TBA – Hemming, Sewing Tie Belt (Instruction Steps 18-19)
TBA – Thread Loops and Securing Neckline (Instruction Steps 20-21)
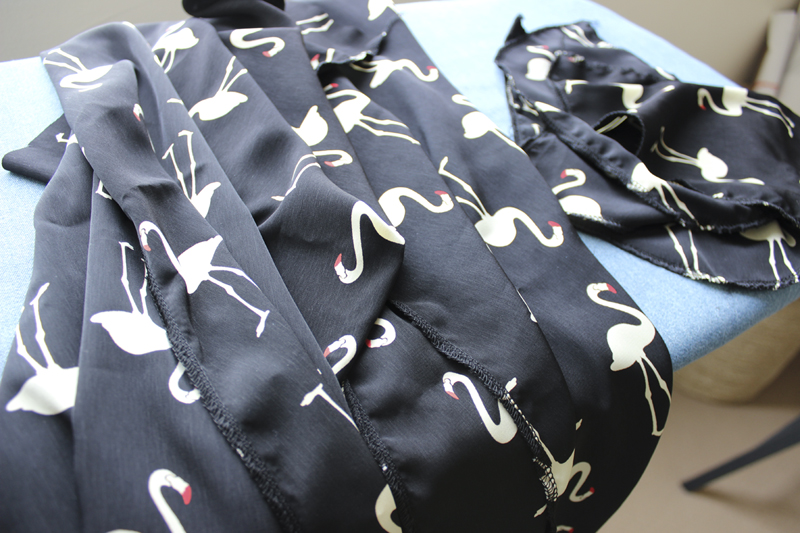
Today let’s put our bodices aside, and work on the lower part of our garments! I will be walking you through sewing the skirt, including pockets. If you are sewing the lower bodice for a blouse, then it’s much simpler! You’ll simply be sewing the side seams, finishing seam allowances, and pressing the side seams open.
Let’s get into the skirt version, shall we?
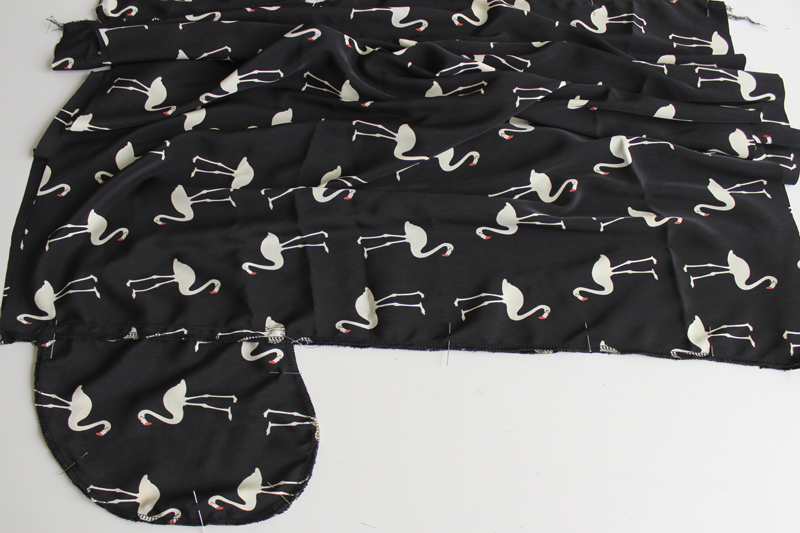
 First up: grab your skirt pieces, and finish the raw edges of your side seams (I am using my overlock/serger to do this). Also grab your pocket pieces, and finish all raw edges of those.
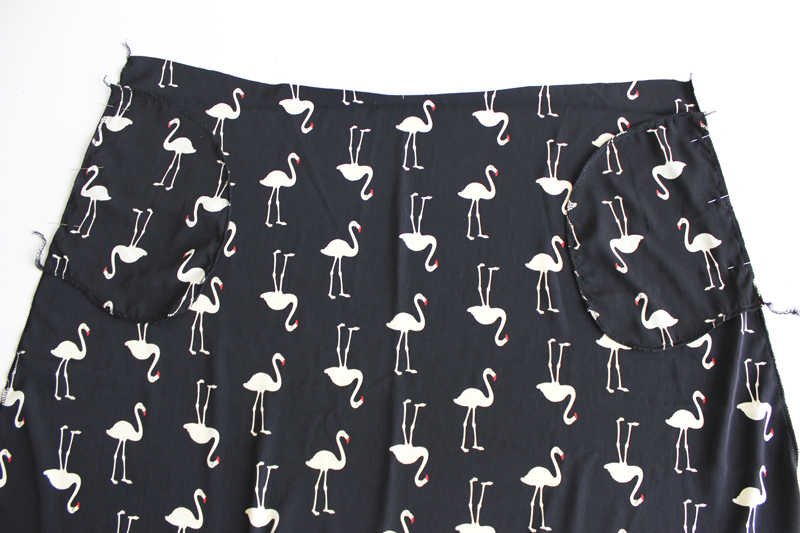 Now let’s pin our pocket pieces to our skirt. Pin right sides together, matching your pocket notches to the notches at the side seam. Repeat the same thing for the other skirt piece and two pocket pieces.
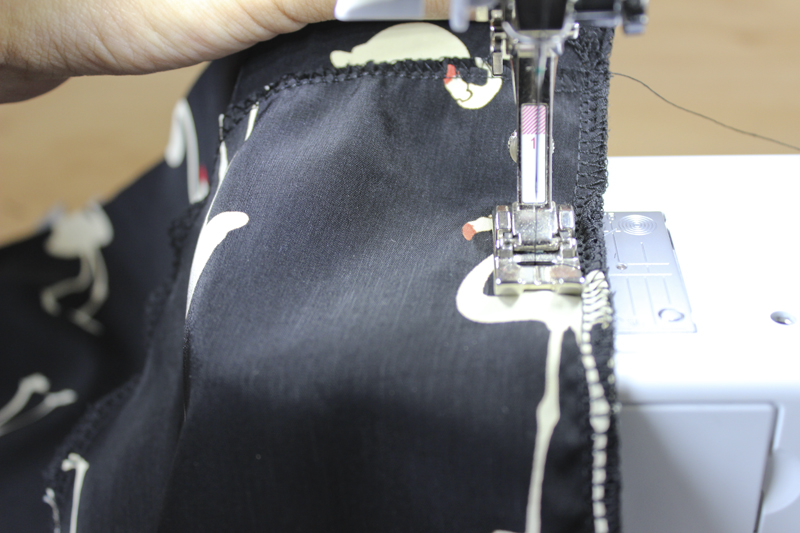 Now we’re going to sew our pocket to the skirt along the side seam, taking only a ½” (1.2cm) seam allowance.
 Looks good! Repeat this step for all four pocket pieces.
 Time to understitch the pocket pieces. Stitch at around 1/8″ – 1/16″ from the seamline, on the pocket side of the seam. Your seam allowance should be pushed towards the pocket as you do this. This will ensure that the inside of the pocket lays flat and remains inside the dress.
 Alright so now that our pocket pieces are attached to our skirt pieces, and understitched, it’s time to sew our front and back skirt together. Start by pinning along the side seams.
 We now want to sew all along the side seam and around the pocket bag. I do this a little bit differently than the instructions, but it’s my favorite method and makes me feel a bit more secure stashing things in my inseam pockets.
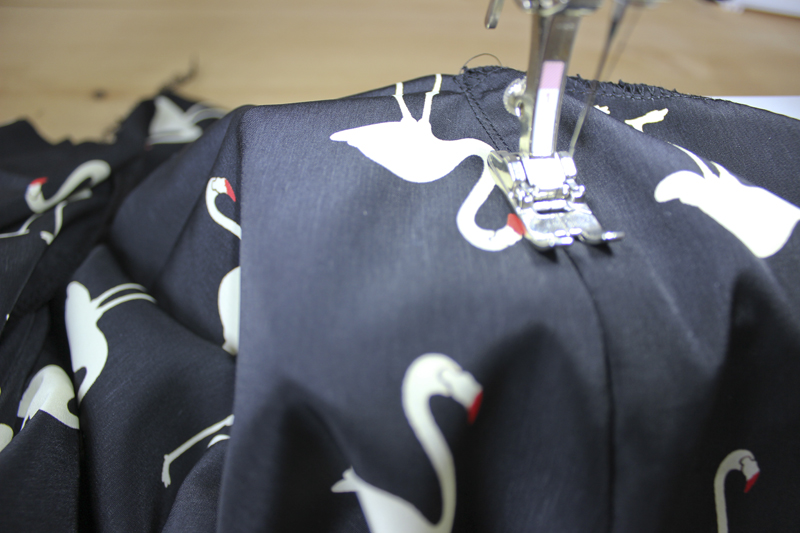
Here is how I do it: Start at the waist and sew until you reach the pocket bag notch. We are sewing at the usual ⅝” (1.5cm) seam allowance.
 Insert your needle into the garment to keep it in place, lift your presser foot, and pivot the skirt.
 Continue to sew around the pocket bag.
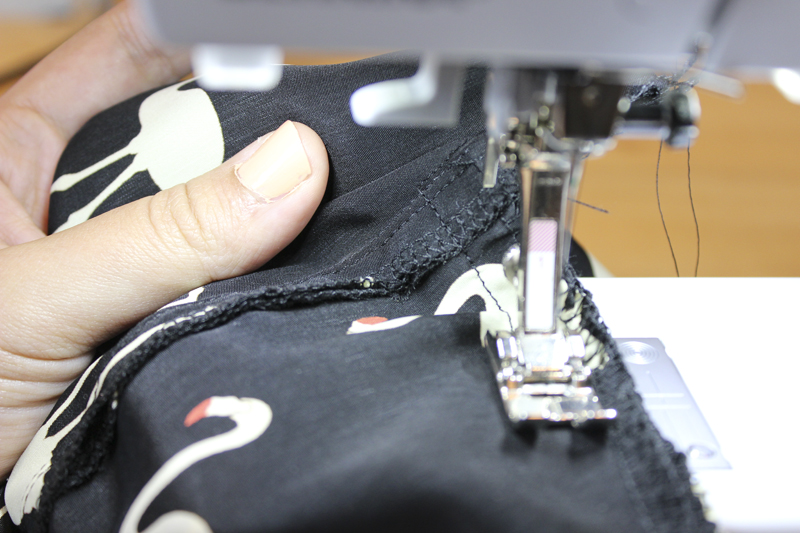
 Here is where I differ from the instructions a little bit. When we are finished sewing around the pocket bag, we are going to sew back up into the pocket opening a bit.
 Insert your needle, lift the presser foot and pivot the project around. We are going to sew up into the pocket for an inch or so. I like to do this because it makes me feel more secure when I stash things in my pocket. There is less chance of things slipping out because I’m creating more of a “drop”. Does that make sense?
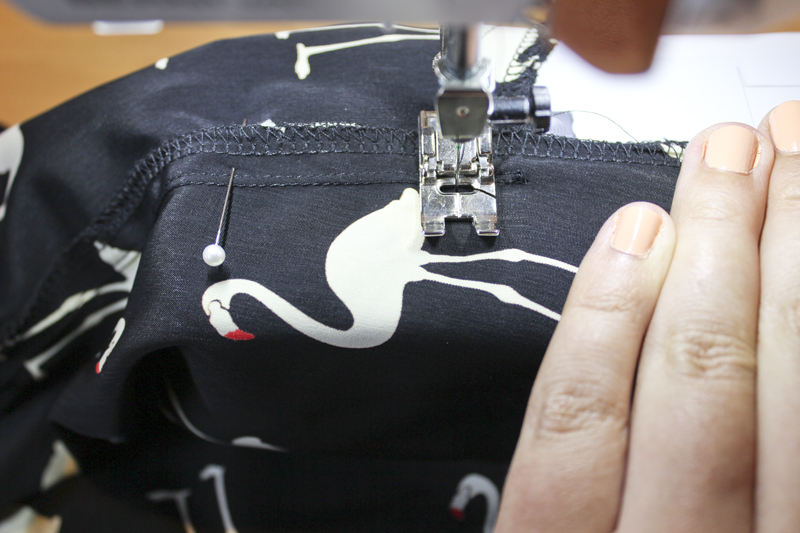
 Sew up into the pocket opening, until you reach the notch.
 Insert your needle, lift the presser foot, and pivot around again. Now we can continue to sew all the way down the sideseam.
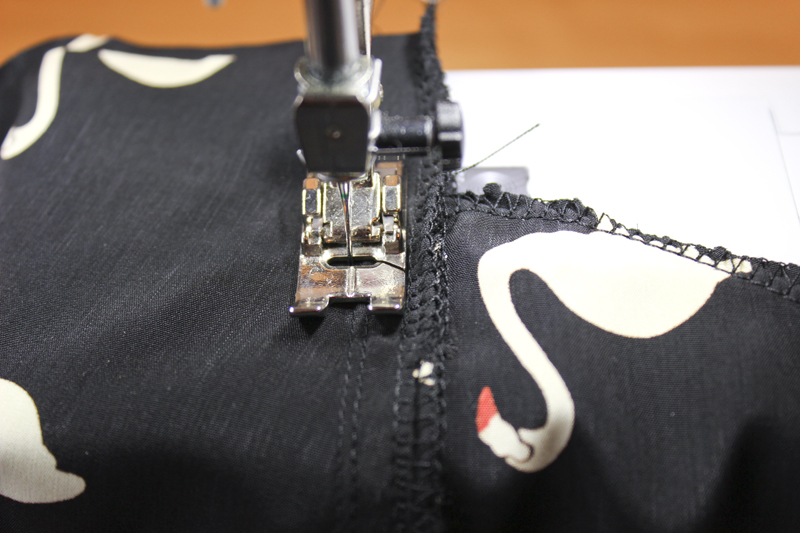
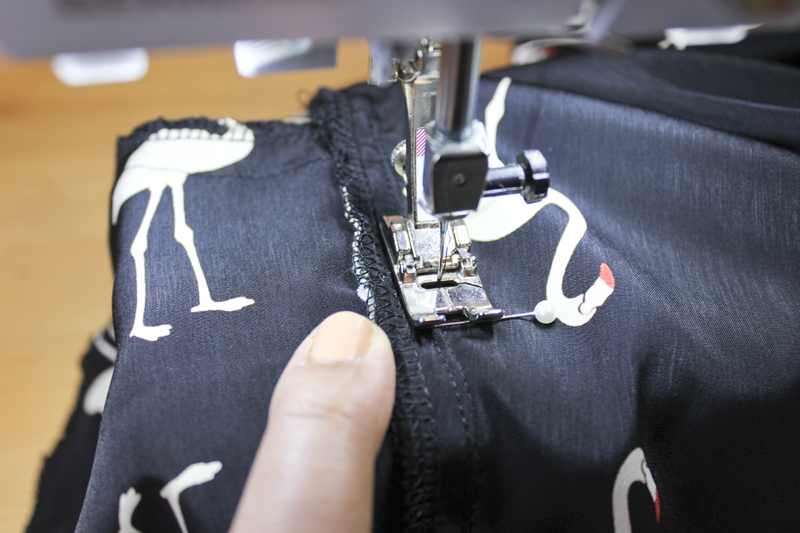
 Here’s a close up of what the stitching looks like at the top.
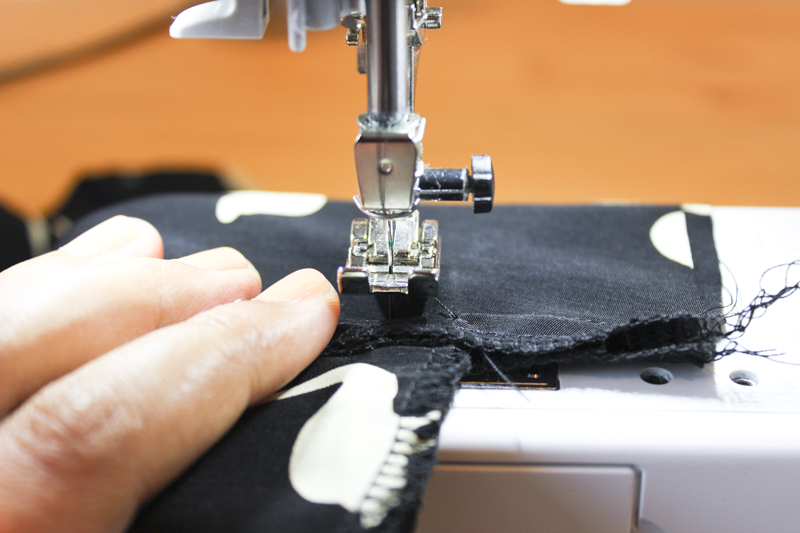
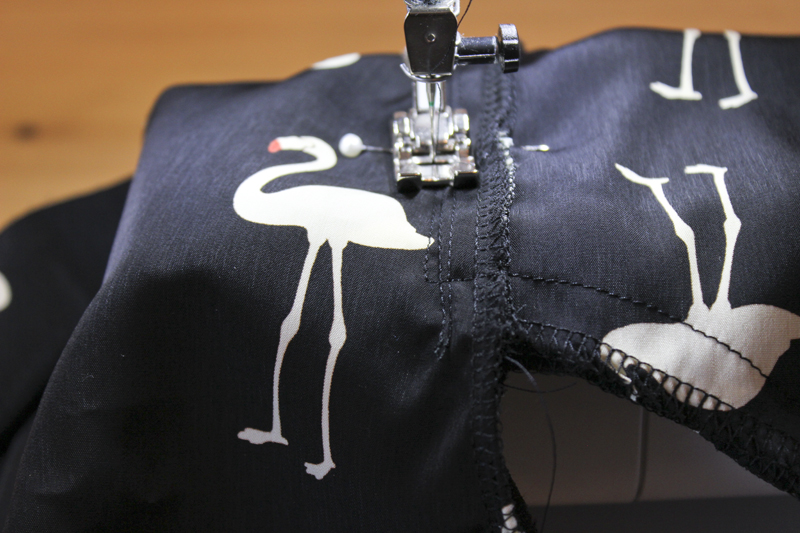
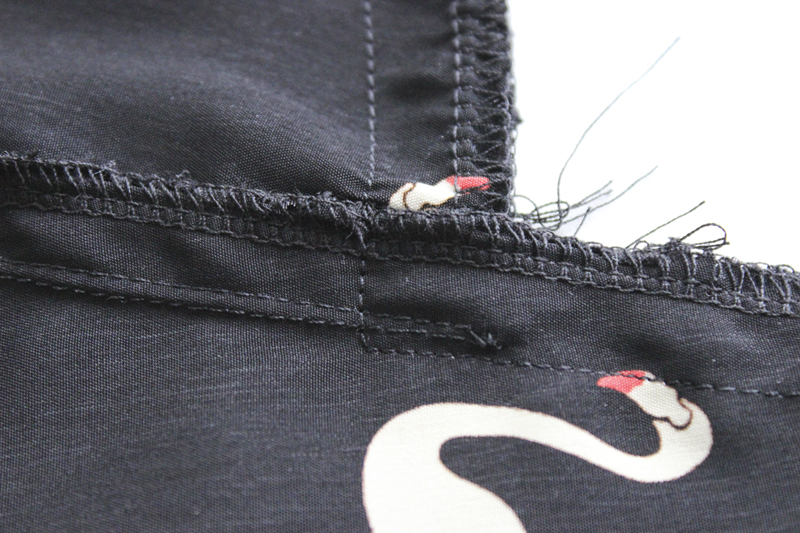
 And here is what it looks like on the bottom end of the pocket opening. The double stitching in the lower pocket area makes the opening stronger too. It’s a win-win method for me, and there’s still plenty of room for your hand, don’t worry!
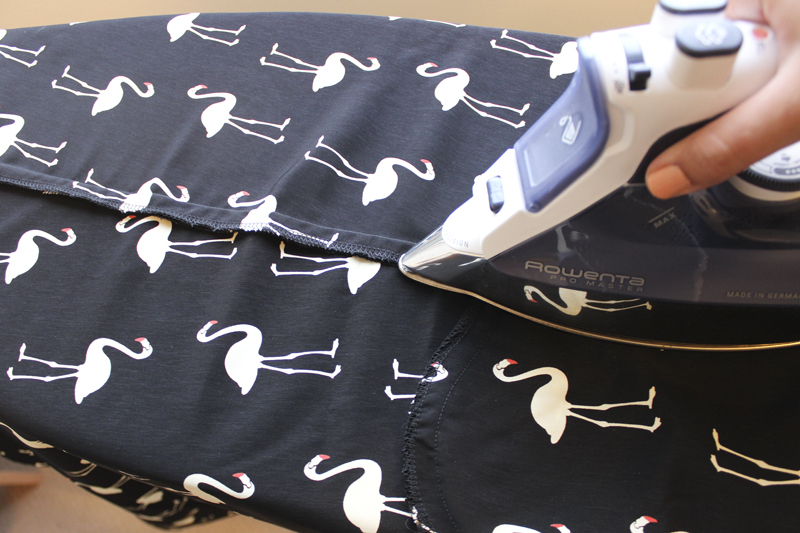 Now let’s press the seam allowance and pockets towards the front.
 I like to pin the seam allowance towards the front temporarily, just so I don’t get mixed up later on.
 Same thing at the top end.
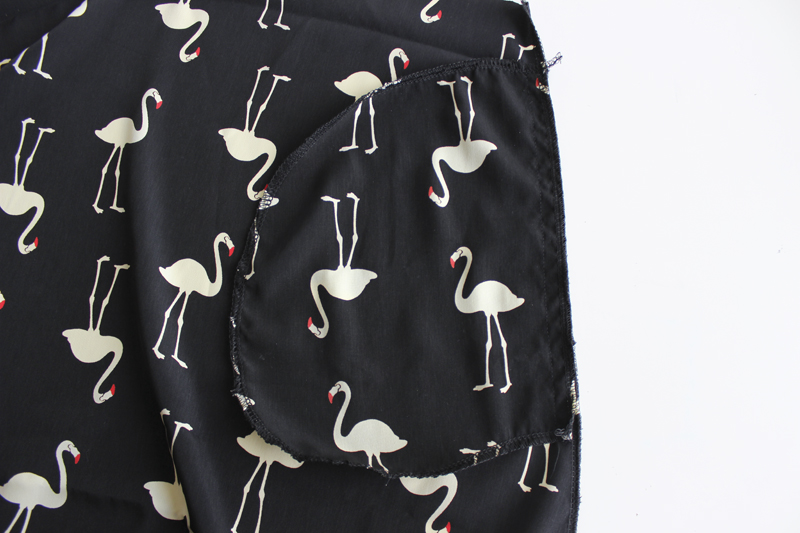
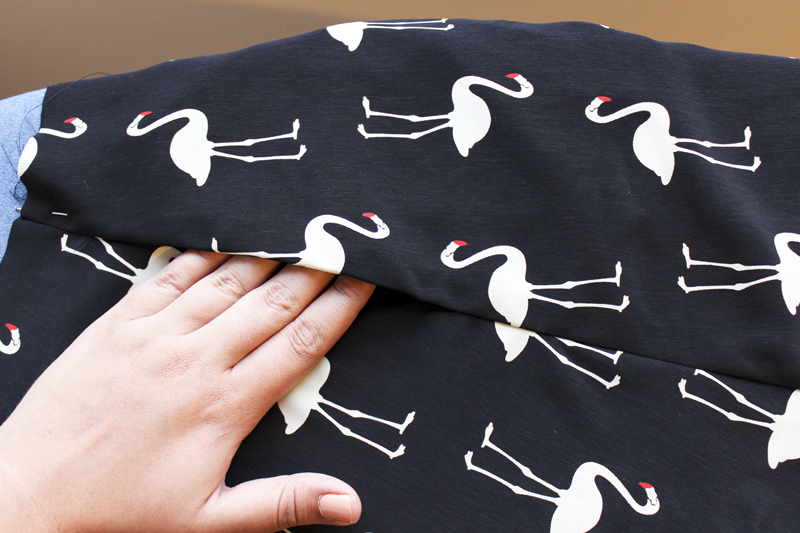 Look at that! A lovely clean pocket opening.
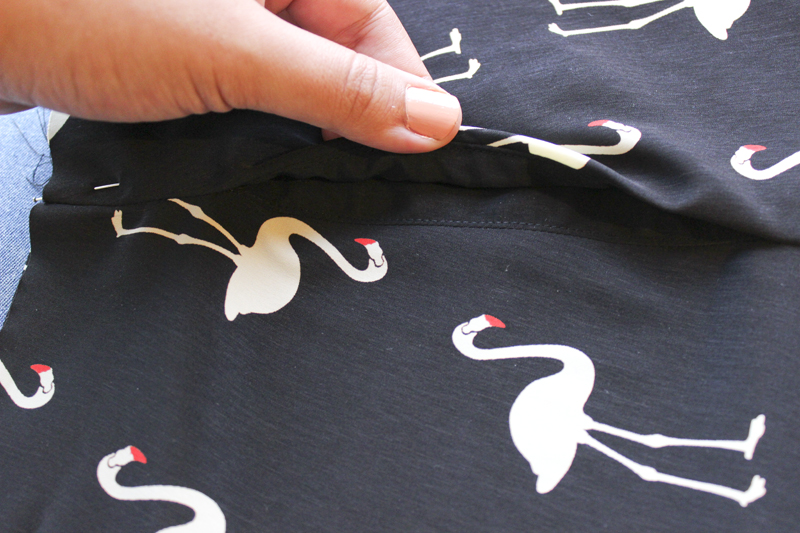 Since we sewed the pocket bag with a smaller seam allowance, the understitching is nicely hidden inside.
We’re done for the day! Next, we’ll really see our garments take shape and insert our elastic into the waistline. Happy sewing everyone!
I am so in love with this fabric! I want to make a Yaletown just like the one you are making!
Yay! So glad you love the fabric! Stay tuned… I will have a way for you to get some for yourself soon! ;-)
Please do! I looked into getting a different colorway of this fabric and yikes. The shipping was almost the same as the yardage.
I agree with Anita. Your flamingo fabric makes me smile every time I see it. Your sewing and posts are excellent.
Thank you so much Ann! I love the fabric too :)
I have to say, I love the flamingo fabric too! And thank you for the instructions and photos!
No problem Annette! :)
I also love the flamingo fabric! It’s so fun. Can’t wait to see photos of the finished dress!
What a great hint about the pocket! I’ve had problems with things slipping out of pockets I’ve sewn and that tip about sewing up from the bottom a little ways makes so much sense. Thank you.
No problem! I always sew them this way, I’m glad the tip was useful!
You were right — this is a great first intermediate project for me. I’m working through a “practice” garment and I’m very pleased, although it’s not nearly as neat and perfect as yours! Still I’m learning a lot and the pace is very good.
Excellent! I’m so glad you’re enjoying the sew-along Jen, and that the pace is good for you. Good idea to go a practice garment, less pressure that way :)