 Hola sew-alongers! We’re in the final countdown! Just a few more sewing days and we’ll be all done.
Need to catch up? Here is what we’ve covered so far, with links!
Yaletown Sew-Along: Fabric Suggestions, Choosing a Size, and FAQ
Yaletown Sew-Along: FBA and SBA Tutorials and Tips
Yaletown Sew-Along: Cutting, Gathering Supplies
Yaletown Sew-Along #1: Preparing Bodice and Sewing Facing (Instruction Steps 1-4)
Yaletown Sew-Along #2: Finishing Facing, Sewing Bodice Side Seams (Instruction Steps 5-7)
Yaletown Sew-Along #3: Sewing Skirt / Lower Blouse (Instruction Steps 8-10)
Yaletown Sew-Along #4: Sewing Bodice to Skirt, Sewing Elastic Casing (Instruction Steps 11-13)
Today: Sewing & Attaching Sleeves (Instruction Steps 14-17)
TBA – Hemming, Sewing Tie Belt (Instruction Steps 18-19)
TBA – Thread Loops and Securing Neckline (Instruction Steps 20-21)
Let’s get going with these sleeves! We’re doing the same thing for both sleeves, so repeat these steps twice!
 First up – we want to sew two rows of basting stitches along our sleeve heads. There are notches on either side of your center notch, those are the ones you will be sewing between. I’ve marked them with pins in the photo above.
 Okay let’s baste! Sew with a long stitch length. Don’t backstitch, that would make gathering difficult! Your first row of stitches should be ½” (1.2cm) from the raw edge. Your second row of stitches should be ¼” (6mm) away.
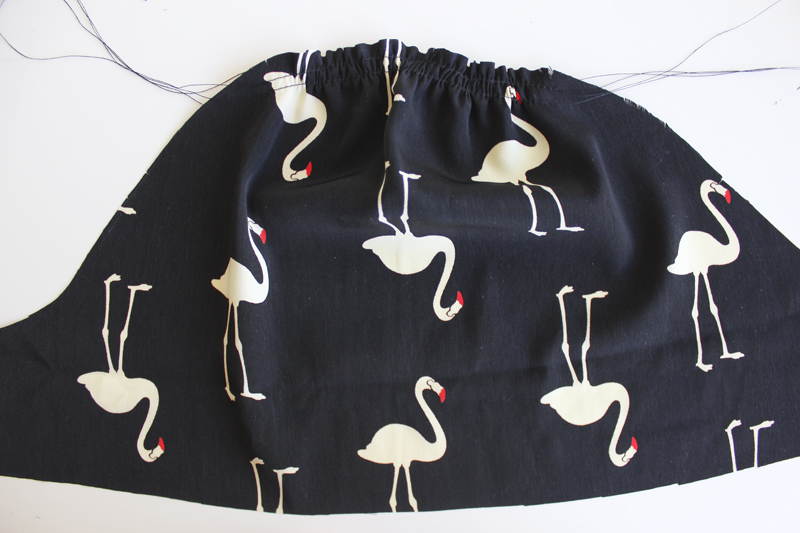 Let’s do some preliminary gathering. We’ll do the final gathering once the sleeve is pinned into the armhole, so we know exactly how much to go. For now, to gather, grab both bobbin threads on one side. Hold on to them while you push the fabric in the opposite direction.
 Once you’ve gathered each sleeve, fold the sleeve in half, right sides together, and pin the underarm seam.
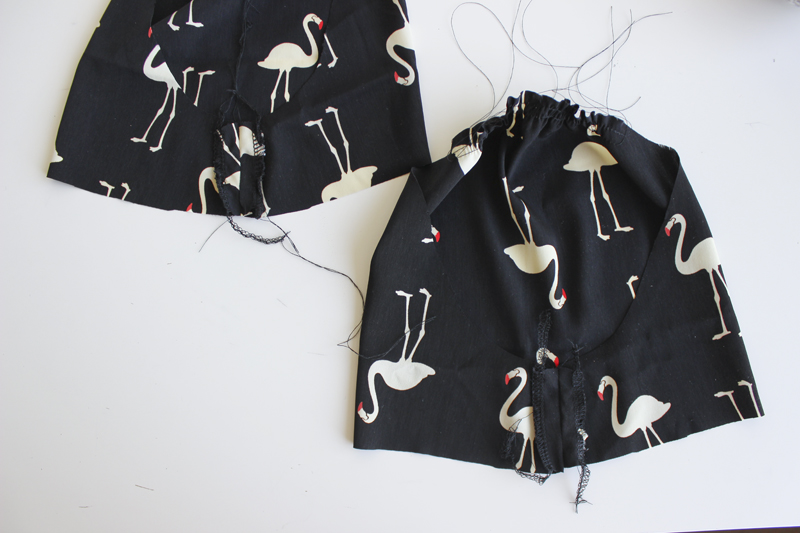 Sew these seams, finish seam allowances, and press open.
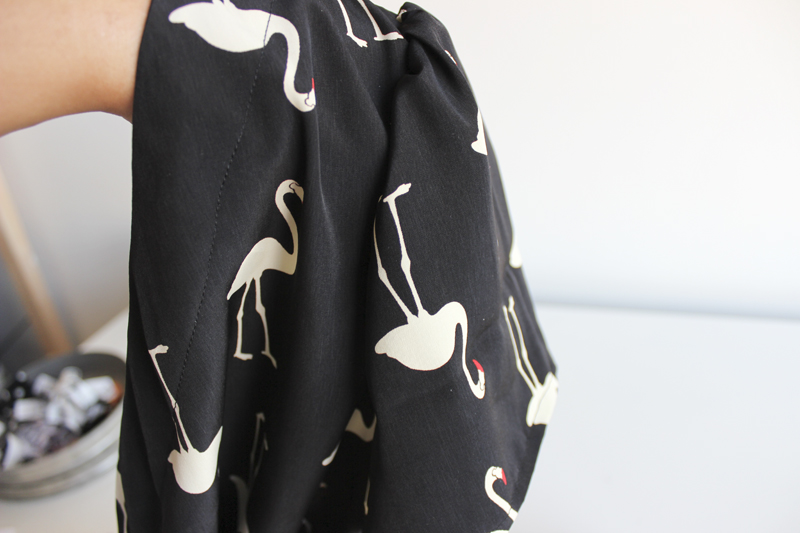
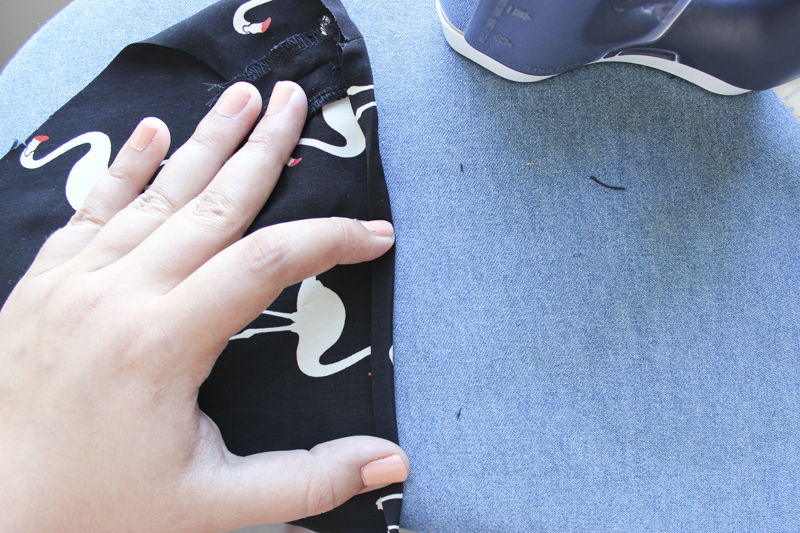 We’re going to hem our sleeves now. Press up your raw hem edge by ¼” (6mm). Then press up by another ¼” (6mm) to enclose the raw edge.
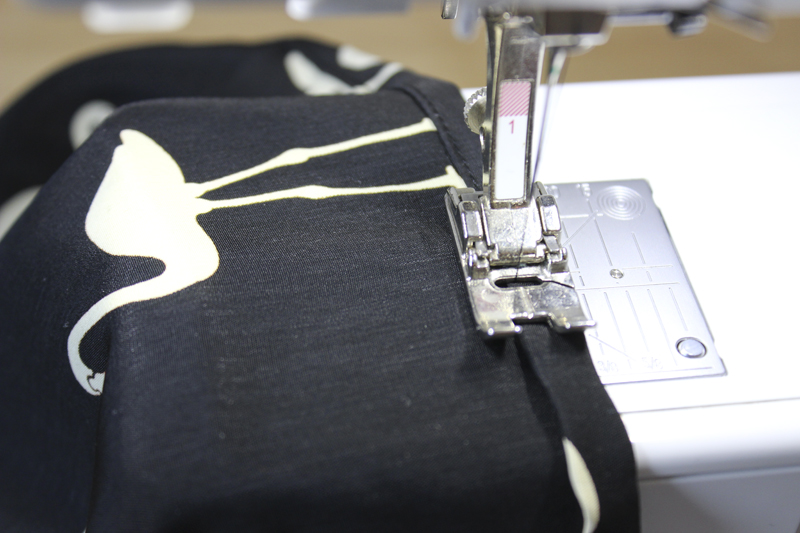 Topstitch the hem close to the fold line.
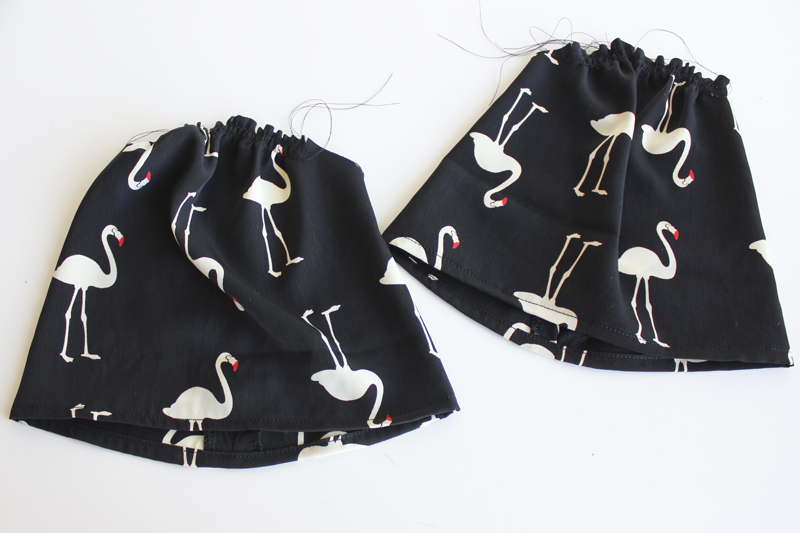 Awesome! So this is what we’re working with now. Time to pin our sleeves into our armholes.
 Start with your garment inside out. Take the sleeve, with the right side facing out, and insert it into the armhole. Pin the sleeve in place, matching notches, and pull the gathers to fit. Hand baste the sleeve into the garment.
 Turn everything right side out to check that the gathers are distributed nice and evenly. Also check to make sure there are no puckers anywhere else. Now we can sew our sleeve permanently by machine.
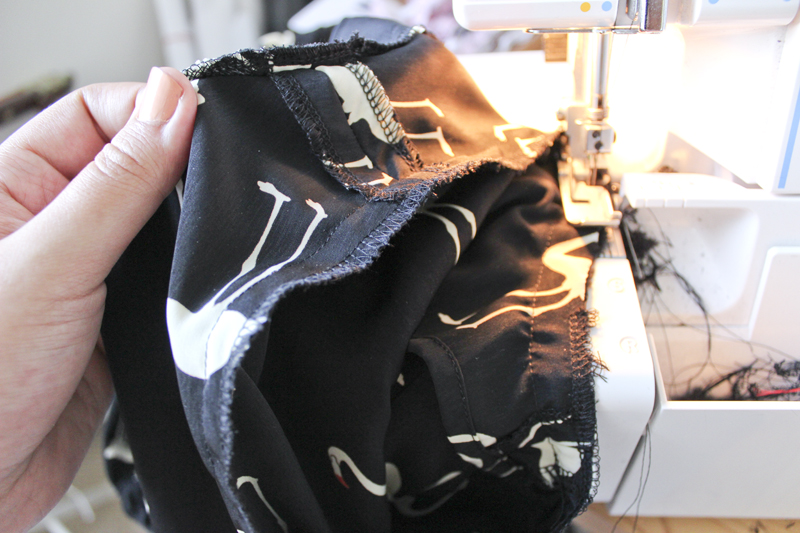 Finish the sleeve seam allowances together, and press towards the sleeve hem.
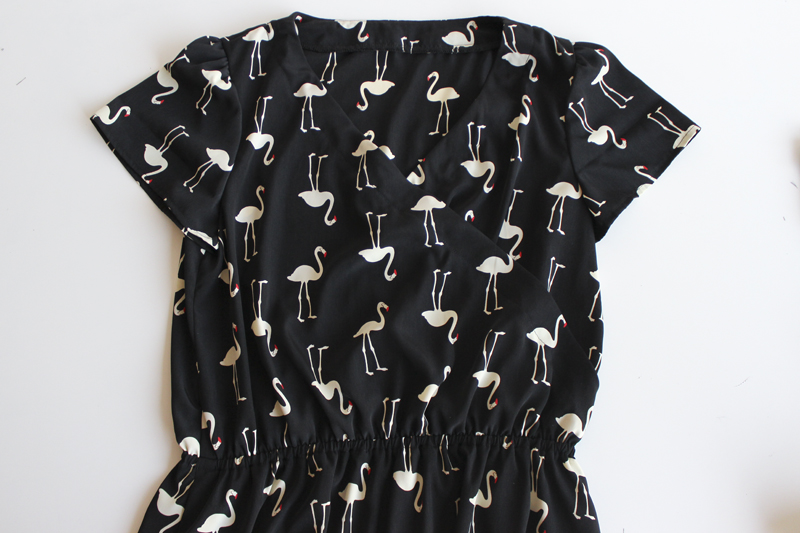 And our sleeves are done! Yay!
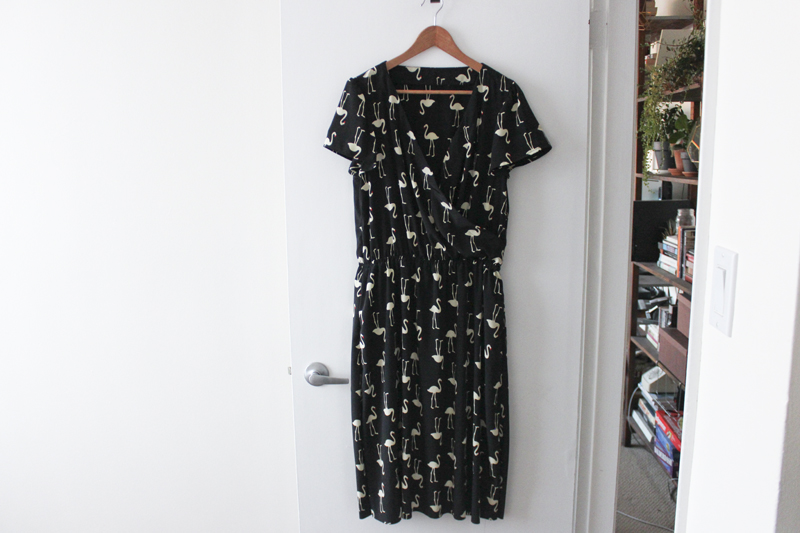 One last step today – especially important if you are sewing up the dress version! Let’s hang up our garments to let the hem settle if it needs to. Let it hang for at least 24 hours, then trim the hem evenly.
Then you’ll be ready for our next sewing day, when we’ll hem our garments, and sew our tie belts. Happy sewing!
I’ve been following your sew-along for ideas and techniques even though I’m not making this dress. Looking at the photos it’s hard to see the stitching when it’s the same colour as the fabric. It would be much clearer if they were done with contrasting thread on a plain background fabric.
Just a suggestion for future sew-alongs. I love your patterns and being from B.C. as well I like to support local creators. Keep up the good work!
Thanks Barbara! I totally see what you mean, and I noticed this myself when I was editing photos. I kicked myself for not realizing sooner! Will definitely keep this in mind for the future.
All the best!
I’m not following along with the sewalong, but I’m storing tips for later, and maybe I’ll put the pattern on my Christmas list…!
I just wanted to ask for tips about trimming the hem evenly. I’ve made two Gabriola skirts and the hemming was a bit of a nightmare with so much fabric – it was really difficult to get it even! Do you have a secret?
Jumping in here to answer – I usually use my dressform for very long skirts. I put it on her, making sure the waistline is even, then pin up from the bottom evenly. I try it on to ensure it sits the same on me. Then I trim and hem! Another trick for very long skirts, since the hem-measuring attachment won’t reach all the way to the bottom, is to measure as low as you can, then measure the right amount of inches down from the pin marking to the actual hemline.
There’s this gadget for measuring hems on yourself: http://www.sallyannk.com/2011/02/shortening-printed-skirt.html and here: http://sewtawdry.blogspot.ca/2011/07/keeping-cool-in-hot-colors-vogue-1223.html – though I haven’t ever used one.
And here is a tip for doing it yourself without a gadget! http://www.taunton.com/threads/pages/nmt037_87.asp
Hope this gives you some ideas!