 We’re back at it today – and it’s a fun day! We’ll get to really see our garments take shape. If you need to catch up, here’s a recap of what we’ve covered so far.
Yaletown Sew-Along: Fabric Suggestions, Choosing a Size, and FAQ
Yaletown Sew-Along: FBA and SBA Tutorials and Tips
Yaletown Sew-Along: Cutting, Gathering Supplies
Yaletown Sew-Along #1: Preparing Bodice and Sewing Facing (Instruction Steps 1-4)
Yaletown Sew-Along #2: Finishing Facing, Sewing Bodice Side Seams (Instruction Steps 5-7)
Yaletown Sew-Along #3: Sewing Skirt / Lower Blouse (Instruction Steps 8-10)
Today: Sewing Bodice to Skirt, Sewing Elastic Casing (Instruction Steps 11-13)
TBA – Sewing & Attaching Sleeves (Instruction Steps 14-17)
TBA – Hemming, Sewing Tie Belt (Instruction Steps 18-19)
TBA – Thread Loops and Securing Neckline (Instruction Steps 20-21)
Let’s get to it!
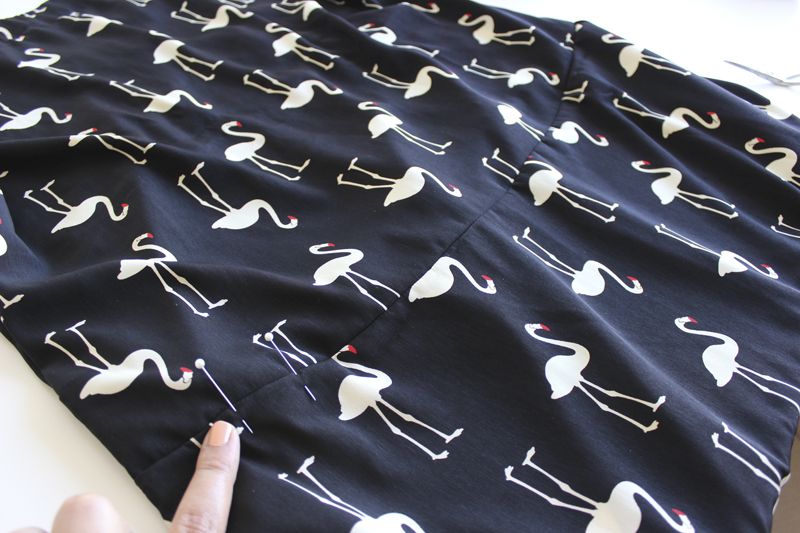
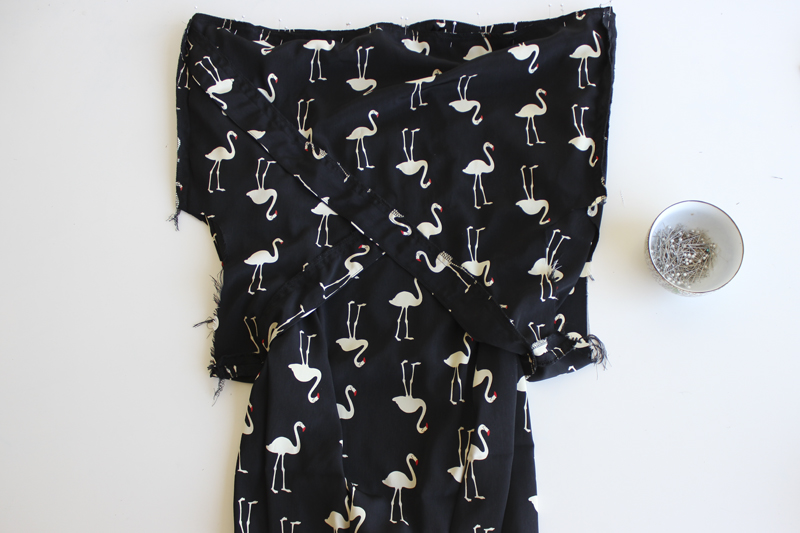 First, pin your bodice to your skirt (or lower bodice) along waistline, right sides together. Match side seams and center notches.
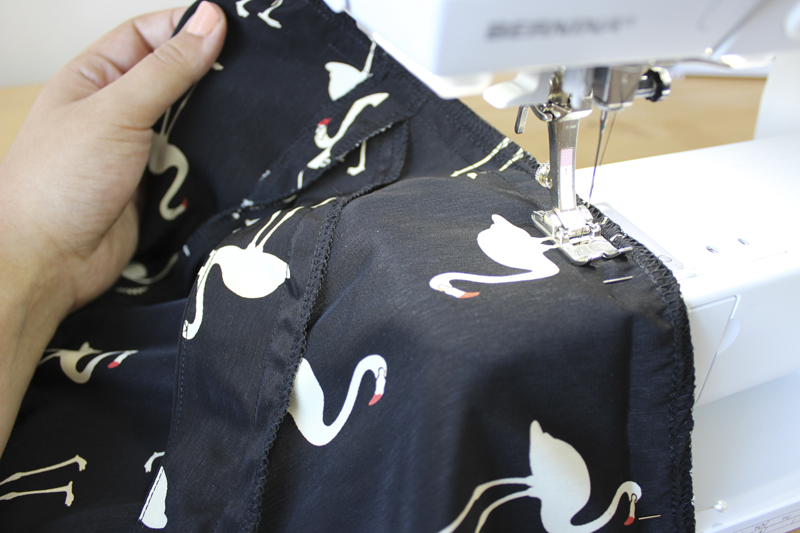 Sew this seam with the usual ⅝” (1.5cm) seam allowance. It’s easiest to sew with the bodice facing you to ease in the skirt in case the skirt waistline stretched out at all with handling.
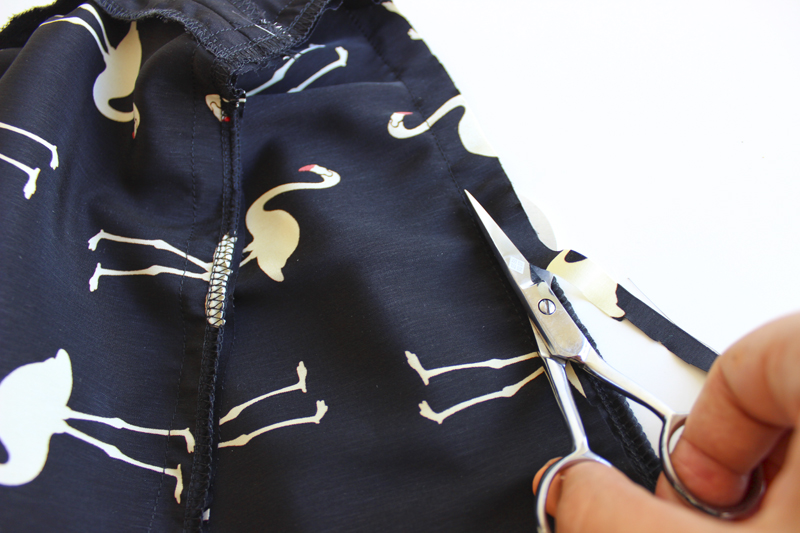 Trim the skirt seam allowance to about ¼” (6mm). We finished the bodice seam allowance, so you’ll be trimming the seam allowance that is raw (not finished).
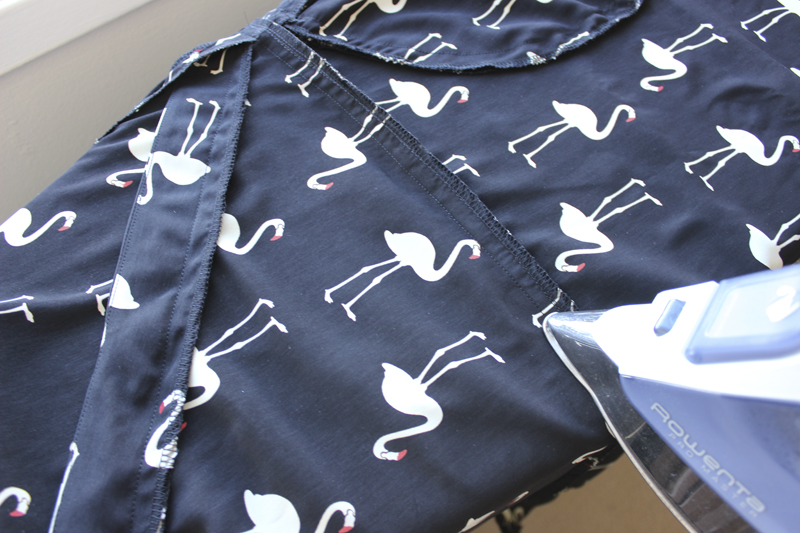 Press this seam allowance downwards, towards the skirt.
 Next we are going to topstitch the seam allowance in place, which will create a casing for our elastic. We want to leave an opening to feed the elastic through though, so I like to mark that opening with two pins a couple of inches apart. This way I know where to start and stop sewing! The back left waist is a good place to leave the opening.
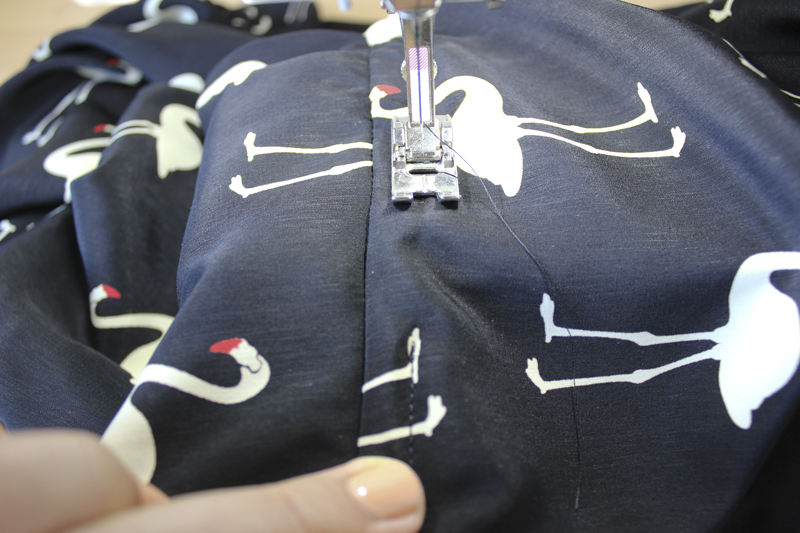
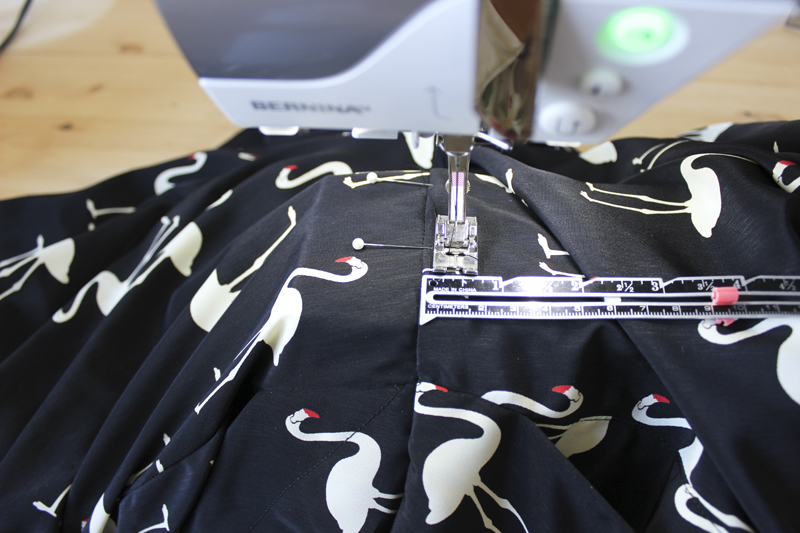 Alright! Now we can topstitch ⅜” (1cm) from the waistline seam. Begin at your first pin, and sew all the way around, taking care that the seam allowance is pushed towards the hemline.
 When you reach your second pin, sew a couple of back stitches and stop sewing to leave the opening.
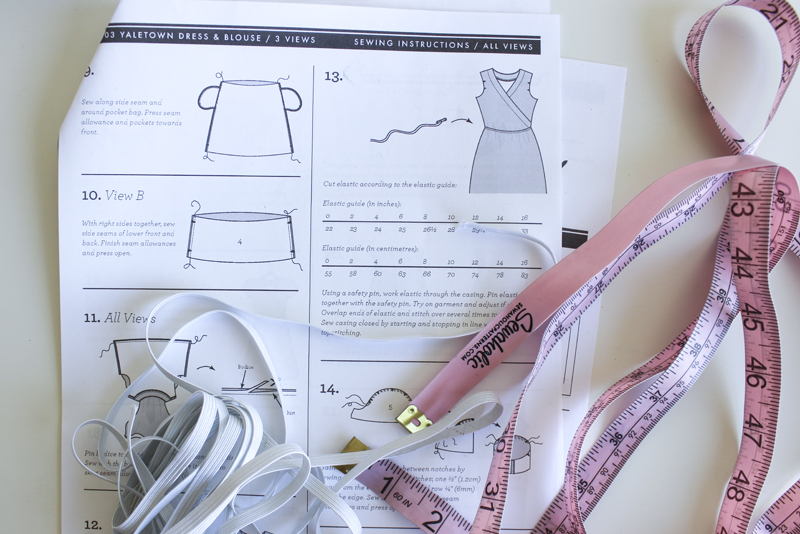 Grab your elastic, and cut it to your size using the handy elastic guide in the instructions.
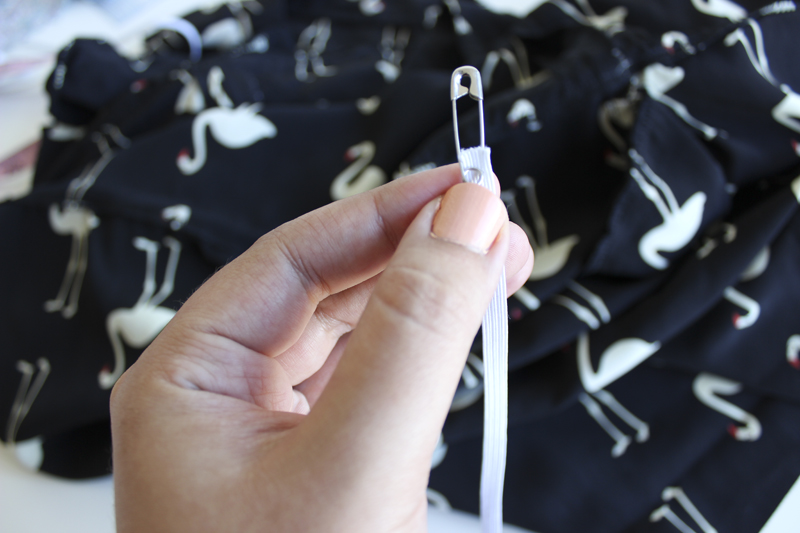 Attach a safety pin to one end of your elastic.
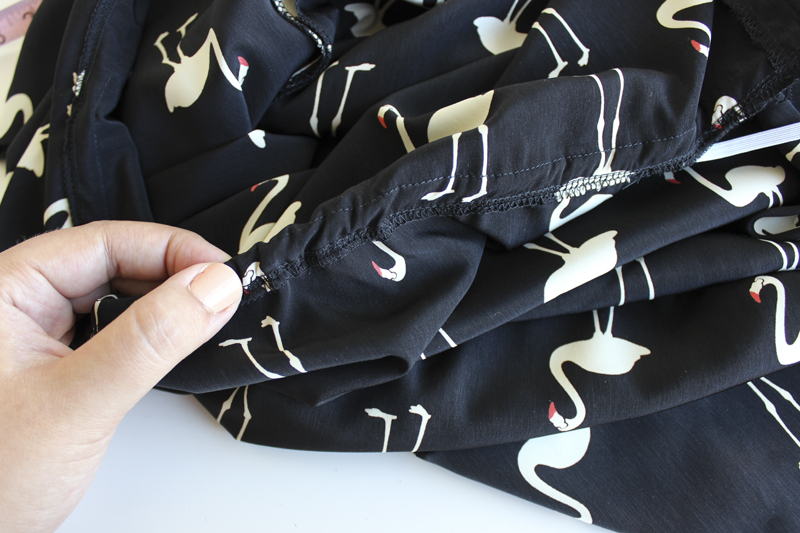 Use the safety pin to work the elastic through the casing. Try not to twist the elastic as you work it around.
Once the elastic is worked through, you can pin the ends together and try on your garment to check that the waist is comfortable. If you’d like to tighten it up, now is the time to trim down the elastic a bit.
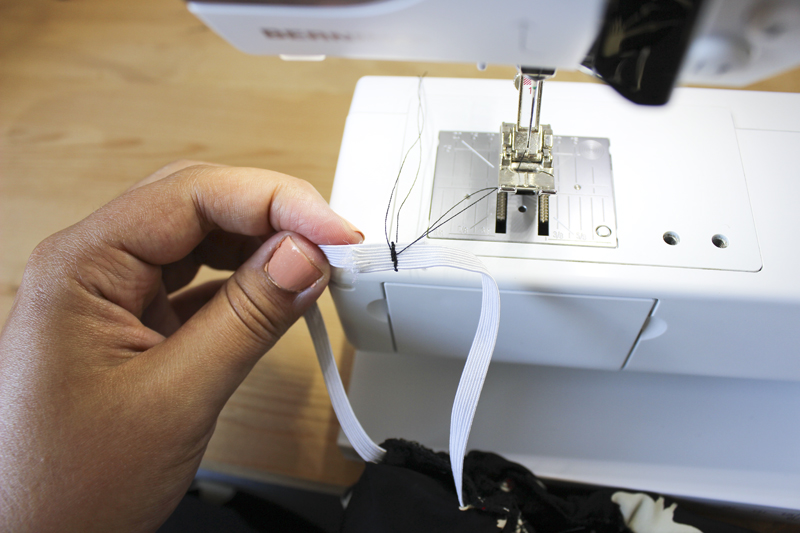 Time to overlap the end of your elastic and stitch across. Ever have bunching thread or weird tension when you sew across the elastic? I find that the following helps to have a clean stitch across my elastic:
- Hold my threads as I begin to sew.
- Sew with a short stitch length.
- Use the triple stitch function for extra strength without having to go back and forth across the elastic too many times.
 Now that the elastic is secure, you can let the elastic slip back into the waistline casing.
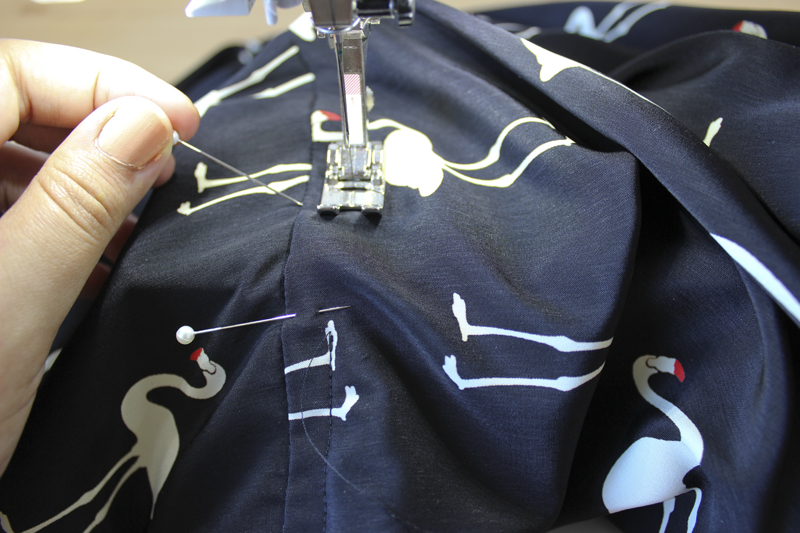
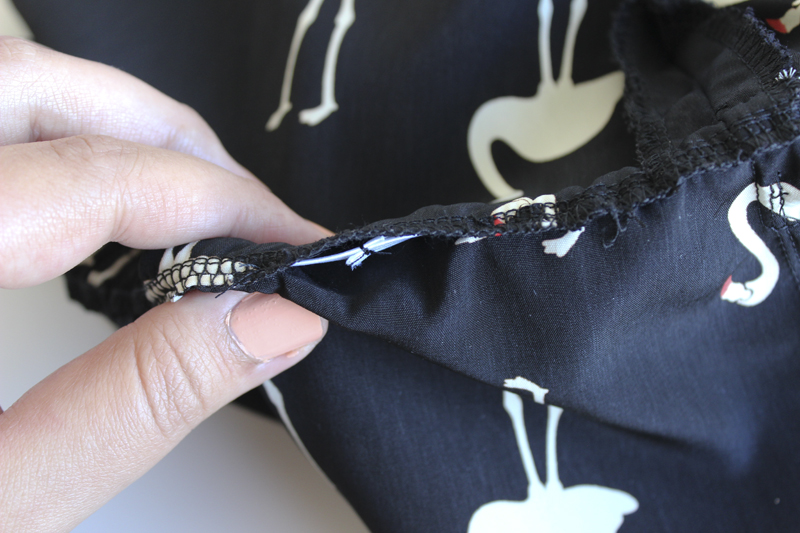
 Now we can sew the casing closed by beginning our stitch where we left off, and stitching across the couple of inches that were left open. Tip: Pull the excess fabric away from the area so that the fabric is nice and flat to sew across.
Awesome. This is where we’ll stop for today. Next post – sleeves! As always, be sure to let me know if you have any questions in the comments.
Comments on this post are closed.