 Hi there lovelies! Another Yaletown Sew-Along day today. If you need to catch up, here are some links for you!
Yaletown Sew-Along: Fabric Suggestions, Choosing a Size, and FAQ
Yaletown Sew-Along: FBA and SBA Tutorials and Tips
Yaletown Sew-Along: Cutting, Gathering Supplies
Yaletown Sew-Along #1: Preparing Bodice and Sewing Facing (Instruction Steps 1-4)
Yaletown Sew-Along #2: Finishing Facing, Sewing Bodice Side Seams (Instruction Steps 5-7)
Yaletown Sew-Along #3: Sewing Skirt / Lower Blouse (Instruction Steps 8-10)
Yaletown Sew-Along #4: Sewing Bodice to Skirt, Sewing Elastic Casing (Instruction Steps 11-13)
Yaletown Sew-Along #5: Sewing & Attaching Sleeves (Instruction Steps 14-17)
Today: Hemming, Sewing Tie Belt (Instruction Steps 18-19)
TBA – Thread Loops and Securing Neckline (Instruction Steps 20-21)
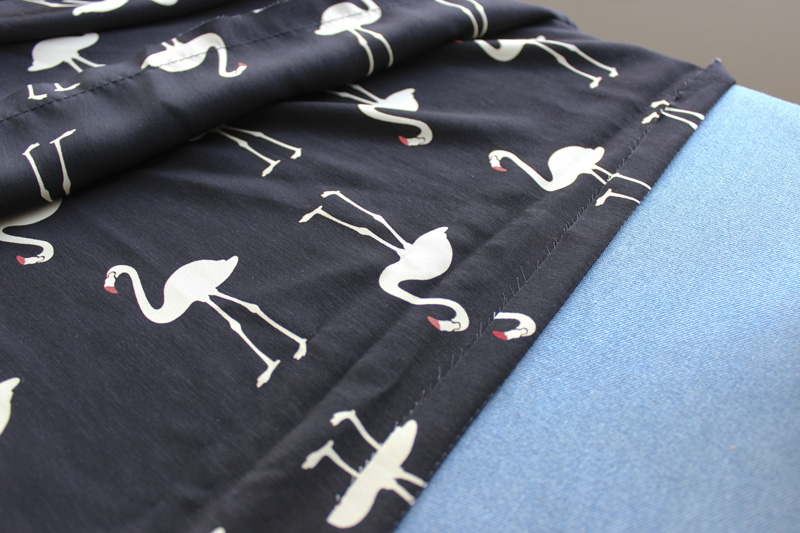
Earlier this week we hung up our dresses to let the hem settle if needed. If you’re making the blouse, this step isn’t really necessary. But since the dress version is weightier in the bottom half, your fabric could have settled/stretched out a bit along the hemline. Go ahead and trim that hem to even it out if needed!
Now we can get on with our hems!
 Start by sewing a line of stitching ⅝” (1.5cm) from the raw edge. Sew with a long stitch length, and push the fabric gently forward as you feed it through. This will ease in the fabric slightly.
 Press up the raw edge using your stitch line as a guide – you are pressing up by ⅝” (1.5cm).
 Next press up by another 1″ (2.5cm). The basting stitch will help to pull in the fold line so that there wont be any puckers when we sew our hem!
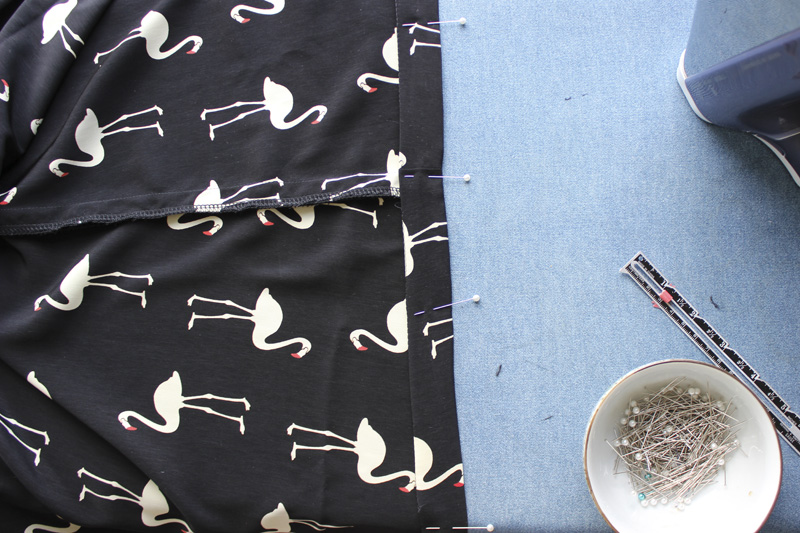 Pin or baste your hem in place. Whatever you’re comfortable with!
 Edgestitch along your fold line to sew the hem.
 Now our lovely hem is done! Time for the tie belt.
 Grab your two tie belt pieces, and pin them together along the short edge, right sides together.
 Sew this seam at the usual ⅝” (1.5cm) seam allowance, and press seam allowance open.
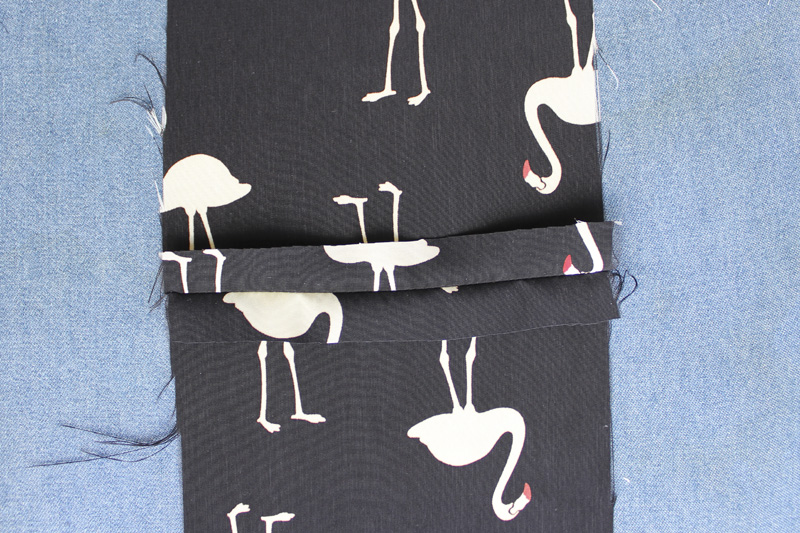
 Now fold your belt lengthwise, right sides together, and pin along the raw edges.
 Since we’ll be leaving an opening when we sew (so we can turn the belt right side out), I like to mark the opening with chalk. Just as a reminder! I marked on one side of the joining seam – a 4″ (10cm) opening works well here. Sew all around outer edges, leaving the marked area unsewn.
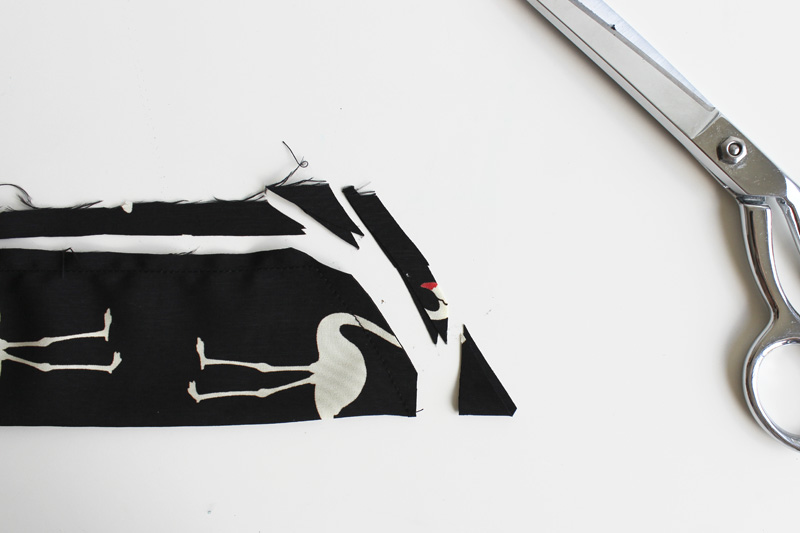 Trim the seam allowances.
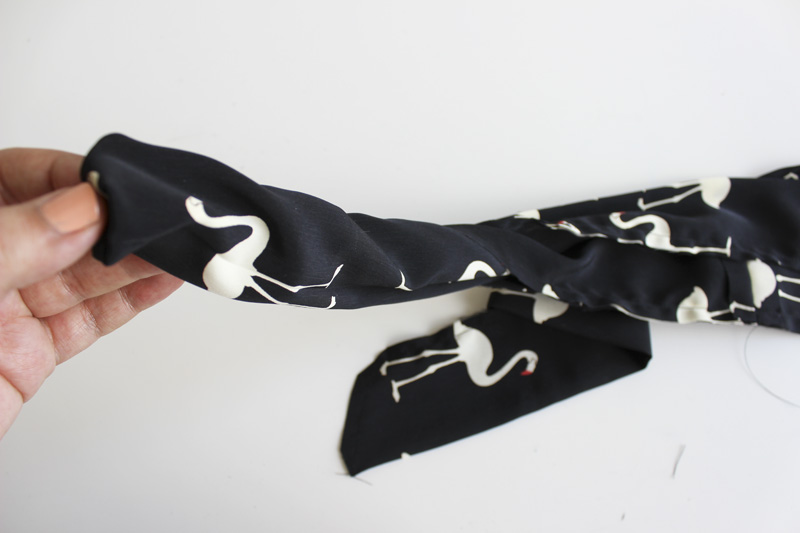 Turn the belt right side out.
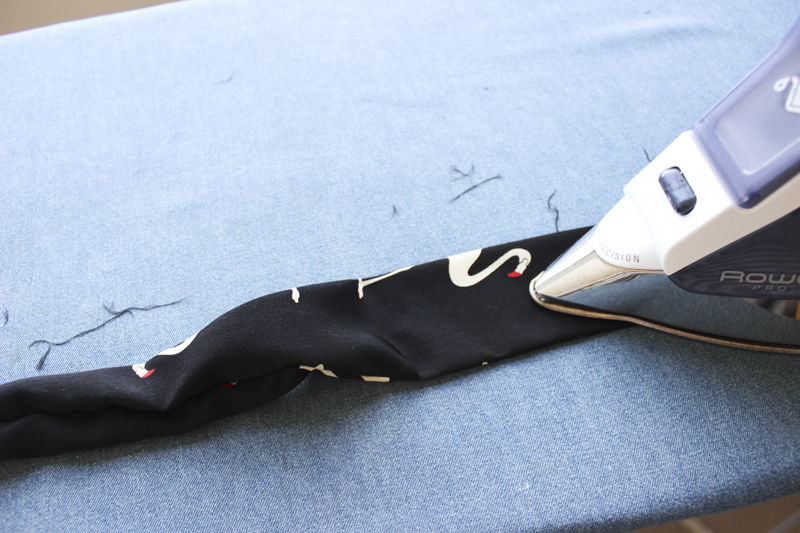 Press!
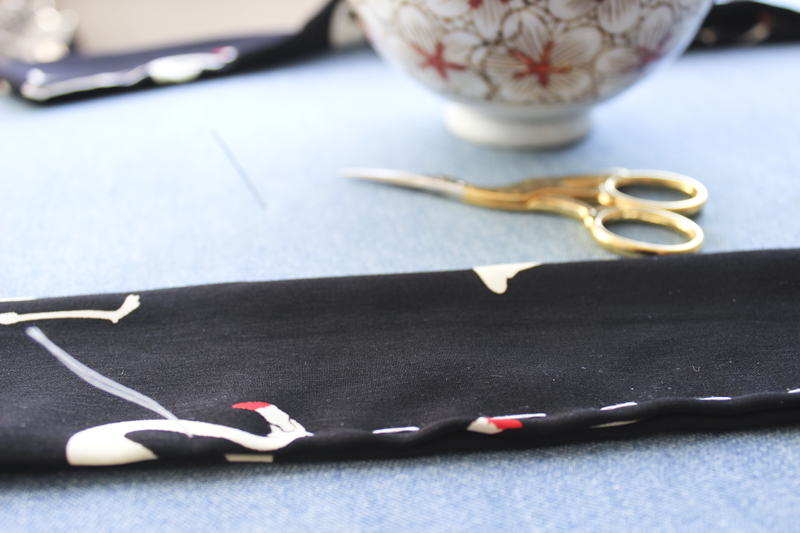
 Now we’re left with this opening that we need to slipstitch closed. If you don’t want to slip stitch, you can sew as demonstrated here, which works great for busy prints where visible stitching won’t really pop. If you’d like to do the slipstitch method, I’ll show you how.
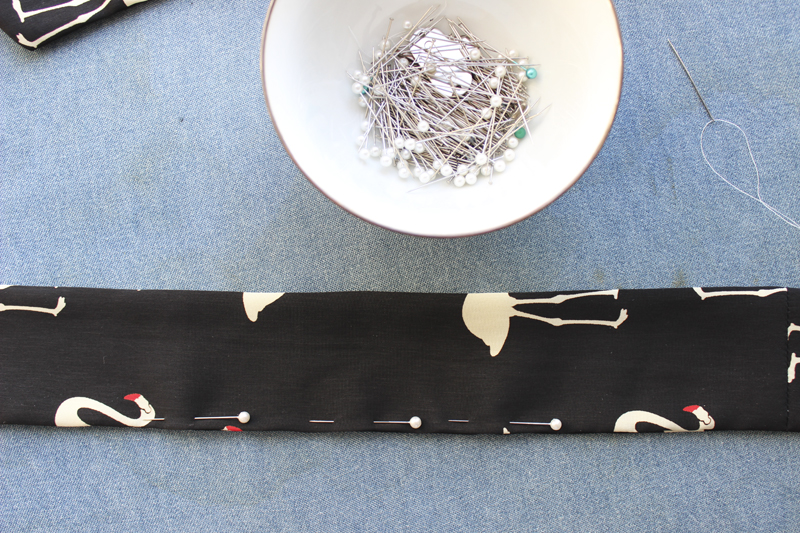
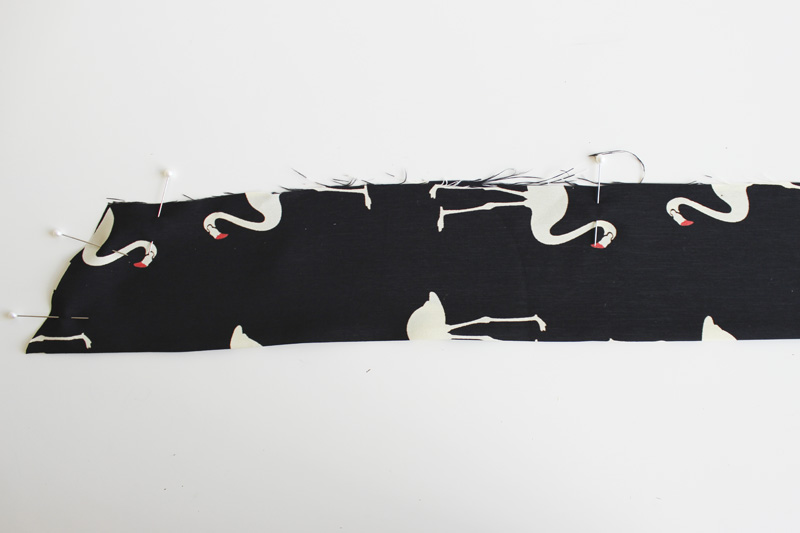
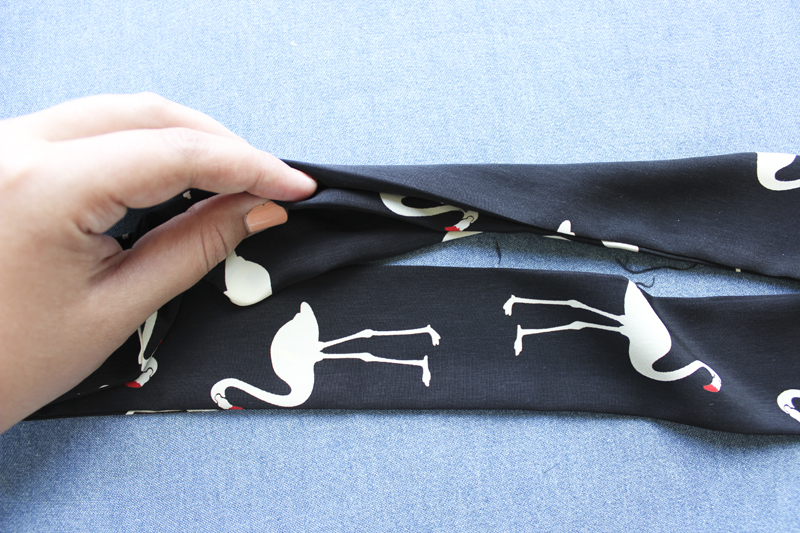
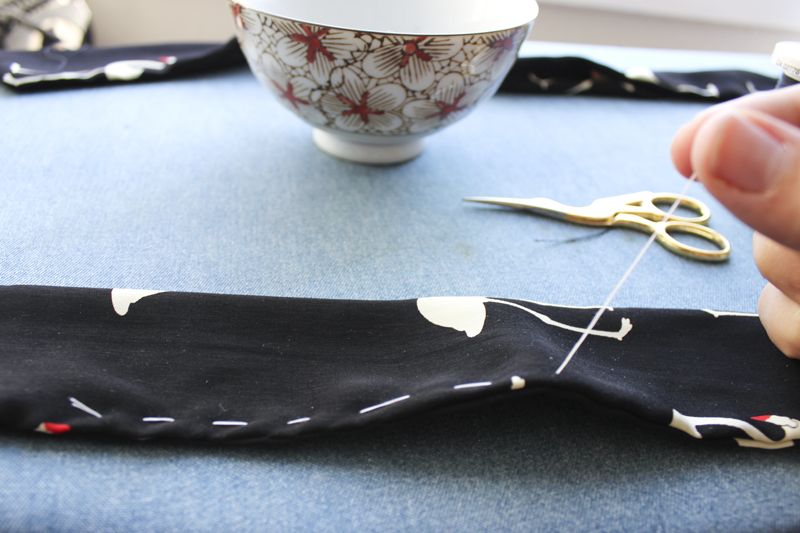
So first let’s pin the opening closed with pins.
If you’d like to be extra secure, quickly baste the opening closed as I did above, not too close to the edge.
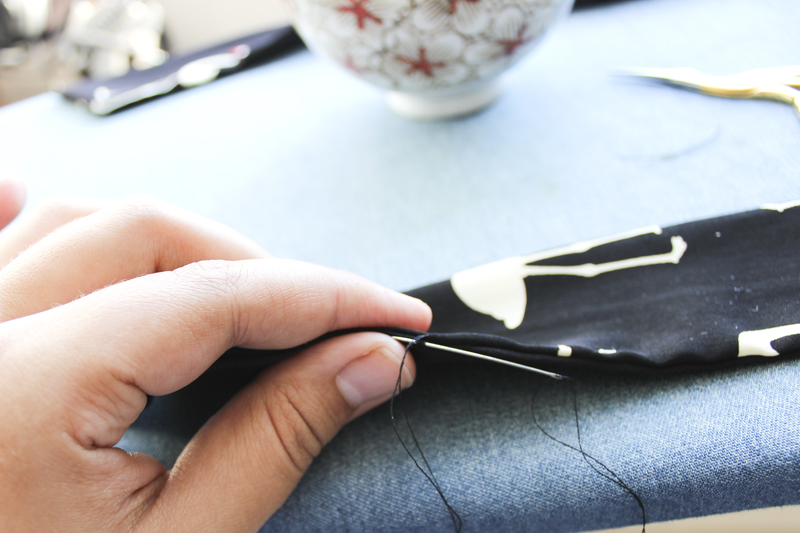
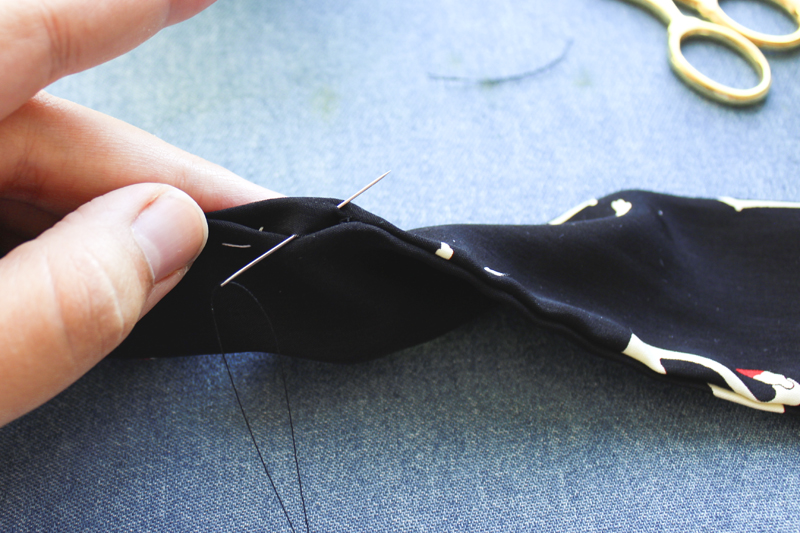 Thread your hand sewing needle with matching thread. Insert the needle from the inside out, as shown above, into the fold on one side.
 Next take a tiny “bite” from the other fold edge. You only need to catch a handful of threads here.
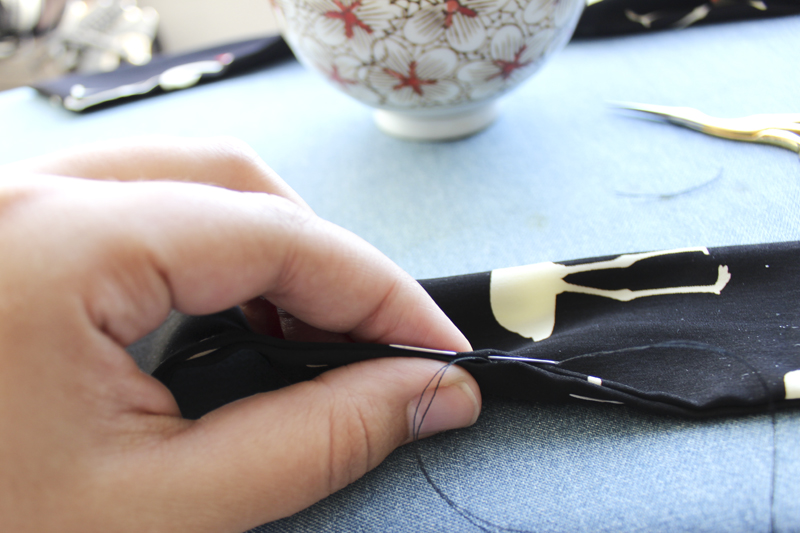 Next take a bigger stitch (or “bite”) from the opposite fold edge.
 Continue with small “bites” from one side, and larger bites from the other side, until you sew the entire opening closed. When you’re all done, you can tie off your thread.
 Now let’s pull out our basting stitches.
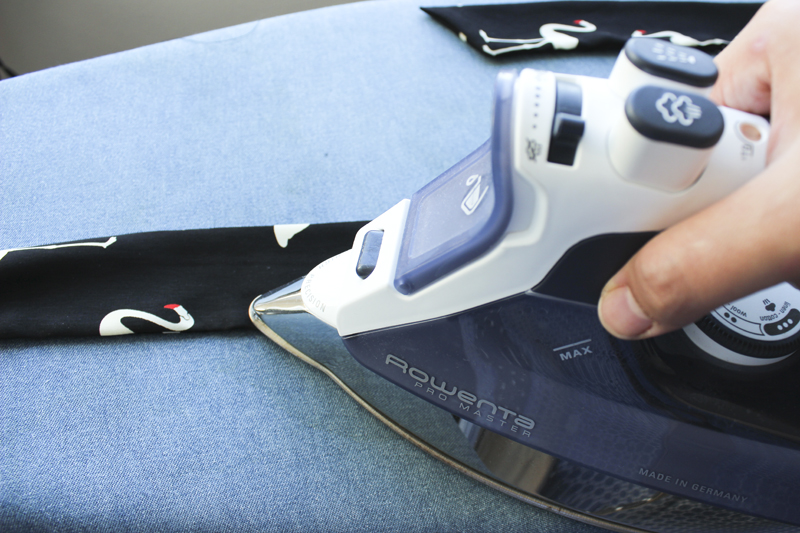 Give the tie belt a good final press, and we’re done!
Just some hand sewing next week, and then we’ll be all finished.
Happy sewing everyone!
Great blog, I like the fabric in flamingos! :) I inviteyou to my blog http://barbors.tumblr.com/
thanks lovely Tasia for sharing sewing tips.and this is the blog i was looking for
I have enjoyed your sew-Along and it was sooo easy to follow. I have learned some knew tricks and I just wanted to tell you thanks!
Oooh, very pretty. I will have to give this a go when I get home tonight.