 Pockets today! I love these pockets. They’re inside, safe from the rain, and with the velcro closure, nothing’s going to fall out.
Today we’ll sew on the interior patch pockets on our lining. You’ll need to have your two front lining pieces cut out at the very least, so we can sew on the patch pockets.
Want to catch up on previous Sew-Along posts? Click the links below to read more:
- Minoru Sew-Along #1: Let’s Get Started!
- Minoru Sew-Along #2: Sewing Sleeves and Topstitching Tips
- Minoru Sew-Along #3: Gathering!
- Minoru Sew-Along #4: Sewing the Hood
- Minoru Sew-Along #5: The Secret Hood Zipper
- Minoru Sew-Along #6: Sewing the Hood to the Collar (Quick Post!)
- Minoru Sew-Along #7: We Finally Get to Pull the Gathers!
- Adding Pockets to the Minoru Jacket: Amy’s Awesome Tutorial
- Minoru Sew-Along #8: Front Plackets, Front Zipper
- Minoru Sew-Along #9: All About Cuffs
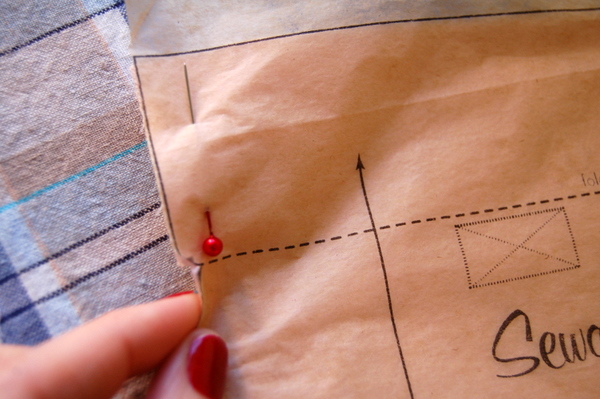
First, we’ll start with constructing the patch pocket. Take the pocket piece, and if you haven’t yet, snip the notch on either side of the fold line. This little clip mark will make it easy to hem the top edge of the pocket.
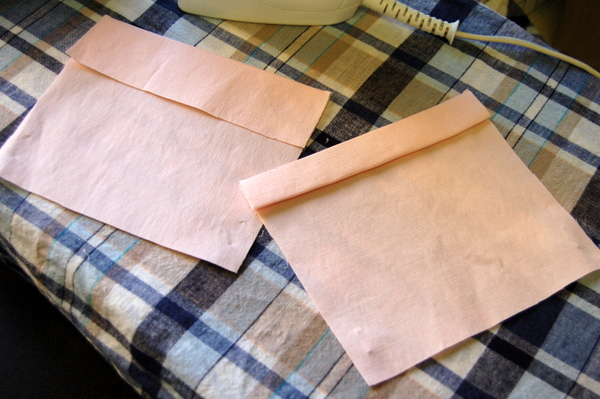
Now press under the top edge of the pocket, using the notches as a guide. Turn the raw edge of the pocket inwards to completely meet the fold. You’ll see the difference in the photos below – the left pocket only has the hem pressed once, the right pocket has the raw edge turned in and pressed.
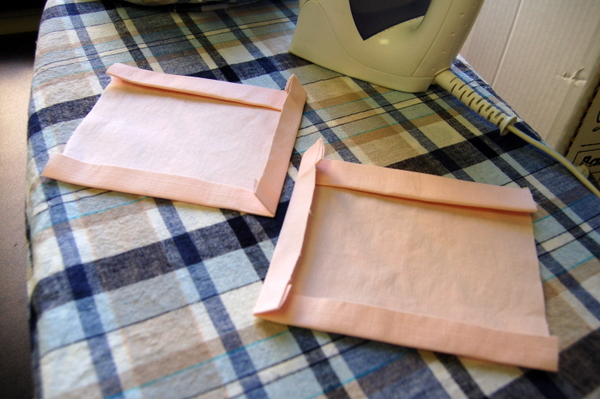
Next, we’ll press under the lower and left edges of one pocket. And then we’ll press under the lower and right edges of the other. We want to make pockets that are mirror images of each other, not identical to each other.
And now, a trick! This isn’t shown in the pattern instructions but I have a special way of making the top corner of your pocket look nice. Feel free to skip this step and follow the instruction sheet if you prefer, but this is a handy sewing technique to know!
Fold back the top hem along the fold line. Sew along the seamline from the fold line to the bottom fold of the hem, backstitching at both ends.
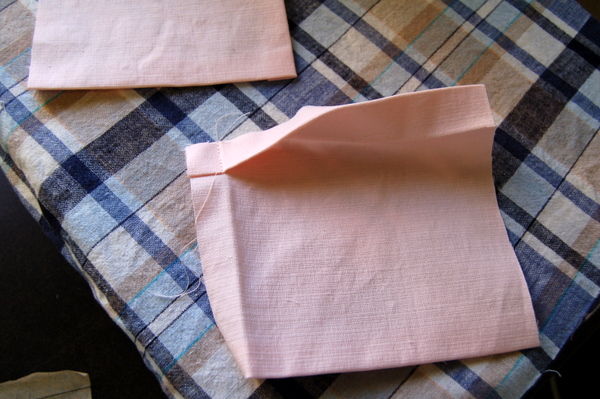
Trim the corner diagonally, trimming the inside seam allowance down to 1/4″ (6mm),
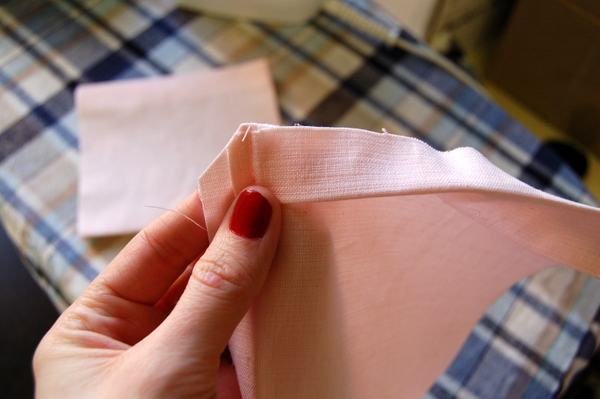
and turn the corner right side out.
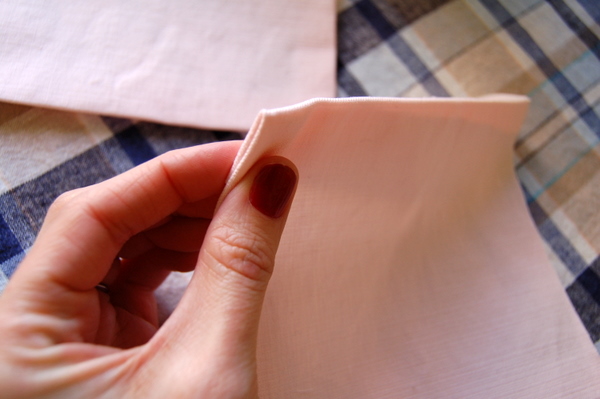
It’s so nice! That’s the end of my trick. You can use this pocket-hemming technique to tidy up the corners of any square or rectangle shaped pocket. Now when we go to stitch the pocket hem, the corners are nice and square.
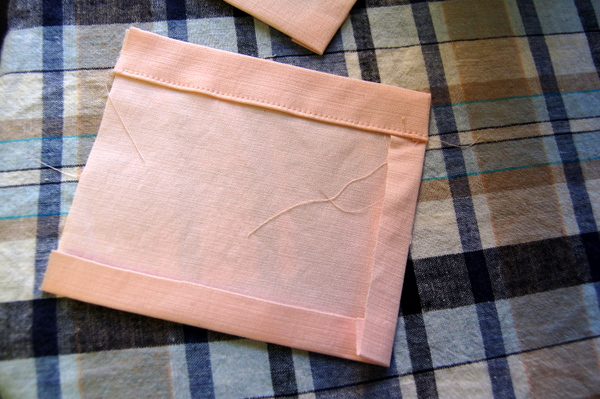
I stitched mine with the wrong side up, so I could keep the edgestitch along the edge. If you’re using special topstitching thread on the top, you’ll need to sew yours with the right side up.
For the velcro closure, the pattern calls for a small, 1″ piece of velcro. If you wanted to have more security on your pockets, why not make the velcro cover the entire pocket opening? In that case, measure off the top edge of the pocket, subtracting 5/8″ (1.5cm) on each side for the seam allowances. Cut a piece of velcro that length instead of the small piece and your pocket opening will be completely closed.
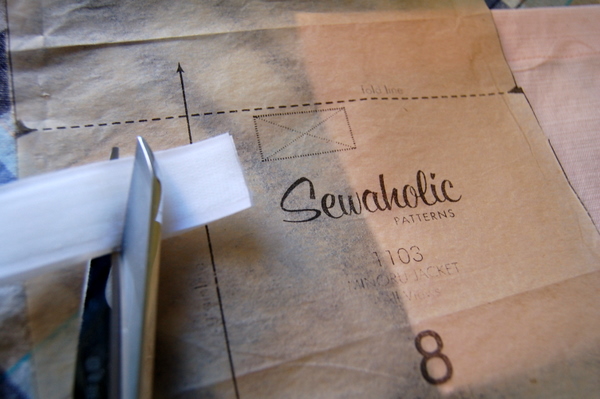
Or, use a snap closure! Or a button and buttonhole – make the buttonhole on the pocket piece, and sew a button to the lining side in place of the velcro. It’s totally up to you!
And if you aren’t concerned about losing the contents of your pockets, skip the fastener altogether! One of my first Minoru samples doesn’t have any closures on the pockets – although, I don’t put precious things in them because of it.
I’m following the pattern instructions for mine. Once you’ve cut the velcro, position the hook side on the pocket piece, according to the marking. The marking basically helps you centre the velcro between the seam allowances, so if you change the length of your velcro, simply re-centre the velcro based on where the original marking is.
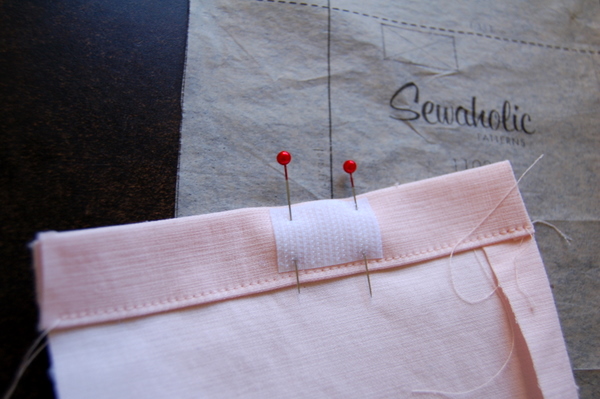
Pinning through velcro is hard! I’d suggest taking the pins out right away when you go to sew on the velcro. They’ll be annoying, create lumps in our pocket edges and make it very likely we’ll snag our fingers on the pins. (I certainly did! It’s no fun to be slowed down in our sewing by a pricked finger.)
I stitched my velcro in the box-and-cross shape shown on the pattern piece. That’s what we called it when I worked in golf apparel – ‘box and cross.’ You’ll see it at the end of golf shirt plackets all the time, a box with an ‘X’ sewn from corner to corner.
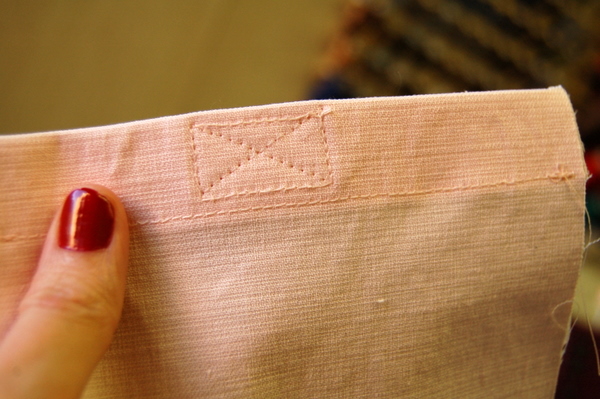
You can follow this stitching pattern if you’d like, or simply sew a box around the edges. Or sew a box and then sew several lines through the velcro to make it extra-secure. It’s up to you!
Take the other half of the velcro (the softer loop side) and pin it to the lining at the marking. Sew it in place. You can see the box-and-cross I’m sewing in the photo below. First I sew the box, then pivot inwards to sew from corner to corner, up one short side, and down to the other corner.

Now it’s easy to position our pockets on the lining – simply line up the velcro pieces and press!
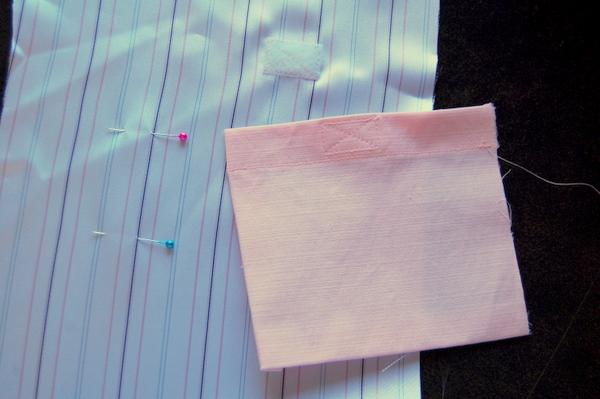
The velcro helps keep the pocket in place, but a few pins won’t hurt! I pinned around the pocket, and then edgestitched the lower and left edges. (Funny how I ended up demonstrating on the opposite side of what’s pictured in the sewing instructions! If you’re confused, I’m making the left side, but the pattern instructions are illustrated for the right side.)
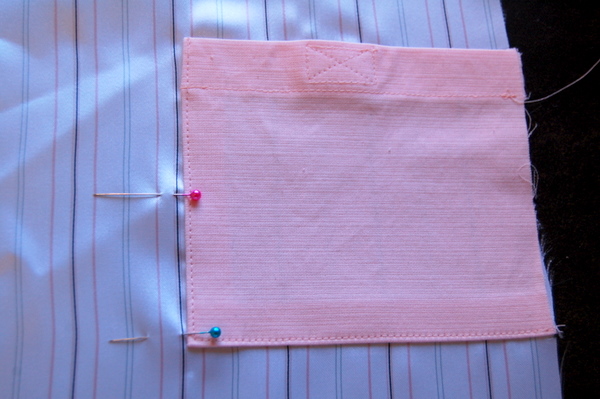
I also basted along the raw edge of the pocket to keep it in place. You don’t have to, but I decided it was a good idea this time around!
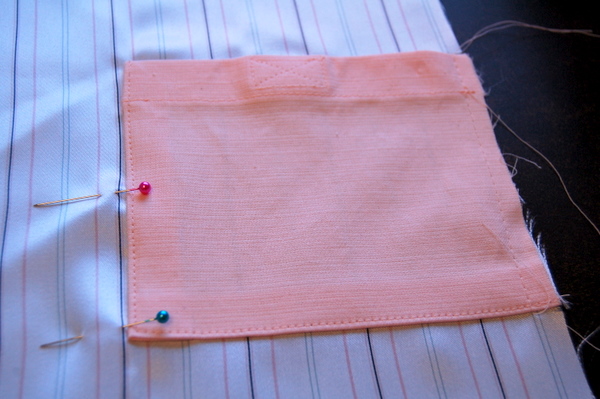
And that’s it! Ah yes, don’t forget to repeat for the other side of the jacket. And cut out the rest of your lining pieces, we’ll need them for the next sewing step.
Have a great weekend everyone! If you’re catching up on the sewalong this weekend, or sewing anything at all, have fun and happy sewing!

It’s coming along! I’m still excited to see the finished project. Enjoy your weekend lady and kudos for finishing the inside pocket with your busy schedule!
That’s a fantastic trick with sewing the top edge, storing that away for future reference. It is great neat finish.
Happy weekend sewing everyone!
Hurray, I have my zipper basted in, my cuffs are sewn on, and I am adding a lining to my pockets, and some snaps…so will be ready for the next step in a day. I love the jacket so far, and am going to enjoy making up a light one in a spring fabric. The corduroy I am using is wonderful, but it is difficult to manage in tight spaces (ie cuffs!). Thanks for the nice trick on the pocket corners.
I kind of wish I had measured the pockets before cutting them out. They aren’t quite deep enough for my iTouch so the velcro doesn’t close to secure it. However it’s really nifty for listening as I walk with the earphones coming sneakily up out of the collar!
Cool hidden pocket , maybe I can learn some more as I follow along in the future!
Do you have any tips for sewing through velcro? I’ve tried and the sticky side gums up my needles my sewing machine doesn’t go through it. I’d love to see a post on this.
Kristen, you can buy Velcro that is non-sticky. It’s a beast to sew through – depending on the thickness, you might be well off to switch to a denim needle. One kind that isn’t too stiff is the Velcro one wrap stuff that sticks to itself – I’ve seen it at JoAnn’s and it’s the sort of thing that cord wraps (like for power cords) are made out of. You might have better luck with that!