 Let’s sew the lining for our jackets today! This is going to seem very familiar, as we’ll construct the lining just like we did the jacket, minus the topstitching and hood zipper. So it’s going to be pretty easy to sew it all up! After this step is done, we’ll be very close to finishing our coats. All we will need to do is join the lining to the jacket, create our elastic waistline, and sew up the hem!
Some thoughts on lining
Thread: You may want to change your thread colour to match the colour of your lining. For my jacket, the lining is white, and the main jacket is peachy pink, so that’s close enough in my books especially as I am aiming to get posts up quickly. If I were using a very different colour for my lining, I’d change the thread to match. Although, if you’re low on thread, you may want to save your main thread for the jacket, and use something different for the lining. I’m curious – how many people change their thread colour to sew their lining, every time?
Needles: You might want to change your needle for sewing the lining – especially if it’s been a while since you used a fresh needle! A dull needle can cause snags and pulls. You may have seen a vertical snag line appear across your fabric while sewing a lining seam – using a dull needle or an unsuitable needle can cause that! (My lining fabric is fairly thick compared to say, a rayon lining, so I didn’t change my needle.)
Ironing: Remember to adjust the heat setting on your iron for the lining fabric, if necessary. It’s easy to forget if you’re sewing both the main fabric and the lining and use the same temperature for everything. Careful – too hot of an iron can melt, scorch, or leave an iron-shaped imprint on your lining fabric!
Want to catch up on previous Sew-Along posts? Click the links below to read more:
- Minoru Sew-Along #1: Let’s Get Started!
- Minoru Sew-Along #2: Sewing Sleeves and Topstitching Tips
- Minoru Sew-Along #3: Gathering!
- Minoru Sew-Along #4: Sewing the Hood
- Minoru Sew-Along #5: The Secret Hood Zipper
- Minoru Sew-Along #6: Sewing the Hood to the Collar (Quick Post!)
- Minoru Sew-Along #7: We Finally Get to Pull the Gathers!
- Adding Pockets to the Minoru Jacket: Amy’s Awesome Tutorial
- Minoru Sew-Along #8: Front Plackets, Front Zipper
- Minoru Sew-Along #9: All About Cuffs
- Minoru Sew-Along #10: Little Hidden Pockets
- Minoru Sew-Along #11: A Useful Hanging Loop
- Let’s start with sewing the sleeves to the back, then the fronts to the sleeves. (Forgot already what it was like doing it on the jacket fabric? Check out this post here for more details.)
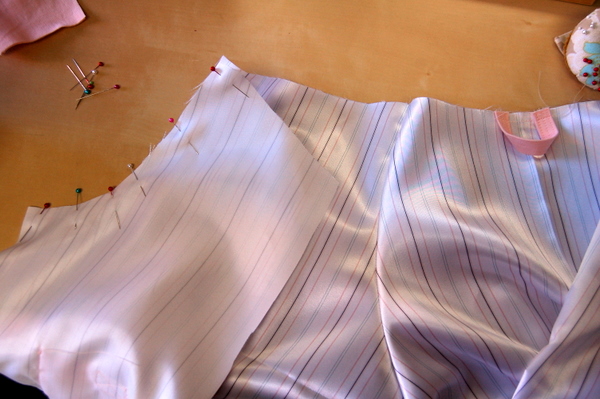
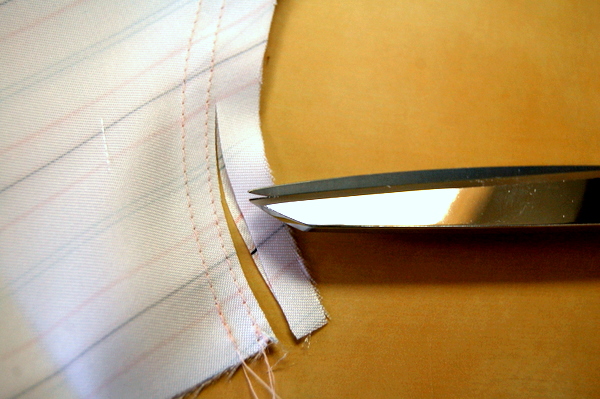
After sewing these seams, if you’re concerned about your lining fraying along the seamlines, serging the edges will help prevent that. Or, stitch 1/4″ (6mm) away from the first row of stitching, and trim the seam allowances.
Next, we’ll sew the gathering stitches between the markings. (And remember, don’t pull the gathers yet! We’ll get to pull them very soon.)
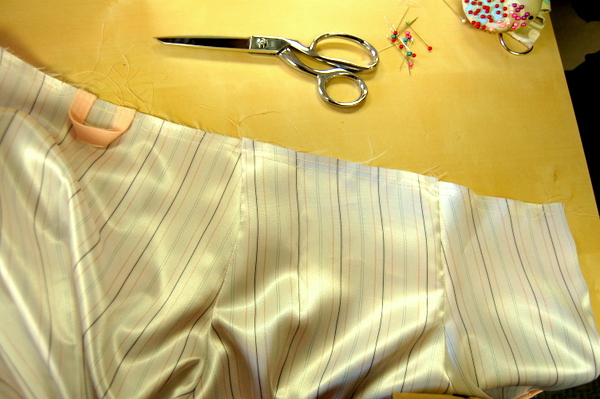
Then we’ll sew the collar to the jacket lining, pulling up the gathers to fit. (I told you we would get to pull the gathering threads soon!)
If you’ve already sewn the jacket collar and were hoping for more stiffness, why not interface this collar piece? This is the collar piece that will show if you fold down the collar, but sits on the inside of the collar when it’s standing.
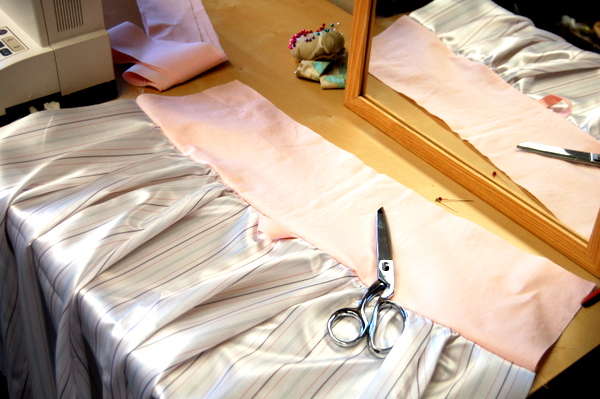
Topstitch the collar seam, with the seam allowances pressed upwards.
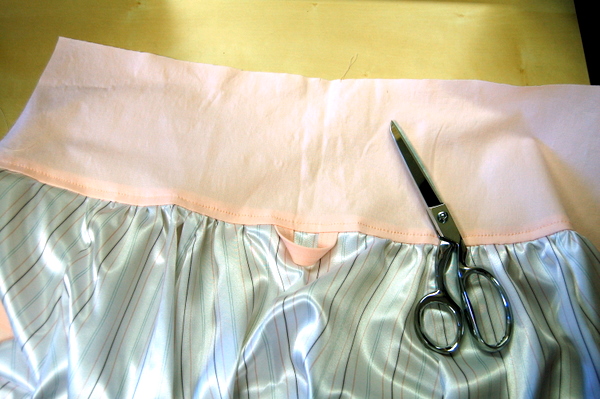
Sew the underarm seam and sideseam.
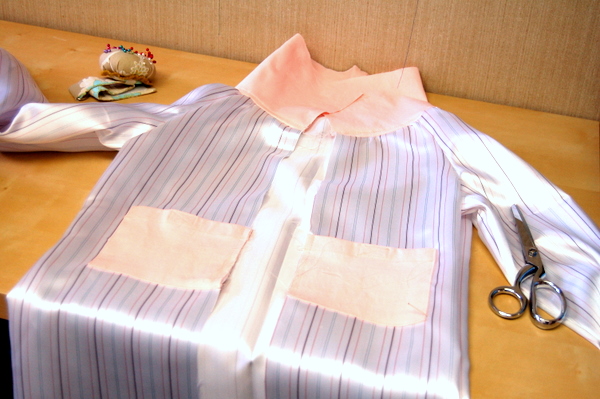
Sew the remaining two plackets to the lining front, leaving open about 4″ (10cm) from the bottom.
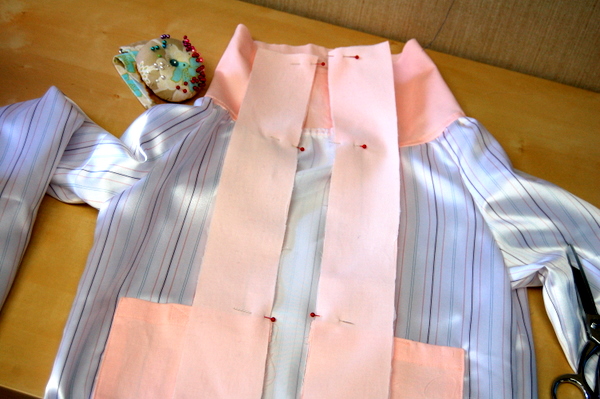
And topstitch this placket seam, from the very top to where you stopped stitching, 4″ from the bottom.
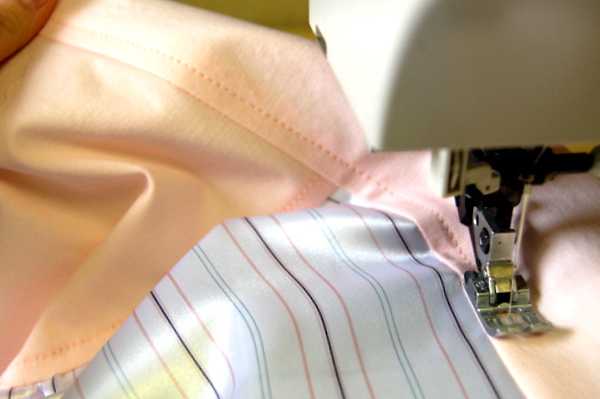
And that’s it for today. We have a lining!
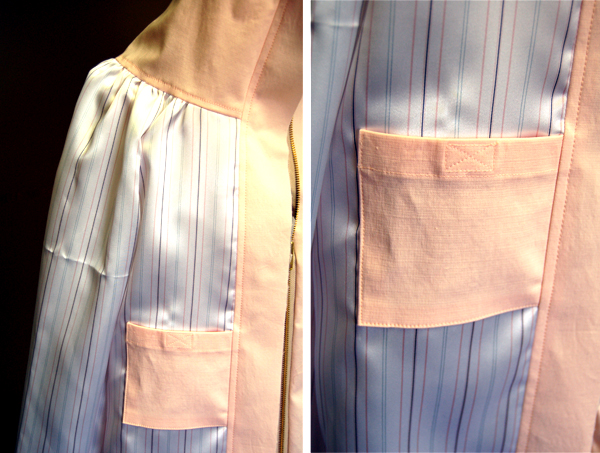
In the next sewing step, we’ll start attaching the lining to our jackets. If you’re dying to see how it all goes together, you can slip the lining inside your jacket shell and try the whole thing on. (Not recommended if your lining is very delicate or likely to fray! In that case, it’s best to wait and not risk damaging the lining.)
If you’ve been saving all your sew-along sewing until this weekend, there’s plenty to catch up on here, so take your time and have fun with it! Happy sewing and have a good one!

Ooh, can’t wait to get on with this tonight! I really must cut the sleeve pieces out of the lining fabric as I STILL haven’t done that…
as usual, excellent and clear tutorial, you are the best
Wow! The jacket is really coming together! That is a great tip for sewing a stitch 1/4″ from the seam in case a serger is not on hand. Thanks for posting!
I’m totally not at this point yet, but about changing thread to match the lining… yes. Every time. Sometimes I feel like it’s a hinderance and I even postpone sewing because I have to change thread, but once I change it, I realize how silly that is – I mean, it takes 20 seconds!
Hi, would you still use gathering for your lining, even if you had used pleats for the outside of your jacket?
How exciting. This is an excellent tutorial. I’m so looking forward to starting my jacket.
I haven’t started my jacket yet either. I did buy the fabric today though…
I’m finally at this stage! I am in *love* with the jacket so far, I can’t wait until we finish! I’ve got a second set of materials ready to go for my second version of the jacket. Honestly, I can’t believe I’m sewing. a. jacket. !!!
Yay finished this stage. It looks great so far, cannot wait to finish. It will be ready just in time for Autumn. I am planning a second one in grey for work.
Because I’m making it waterproof, sealing the seams and attaching the hood differently have taken extra time and thinking! I’m glad to be all caught up, too, and looking forward to seeing it finished.
Initially I forgot to attach the collar to the lining, and it took me a while to figure out why the lining plackets were so much longer.
Ok, I’ve caught up to you guys – just before you finish! I just wanted to say thanks for doing this sew along , I’ve never followed one before but I found this one so useful. Every time I had a little query I looked at the post that applied and it answered my question. Sometimes I didn’t even have a question but I still learned a useful tip. Looking forward to the final sew along posts.
Yay. I’ve caught up and the jacket looks great. Is heming come up next?
I couldn’t wait any longer and I went ahead and finished my first M jacket :) Thanks Tasia for each of these posts. I’ve learnt lots from you and each sew along bloggers,
Almost done. Everytime I have gotten behind you have gone and helped me out by getting sick or running out of thread!!