 We’re getting closer and closer to finishing our blouses! I bet a lot of you have already speeded through the last few sewing steps. But if you haven’t, there are just a few more things to do and you’ll be wearing your new blouse in no time!
Today’s post is a short one, to give you (and me!) time to get caught up. Speaking of catching up – here are the links to all the earlier Sew-Along posts:
- Pendrell Sew-Along #1: Prewashing your Fabric
- Pendrell Sew-Along #2: Measuring and Choosing Your Size
- Pendrell Sew-Along #3: Shortening the Blouse Length
- Pendrell Sew-Along #4: Altering The Hip and Waist
- Pendrell Sew-Along #5: Princess-Seam FBA (Full Bust Adjustment)
- Pendrell Sew-Along #6: Cutting Your Fabric
- Pendrell Sew-Along #7: Bonus Post! Cutting Scalloped-Edge Lace
- Pendrell Sew-Along #8: Underlining The Pendrell Blouse
- Pendrell Sew-Along #8.5: More on Underlining & Basting
- Pendrell Sew-Along #9: Sewing! Plus, Finishing Your Edges
- Pendrell Sew-Along #10: Constructing and Attaching the Draped Sleeve
- Pendrell Sew-Along #11: Gathering Ruffles
- Pendrell Sew-Along #12: Attaching Bias Binding to the Neckline
Ok! You’ll need these two panels, the Side Front and Side Back. You should have a pair of each, for a total of four pieces of fabric.
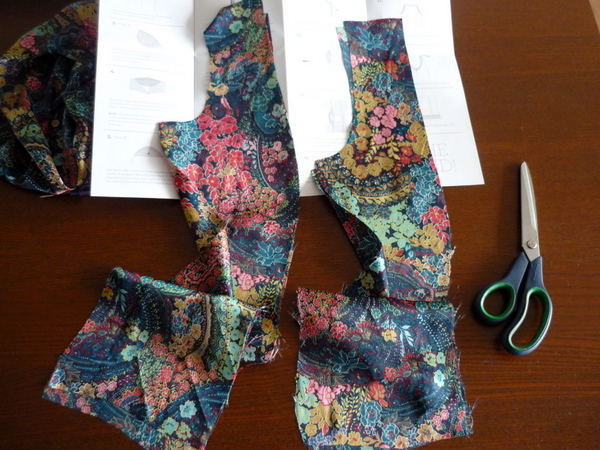
Start by laying the Side Fronts on the table, right sides facing up. Now lay down a Side Back on top of the Side Front, lining up the shoulder seams. Pin together along shoulder seams.
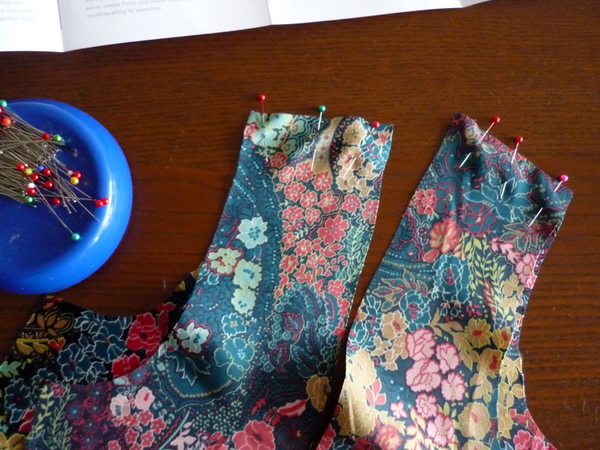
Sew seams, finish seam allowances, and press shoulder seams towards back.
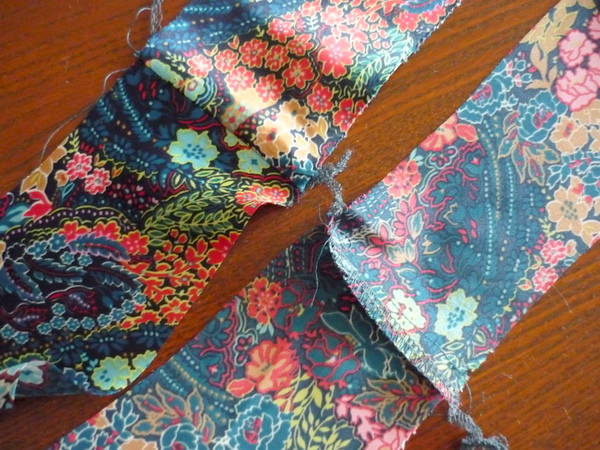
Now, take your front blouse piece, the one with the neck binding and sleeves or ruffles, and lie it face-up on your table. Tuck the ruffles or sleeves in towards the middle, so the princess-seam edges are visible.
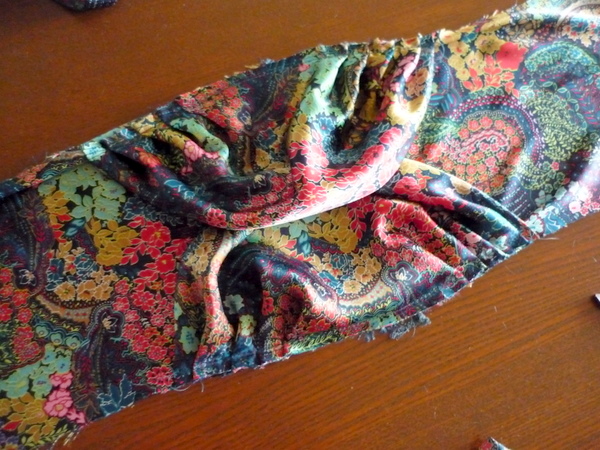
Now, take the side body panel we just created, and line it up along the princess seams. Start by matching the shoulder seamlines, pinning through all layers at the shoulder.
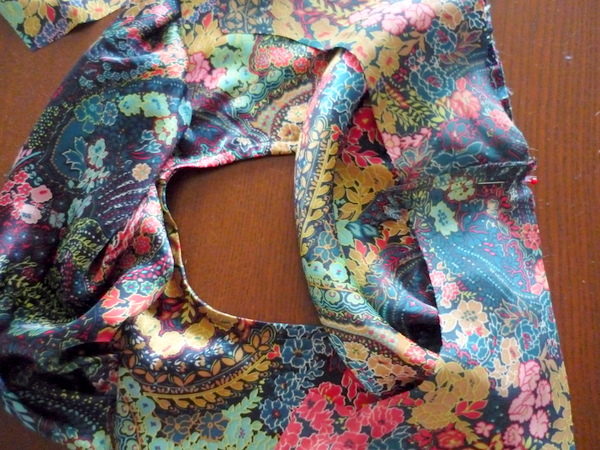
Continue pinning all along the seamline, matching notches and hem edges as you go.
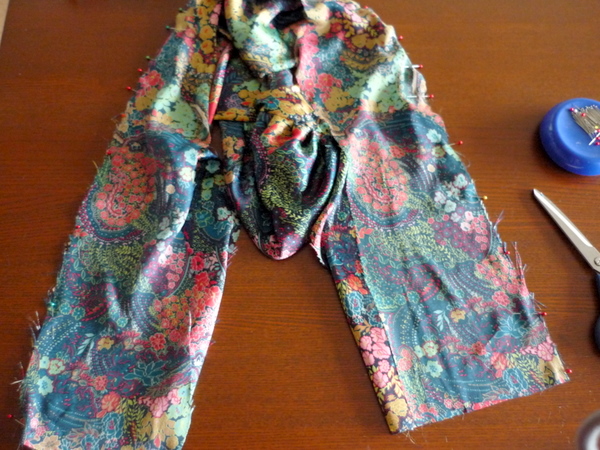
Once it’s all pinned, sew the princess seamline.
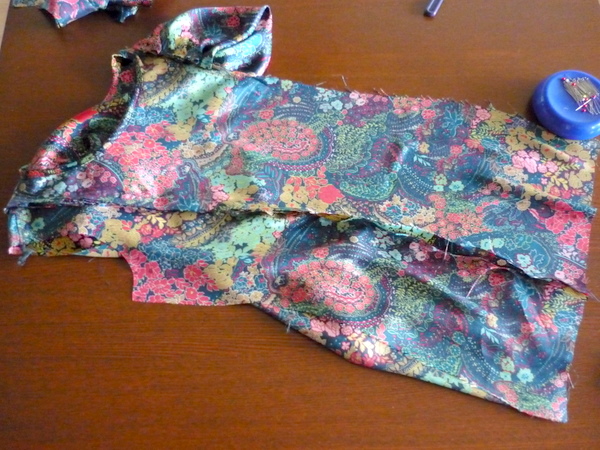
Finish the seam allowances, and press princess seam towards the centre.
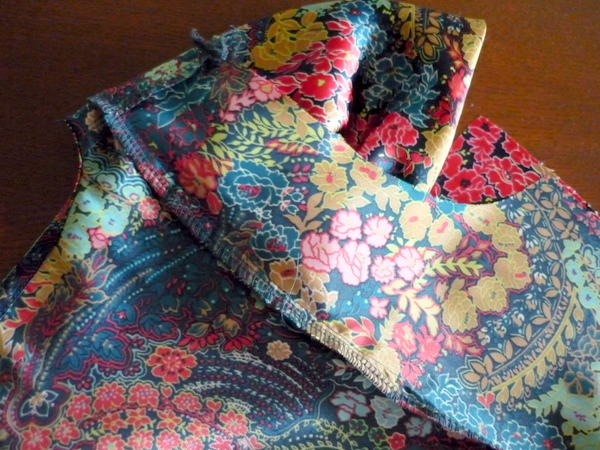
Repeat with the other side.
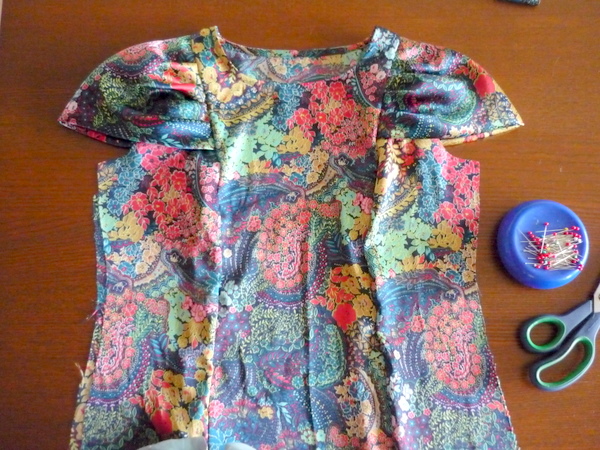
That’s it for today! Tomorrow, we’ll add the armhole binding, sew up the sideseams, and hem the blouse. Almost done!
Any questions, ask away!

Hi,
Just a quick question, when cutting out the pattern it says cut out 2 Neck Binding? I only used one, just wondering if i missed something?
Thanks, love the tutorial and loving my blouse so far! :)
I really like the way the sleeve/ sleeve ruffle is drafted to construct. I am excited to try this and do a french seam on the princess line.
@Bellieshaker: Hi! Yes.. you only need to cut 1 of the neck binding, it does say Cut 2 but that’s a misprint! Sorry! Glad you’re loving the blouse so far!
@lap: Ah thanks! I love the fact there’s no hemming required! Hemming’s one of those things that can make or break a home-sewn garment, so the tidy folds solve that problem for us. French seams would neaten up the inside! They’ll be a little chunky over the sleeve/ruffle shoulder area, lots of trimming will fix that up. :)
Ah sorry i didn’t want to point out an error, i thought it was going to be one of those screws that are always left over from flat pack furniture that you just pretend you don’t need LOL! :)
@Bellieshaker: Haha no! I’ve built a ton of Ikea furniture so I know exactly what you mean! Because of the cutting layout, you end up with two anyways. Unless you were to stop, open up the fabric, and then cut just a single neck binding piece. I thought it would be simpler just to cut straight through two layers of fabric :) Sorry for the confusion!
Tasia, I love how detailed you are, your pictures and instructions are wonderful. I have to ask if you would consider doing a dress sew along in the future? One for summer, maybe with a sleeve. think about it. I haven’t seen your whole posts maybe you did this already. Anyway, love your work!!
@gina: Hi Gina, great idea! I’d love to do more Sew-Alongs in the future. Have you see Casey’s swing dress sew-along? The dress is gorgeous, totally your style, and it has sleeves too!
http://elegantmusings.com/tag/swing-dress-sew-along/
Gertie’s also hosting a Sew-Along for the Colette Patterns Crepe dress, it has cap sleeves and it’s a super pretty dress as well!
http://www.blogforbettersewing.com/search/label/Crepe%20Sew-Along
The Pendrell Sew-along is the first one I’ve ever done, so I’m thrilled to hear you’ve enjoyed the tutorials and photos!
Thanks Tasia. Great post as usual. I see I will have to mimic the serger with my sewing machine when finishing my front seams. I am using a chiffon fabric with an underlining so I can see me doing a test to make sure it’s neat! I’m finishing a skirt off at the moment and can’t wait to get started on this!
Following this sewalong has made me want one of these. Pay day here I come… :)
Hi Tasia, I have a question again (surprise surprise!) If we don’t have a serger, should we still press our seams in the directions you’ve mentioned above, or should we press them open? I will be zigzagging to finish my seams, and I can zigzag each side separately and press them open or zigzag them together and press to one side. I thought I would ask and see which you think is better. Thanks again for a super helpful post and for your super helpful answers to all our questions!
@Tasia:
Tasia,
I am doing the swing dress, that’s why I want to sew with you, I am really enjoying the sew along with Casey, it helps so much to walk through a pattern with others. I haven’t done one yet with Gertie, but I love how you are doing your sew along, it’s so visual, which helps a girl like me. He He. Maybe I’ll do the blouse later, thanks!
For some reason my side panels don’t line up with my front and back pieces…. how can I remedy this?
@Misty: I would suggest zigzagging them together, and pressing them to one side. Because of the seam ruffle or sleeve, your seam will naturally want to fall to the centre anyways, and it might be hard to keep it open and laying flat. If you’re making the sleeveless one, then you could press them open with less difficulty.
@auzzi: Ok – if your seamlines aren’t lining up, the fabric may have slipped while cutting, with one piece ending up longer than the other. As long as your notches match, you can let the hemline end longer on one piece, and trim them off to match. Also, if your fabric is very slippery, one side might stretch and drape longer than the other. You could try basting the seamline first to make sure there are no bubbles and then stitch once you’re sure it looks good. Or, you could staystitch the front or back panel, and clip inwards towards the staystitching. Then when you pin the side back or side front, where it’s more curved, the clipped seam allowance will ‘stretch’ to fit around the bust curve. Likely that’s where this might happen! Especially if you’ve altered the pattern, perhaps taking it in more at the waistline. I hope this helps!
@gina: Oh great! Casey’s swing dress would be lovely on you. I’ll hold more Sew-Alongs here if you guys are interested, for future patterns! Stay tuned for more :)