 Pendrell Sew-Along #3!
Just joining us? Here are links to the first Sew-Along posts:
- Pendrell Sew-Along #1: Prewashing your Fabric
- Pendrell Sew-Along #2: Measuring and Choosing Your Size
The first pattern alteration is an easy one – shortening the blouse length! I’m doing this one first since it’s very straightforward. If you wanted to, you could even skip the pattern alterations, and make the blouse full-length. Then just before hemming the blouse, which is the last step, decide how long you want the blouse to be and shorten when you hem.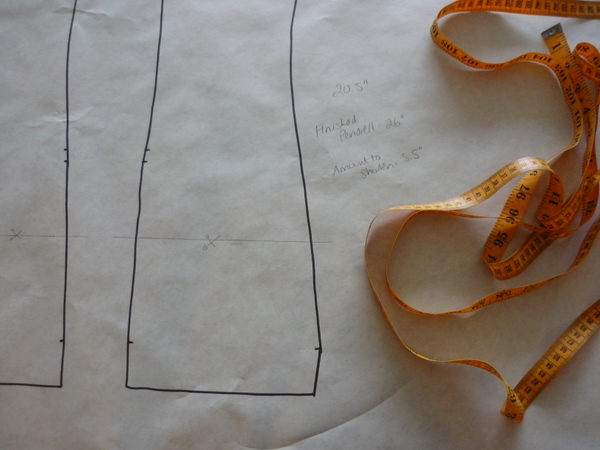
I’ll show you how to shorten the blouse pattern pieces, in case you are sure you want to shorten the blouse. You’ll also save fabric this way! Basically, for every inch you shorten the blouse, you’ll save two inches in fabric usage.
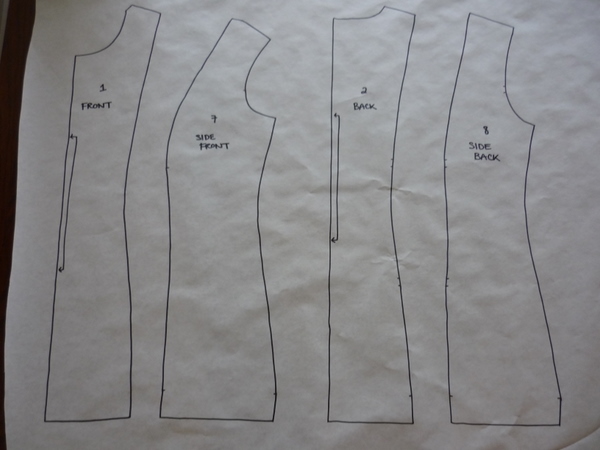
First, grab your pattern pieces. You’ll need: Front (1), Back (2), Side Front (7), and Side Back (8).
If you like to trace your patterns to keep the originals intact, trace off these four pieces. In my case, I’ve traced off the size four onto white paper, for the purpose of this demo. (Cut around these four pattern pieces in tissue, if you plan to make changes directly to the tissue instead.)
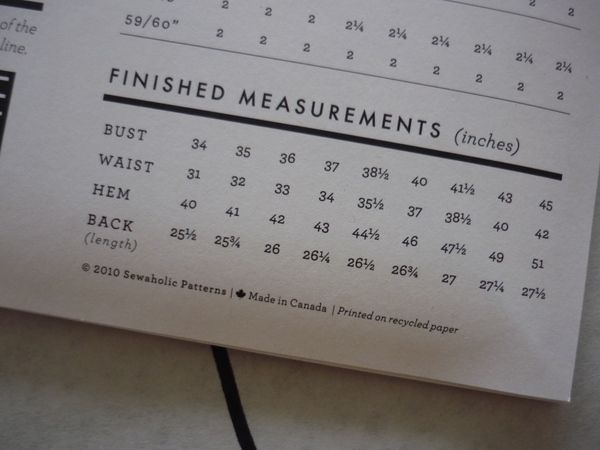
Now, you’ll need to decide the finished length of your blouse. Take a look at the back of the pattern envelope, it lists the finished blouse lengths for each size.
What would you like your finished blouse length to be? You can measure from the nape of your neck, down to where you want the finished blouse to be.
Or, another way to decide is to look through your closet and pick a favourite blouse that you love the length of. Check the back neckline, you’ll want to compare the Pendrell Blouse to a blouse with a similar back neckline. The Pendrell Blouse neckline sits just below the nape of the neck – where the bone at the top of your spine and base of your neck is.
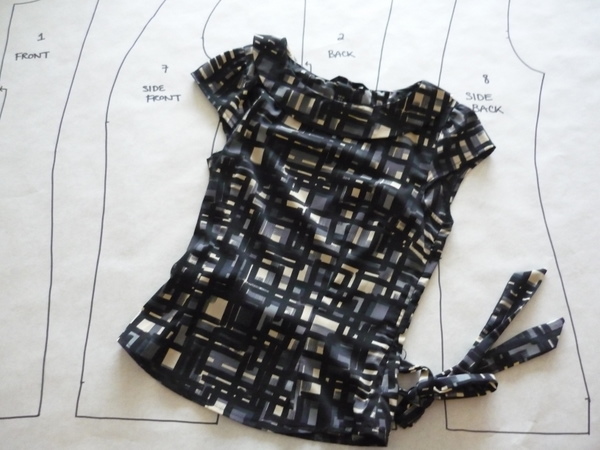
Measure from the blouse’s back neck to the hem, laying the blouse flat for accurate measuring. (I’m not really shortening the blouse this much for my sew-along blouses, I’m just showing you a comparable blouse for today’s demo!)
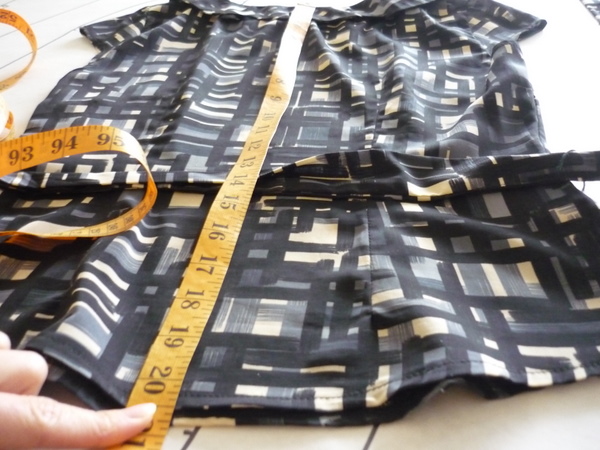
Write down the desired blouse length measurement on your white paper, or on a scrap piece of paper. Also, write down the finished Pendrell blouse measurement. The easiest way to make the adjustment is to note the difference, and shorten the pattern pieces by this amount.
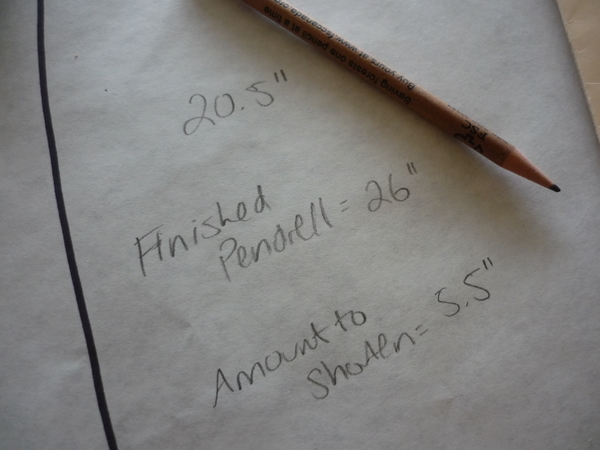
According to our calculations, we’re shortening the blouse by 5 1/2 inches. I’ll demonstrate with this amount, but remember to use your calculated difference when you follow along!
This is the easiest way to make the adjustments, as we don’t need to factor in the hem or seam allowances. All we’re doing is shortening the pattern pieces by the amount above!
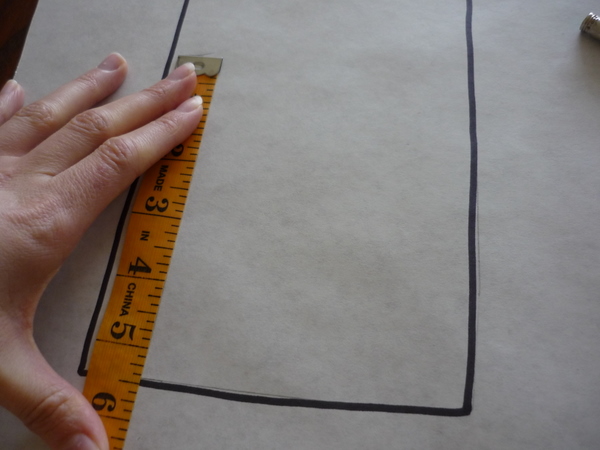
Measure up from the hemline on the front pattern piece. Make a mark up from the hemline at the fold line. Move the tape measure over an inch or two, and make another mark up from the hemline.
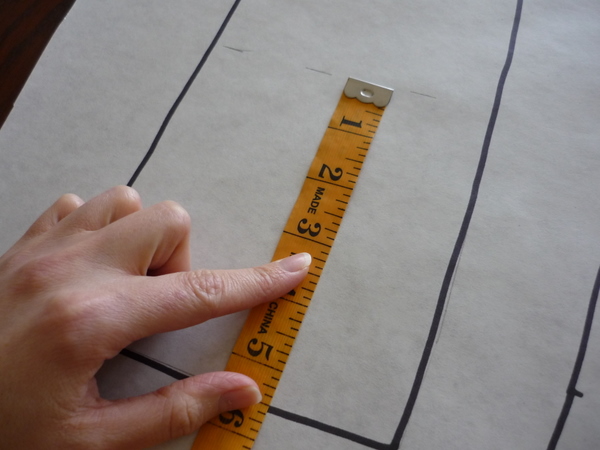
Now take your ruler and draw a straight line connecting the markings. This will be your new cutting line for this pattern piece.
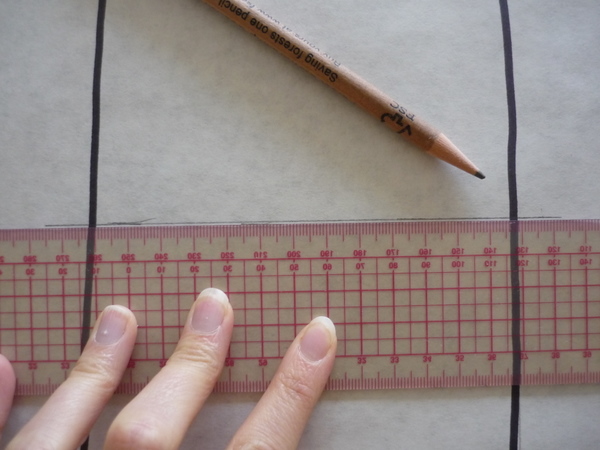
See? There’s your cutting line for the new, shorter blouse.
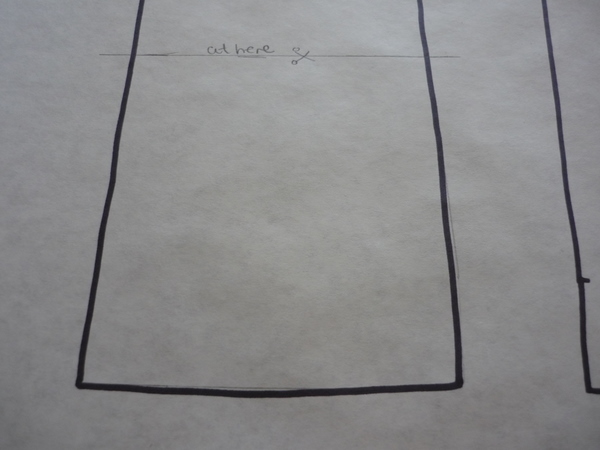
Repeat with the other four pattern pieces.
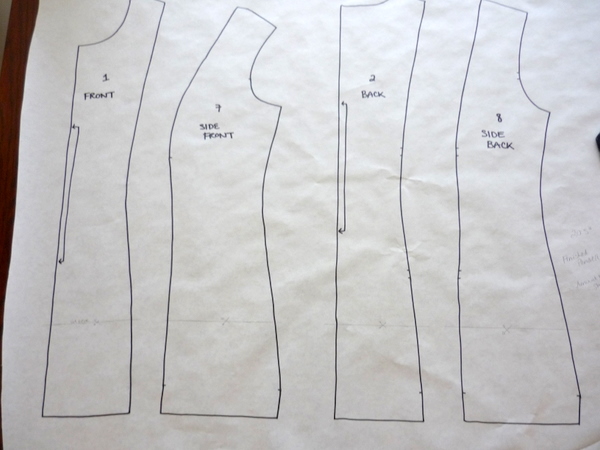
That’s it! Cut the traced pattern pieces out and you’re ready to cut your newly shortened blouse. Or if you didn’t trace, and make the markings on the pattern tissue, then simply cut along the shortened line when you cut your fabric.
NOTE: If you made this alteration before buying fabric, you’ll now be able to save up to 10 inches of fabric on the fabric requirements, in theory. As with any pattern adjustments, when you’ve made significant changes to the original pattern, the amount of fabric needed might change. Something to think about!
If you haven’t bought fabric and you’re planning to make major adjustments, you might want to take your altered pieces to the fabric store and do a quick layout on your chosen fabric, so you buy the right amount.
Any questions? As usual, leave a comment and I’ll do my best to help!

Hi Tasia, I hope I’m not annoying with my comments. I’d like to add that this is how you’d shorten if doing if for looks only. If shortening for fit (short torso), the pattern pieces should be slashed at about waist level, superimposed, and the side seams trued up.
I was just about to ask about altering for a short waist. In the big 4, I usually need to take up the waist by 1″. How does your pattern differ? And does this even matter with your blouse since there is a lot of ease built in?
Thanks!
None of you are annoying with your comments! If you have a question, there’s probably ten others wondering the same thing but are too shy to ask. I’d much rather you ask, and if I don’t know the answer I’ll go figure it out :)
G, you’re right, this method is for shortening it for looks only. A couple of people asked earlier for a tutorial on how to shorten the blouse from the hemline up, even though it’s simple it does help to see it illustrated in photographs!
Liz, this pattern doesn’t taper in very much at the waist, and you’re right there is a lot of ease built in! It’s not like a fitted dress, where you need to lengthen and shorten at the ‘lengthen or shorten here’ lines. If you still wanted to adjust for a shorter waist, I did a tutorial a while ago on how to lengthen a bodice, you’d do the same thing in reverse:
http://sewaholic.net/altering-the-dress-bodice-lengthen-or-shorten-here/
If you do this all the time with the Big 4, then you probably don’t need the tutorial though! I’d make the adjustment above the ‘dip’ in the sideseam where the waist would be.
Hope this helps – and keep on asking questions whenever you’re not sure or you think I’ve missed something :)
How exactly would the fit of the blouse change if you shortened from the hem or if you shortened from the waist? I’m curious because I need to decrease the hip measurement of my blouse but it seems to me that if you shortened from the hem this would affect the hip measurement by decreasing it slightly.
@auzzi: You’re right – if you shorten the blouse from the hem,the hip measurement will end up smaller, slightly. If you want the blouse to be shorter, i’d do the shortening first. Then, measure the width at your new hemline, and see how much you want to take it in. Hope this helps!
Hi Tasia – I shortened my blouse very slightly differently to how you’ve described it here, so I snapped some photos and have posted about it on my blog incase anyone is interested in how I did it (and why I did it differently): http://mymessings.blogspot.com/2011/01/pendrell-blouse-muslin-and-pattern.html
Thanks for your help on the posts.
I’d like to know the best way to trace the pattern pieces and what kind of paper and size of paper to traces the pieces on.
@Rosemary: Hi Rosemary! You can use all kinds of things for tracing. Some people use Swedish Tracing Paper – I don’t know exactly where to find this but a Google search might find some sources! Others trace their pattern on sew-in interfacing – not the fusible kind – so it’s soft and flexible. You could also use: wrapping paper, freezer paper, soil separator (don’t know exactly what this is, but I think it comes from hardware stores like Rona or Home Depot), butcher’s paper (though one of our sew-alongers had trouble pinning through it). I use a roll of white paper because that’s what I have on hand.. but I much prefer using the tissue directly whenever I can. Basically, you want something stable, that won’t stretch or distort, that you can either pin through, or if you can’t pin through it you can use weights and trace around it.
Fabric.com has this Pattern-ease tracing material, which looks like it’s for the same thing:
http://www.fabric.com/ProductDetail.aspx?ProductID=f58e8a00-30ae-4d00-9060-6b21b02d4e2b
I hope this helps!