 Today, we’ll sew a useful little hanging loop into our jacket lining. This jacket feature was suggested by Rachel of My Messings during pattern testing and I loved the idea! Especially if you’re coming in from the rain, it’s so handy to be able to hang up the wet jacket by a loop and let it dry. Or if your office or entrance doesn’t have hangers, only a coat rack, this hanging loop makes it easy! It’s the kind of design detail you don’t often see in sewing patterns, but it adds a nice touch to the finished garment.
Today we’ll make and attach the hanging loop. And yes, today you have to have the lining cut out!
Want to catch up on previous Sew-Along posts? Click the links below to read more:
- Minoru Sew-Along #1: Let’s Get Started!
- Minoru Sew-Along #2: Sewing Sleeves and Topstitching Tips
- Minoru Sew-Along #3: Gathering!
- Minoru Sew-Along #4: Sewing the Hood
- Minoru Sew-Along #5: The Secret Hood Zipper
- Minoru Sew-Along #6: Sewing the Hood to the Collar (Quick Post!)
- Minoru Sew-Along #7: We Finally Get to Pull the Gathers!
- Adding Pockets to the Minoru Jacket: Amy’s Awesome Tutorial
- Minoru Sew-Along #8: Front Plackets, Front Zipper
- Minoru Sew-Along #9: All About Cuffs
- Minoru Sew-Along #10: Little Hidden Pockets
The loop is easy to make! In fact, you could use this loop pattern piece again to add a loop on any lined coat pattern. Simply construct the loop, like we’re about to do, and then centre it at the back of the lining.
Constructing the loop is simple. First, press under the long edges, using the notches as a guide. If you clip the notches, it’s really easy to press the loop!
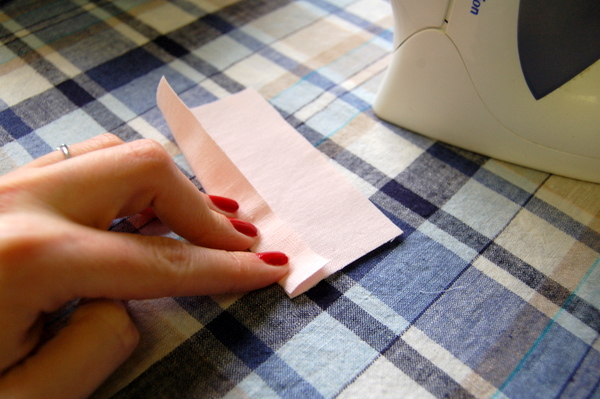
I am trying to hide my chipping nail polish in these photos (when choosing between sewing or painting my nails, you can tell which one always wins) but this last one shows off the damage!
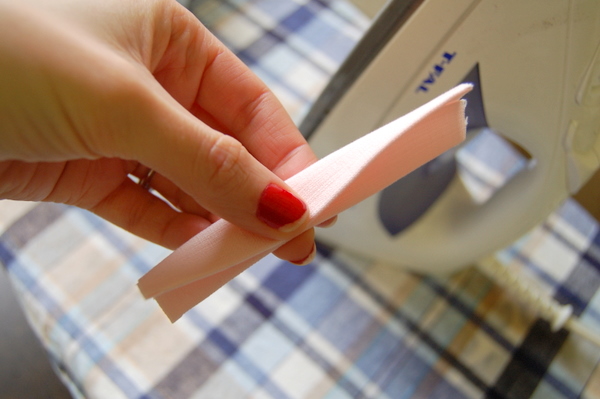
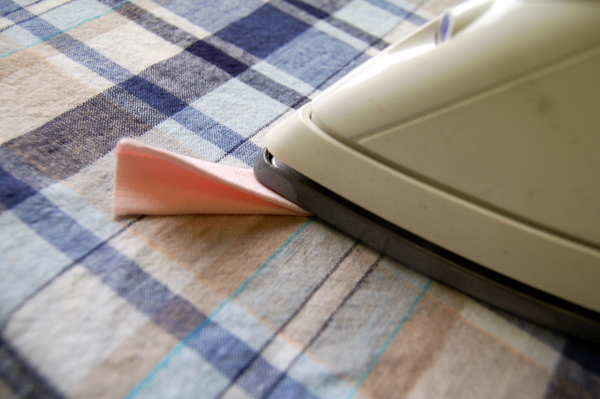
Fold the loop in half again, and press.
Edgestitch the loop along the open side.
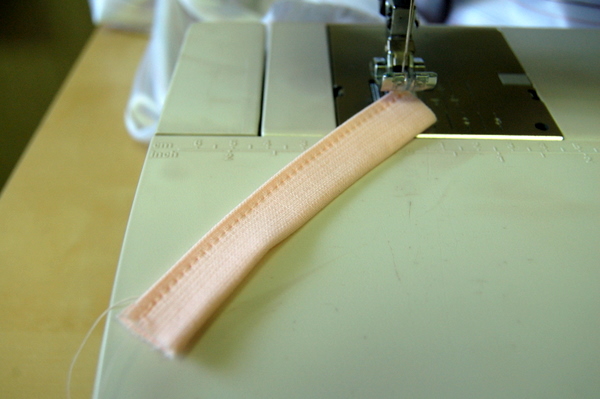
On your loop, you can get creative and try different stitching options, if you want! Keep in mind that the more stitching you add, the stiffer your loop will become. That’s something I didn’t really consider when I added a couple of extra rows of stitching on mine!
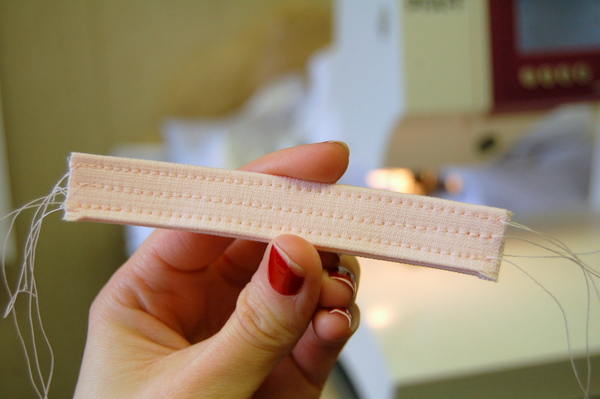
If you like the look of mine, it was easy! I edgestitched down the open side first, then down the fold. Then I aimed a third row of stitching in the middle of the two rows. It turned out pretty cool although it is a little stiff. A softer fabric would be better and I would definitely not suggest adding extra stitching if you’re using a thick fabric like corduroy or tweed!
Now, we’ll baste the loop in place on our back lining piece. Centre the loop over the back notch, lining up the raw edges of the loop with the top edge of the lining.
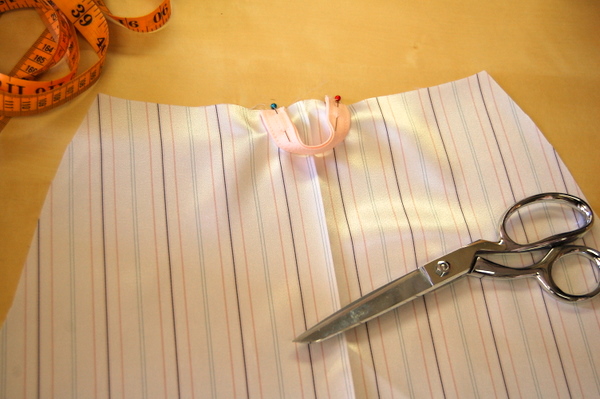
Pin the loop in place, and baste across the top edge.
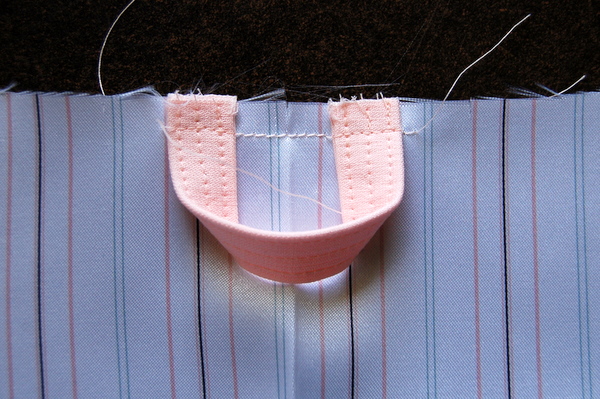
And the loop is done! We’ll sew the collar to the lining shortly and that will secure the lining in a strong seam.
Loop ideas:
- Skip the fabric loop, and use ribbon or cording! Some ribbons won’t be as strong, so look for something durable.
- Use a decorative stitch on the loop.
- Embroider your name on the loop – either by machine or by hand! You might want to do the embroidery first through a single layer, and then fold up the loop piece.
- Use a contrast fabric for the loop to make it easy to find! It’s a fun way to add colour to a neutral jacket. I like the idea of a bright turquoise loop inside a dark brown wool coat. Only you (and the person hanging up your jacket) know it’s there!

I love the idea of a hanging loop, so practical but makes life easier as all my jackets without loops seem to fall off the rack and end up on the floor. I must admit to being shamefully behind with the sewalong due to a number of unexpected things coming up…however I have a finished muslin, which I love, and hope to catch up on the sewalong this weekend (my boyfriend is going away which leaves me unlimited sewing time!!). I’m excited to finish and wear my jacket :)
Tasia,
I love the addition of this hanging loop. You’re right, it’s something that’s often overlooked in patterns, but really makes a difference in the usability of the garment.
I ended up copying the hanging loop of my favorite jacket and blogged it here: http://sophiasews.blogspot.com/2012/02/making-coats-hanging-loop.html
Great idea!
I kind of got distracted and didn’t start my Minoru with everyone else as I had hoped/planned. In fact, I am still trying to get the fit right (I need an FBA), and then I will get into the fun part of making my jacket!
On a totally non-sewing-related matter, for your nails try Shellac! You should be able to find a local salon that does Shellac manicures.
It’s paints on like polish but it looks and sets like a gel (UV light is used to cure/set the polish). I stays pretty, shiny and chip free for at least 2 weeks (even when I jab at them with pins and they survive the rough treatment they get at work too).