 Hello everyone! Today’s sewing post is just for the View A people. If you’re making View B or C, you get the day off!
So, View A Sew-Alongers, today we’ll be making and attaching the sleeve drape. This is one of those cool moments in sewing where the piece you’ve cut out looks bizarre, but hopefully you have an ‘aha’ moment when it all comes together.
Just catching up? Find the firstsew-along posts here:
- Pendrell Sew-Along #1: Prewashing your Fabric
- Pendrell Sew-Along #2: Measuring and Choosing Your Size
- Pendrell Sew-Along #3: Shortening the Blouse Length
- Pendrell Sew-Along #4: Altering The Hip and Waist
- Pendrell Sew-Along #5: Princess-Seam FBA (Full Bust Adjustment)
- Pendrell Sew-Along #6: Cutting Your Fabric
- Pendrell Sew-Along #7: Bonus Post! Cutting Scalloped-Edge Lace
- Pendrell Sew-Along #8: Underlining The Pendrell Blouse
- Pendrell Sew-Along #8.5: More on Underlining & Basting
- Pendrell Sew-Along #9: Sewing! Plus, Finishing Your Edges
Yesterday, we attached the front to the back at the shoulder seams. You’ll need that pieced-together unit as well as piece #3, the sleeve.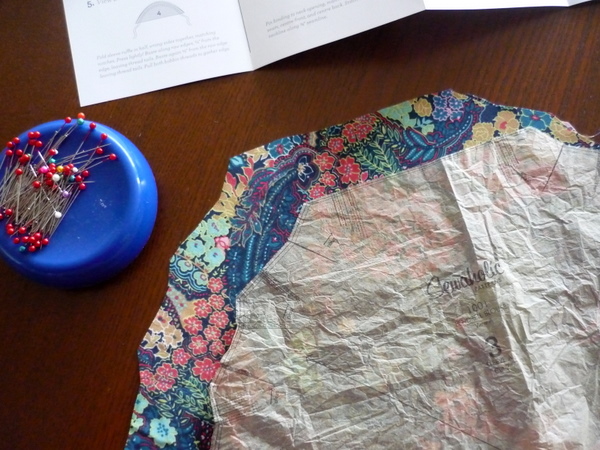 You might need your original pattern piece to locate the fold line. I left my tissue attached until the last minute, so it was easy to find the fold line. If you’ve already removed yours, no problem! Just re-align the tissue with the cut fabric piece, and find the fold line.
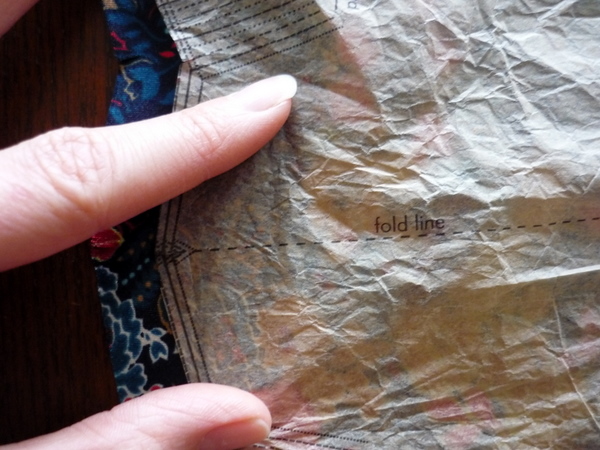 Fold both sleeve pieces along the fold line, as shown. Fold the sleeves with the wrong sides together. The right side of the fabric will be on the outside.
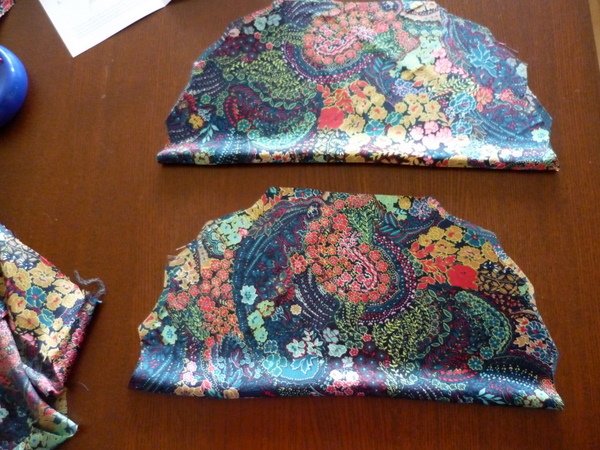
We’re going to baste together the raw edges of the sleeve. It will make it much easier when we go to make the pleats! First, start by pinning the raw edge at the top notch.
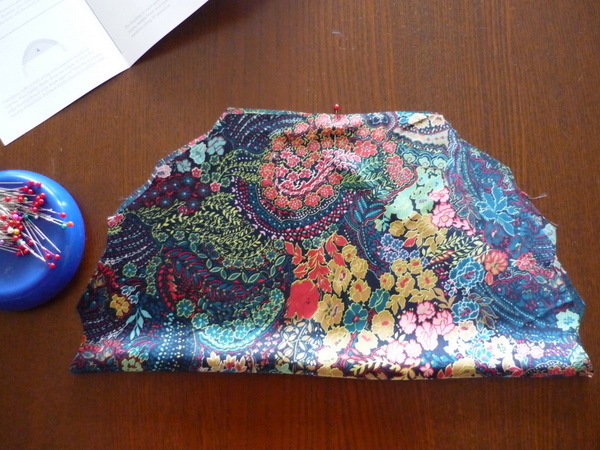 Here’s a closer look at the top notch – you want to line up the notches so they’re directly on top of each other.
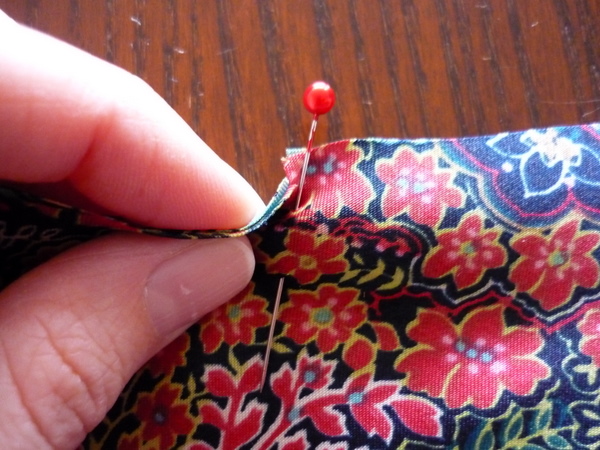 Now, keep going all around the sleeve, matching all of the notches as you go. Or markings, or thread-tracings or tailor’s tacks. Whatever markings you have used, line ’em up!
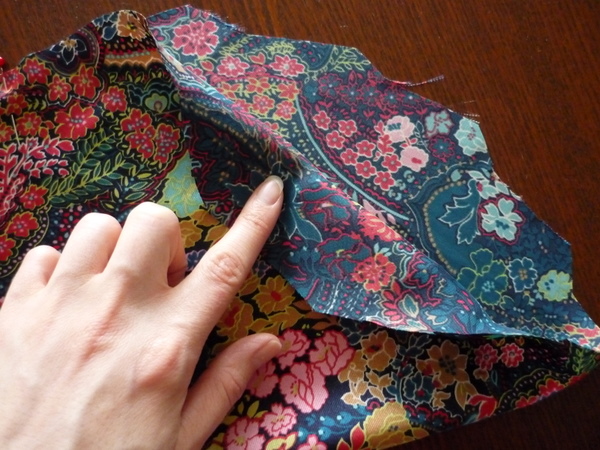
Pin along the edges as you go, to prepare for basting.
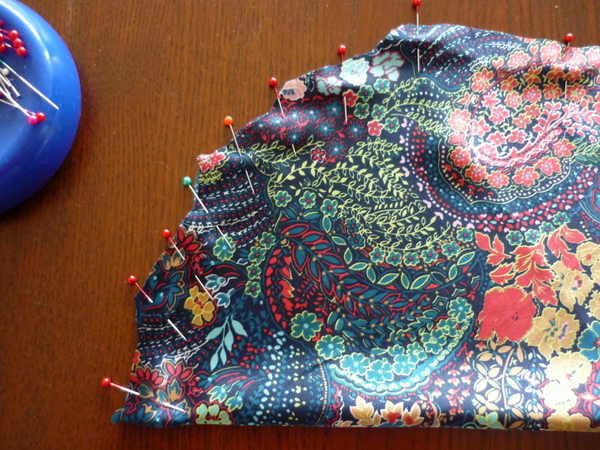 If you’re concerned about pinholes in delicate fabric, then pin only in the seam allowances, 5/8″ (1.5cm) from the raw edge.
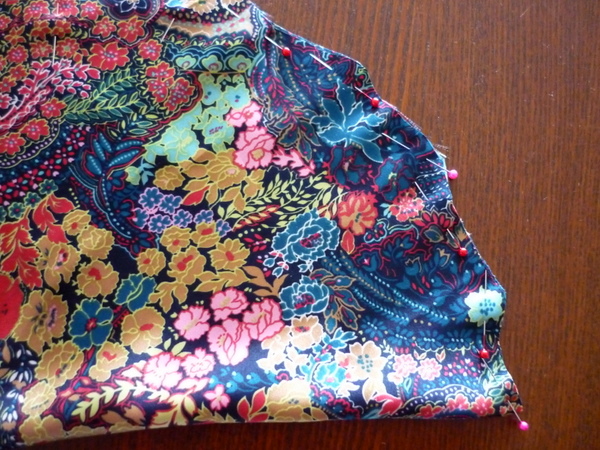
Repeat with the other sleeve. When both sleeves are pinned, you’re ready to take them to the machine and baste!
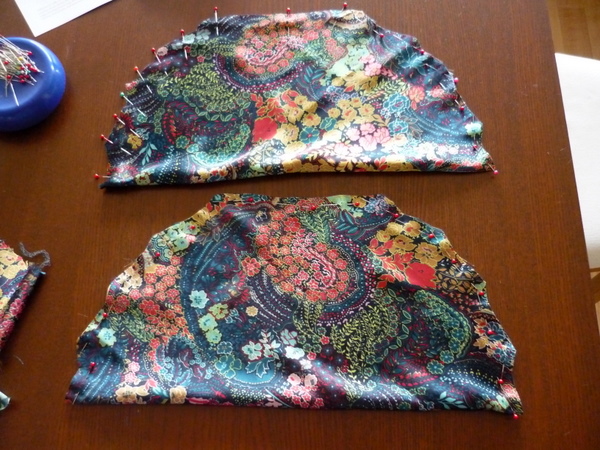 Baste along the raw edges to hold the sleeve in place. I followed the edges of the pleats, pivoting when there was a corner, about 1/4″ from the edge.
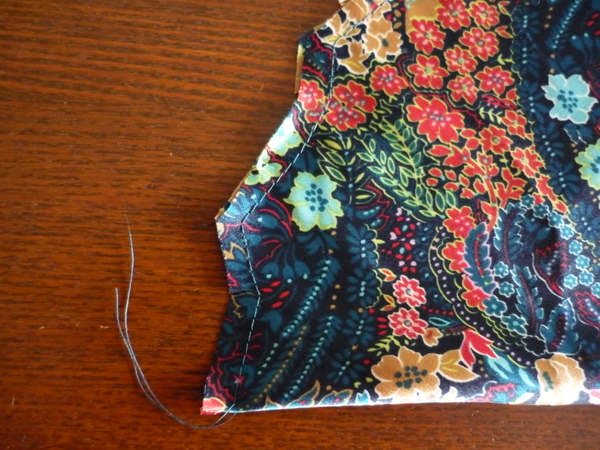
Ok, now we’re going to make the pleats! Start at the fold, make the first pleat along the markings. I’ll show you this in steps. First, pinch the pleat, folding along the markings.
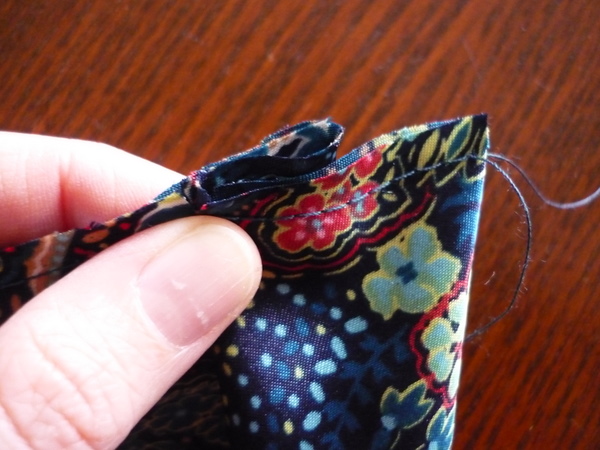 Now, pin through the pleat as shown. I pinned once at the top of the pleat, once at the bottom so it won’t slip or shift when you sew.
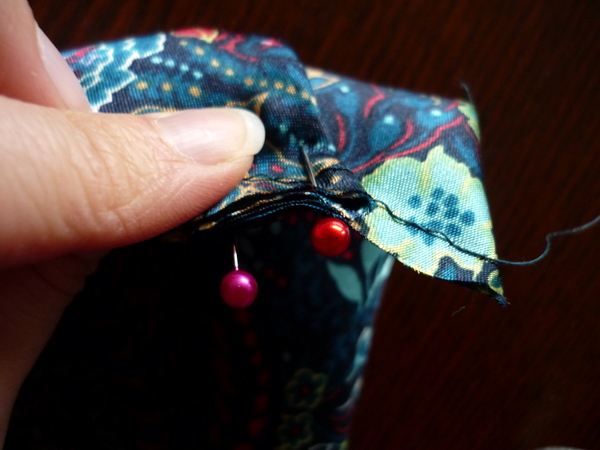 The first pleat is ready to baste!
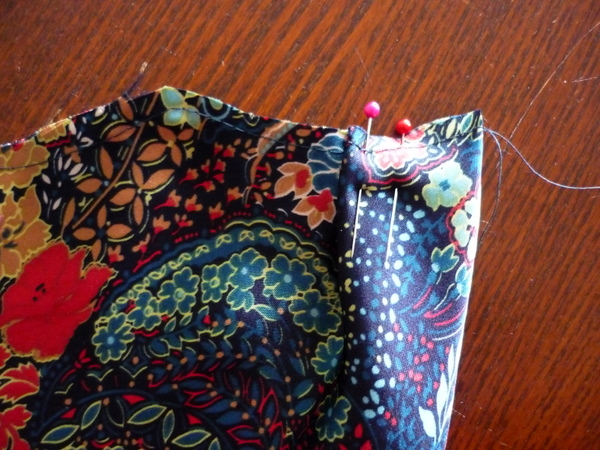 Repeat with the next pleat.
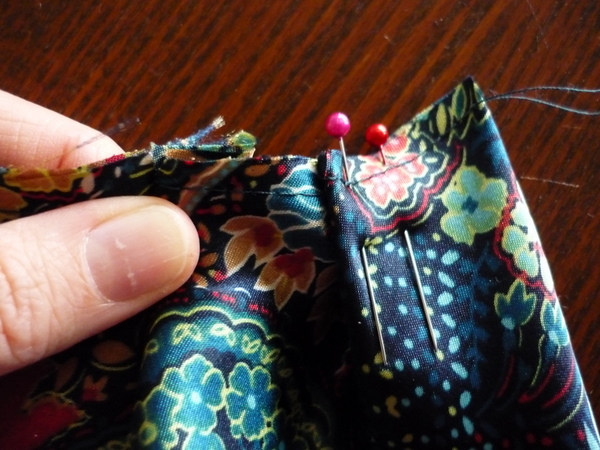
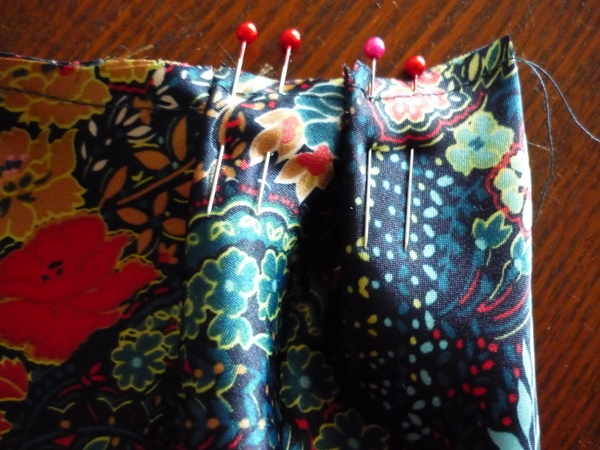 Once all of the pleats are pinned, do the same to the other sleeve. Your piece will look something like this:
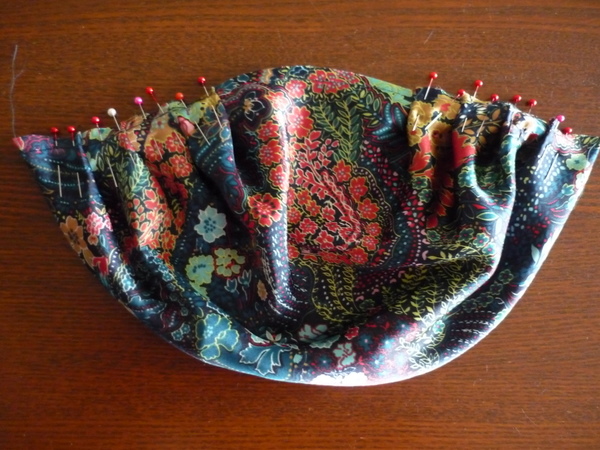 Now you’re ready to baste! Ok, I’m going to suggest something that I never suggest – sewing over your pins. In this case, and especially if your fabric is slippery, sewing over the pins makes sure they stay in place as you sew.
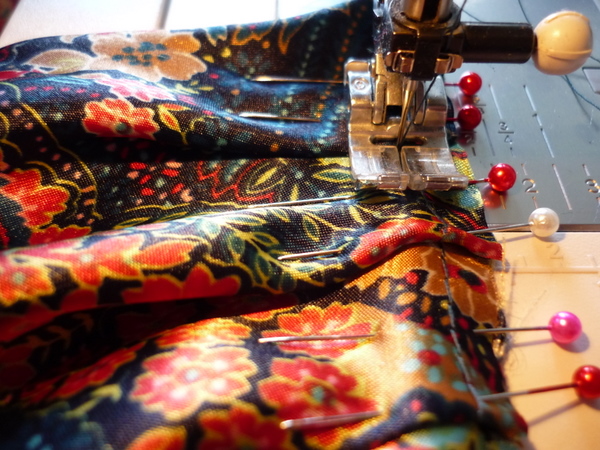 Sew v-e-r-y slowly! You don’t want to hit a pin or your needle might break. Sew so slowly that you can watch the needle go down into the fabric, and can adjust or remove the pin quickly if it’s going to hit. You’ll be basting, using large stitches, so there’s more space between stitches and less chance of hitting a pin.
If this freaks you out, then don’t sew over the pins. Sew right up to the pin, pause, and remove the pin just before stitching.
Remove the pins after the basting is done.
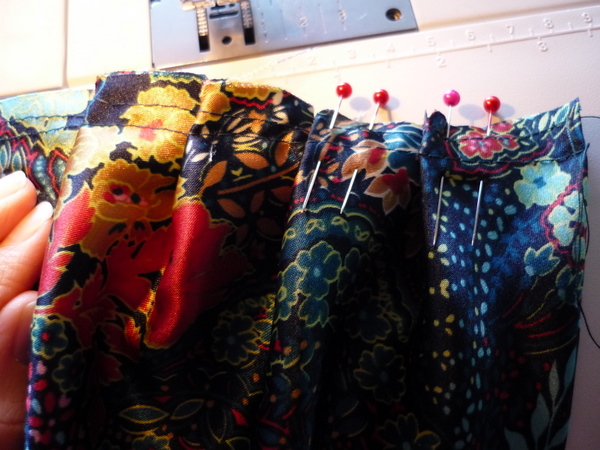 Repeat with the other sleeve. Now, let’s attach them to the body!
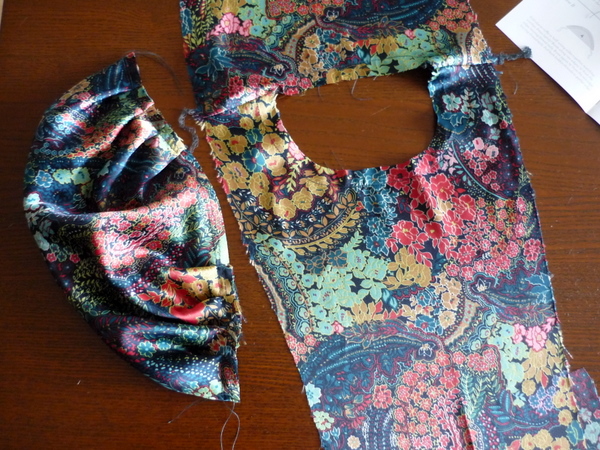
First, line up the shoulder notch of the sleeve to the shoulder seam. But FIRST – decide whether you want the pleats to face upwards or downwards. Personally, I like the pleats facing up. All of my blouses are made with the pleats facing upwards. You can pick which you like best!
Here are the sleeves with the pleats facing DOWN:
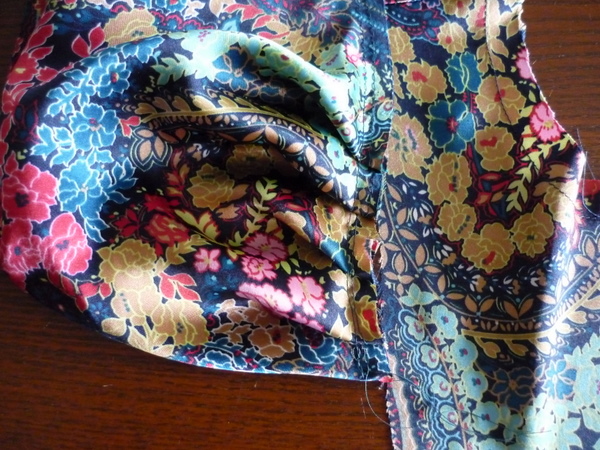 And here are the sleeves with the pleats facing UP:
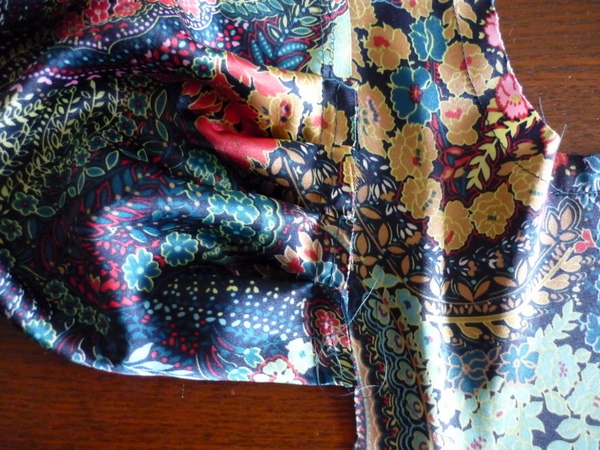 You pick! Just make sure they’re both sewn the same way.
Pin the shoulder notch of the sleeve to the shoulder seam, as shown below:
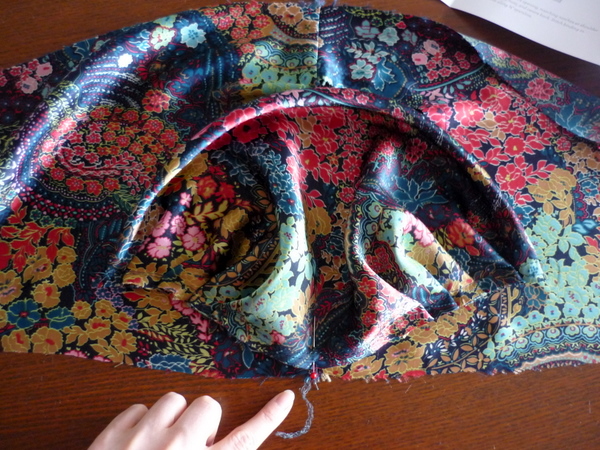
Next, pin the sleeve drape to the princess seamline, lining up the sleeve edge with the small circle.
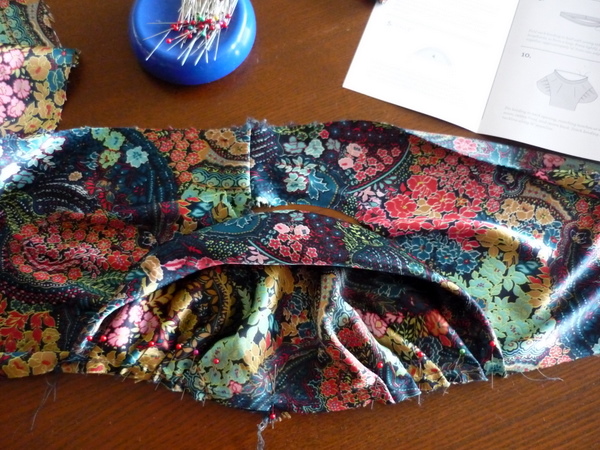 Sew sleeve seam, backstitching at both ends.
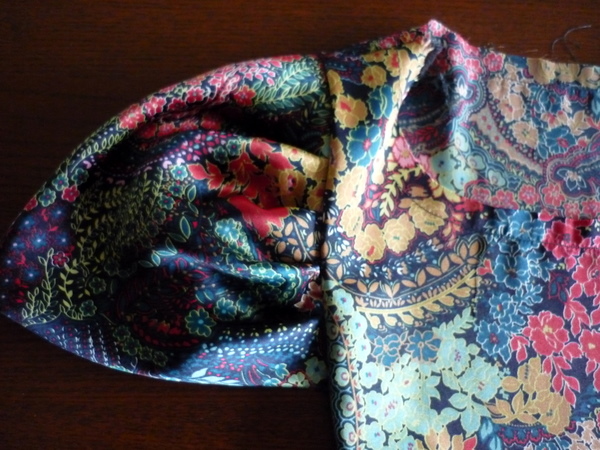 Repeat with the other sleeve.
Here’s what it will look like, when you’re done these steps:
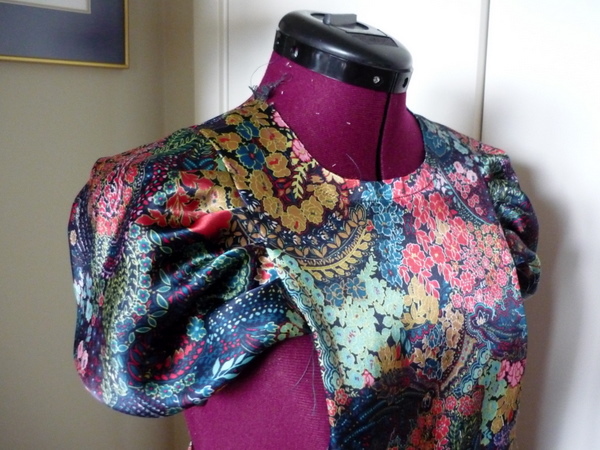 Yay! It looks like the beginnings of a blouse.
Any questions on today’s sewing steps? Beginners, how are the instructions so far? One thing I wanted to add, from yesterday’s questions, is on backstitching. Backstitching is done at the start and at the end of each seamline, so the stitches don’t unravel. But in certain cases, you don’t need to backstitch. Basting and staystitching are two cases where you don’t need to backstitch. Think of it this way: permanent stitching and seams need to be backstitched. Temporary, or reinforcement stitching doesn’t. I hope this helps!
As always, leave us a comment if you need help!

I’m on my second pendrell, view A using similar ‘slippery’ material. I found cutting the sleeve a bit tricky. After it was cut it it didn’t exactly line up and because I’m a nut case I spent a lot of time fixing it. Do you have any tips on cutting it out? I used a rotary blade but found all the corners tricky. Maybe trace it and use sicors next time? I Love the blouse and have gotten lots of compliments!!
This post is great, the pictures are so helpful! My pattern is on its way to me, and I can’t wait to get started making my own Pendrell blouse. I’m still working on my sewing skills, but your sew-along posts are so thorough that I feel like as long as I follow them, I’ll do OK. Thanks for doing this!
This post makes me excited to make View A in the future, even though I’m working on View B now!
Last night I cut out my underlining and got it all pinned and ready to be sewn tonight. I’m excited for it all to really come together!
Your blouse is coming along great – I love the fabric! I’m also loving the no hem sleeve. Hemming is the worst thing about sewing. I’m curious though, as a variation would you be able to do a single layer on the sleeve and hem it (not that I would do it and make extra work). My other questions (sorry to cross examine your post!):
1. Can we hand baste here using smaller stitches? I don’t usually machine baste so I would prefer to to do this by hand. However if you recommend machine basting please say.
2. Your 2 parallel rows of basting on the sleeve pleats – was your first row at 1 cm and the 2nd at 1.5 cm. I presume you can leave the basting in although if I can do hand basting I might want to take it out.
3. Do you finish the seam?
Thanks again for the post – 25 pictures – you have been busy!
That is the view I want to make next. I just adore the sleeves! Very helpful post!
Great tutorial.
Thank you @Cennetta: and @Kristen: !
@Rebecca: You’re right, it is a very tricky piece to cut. I’d imagine a rotary cutter would make it hard to cut inwards into the corners! Perhaps next time, use the rotary cutter for everything but the inwards-facing corners and use scissors there. I used scissors, and I did go back and fix-up the cutting a little bit. Especially if you’re using shifty fabric! It’s important to get the pleats in the right spot, so accuracy is important.. but there’s always a little wiggle room if you need it. Especially since the raw edges end up hidden in a seam. Glad you love how your blouse turned out!
@Liz: No problem – and when you get your pattern and start sewing, just give me a shout here if you get stuck! There will be tons of posts and photos to help you along the way.
@Kate: Sweet! Good luck and there will be a View B post coming soon!
@Sewingdina: Yes… you could technically take away the fold on the sleeve and hem it. You’d want to add a bit extra for hem allowance, otherwise the sleeves will end up shorter than the folded version. If you look at the post I did on cutting lace, I placed the fold line along the edge of the lace, which removed the fold. It would be the same idea for hemming the sleeves, just add an extra bit for hemming.
You could hand-baste, if you wanted. As long as it’s nice and secure so that the pleats don’t ‘escape’ and move around on you. Does that make sense? Sometimes hand-basting is looser and not as secure.
The two rows of basting – they’re more like 0.6cm (1/4″) and 1cm (…3/8″ I think). Not quite as close to the seamline as they look, but closer to the raw edge. For your version, as long as they are within 1/2″ of the raw edge, the basting won’t show. I left the basting in, on all of my versions, because the serging covers it up. You might want to remove yours, depending on the edge finish used!
Nope, don’t finish the seam. This basting is just to secure it to the front-back piece. It will be sewn more permanently later.
Good questions, everyone! :)
This is exciting! I am anxiously awaiting the next step!
Thank you, Tasia, for all these posts! I’ve been following along even though I haven’t been sewing — but now that I see it coming together I’m getting excited about my own version. I’d like to begin with A, since it’s this sleeve that makes it so pretty. :) So, I’m not quite part of the sew-along but the sew-after ;) I’m also looking forward to seeing everyone’s Pendrells!
Thanks for the info on the sleeves. I’ve done mine now and couldn’t resist carrying on with the steps, and have done the neck binding and attached the side pieces. Can’t wait to finish it!!
Tasia,
I’ve completed the Pendrell blouses (2), but my 12-year old Janome sewing machine needs servicing. Also my dressmaking shears need sharpening.
Can you recommend places which do this in the Vancouver/North Vancouver areas?
Thanks.
@rosemary: Hi Rosemary! So sorry for the delayed reply. I am such a bad sewist, I’ve never sharpened my shears. They still cut nicely so I’ve never taken the time to get them sharpened up! I don’t have any recommendations off the top of my head but I’ll ask on my facebook page and see if anyone has ideas. And then I’ll send them to you. Hope this helps!
I am sewing this up now and will be doing a review on my blog. Two nit-picky points… I really liked here that you mentioned to decide whether the pleats will be up or down. This isn’t mentioned in the written instructions and really should be. Second, I found the sleeve pattern very confusing to mark, and I am an experienced sewer. In my marking I ended up with five pleats so when I went to match to the large circles, I am way off. I don’t think it will matter much in the final piece (we shall see) but somewhere I think you need to say how many pleats there will be or on the pattern note the pleats as pleat one, pleat two…. it is really hard to follow IMHO.
What a life saver and time saver this will be in construction of Hotpatterns 1114 Mighty Aphrodite Draped t-shirt which has an asymmetrical pleated shoulder. I wanted to feel solid about how to do it before starting. Your instructions are impeccable; the fabric selection is gorgeous. Thank you so much for posting with so much detailed instruction for the pleating technique!. I love to looks of this blouse & plan to revisit it once I’ve completed this next HP pattern.
Thank you!
Hello!!! I love this sleeves!!!