The placket on the Granville Shirt looks complicated, but once you start it comes together easily! It’s easier to sew after watching it come together, so I’ll go through the sewing steps with photos. I’ve called it the ‘house’ style placket because of the top pointed edge, it looks like a house. I’ve also heard it called a tailored placket or a tower placket. In this tutorial I’ll call it both, but it means the same thing!
A continuous bound placket – the more common style of placket – looks easier but there’s more room for error and missing the edge when you edgestitch. In the house style, all of the edges are hidden in the house. (Or in the tower if you prefer.)

This could be a cool design detail as well. Why not use contrast fabric for your plackets if you like? I used a navy cotton dot print on muslin here, and even on plain muslin it looks pretty neat. The only thing I’d caution against is using a thin white fabric for the placket especially if your sleeve fabric is a print or dark colour, as you might see the seam allowances through.
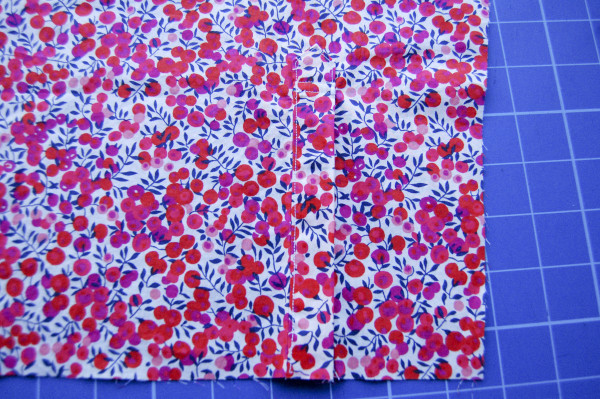
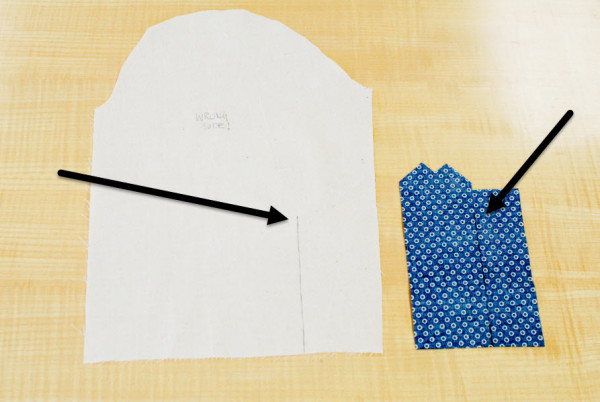
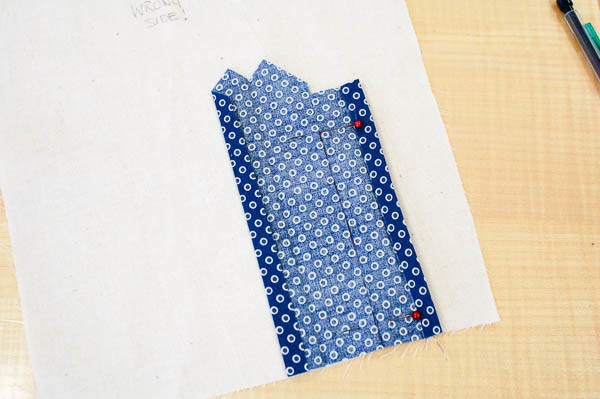
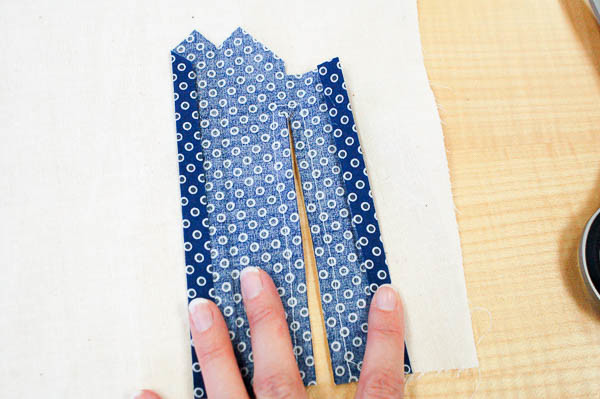
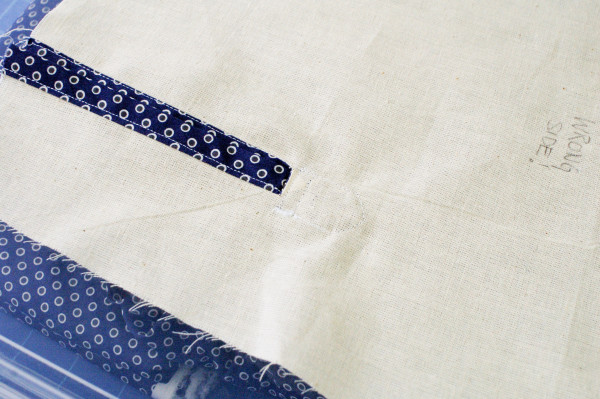
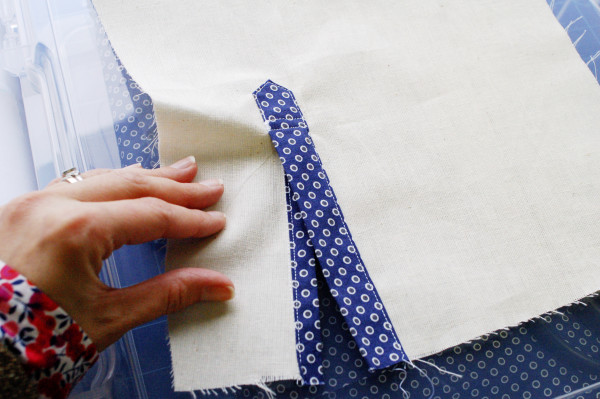
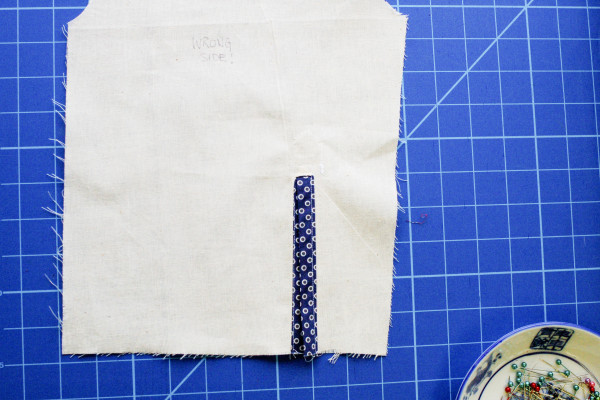
First, mark the slash line on both your placket piece and your sleeve. You want it marked on the WRONG side of both pieces. Our sleeve in this demo is helpfully labelled with ‘WRONG SIDE!’ which will come in handy. There are parts where it might feel unnatural but it all works out in the end.
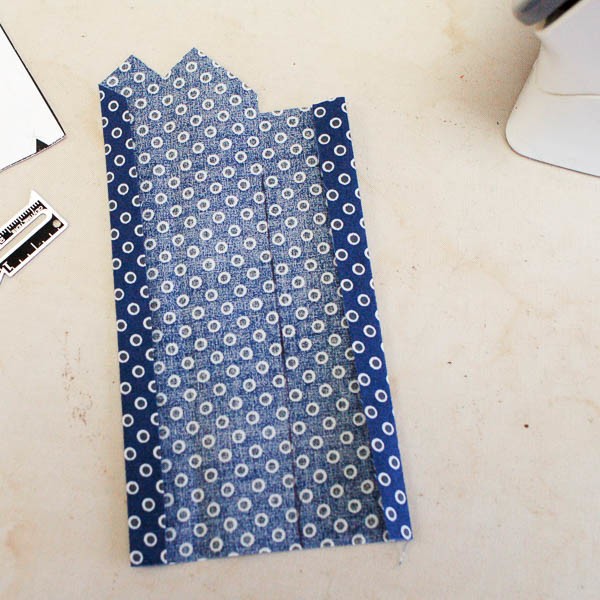
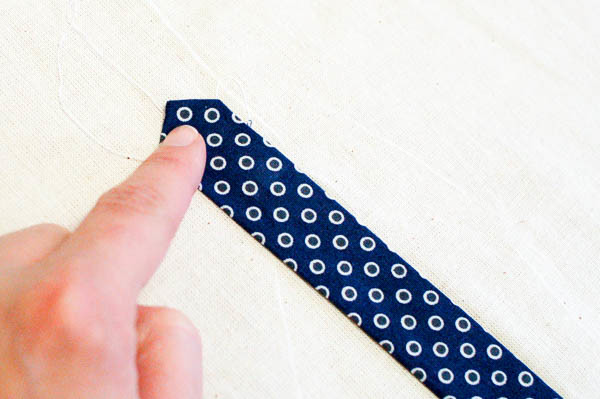
 Now, press under the long edges of the placket piece, 3/8″ (1cm) along both sides. It’ll help if you are following along to sew the same side of the garment as me, so your placket piece is folded the same way and not in reverse.
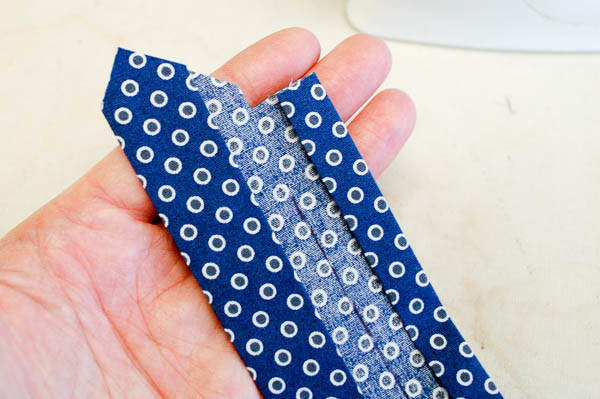
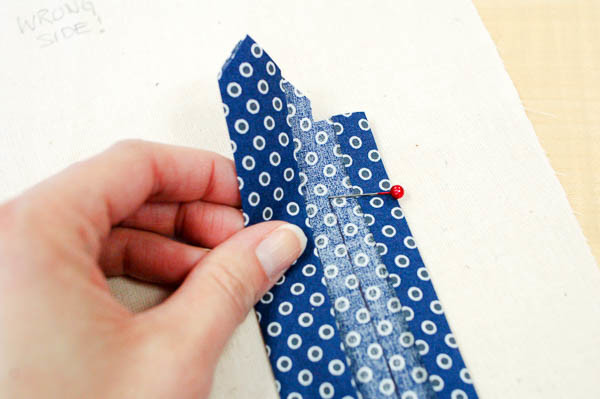
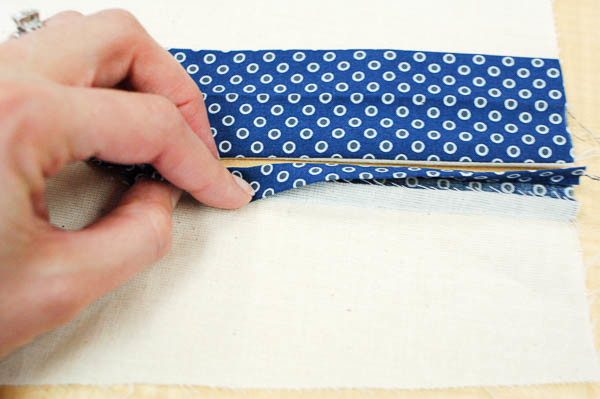
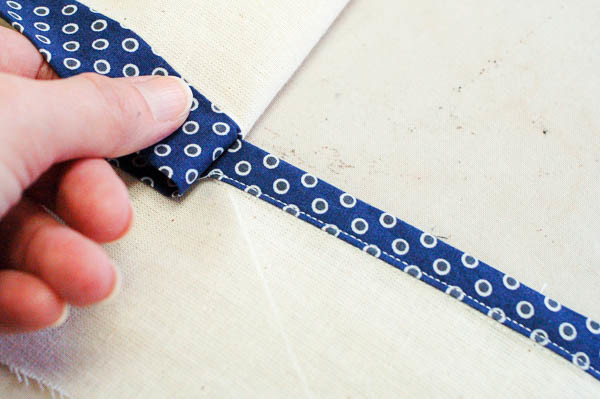
Fold the pressed edges in again, as shown. The point of the tower lines up as you fold the edges in again. Neither folded edge is near the stitching line, in fact, they’re an even distance apart. This pressing part is preparing us for the next step. It’ll make it easier to refold the placket if we do a little pressing now.
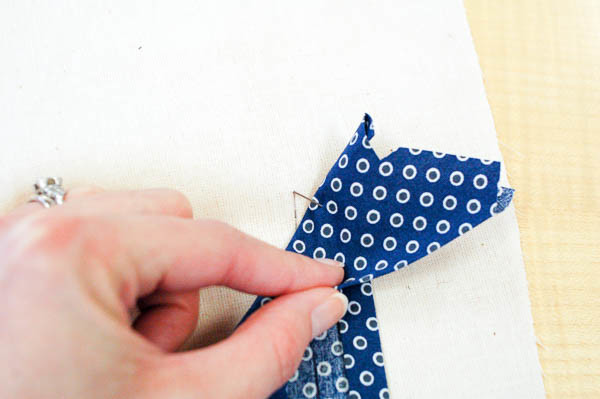
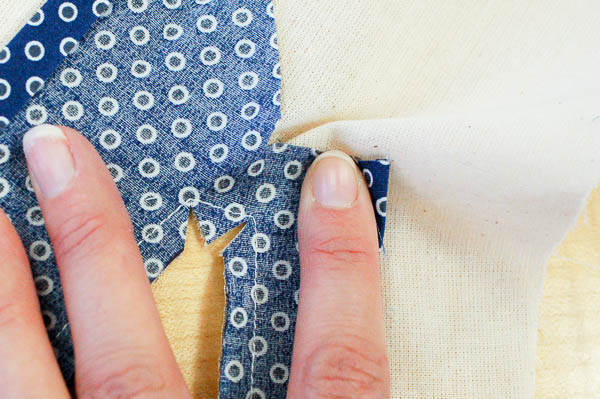
Place the placket on the WRONG SIDE of the sleeve piece, with the WRONG SIDE of the placket facing up. You’ll have the tower side on the wider side of the sleeve. Unfold the last folds we made to keep them out of the way.
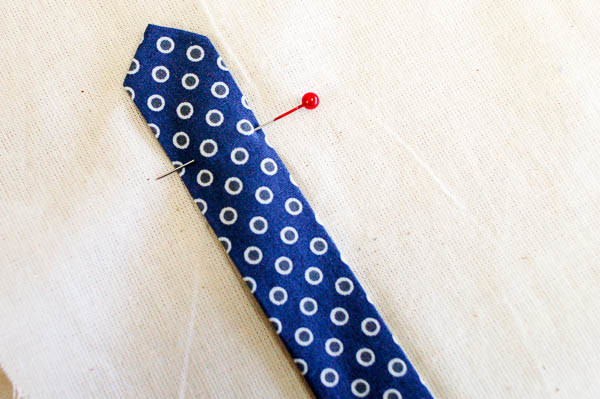
I make sure the tip of my placement line is exactly in line with the tip of my placket’s placement line, by poking a pin through.
If the pin is poking through the tip of the placement line on the sleeve too, we’re good! If not, shift the pin so it does poke through the end of the line. This will ensure our plackets are straight along our sleeves and not at an angle. Especially important if you’re using a striped fabric.
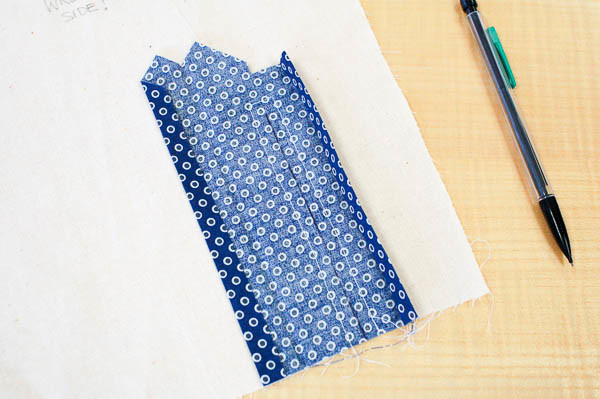
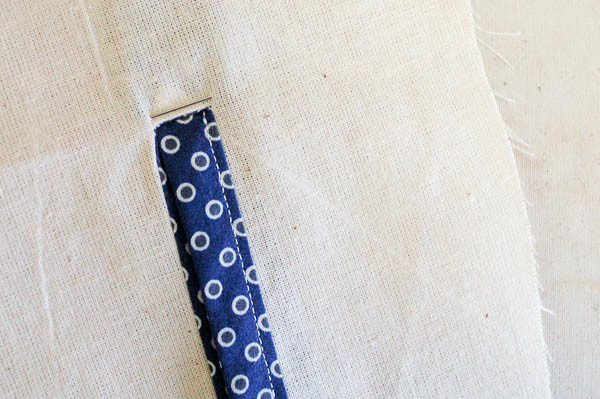
Now, we’ll sew all around the placement line. This is a good time to shorten your stitch length, since we’ll be clipping quite close to the corners. Or shorten it just as you reach the top section, sew across the corners, and lengthen it as you reach the lower edge.
You can see the white stitching in the photo below. In theory, this stitching is going exactly where the folded edges of the placket were, before we unfolded them. When we refold the placket, the folded edges will line up right on top of your stitching.
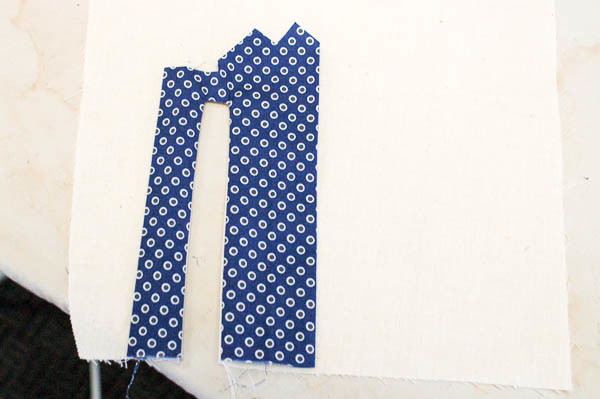
Slash along the placement line.
Clip diagonally into the corners in a Y shape. Clip nice and close here, being careful not to cut your stitching.
Turn placket to outside, and press. This is now the right side of our sleeve. It feels a little odd but trust me!
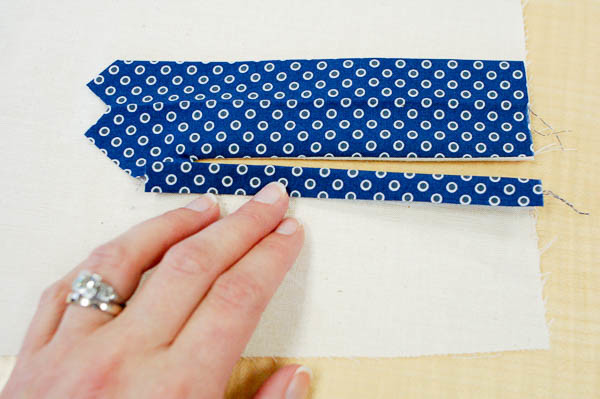
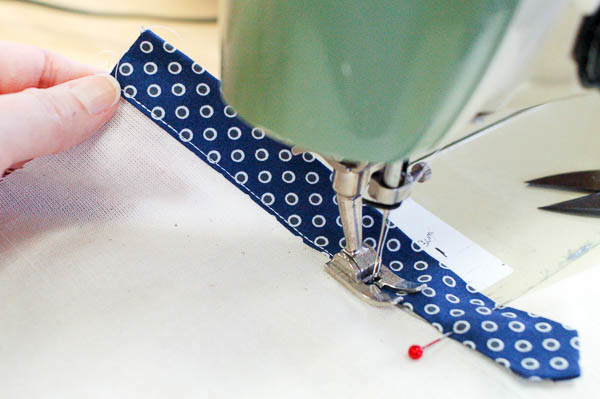
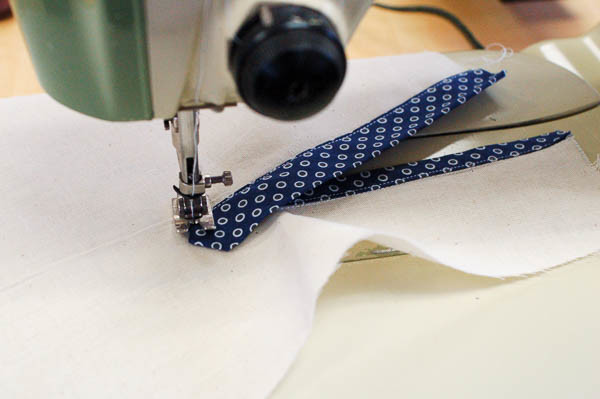
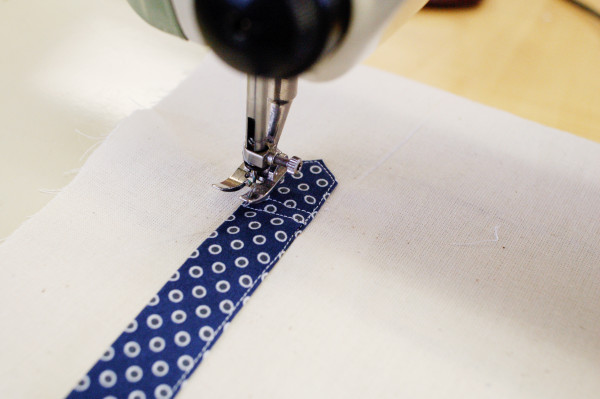
Now, on the narrower side of the placket – the side without the tower – we’ll fold it over the seam allowance, and edgestitch. We’re enclosing the seam with this part of the placket.
Here it is from another angle:
And another angle, while edgestitching:
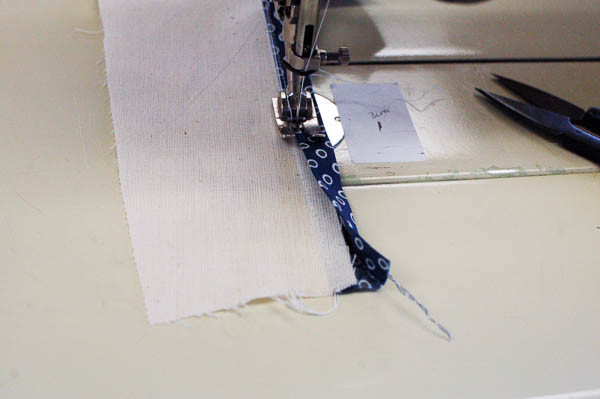
Work from the side with the fold, so you can align the fold as you sew. You want to align the fold with the stitching line, to ensure it’ll catch on both sides. If you line up the fold too far on top of the stitching line, you might miss on the back side. If you don’t line it up close enough to the stitch line, then you’ll see the sleeve and the stitching and it won’t look as nice.
Or glue baste it in place!
Here’s the edgestitching completed, in white stitching again so you can see it.
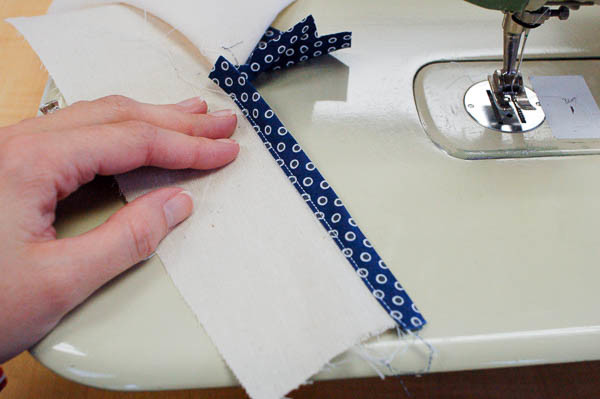
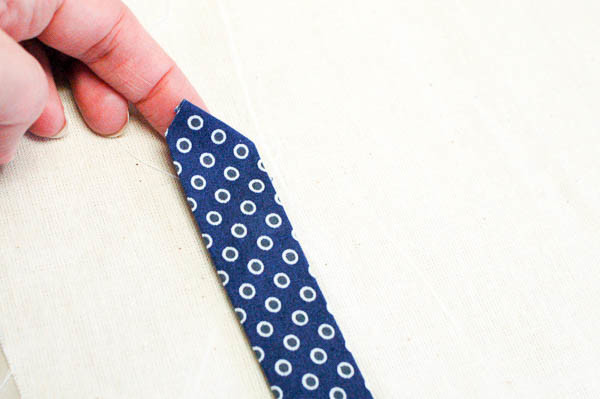
Next, we’ll prepare the other side of the placket for its edgestitching, and finish it off! Line up the edge of the tower side with the seamline, just like we did for the narrower side. Because we pre-pressed it at the beginning, it should line up easily, but it’s OK to press it in place if it needs a little adjusting.
At the top of the tower, turn one edge under, then turn under the other so the point is centred at the top of the tower.
First one side,
then the other…
and press. A dab of glue helps to keep the point in place! Glue all down the open edge of the placket helps, too. You can see how using pins would make this lumpy and hard to sew, but glue-basting is the perfect solution!
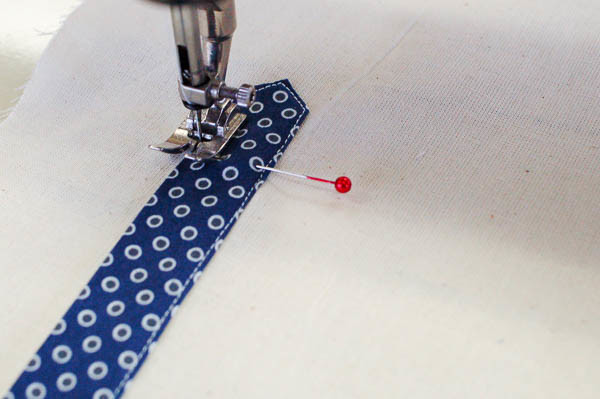
The last thing to do, before we edgestitch our tower in place, is to check where the top of the opening is. You can’t see this from the outside, but we want to know where the placket opening starts so we don’t topstitch too far away from it, or stitch over the opening. Lift up the placket as far as you can, and see where the opening starts.
Mark this point. I’m using a pin to show you where it will go on both sides of the sleeve. On the front, the pin shows where we’ll stitch straight across the placket later.
Here’s where our stitching will end up on the inside – right where we want it!
Step 20 in the Granville instructions includes a nice diagram for the stitching. We’ll start at the bottom, pivot to sew around the tower, then sew across the placket opening and finish with a bartack.
Start at the bottom of the placket, sewing up towards the tower. This is another good time to use a small stitch length, so when we reach the tower we’ll be able to pivot without taking little half-stitches to end on the corners.
Pivot around the tower edges.
When you each the marking, stop, and sew straight across the placket.
Sew up a few stitches, and sew across the placket again. I went up four stitches on my placket.
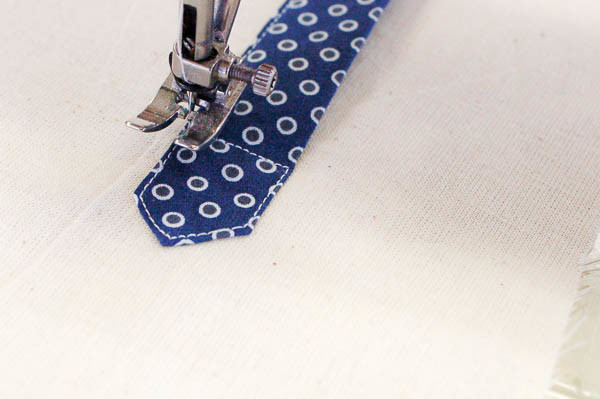
Sew across again, and finish with a bartack! Stop and sew a bartack between the two rows of stitching:
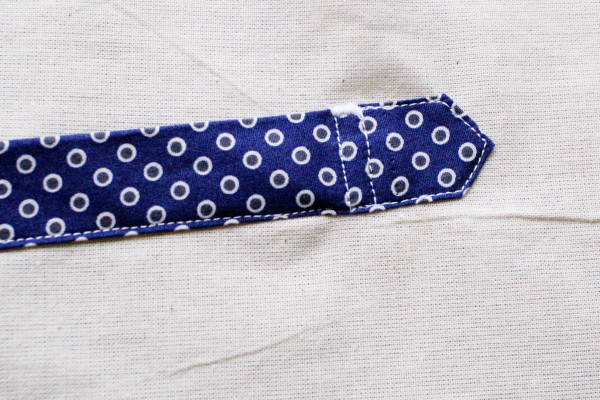
Here’s a closer look at the topstitching around the tower, including the final bar tack. It fills in the gap between the two rows of stitching, and strengthens the opening point of the placket. It looks nice as well! If your machine doesn’t have a special bartack function, and even if it does, you can also use a narrow, dense zigzag instead. That’s what I do. I like it better than using the pre-set bartack setting for greater control.
Here is a close-up of the stitching, from the inside. In order to have contrast stitching on the navy, it’s white on the back, but you can see faintly where the stitching around the tower goes.
And we’re done!
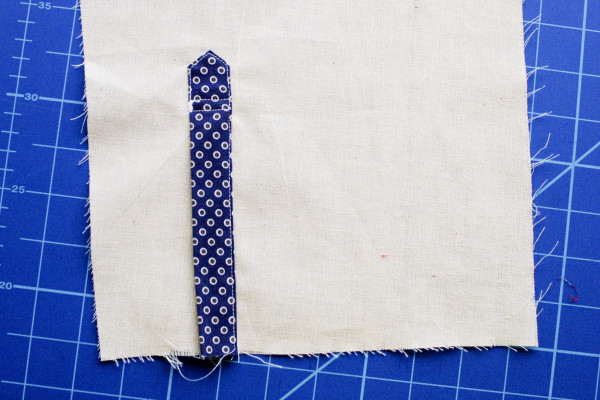
Look at that beautiful placket!
It even looks beautiful from the inside.
ps. Check out all posts on shirtmaking here!
Hi, thanks for this. I was working on drafting and sewing a tower placket in my pattern cutting class today. This is a slightly different method but seeing them both really helps -thank you!
Thanks for this, Tasia! I sewed a placket for the first time on a men’s shirt this weekend, so armed with that experience and your lovely pictures I might tackle a Granville soon. Yours looks fabulous!
Okay, now I feel like a total sewing geek. This post made my heart sing!!!! Thank you for ALL your awesome tutorials!
Every mail I got from you, is something very special for me, because every one of them, always bring a lot of techniques and instruction. THANK YOU VERY MUCH, FOR EVERY ONE! You are absolutely a great professional couturier!
As usual this is a great tutorial, for the Granville shirt, but also any other shirt with a placket. I’m also just so captivated by the fabric chosen for your tutorials. I love looking at the fabric so I stay focused on the details of what you’re explaining.
I just learned how to do this in school and I could not wrap my head around it – I didn’t understand the pattern. But once I tried it (same technique as the one you’re using), it made perfect sense. And it looks so professional!
I’m really loving these tutorials! I am very visual and it’s nice to have so many great tutorials all in one place :)
Thanks Tasia, great tutorial (stitch length tips great too). Much appreciated.
Thanks! I haven’t bought Granville yet but I want to just for this technique. I’ve seen the other kind of placket and I find it pretty awkward and don’t like how it looks as much.
I just picked up the Granville pattern and its off to the print shop. After this tutorial and the collar one, I feel brave enough to try an actual blouse with top stitching. Thank you for your very detailed pictures and directions. I can do this! thanks to you :)
I bought fabric to make both Oakridge and Granville today, and I’m looking forward to starting! I was going to make Oakridge first, but I think I’ll go with Granville since you’re posting so much about sewing it :)
I blogged about my fabric shopping experience today, needless to say spring is not the right time for me to shop for fabric, LOL!
Thank you for yet another fabulous tutorial.
I discovered your blog a couple of weeks ago and since then I’ve read through every single post you’ve put up. Congratulations on gettting married (I know I’m a bit late but I only read it today :) ).
You have been such an inspiration to me as a novice seamstress that I’ve decided to try and sew my own wardrobe and do no shopping for a year. I sewed my first ever garment just three months ago so I’ll be referring back to your blog many times for all the help I need.
At the moment I’m piecing together the pattern for the Pendrell Blouse and I’ve got a beautiful Monet watercolour print rayon blend just waiting to be sewn in to a Gabriola skirt.
Please don’t ever stop what you are doing xx
I used to be intimidated by plackets but now that I’ve got the hang of them, I find them very satisfying. I tweaked the proportions on the placket for my second Granville and put in the classic “X” stitching at the top—it’s a fun touch.
Amazing tutorial for absolutely perfect plackets! Thanks so much! This will be very useful! :) Lisa
I purchased the Granville shirt pattern and have been merrily sewing along following your demos, as I haven’t done any clothing sewing for a few years, I’ve been spending time quilting. Your tutorials are great, but my one suggestion is using a solid fabric with contrasting thread for your photos, it’s difficult to see your stitches when you have patterned fabric, although it is definitely yummy fabric. Thanks.
love this website and have recommended to several friends. I will be purchasing the granville shirt pattern at Fabricana today.
Just wondering if you will be designing a pencil skirt pattern? or a tighter fit cafe pant?
thanks for all your tips
M.
Would LOVE a pattern for the double tower placket – mine has only the one….
Thanks!