 Hello Sew-Alongers! Today we’ll put on our cuffs. We’ll be one step closer to finishing our jackets!
I love these cuffs. They’re a little different than your standard elastic cuffs. They’re meant to be loose, not cinched tight to the wrist, and they’re longer than you might think. They fall close to the middle of my hand. I love this, because when I’m cycling they keep my hands and wrists nice and warm without being uncomfortably tight.
That’s how I designed them – in my opinion, they look more modern than a typical outerwear-style elastic cuff. But you’re the one with complete creative control on your jacket, so if you’d prefer a tighter cuff, go for it!
If you’re unsure how much tighter to make your cuffs, measure a jacket from your wardrobe that you like, or test it in muslin.
Want to catch up on previous Sew-Along posts? Click the links below to read more:
- Minoru Sew-Along #1: Let’s Get Started!
- Minoru Sew-Along #2: Sewing Sleeves and Topstitching Tips
- Minoru Sew-Along #3: Gathering!
- Minoru Sew-Along #4: Sewing the Hood
- Minoru Sew-Along #5: The Secret Hood Zipper
- Minoru Sew-Along #6: Sewing the Hood to the Collar (Quick Post!)
- Minoru Sew-Along #7: We Finally Get to Pull the Gathers!
- Adding Pockets to the Minoru Jacket: Amy’s Awesome Tutorial
- Minoru Sew-Along #8: Front Plackets, Front Zipper
Let’s get started on our cuffs! You’ll need your cuff fabric pieces, your half-finished jacket, and your 2″ wide elastic.
Take your fabric cuff pieces, and fold them right sides together, lining up the short raw edges.
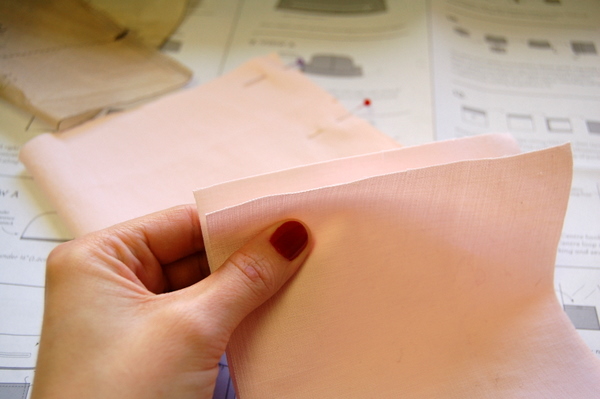
Sew this seam, and press seam allowances open. Now fold the cuff in half, wrong sides together, lining up the long raw edges. We’re making a little tube out of fabric in this step.
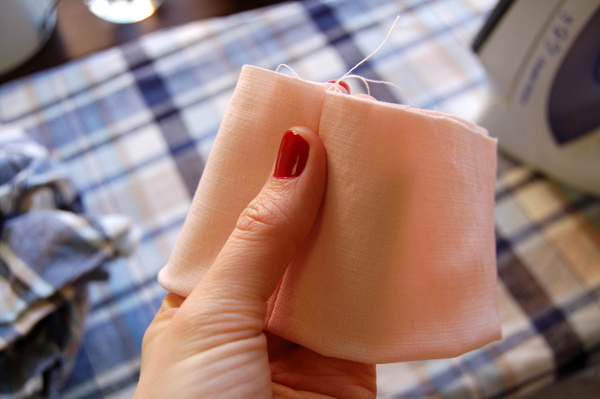
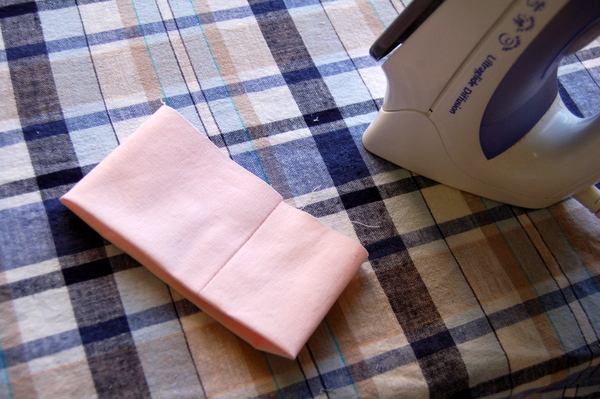
Press the folded cuff flat.
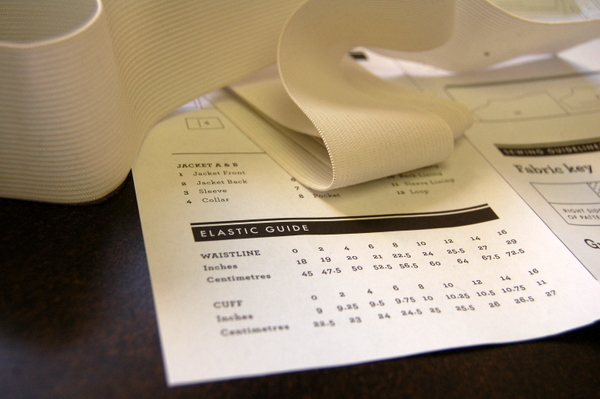
Now, let’s cut our cuff elastic. Refer to the Elastic Guide in the instruction sheet, located on the front side, in the lower left corner.
Lap the ends of the elastic approximately 1/2″ and zigzag over the ends to secure.
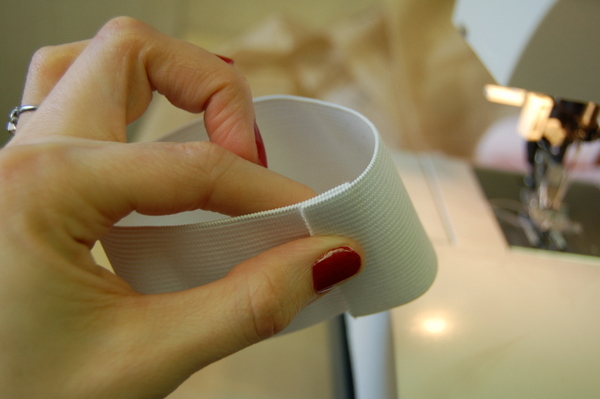
I like to zigzag up and down a few times to make it really strong.
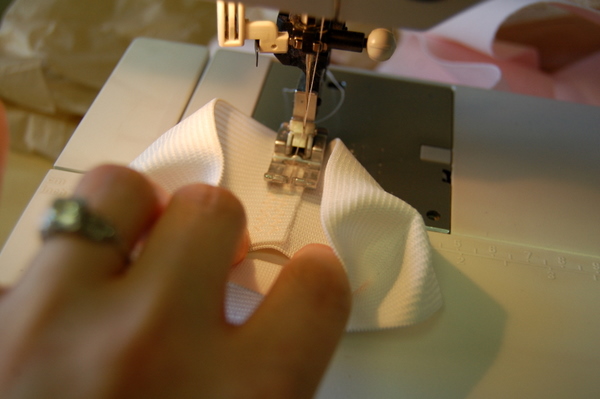
Insert elastic loop into folded cuff.
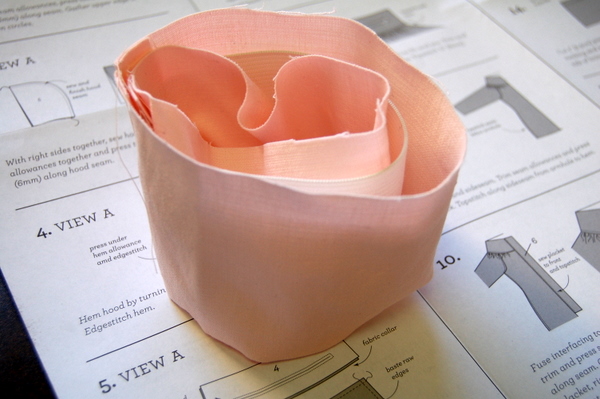
Now, we’ll baste the raw edges of the cuff together with gathering stitches. This part is a little tricky to do! Just go slowly, keep your needle down when adjusting your work, and keep the raw edges lined up with each other while making sure not to stitch over the elastic at all.
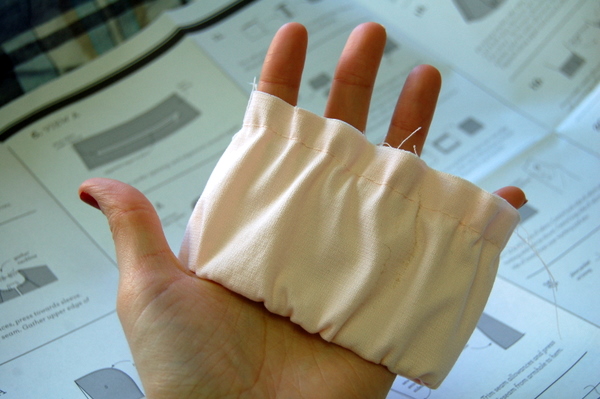
Sew a second row of gathering stitches close to the first. The second row is much easier than the first, simply stretch the cuff to straighten it out as you sew!
Now we have a neat little cuff, all ready to sew into our jackets. This is closer to how they’d construct cuffs in a factory setting. One person would assemble the cuff (and a couple hundred identical cuffs), then pass them on to the next person to sew cuffs into jackets.
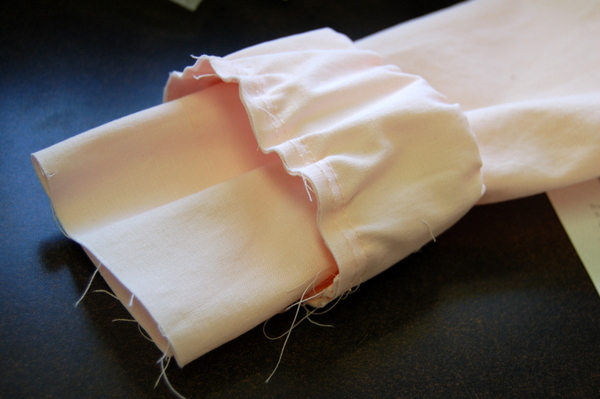
Take your jacket, and arrange it so the sleeve cuff is facing you. Poke the sleeve cuff through the constructed cuff. Line up the underarm seam with the cuff seam, and match the notches on the other side. Pin the cuff to the sleeve at these two points.
Pull up the gathering stitches in between these points, and adjust the gathers to fit the sleeve opening. Sew the cuff to the sleeve.
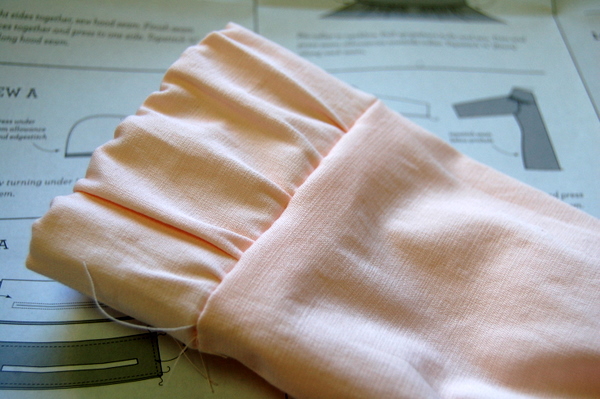
Repeat with the second cuff. Look how nice they look!
Cuff Notes:
- Worried about your gathers? Baste the cuff first, check the gathers, then stitch it.
- Sleeves too long? You can shorten the sleeves at this stage if you need to! Trim the sleeve before adding the cuff, then sew the cuff to the newly-shortened sleeve.
- Want a more gathered cuff on your next version of the jacket? Cut the cuff piece wider, but keep the elastic the same width, and it will look more gathered with more ‘scrunch.’
- Want completely un-gathered cuffs? Measure your sleeve opening, then cut your cuff pieces the same width and omit the elastic. You’ll have the look of a cuff, without gathers or elastic. A good option for thick and bulky fabrics!
- Are you a knitter? Wouldn’t it be amazing to knit matching cuffs for your jacket, and sew them on? You could probably skip the elastic (let me know if I’m wrong!) and it would be a lovely, professional touch. And warm! How about finishing the cuffs of a wool tweed Minoru Jacket with wool knit ribbing? I’d love to see that done up!

What an easy way to do cuffs – so much more sensible that sewing on the band of fabric and then trying to insert in the elastic which most patterns tell you to do! I just wish I had thought of it before now!!
I know right? It’s a bit hard to work with, the first time you try it, but I like how it turns out! I’m glad you like it! And the pattern can be sewn up the traditional way too if anyone wishes.
Hi
I like this cuff construction a lot!
Just wondering why the length of 2 “elastic specified for this pattern exceeds the actual needs. I have quite a bit left over.
Hi Leslie! We’ll also be using the 2″ elastic for the waistline as well. And for the waistline, I’ve accounted for extra in case people want a looser fit through the body. So we do want elastic left over, after doing the cuffs. Hope that helps!
Hi Tasia
I actually had quite a bit left over after doing the waist and cuffs. (I have finished my jacket already- couldn’t leave it alone once I started). I made it out of a cotton double weave which turned out great. I get so many compliments.
Can’t wait to make #2 with inseam pockets!
Leslie
Ah! You’ve speeded ahead. Yes, I accounted for extra elastic and also I believe kept the requirements the same for all sizes. So if you made a smaller size, you’d end up with extra. But better than making alterations or wanting it looser and not having enough elastic!
That is awesome that you’re getting compliments on the jacket! Yay! And even better than you’re planning version #2 already! I think I’d add inseam pockets to a future version too, even if I never use them it’s nice to have the option.
Oh, have you posted a picture or blogged about it? Can’t wait to see it.
I would love to see too! I can’t wait to start posting everyone’s finished projects. It’s so much fun to see them and see what little changes and personal touches we’ve incorporated.
It’s a sunny, warm (41F) day here in the high desert of Oregon, and my DH is going for a motorcycle ride. whee…I can sew all day without guilt. Off to finish up the cuffs.
Yay for guilt-free sewing! That sounds like a great day. I took a peek on your blog – your jacket is looking great so far!
Thank you Tasia…I really like the style. This will be one of my favorite jackets.
Without having the pattern, is there a lining to cover the raw edges of the gathered cuffs on the inside? Love you clear photos!
Yes! The sleeves are fully lined. We won’t see any of those raw edges when we’re all done, it’ll be cleanly finished!
I am so excited about this jacket! Every time we work on it and get closer to being done, it just looks cuter and cuter! Thank you for taking the time to guide us along the process, Tasia. This is, by far, the most ambitious project I’ve ever tackled, and I feel like I am learning so much. Thank you!
You are very welcome! I am so glad you’re enjoying the sew-along and learning lots. I can’t help but pack as much detail as possible into each post – there are so many things I think of while I’m sewing that couldn’t possibly fit in the instruction sheet.
I’m thrilled to hear your jacket is turning out well and you’re loving the look of it, that’s fantastic! :)
This is a beautiful cuff!!! I am an inexperienced sewer and I just made a jacket with gathers for the edge of the sleeve. I wish I had seen this before I did that! Hopefully I will make another soon and will have questions when I begin. Thanks!