 Hey everyone! We’re making progress on our Yaletown dress (or blouse!) today. As usual, you can click the badge to the left to see all of the sew-along posts so far, or click any of the links below to get to that specific post. Here is a recap of the sew-along schedule:
Yaletown Sew-Along: Styling Inspiration
Yaletown Sew-Along: Fabric Suggestions, Choosing a Size, and FAQ
Yaletown Sew-Along: FBA and SBA Tutorials and Tips
Yaletown Sew-Along: Cutting, Gathering Supplies
Yaletown Sew-Along #1: Preparing Bodice and Sewing Facing (Instruction Steps 1-4)
Today: Finishing Facing, Sewing Bodice Side Seams (Instruction Steps 5-7)
TBA – Sewing Skirt / Lower Blouse (Instruction Steps 8-10)
TBA – Sewing Bodice to Skirt, Sewing Elastic Casing (Instruction Steps 11-13)
TBA – Sewing & Attaching Sleeves (Instruction Steps 14-17)
TBA – Hemming, Sewing Tie Belt (Instruction Steps 18-19)
TBA – Thread Loops and Securing Neckline (Instruction Steps 20-21)
Today we’re going to topstitch our bodice facing, secure our bodice front, and sew our bodice side seams.
In our last sewing session, we finished off by pinning the facing in place. Let’s take it from there…
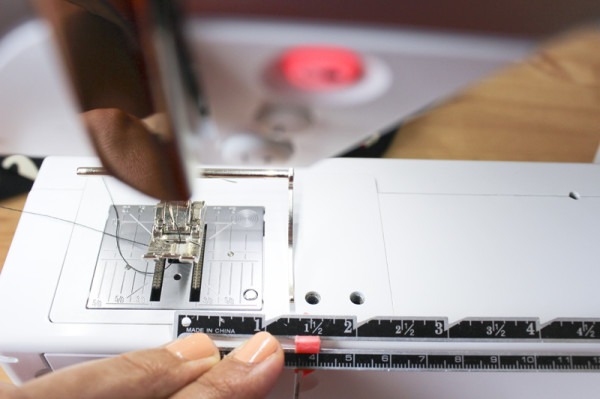 We are going to topstitch our facing in place, around 1¼” (3.2cm) from the edge. Since 1¼” is further out than the built in seam markers on my machine, I have a handy seam guide that I screw into the back of my foot. But you can use a magnetic seam guide or just a piece of painter’s or masking tape!
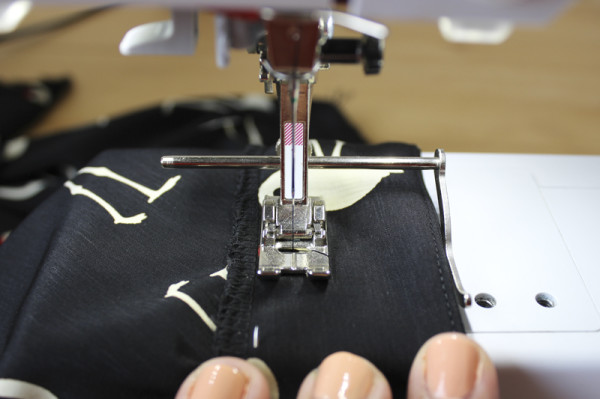 We’re ready to get to the topstitching. It’s easiest to sew with the facing side up, since the crossover section of the bodice is on the bias. This will help to ease in the bodice fabric as you sew. Start on one side and continue all the way around, sewing 1¼” (3.2cm) from the edge.
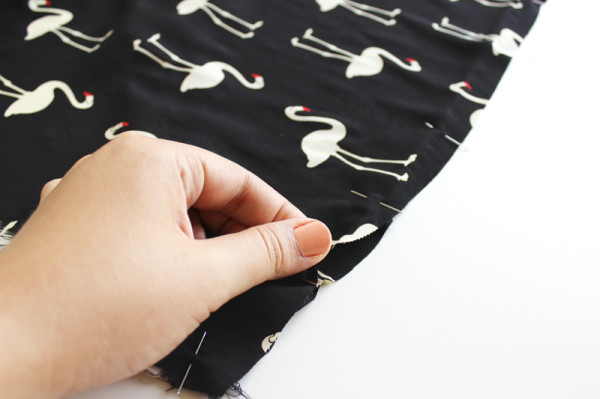 Now we’re going to work on securing our front bodice. We have two layers at the bottom edge that we want to keep in place.
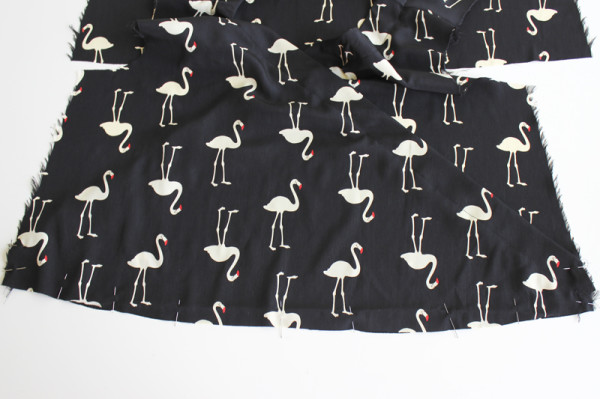 Overlap the right side over left side. Line up your center notches, and your side seam notches with the overlap edge. Pin, and then baste along the overlapped raw edge with a long machine stitch or hand stitch.
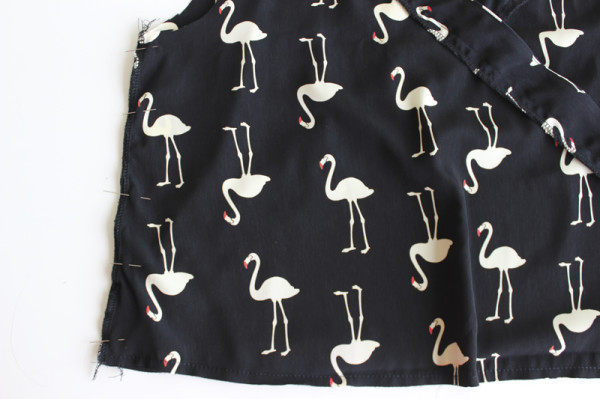 Time to sew our front bodice to our back bodice along the side seams! First, pin the side seams of your front and back bodice, right sides together. I finished my raw edges before sewing my side seams, because the raw edges were fraying like mad! But you can finish your edges after you sew the side seams, if you’d like.
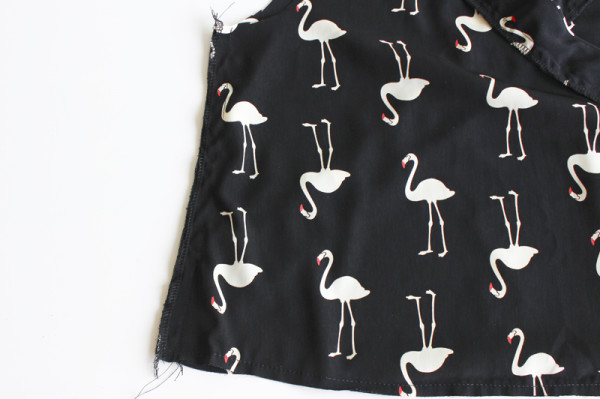 So we’ve pinned our sideseams together, now we can sew them.
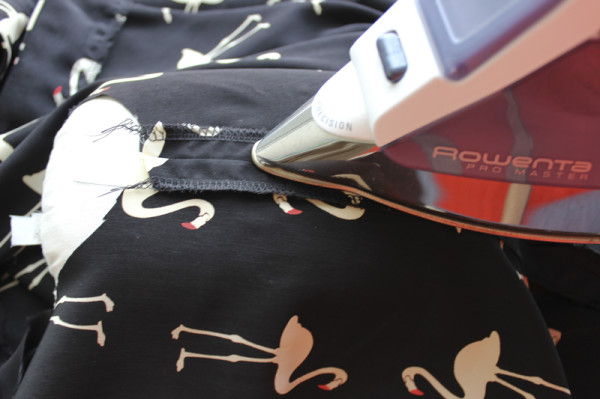 If you haven’t already, finish your raw edges separately. Press the side seams open.
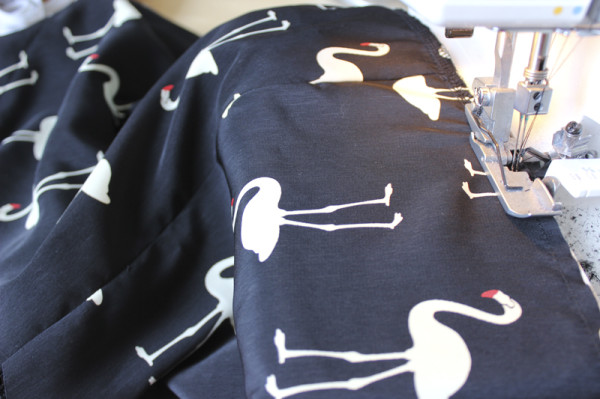 Last but not least! We want to staystitch the entire bottom edge of our bodice. Sew at ½” (1.3cm) from the raw edge, all the way around. Finish the raw edge.
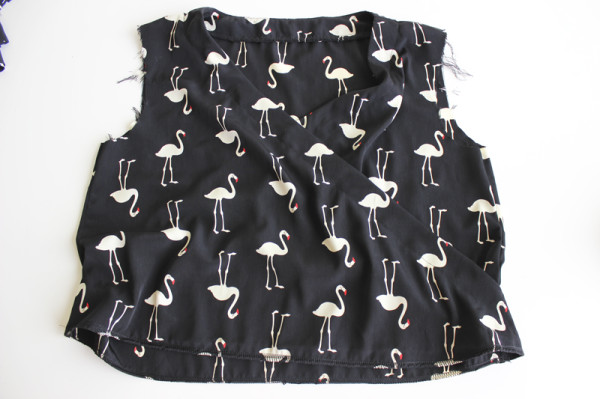 That’s where we will stop for today. Next up: sewing up our skirt (or lower bodice, if you are making the blouse).

It’s looking great.
Your fabric is so cute :D
Hi! I’m sorry that this is not about Yaletown pattern, but I was going to make myself a pair of Thurlow with a nice charcoal cotton corduroy fabric. As with any cotton fabric I sew with, I prewashed it the way I would wash my pants — in cold water and laundry detergent. When I opened the washer door, I found a huge shredded mess of black fibres inside!! The fabric was completely gone… Have you ever had any fabric disintegrate in your prewash stage? I was so amazed that this could happen. My husband said it was good because I hadn’t spent hours sewing it. Well, that may be so, but I’m just so surprised that two meters of fabric completely goes into shreds like that. Any thoughts on this? Did I do something wrong here?