Hey, everyone! We’re back with more Shirtmaking blog posts. Today: button placement!
Here’s how I like to get the button placement on a shirt just right. You can use the markings on the pattern pieces, but if you often find your shirts gape at the bust, you might want to adjust where the buttons go. Here’s a way to figure out the button placement, starting from the beginning.
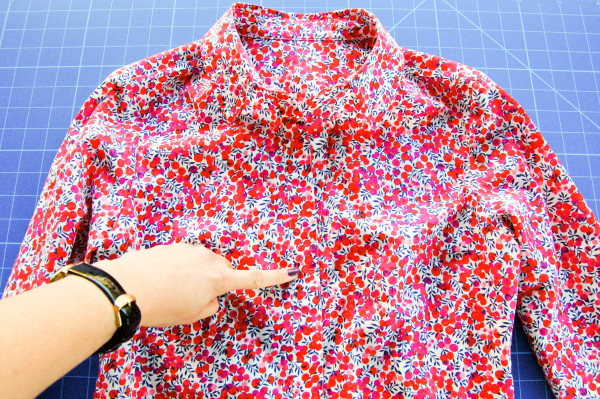
First, try on the shirt. Put a pin at the bust line. You want this pin to be where your shirt would gape, if the buttons were placed above and below. It’s the fullest part of your bust and may be different from where the shirt buttons are placed on the pattern.
Also, make sure you are wearing the bra you’ll most likely wear with the shirt. Your bust may sit higher or lower, depending on the bra you have on. I’m not busty and I notice the difference between a padded bra which sits lower, and a soft cup bra which sits higher.
Remove the shirt and ensure the pin is on the right (as opposed to left) side of the shirt. Women’s shirts are worn with the right over the left – because ‘women are always right!’ It’s a little trick for remembering which side overlaps on top. You could choose to put the other side on top if you prefer, but it might feel unnatural to button it up that way.
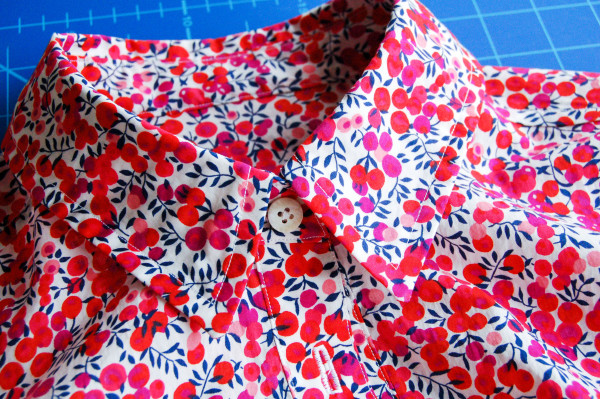
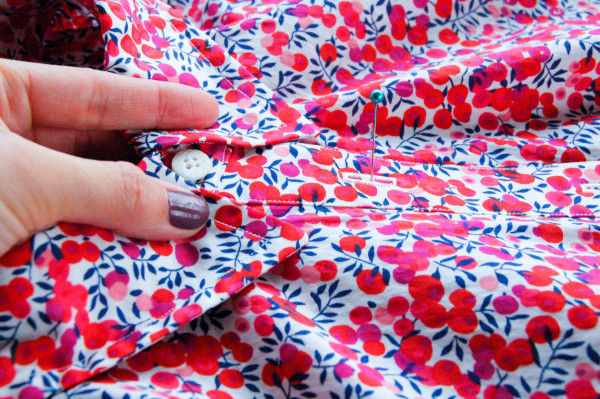
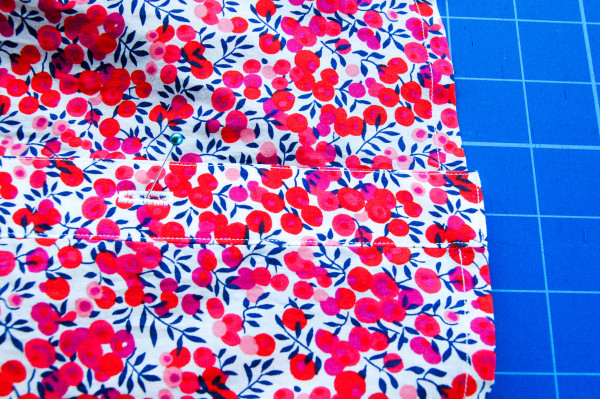
I know it’s a bit hard to see on this shirt so I pointed to it with the point turner.
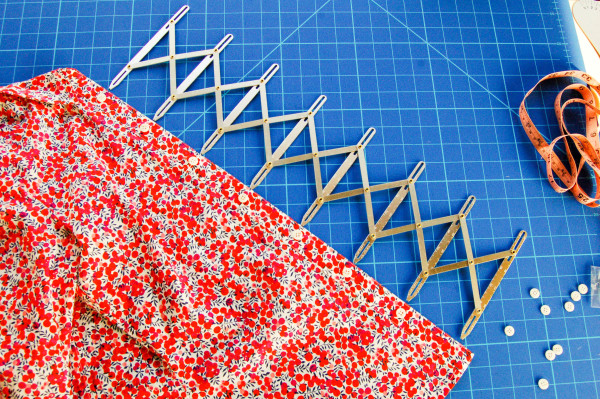
Then, use the handy Simflex tool to figure out the rest of the button placement!
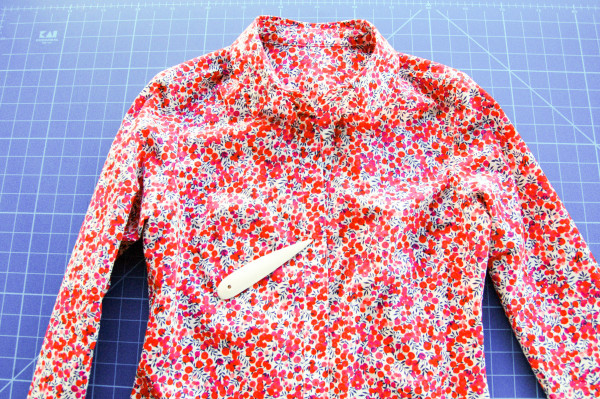
I wanted seven buttons, and decided the bust point would be the third down from the top.
Then, I stretched out the Simflex tool to determine where the rest of the buttons go!

You could do the math, too. Divide the space on the button band by the number of buttons, to space them evenly. But if you plan to make a lot of shirts, a tool like this is really useful.
Center the buttonhole over the marking, and sew the buttonholes. This will vary by machine, but I always suggest sewing a few test buttonholes first, and make sure you can poke your button through! And fill your bobbin or at least check that it’s quite full.
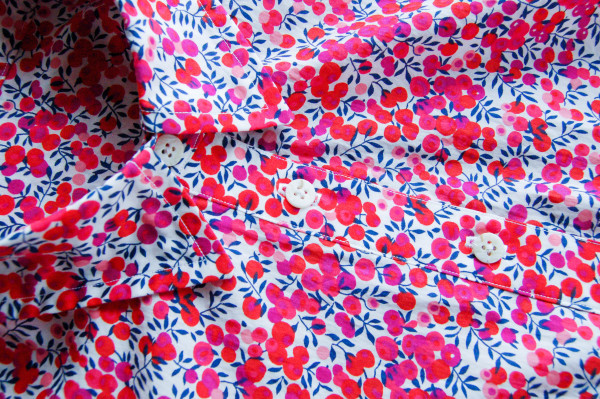
When sewing on the buttons, I started with the one on the collar stand.
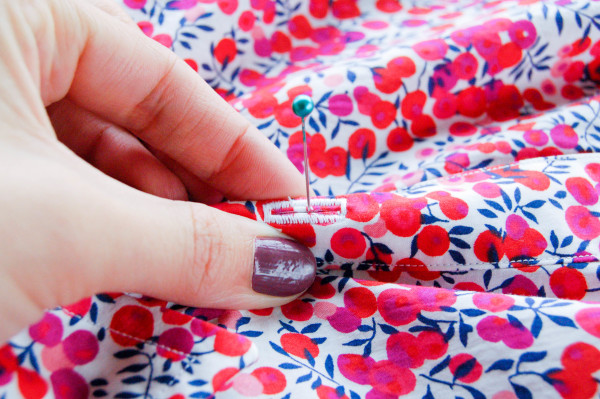
Then I buttoned it up, and marked the placement of the rest of the buttons. I decided it would be more important to have it line up from the neck down, rather than starting at the bottom or middle.
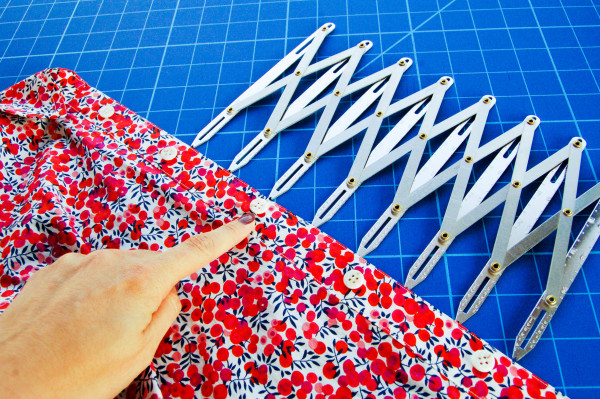
I poke a pin right through the middle of the buttonhole to mark where to sew each button.
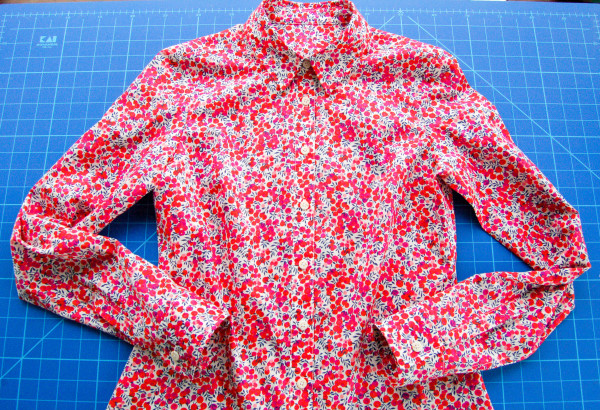
Another look at the same thing:
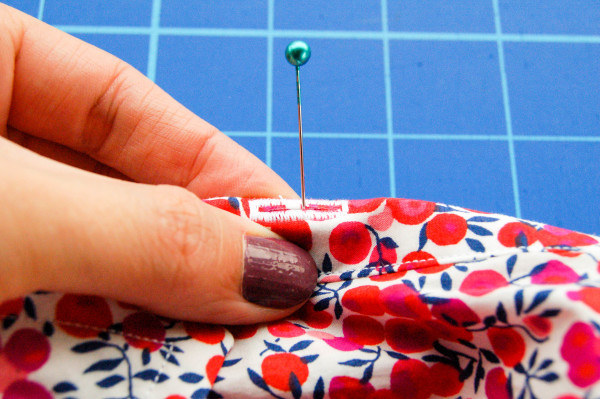
It is off a little at the hem, but it’s all right with me since the top layer is the longer one.
When sewing the buttons, I ran the thread through beeswax and pressed it between a folded sheet of paper to seal the wax in. I also cut the thread close to the knot before starting, take a stitch through the spot, and insert my needle between the two threads to anchor it to the starting point.
I didn’t take photos of sewing the cuff buttons or pocket flap buttons. The pocket flap buttons are very easy to place, they go exactly underneath the flap buttonhole.
For buttonhole placement on the cuffs, you can either try on the shirt and adjust the overlap to suit you. Or you can line up the cuff edges, folding the cuff flat with the inner cuffs against each other, and poke a pin through the cuff buttonhole. This will give you a more general cuff placement, in case you’re sewing the shirt for someone else.
Some other button & buttonhole tips:
- Turn the last buttonhole sideways. I have a couple of shirts with this detail and while I’m not sure it serves any function, it’s visually interesting!
- Sew the last buttonhole in contrast thread. It’s interesting but could look like a bright mark over your midsection, if you leave the shirt untucked.
- Sew the buttons on with contrasting thread. I did that on a few other shirt projects and it can look neat on an otherwise plain shirt.
- Use Fray-Check to stop your buttonholes from fraying. I apply the Fray-Check, let it dry, and then cut the buttonhole open.
- Sew four-hole buttons either with an ‘X’ or with two straight lines that don’t cross. (I’ve read somewhere that sewing the ‘x’ may not be as strong because the threads cross each other and could rub. However I’ve never had a problem with any buttons I’ve sewn, plus the buttons in the Tailoring book are sewn with X’s and I trust them!)
ps. Check out all posts on shirtmaking here!
Wow, what a school little tool that is!
The best part of making our own shirt is that we can put a button at the highest part of the bust. :)
Right? It’s one thing you can’t really change on ready-to-wear shirts, unless you add buttons between the existing buttons.
Hi,
Loving the shirt making posts! Looking forward to making my second Granville better than my first! Can I ask, will you be doing a post for the plackets? That was one part I had trouble with. They turned out alright in the end (if you don’t look too closely, or compare them with each other!) but I’m not sure where I went wrong. I will say your glue basting tip was a lifesaver though, so thanks for that!
Plackets are on the list! It’s too hard to see what’s happening in this fabric (the liberty print in today’s post) so I’m preparing new samples in contrast fabrics.
Glad the glue-basting tip was helpful! It comes in handy a lot when sewing shirts.
Oh my gosh! That is a super cool sewing notion! I’ve been having some of my hand sewn buttons coming off, and I think I have to go to a buttonhole thread? I usually sew the cross method too.
So maybe there is something to the point about the X-stitching crossing over itself, if you’ve found that happening! I rarely find my hand-sewn buttons coming off, and I use all-purpose thread (or the same thread as the rest of the project.)
I believe the bottom buttonhole being horizontal is to prevent any accidental unbuttoning. I’ve seen it on nicer mens’ shirts as well and if there is any stress in the tummy/beer belly area, the bottom button will stay closed.
That’s a logical explanation!
I haven’t made buttons in forever but will be practicing that skill again soon. Your hint to put a button where the fullest part of the bust is makes total sense. I wish I had thought years earlier when I was learning to sew. It would have reduced the stress!
I’ve never seen this tool, it’s so handy! As far as I know the top buttonhole is turned sideways so that the two sides of the shirt can stay aligned and not shift vertically as they might if all the buttonholes were vertical.
Yes, that makes sense! It’s the last buttonhole above the hemline that I was curious about, why is it sometimes turned sideways. The collar stand buttonhole has to be sideways in order to fit on the stand, it wouldn’t fit vertically!
Here’s a tip to space buttonholes w/o difficult measuring if you don’t have a divider. If, like Tasia, you want seven buttons in, say, 24 inches, that’s every 3.4285714 inches. Simply take a strip of waistband elastic, sew across it or mark w/ a marker every, say, 3.25 inches (slightly smaller but easy to measure amount).
Next, use a clothes pin or peg or a spring clamp to clamp the elastic even w/ one end of a yardstick. Stretch the other end of the elastic to, in this case, 24 inches. and clamp it to the yardstick.
Now lay the shirt buttonhole placket next to the yardstick, line up the bustline buttonhole w/ one of the marks, and all the other buttonholes will be evenly spaced to mark as well.
Great tip! Thanks so much for sharing.
For marking button placement I use my sewline marking pencil to push through the button hole and make a little mark on the button placket – similar to what you have shown with the pin. Then I use ‘magic’ tape to tape the buttons over the mark and then sew them on by machine!
How do you find the machine-sewn buttons stay on? I’ve only used my machine to sew on buttons a few times, and tend to stick with hand-sewing. Pushing the marking pen through the buttonhole is a great tip!
They stay on well – I tie the ends off at the back, but they go on pretty tightly as you don’t have control over that.
I dont know if this would work with machine button sewing. But someone might want to give it a try. Use a match stick under the thread and on top of the buttonholes. It just adds enough space between button and thread. This might help to make the button not quite so tight. I’ve read this tip online years ago and it was probabably used for a coat button. Sorry to say I’ve never even made a buttonhole!
I use a toothpick, you’re right a matchstick would make more sense for a coat button! If I want less space than a toothpick, a regular sewing pin or hand-sewing needle also works.
Love these tips,Tasia! Thanks so much for providing such excellent help with buttons and buttonholes, not to mention the entire shirtmaking series. :)
I have a made-to-measure shirt with a neat option on the cuff buttons. The cuff has two buttons and one buttonhole; the buttons are side-by-side (one closer to the edge of the cuff and one further in) so you can adjust the circumference of the cuff whenever you need to. I may try that on one of my future shirts.
I very much appreciated this post, which I found exceedingly helpful, because you offered so much detail. I stopped reading mid-post to order a Simflex. I had never heard of this handy tool before, but I have certainly needed it. I have a tip for you that might make sewing buttons easier. I did a lot of beadwork before I began sewing, and discovered a product called Thread Heaven. It is a thread conditioner, which makes the thread stronger, and also resists tangling. It is far superior to beeswax, because there is no residue. You will never have to iron your thread again. http://www.amazon.com/Thread-Heaven-Protectant-and-Conditioner/dp/B0019CYD42
Hi Tasia, I love your work, you are simply a perfectionist!
I live in the centre of Vancouver Island. In am back into sewing and want to sew a young, more fitted Chanel jacket. What are some of your favorite fabric stores? I am struggling to find fabric. Help!
Thank you! I’m not familiar with fabric stores on Vancouver Island, besides Gala Fabrics in Victoria. Is that close to you? Locally I shop at Fabricana, Spool of Thread, Fabrics Etc, Atex, Dressew and occasionally Fabricland.
Hi, I love this pattern and I’m happy to find all the tips-it is a huge help. I messed things up on the collar and collar stand, and was hoping to find some tips (and more photos…) for it as well.
Thanks,
Ofer