 In this post, we’ll go over the Supply List, to make sure you’re covered, and to give you a chance to pick up or order any last-minute notions and trims. We’ll also start making our muslins!
Ok! First, here’s what you’ll need for the Crescent Skirt Sew-Along. I’ve separated the list into must-have requirements, and optional supplies.
Supply List:
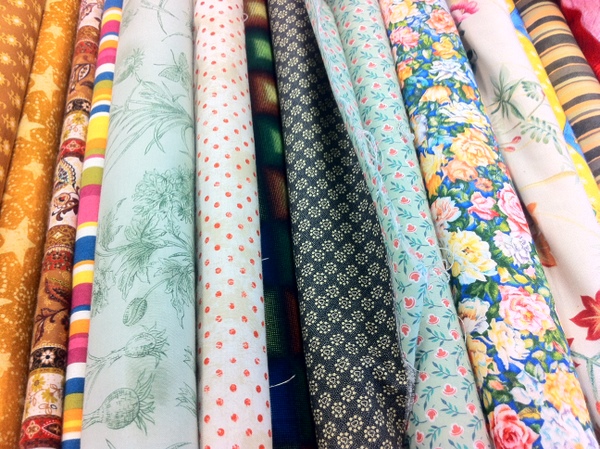
Fabric. Check out the post on choosing a fabric here, for ideas, suggestions, and recommendations!
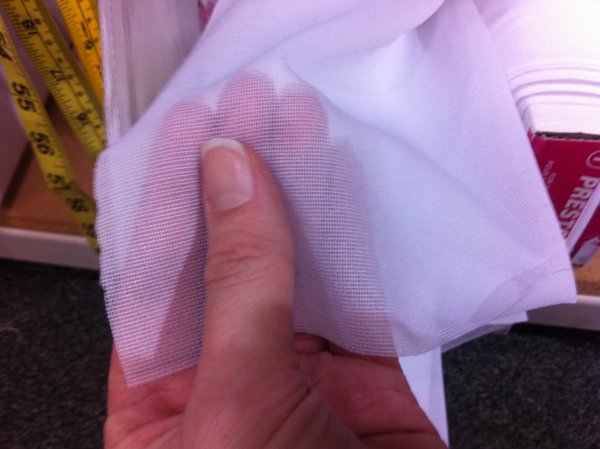
Interfacing. You can use sew-in or fusible, whichever you prefer! I used sew-in for some of my test garments, and it works just as well as fusible. This skirt uses a lightweight fusible. You’ll be fusing both sides of the waistband (inside and out) so when in doubt, lighter-weight is better!
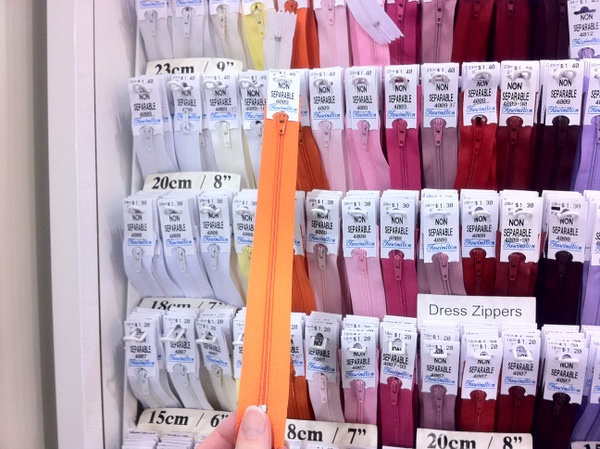
9″ Regular Zipper. It has to be a regular zipper not an invisible zipper to follow the sewing instructions in the pattern. You could use an invisible zipper, but they tend to only come in 8″ and 22″ lengths, and you’ll have to modify the sewing directions a little. Yes, you can shorten a longer zipper!
1/4″ Twill Tape. This is for reinforcing the pocket opening, so it doesn’t stretch out over time! It’s also used to tape the waistline, for the same reason. You could also use stay tape, and trim it down to 1/4″ for less bulk.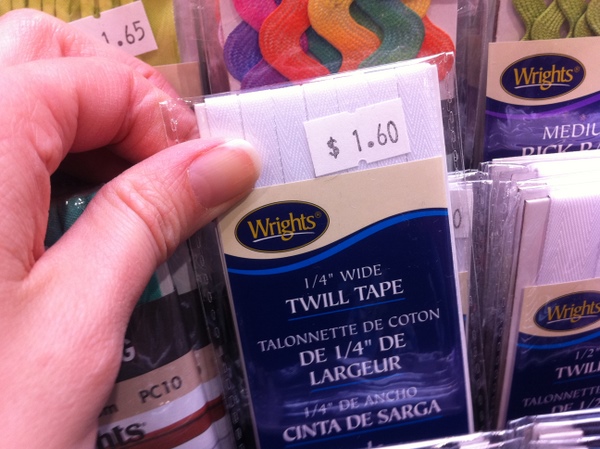
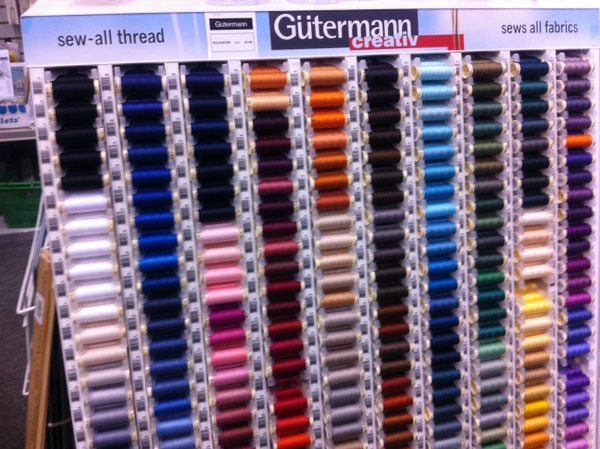
Thread. Like any sewing project, you’ll need to pick up a spool of matching thread.
 Pins, scissors, tape measure. The usual things you’ll need for cutting, pinning and measuring your project!
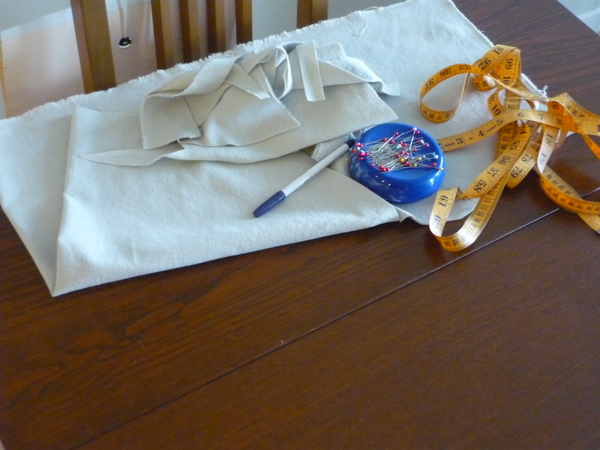
Muslin. For the first week, we’ll be making a muslin to get the fit just right. You’ll need about the same amount of muslin as you do fabric! I tend to buy my muslin in large amounts, 5-10 yards at a time, so I can always squeeze mine out of less and use up the odd-shaped leftover pieces.
Do we need to pre-wash the muslin? I don’t pre-wash my muslin for muslin-making, but I do when I’m using it as sew-in interfacing.
Optional Supplies:
Contrast Topstitching Thread. If you wanted to topstitch the yoke seamlines, choose a thread in a contrast colour! You could also use tone-on-tone topstitching for a more subtle look. It’s up to you!
Contrast Trim. Instead of topstitching, contrasting trim looks great on the seamlines to highlight the waist! Ribbon, trim, tape, lace, anything goes!
Lining. Normal lining fabrics such as bemberg rayon, acetate, polyester will do the trick. I’m partial to rayon lining, as it feels softer and more comfortable than the acetate and polyester types.
Slip Fabric. Same types of fabric as lining, although you could also use silk charmeuse, silk or polyester prints, whatever you like that coordinates with your main skirt fabric!
Slip Trimmings. Elastic, Lace Trim, Bow Detail. You can add little details to make your slip extra-special! I love lace trim on the hemline, as it solves the problem of hemming slippery fabrics and looks pretty peeking out of your skirt! You’ll need enough elastic to go around your waistline plus a couple of inches overlap. At Dressew I found a bunch of cute underwear-style bows that would look adorable at the front of a slip!
Tracing Paper, Pencil, Ruler, Paper Scissors. If you’re going to trace off your pattern, or plan to make alterations, you’ll need basic drafting supplies!
Let’s get started!
Today, you’ll need your pattern and your muslin, and your basic cutting-out supplies.
First, find the pattern pieces for the version you want to make. I’m demonstrating with View B today as that’s the skirt I’ll be making for the Sew-Along.
Decide whether you’re going to work with the original pattern, or trace off a copy. If you’re tracing, give yourself some extra time to duplicate all of the pieces, label them, and cut them out. I’ve traced mine so that I can make alterations, and use them for demonstrations. I marked them with ‘April 2011’ so I know when I made the changes. (As I suspect I have changed size just slightly, and want to be sure my skirt fits!)
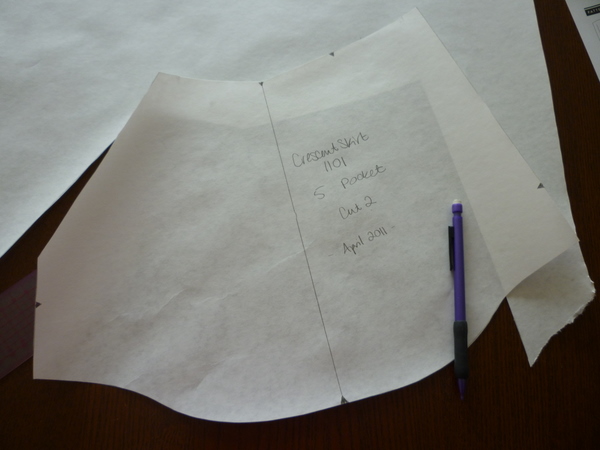 Now, lay out your muslin, and lay out the pieces on your muslin. If you’re using a fresh piece of muslin, follow the cutting layout chart, but if you’re using a partially-used piece of muslin, cut out the pieces wherever you can fit them!
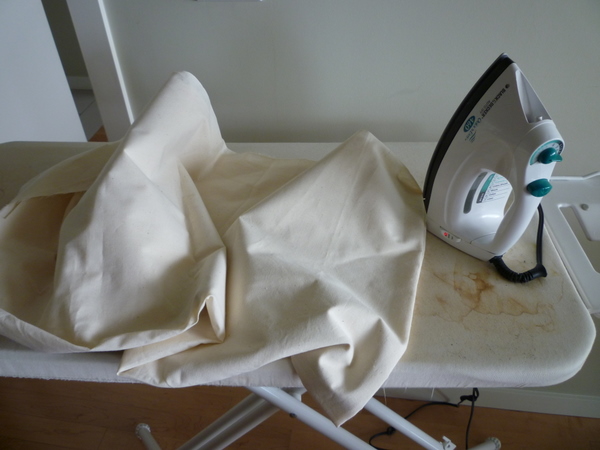
Some cutting tips:
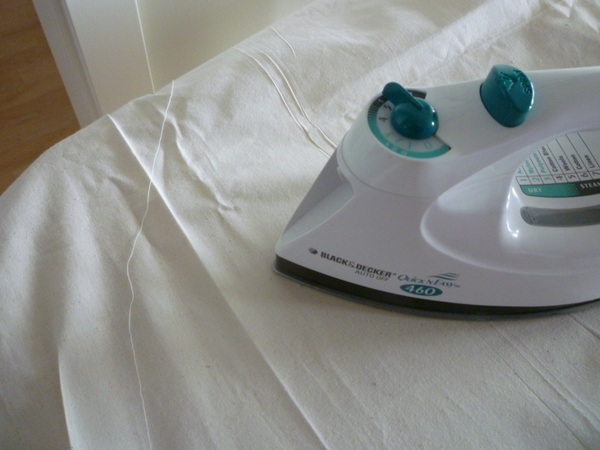
- Press your muslin before cutting! If it’s been balled up in a drawer, press it out smooth and flat. Any wrinkles in your muslin will give you extra ‘ease’ in your muslin, and the fit won’t be right!
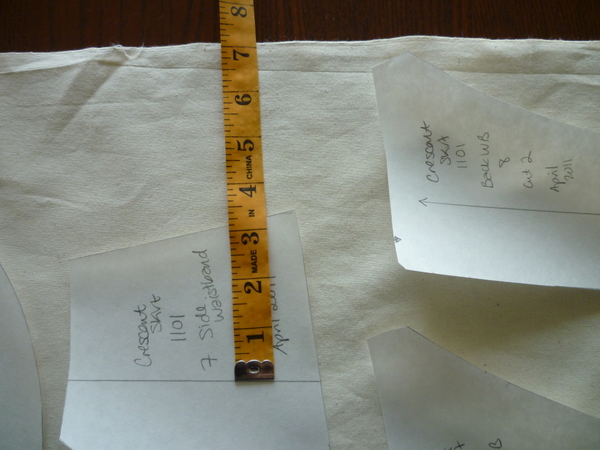
- Make sure you follow the grainlines. Even though it’s just a muslin, cutting the pieces off-grain will make a difference in the fit.
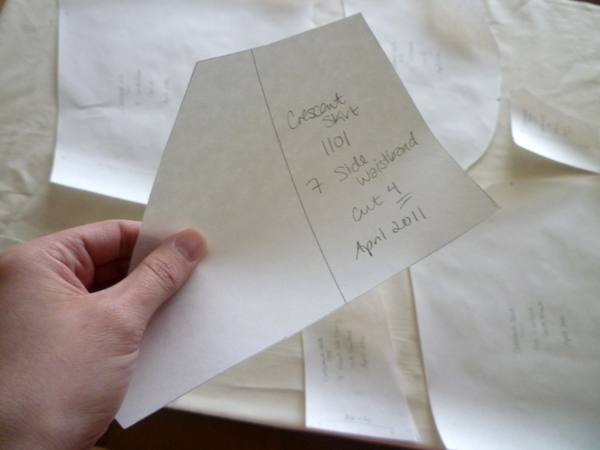
- Don’t forget to cut FOUR of piece #7 – Side Waistband. It’s rare that you end up cutting four of the same piece, so I thought I’d point it out!
- If you’re wanting to add to the length, now’s the time! Estimate the amount you want to add, and cut the Skirt Front and Skirt Back pieces longer by that amount. You can always shorten your muslin, so longer is better!
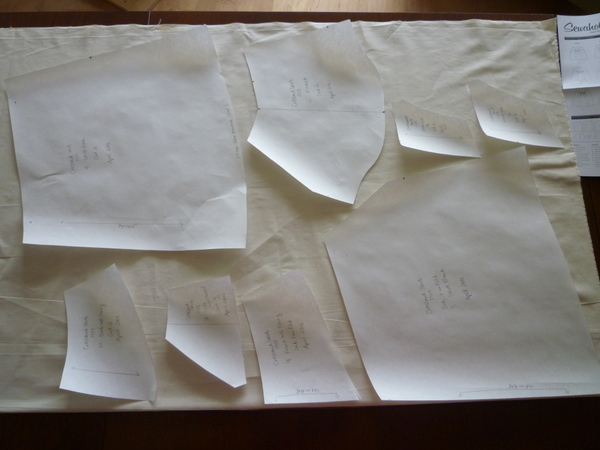 Lay out your pieces – and if you’re using traced pieces that are too thick to pin through, trace around the pattern pieces with pen.
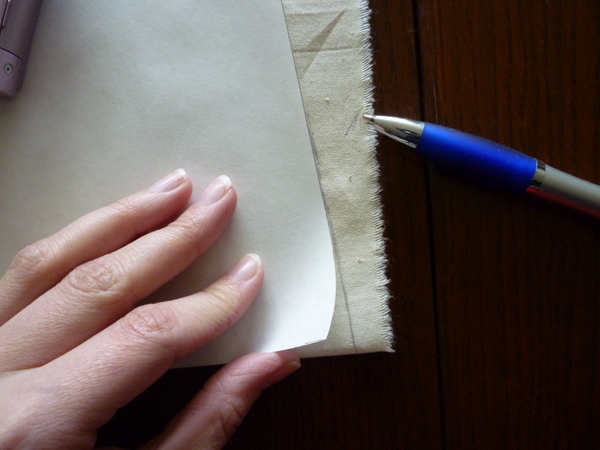
Once the muslin pieces are cut, label and mark each muslin piece. This will help you determine the right and wrong side easily! Here’s what I usually write on each piece:
- Pattern Name & Number – Crescent Skirt 1101
- Piece Name – Side Waistband 7
- Darts, Circles, and Other Markings – copy the shape of the original marking
I use regular pen, so that I can work slowly and not worry about the fadeaway pen disappearing on me! It makes it simpler to adjust the pattern if I can figure out easily which piece is which.
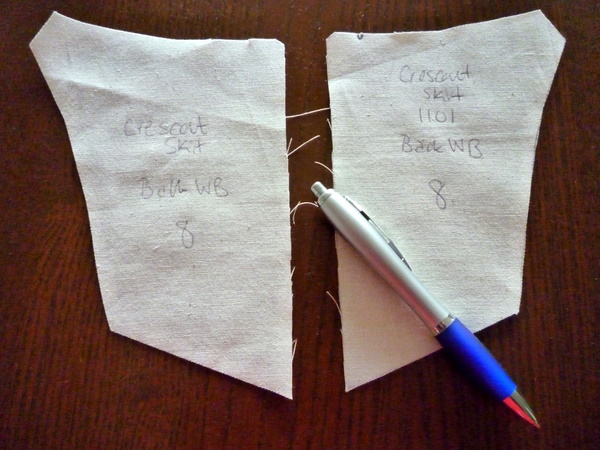
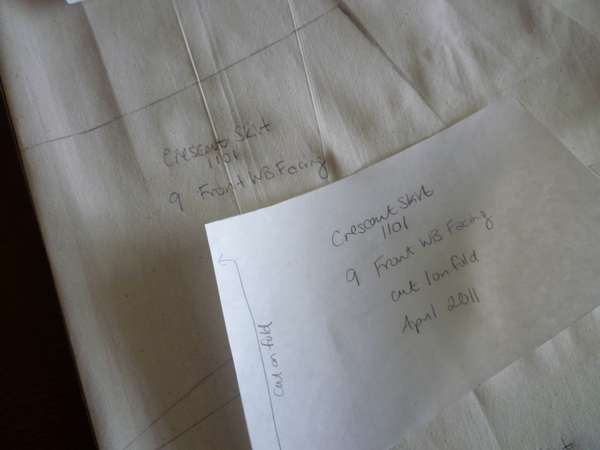 If you’ve Cut Two of a piece, label both pieces.
 Next, we’ll machine-stitch the seamlines and hemline. This is an easy step to skip, but I really like it for several reasons. It stabilizes your curved edges, and makes it really easy to see how much to add or reduce at each seamline. It also lets you know right away if your seams have been sewn too narrow or too wide!
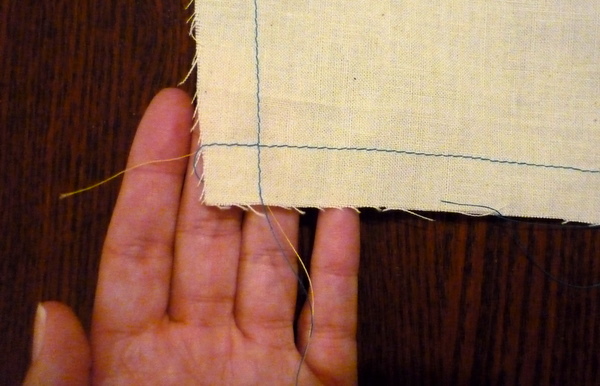
Seam Allowance Guide:
- 5/8″ (1.5cm) on all seams
- 1 1/4″ (3.5cm) on the hemline
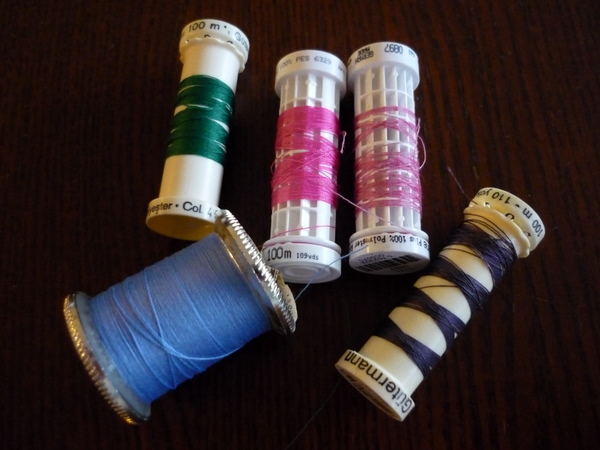
Use old, contrasting thread so it shows up easily! This is a great way to use up leftover thread spools, or cheap, crappy thread that you don’t trust to sew garments with. (You know the kind – someone usually finds out you sew and gives you their old, brittle thread collection…)
 And, GO SLOW. The whole point of stitching the seamlines is to have an accurate marking line on your muslin. If our stitched seamlines are wavy and crooked, we can’t use them as a guideline. So take your time, sew the most tidy stitched seamlines possible!
PS. Want your own Crescent Skirt pattern? It’s never too late to join the Sew-Along! Order your pattern and start whenever you’re ready, the posts will always be up for easy reference. Click here to visit the store!

Argh… I bought a 9″ invisible zipper….
For the lining/slip material, would plain white cotton work?
GAH! me too! (*picks up purse – dashes off to the shop*)
i’m just reading along but what a brilliant idea to use the end of the tape measure to help identify the grainline! here i am peering closely at my fabric, trying to discern the grain, whipping out the yardstick…
always happy to learn something new here everytime i log on!
Thank you for the forst couple of pictures, so helpful to know I need to get a 23cm zipper and what twill tape is in French. Now I can look for talonnette. :)
What kind of elastic should I get for the slip?
–C.B.
Hey everyone! Can I tell you how great it is not to have to rush off to school this morning? :)
@Alexandra: Plain white cotton would work for lining – the only thing to consider is that it might ‘stick’ to your main fabric. Have you ever worn tights with an unlined skirt and felt the skirt ‘stick’ to your tights as you walk? That might happen if your lining fabric isn’t slippery – the two layers will cling to each other and not lie flat. However, I’ve used cottony fabrics for linings in other projects, and didn’t have a problem. Just something to think about!
@alice: Great! I know, I feel the same way, sewing is a constant learning process!
@julia: Ah! I never thought of that. It’s really helpful then for you, if I take photos of our Canadian packaging. We have both French and English on our labels! :) I’ll try to think of that going forward! If you ever need the French side photographed, where I’ve cropped it out of the photo or something, just let me know!
@Catholic Bibliophagist: Good question! The best would be lingerie elastic – something like this:
http://www.sewsassy.com/LingerieProducts/lingerieelastic.html
or this
http://www.fabric.com/ProductDetail.aspx?ProductID=4d5c0b6e-d922-4850-90a2-e7bcec771b34
It’s got that nice edging on one side, like underwear, so it looks pretty and finished along the top edge of the slip!
If that’s hard to find, you could always substitute regular elastic – looks the same but without the pretty edging.
Does this help? (Anyone else have good sources for lingerie elastic?)
Tasia, for those of us who had hips and behind, would we make the adjustment to the skirt at this point or wait to see if an adjustment is needed?
@Linda: Ah! Good question. Just to clarify, your hip measurement is in a different size column than your waist? If you’re saying you have a hips and behind, you’re in luck, this skirt is designed for a curvier bottom and hips! There’s a good chance you won’t have to adjust a thing, if that’s the case!
Take a look at the size chart – I would choose the size based on your waist. The hip measurement is slightly full on View A, and very full on Views B and C. If you’re making the muslin along with us, then yes, we’ll adjust and fit the muslin to fit. It’s harder to know where to add at the hip, especially since the skirt is gathered and has plenty of ease. (A fitted skirt would be easy – we’d add the amount needed to go over our widest parts, else we wouldn’t be able to get it on!)
I hope this helps! Let me know if this doesn’t make sense. The short answer is – choose the size closest to your measurements, when you’re between sizes go with the waist measurement, and we’ll adjust our muslins to fit.
I really like the idea of stitching the seamlines. I’ve learnt that it’s worth the little extra things at the start of a project. Every time I think “ooh, I can skip that” it turns out badly!!
Px
Ah, thanks for that Tasia, I always wondered why slips were made in a silky-like fabric, and now I know! You learn something new everyday! :)
@Alexandra: No problem! It’s also because it feels nice on the skin, to have a smooth, soft layer next to your body. If you get to pick what touches your skin, why not pick silk and other soft fabrics! Also, because they don’t add any bulk. A thin silk slip doesn’t add any ‘inches’ to your figure, but provides a thin, slippery layer for comfort and ease.
It all depends on what you want, that’s the great part about sewing! I’ve seen people make flannel slips for winter, for extra warmth. They might stick to your legs a little, but wouldn’t that be so cosy? Like wearing pajamas under your dress. :)
I also use the knit mesh interfacing! It’s one of my favorite fusibles! I love the way it doesn’t ruin the fabric after you’ve fused it. It’s nice and lightweight too and doesn’t have the bulky stiff feeling some interfacings have. Great choice!
xoxo,
Sunni
Thanks Tasia!
I’ve never made a muslin before so its great to pick up these tips for my first one. I would never have thought of stitching the seamlines before you start. Does this step get done when making up the final skirt?
@Sewingdina: Nope, you don’t stitch the seamlines on your final skirt! It’s just for the muslin stage. The reason we do this, is so we can easily see where the seamlines are supposed to be. That way, if we let out, or take in our seams, it’s easy to calculate how much to add/subtract from the original seamlines. Plus if they stretch out at all while we’re working with the muslin, we know where they were supposed to be.
Have you ever seen a vintage pattern, that has the seamlines printed as well as the cutting lines? So you can see exactly where you’re meant to be stitching? That’s kind of what it’s like – a guideline for sewing your seams to make it easy!
“(You know the kind ‚Äì someone usually finds out you sew and gives you their old, brittle thread collection‚Ķ)”
Oh so true!
Thanks for the comprehensive list, I wouldn’t have thought of the twill tape and would have gotten to that step and had to stop. (Although it would have served me right for not reading the envelop back).
Now to find time to go to the fabric store to get the bits and pieces before the easter weekend when all the shops are closed.
@Rachel: Don’t worry, I would have reminded you before you got to the twill tape step! :)
All your shops are closed over Easter Weekend? My local shop has half-price notions on all long weekends, and it’s open every day! We’re lucky, but then again there’s the danger of spending too much $$$ at the sale.. (Since we’re already here for the notions.. might as well buy fabric too!)
@Tasia: My closest store is closed all weekend (about 200m from my house! http://www.thefabricstore.com.au/) but there is a big sale on at one in the city (including $5 patterns… need to decide if i want to get any!). Everywhere is closed on Friday but most places are open the rest of the weekend.
@Rachel: Ah, I see! I wish there was a fabric store 200m from my house. Now you’re the lucky one! The closest three stores are all a 30-45 min drive away from me, and way too far to bike.
That store looks great – you can buy merino wool! how luxurious!
@Tasia: There is actually another two small ones closer, but one doesn’t really have garment fabric (http://www.beautifulsilks.com/index.html) and the other one is more specialised for more commercial customers (http://www.thedancingqueen.com.au/).
Yeah, I can’t complain about my area.
@Rachel: Ooooh.. pretty! Lots to love on the Dancing Queen site, rather pricey though! I can’t complain either, the stores around here are pretty great and well worth the drive. (Plus the added excuse of ‘I drove all this way, better stock up!)
@Tasia:
Wait Tasia, which store is this? Since I’m a local Vancouverite…might as well also stock up. :P Dressew, Fabricland, Fabricana? Spool of Thread?? Hahahah.
@Caroline: It’s Fabricana! Every long weekend they have notions on sale, 50% off. Usually linings too, sometimes interfacings. I think lining and notions are always half-price, it’s the interfacing that may or may not be on sale. Happy shopping and I might just see you there! :)
I was searching for twill tape online here in France and could only find 14mm wide (1/4″ should be 6mm, so quite a difference). Is the twill tape only for stabilizing the pockets? Could we substitute somehow? With a piece of fabric or ribbon or something?
Thanks in advance.
And then zippers come either in 20 or 25cm. sigh….. which one would be better? A slightly shorter than you used or a slightly longer?
@julia: Hi Julia! Ok, for the zipper, I’d always go longer because if it’s too short, it’s hard to get the skirt on and off. You can shorten a longer zipper but you can’t make a short one longer! So I’d say go for the 25 cm zipper.
For the twill tape, you can substitute stay tape if that’s easy to find – mentioned in this post here:
http://sewaholic.net/using-stay-tape-on-necklines-and-seams/
It’s nice because you can cut it down thinner and use less! But this might also be tricky to find locally.
The twill tape is used for the pockets and for the waistline. It’s more important on the waistline than the pockets! You could probably sub 1/4″ ribbon or use the selvages of your fabric. Trim off the selvages of your fabric in long strips, and use them as twill tape. I believe you can cut the selvages narrower, into 1/4″ strips, and they won’t fray.
I hope this helps! :)
I also love mesh interfacing! My sewing instructor suggested using Palmer Pletsch PerfectFuse (http://www.palmerpletsch.com/pfuse.htm) and it was great to work with!
Hey Tasia
A couple of questions. Excuse my randomness but:
1) My closest “Sewaholic” waist size is a 14 but I need to add to this measurement by 1.5 inches for it to be comfy. (I didn’t want to go to a size 16 as I’m not pear shaped and the hip measurement for a 14 is already alot bigger than I need). I have a cunning plan that involves “stealing” some of the seam allowance. Since the waistband consists of 8 pieces(7 seams, right?), if I sew each seam at just over 3/8 of an inch instead of 5/8, then across all the seams that make up the waistband this should give me the extra 1.5″ I need. Now in my little random brain, this works,but I wanted to check with you if I was missing any obvious pitfalls with this idea?
2) Seam finishes – I don’t have a serger/overlocker. What seam finishes would you recommend?? I know it’s only muslin stage right now. But if by some strange twist of fate my muslin IS wearable (I’m using a cheaper fabric similar to my final fabric but still pretty wearable) I’d like to finish the inside off properly.
Sorry for the long post! Can’t guarantee it’ll be the last ;)
Pxxx
@portia: Hey Portia! No need to apologize for the long post, there are probably others with similar questions, and it’s always better to ask!
1. On ‘stealing’ the seam allowances – I can see how that would work on the sideseam and centre front seams, as they’re only slightly curved. I worry that your curved seams (the detail seams on front and back) won’t sew together properly, as the seam allowance is added to each side of the curve, so that the finished 5/8″ seamline ends up where it started.. does that make sense?
When you add a seam, in making a pattern, you slice up the pattern piece, and then add seam allowances to each side of the seam. If when putting it back together, you don’t take it in all the way.. do you see how that might be a little wonky? What I’d suggest instead, is adding more to the side seams (perhaps an extra half inch?), and leaving the curved decorative seams as-is. If you end up not needing that much on the sides, just pinch it in! But that way the curved seams lie flat and don’t end up strangely shaped.
2. Seam finishes if you don’t have a serger? You could french-seam the sideseams and the pocket bag seam.. you could always zig-zag and pretend it’s like serging.. You could turn-and-stitch the seams (like a hem – fold it under, press, stitch). The best way to find an edge-finish you like? Make a little seam sample out of your scrap fabric. That way, you’ll see exactly what it will look like on the finished skirt!
Hope this helps and feel free to comment any time if you have more questions! :)
Wow, that was super quick!! Thanks Tasia. Yep, perfect sense, thankyou. I’ll spread the increase between the straight edges only. Glad I double checked now.
I’ll go French on the seams (probably!).
As a side note, it’s so cool being guided by the person that created the pattern!! Thank you so much. :)
Px
@portia: No problem and I’m happy to help! You know, it’s pretty awesome to be able to guide you guys in the making of the skirt. It’s one thing to put a product out there, and hope people can understand how it goes together alone at home. This way, I can share so much more! More tips, more ideas, more suggestions – and lots of help! :)
You can do French on almost all the seams. Some of them, like the bottom of the pocket bag, look even better if they’re french-seamed! I’ll try to keep that in mind as I demonstrate, and remember to explain how to French seam as well as serge!
Thanks that would be super helpful. I’ve done seam samples of French seams on numerous occassions for college but not incorporated them in a garment before so any guidance is appreciated. Your responses are so quick it’s almost like being on MSN messenger,lol!
Px
@portia: Yup, I’m fast when I’m in front of the computer! :) Don’t worry, french seams will be easy!
I’m just barely starting the sew-along, so I don’t know if this question will be noticed.
My waist measurement is 26.5 inches, so it falls between size 4 and size 6. Do you think I should cut out a 4 or a 6 for my muslin? My hips are between a size 2 and a size 4, so I worry that doing a size 6 will be too big on the hips. Or will the hips matter on this pattern? (I’m doing View C.)
Thanks for any help.
–C.B.
@Catholic Bibliophagist: Hi! Don’t worry, I still get notifications of all comments, on all posts. I may be slow but I won’t miss it! :)
I’d suggest cutting a size 4 for your muslin, if you’re only half an inch over the measurement. That’s enough to let out at centre back or centre front without making major changes, and better than cutting a whole size larger, especially if you’re slim in the hips! The hips don’t really matter, as they’re cut full and gathered, but if you’re already smaller than the measurements, it may be too voluminous for your liking. Plus, the waistband covers the area from waist to high-hip, and your hips are narrower, so the 6 may be too wide all around the waistband.
That’s my suggestion – I hope that helps! :)