Today we’re going to put together our skirt muslins. It’s much like sewing the actual skirt, but a little faster as we don’t have to finish everything perfectly. All right, let’s get sewing!
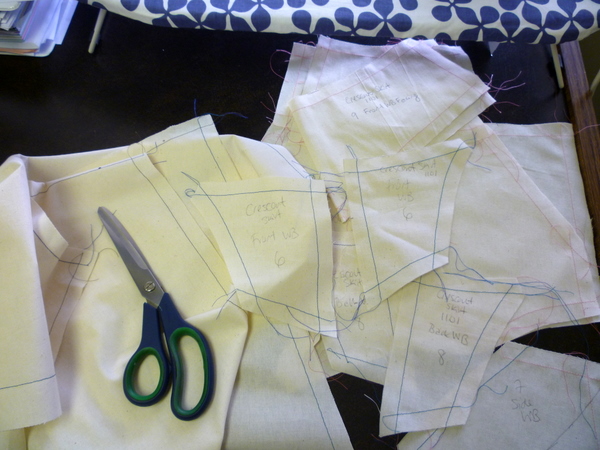
Remember: you’ll need a zipper for your muslin. If that seems too wasteful, using up a zipper just for a muslin, you can rip it out afterwards and reuse it. You can even use your real skirt zipper, the one you plan to use for your real Sew-Along skirt, in your muslin. After the fitting is done, rip it out and use it for the actual skirt project.
Let’s start sewing! We’ll go in a slightly different order than the pattern instructions. A couple of you mentioned that you were going to muslin just the yoke, so that’s where we’ll start! If that’s all you need to feel confident with the fit, you’ll save a bit of time (and save muslin, too!)
Sewing the Waistband
First, grab your waistband pieces – there should be 8 pieces total. Starting with the centre front seam, sew the waistband together along the curved seams and sideseams. If you’re following the pattern sewing instructions, refer to step 11.
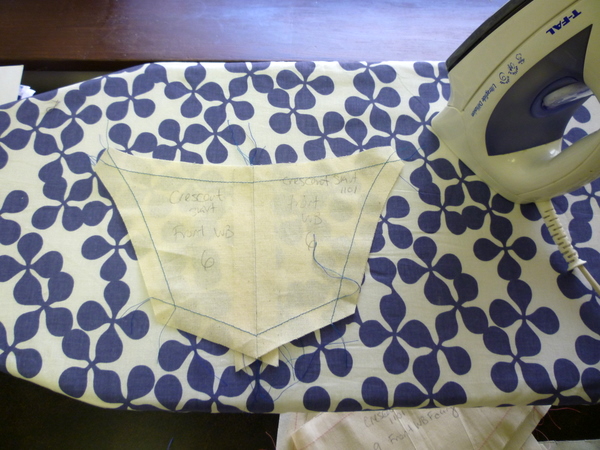 Use long stitches to sew the seams. If you have to unpick or let out the seams, you’ll be happy that you used wider stitches as they’re easier to remove!
For sewing the curved seams, pin the pieces together matching the ends first.
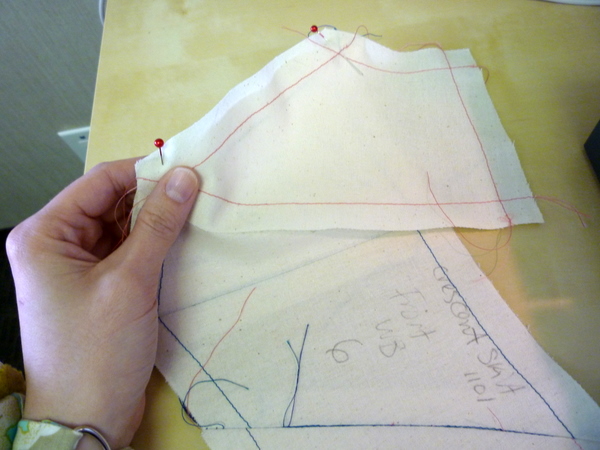
Then, pin in between the edges as shown.
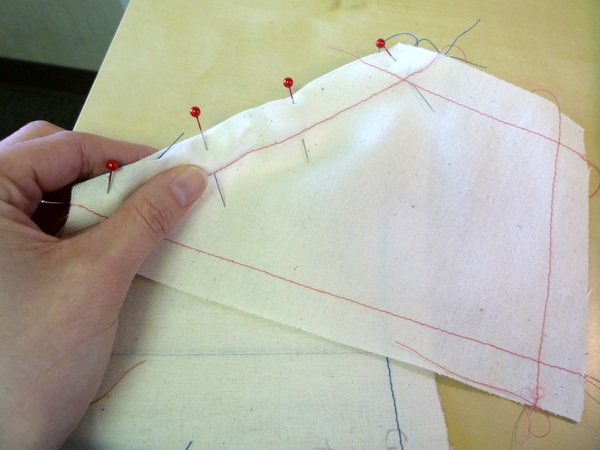 At the end, you should have a constructed waistband looking somewhat like this:
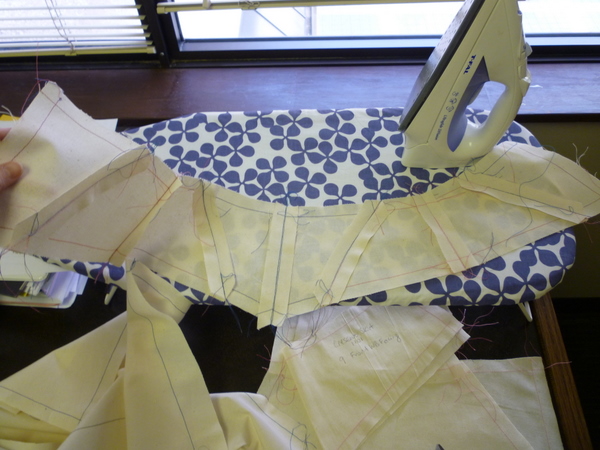 Press all seams open. Let’s move to the next section!
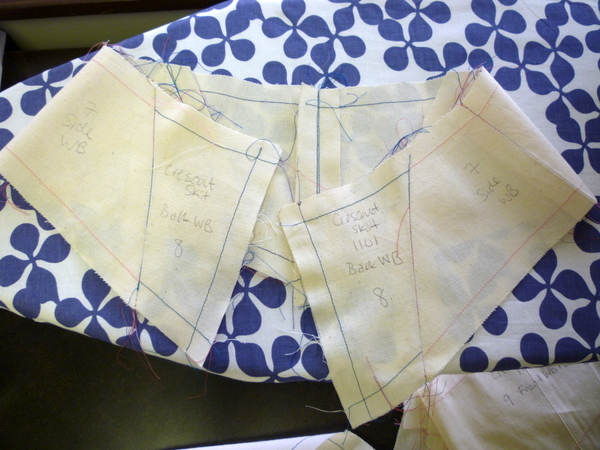 NOTE: If all you plan on muslin-ing is the waistband, you’re done!
Sewing the Waistband Facing
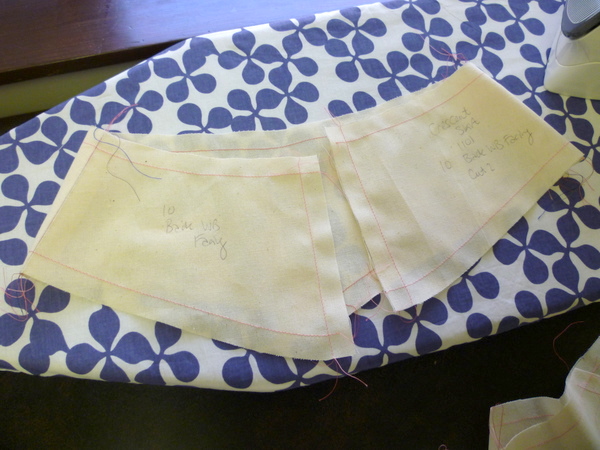
Only two seams to sew here! Sew the Front Waistband Facing to the Back at the sideseams. Press both seams open.
Sewing the Pockets
Technically, you could skip this step and sew the pockets closed. But, since the pockets are at the hip, and affect how the skirt fits, let’s sew the pockets properly to give us a better idea of fit.
Pin the pocket to the pocket opening edge on the Skirt Front.
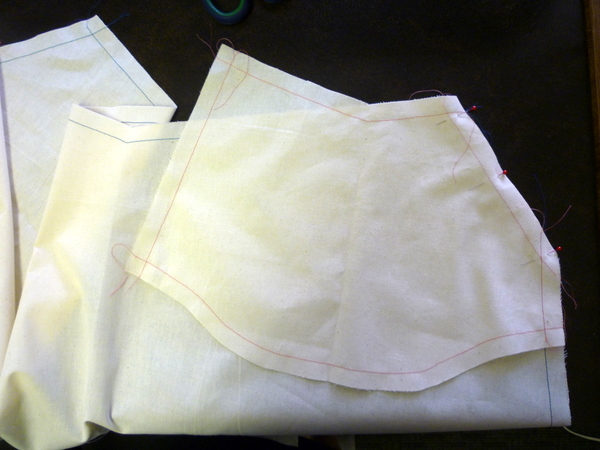 Sew, press open, and press pocket to the inside of the skirt.
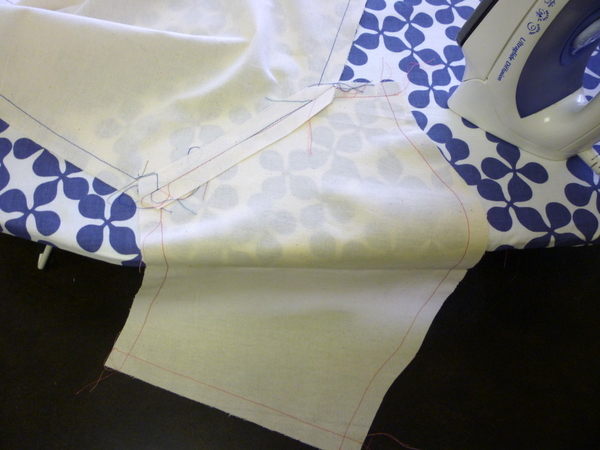 Fold back the pocket, and stitch the bottom seam of the pocket bag.
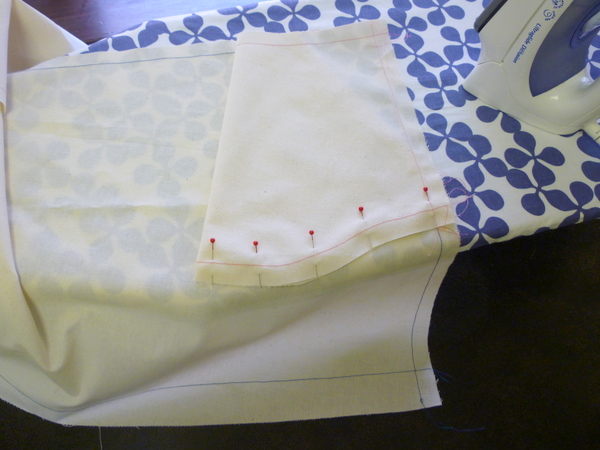 Turn the skirt over so it’s right side up, and line up the top edge and side edges of the pocket bag.
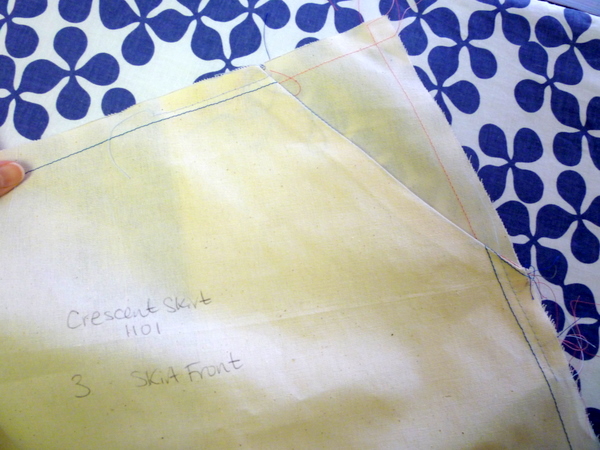
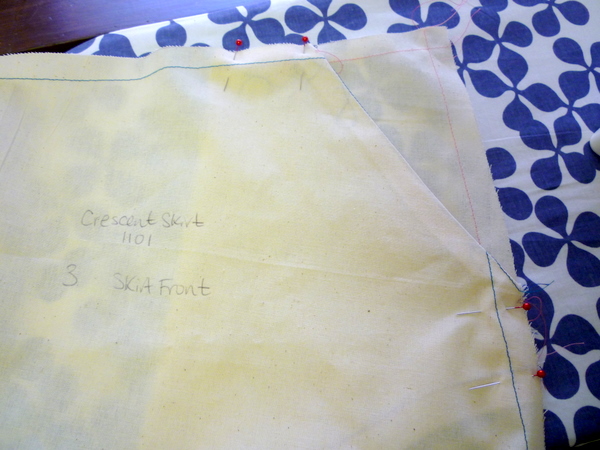 Baste in place, through all layers, along the top and side to secure pocket.
 That should get you started! Next, we’ll move on to Sewing the Muslin, Part 2.
As usual, leave a comment if you have questions!


The office looks fantastic! I’ll hopefully be catching up with these steps over the long weekend.
How exciting that you’ve moved into your office already – it looks great.
I am done with my waistband, but I am having trouble with the pockets (good thing it’s just a muslin). I did sew the pocket right sides together to the front, is that wrong? I don’t know how to go on after that, it doesn’t look right compared to your pics. I am guessing I should have sewn the right side of the pocket to the wrong side of the front? Or wrong side on wrong side?
As so often, asking the dumb question out aloud made me look at the problem in a new way. Turns out I had sewn the pocket correctly to the skirt, but then folded the pocket the wrong way round. It’s all good now. :) I am caught up.
@julia: Oh good! That happens to me all the time – as soon as I say something out loud, or type it, the answer suddenly appears. :)
Your office looks great! Can’t wait to see it all done up :)
I’m going to make a start on my muslin tomorrow. The pockets look really cute!
Ashley x
The office looks great!! How fabulous! I’ve got my fabric and pattern all ready to go! yipppeee!
I spy a shortcut! My laziness has won. I didn’t cut the skirt pieces from the other night anyway, I had just pinned them, so I have now sewn up the waistband and it looks good! Plus I am an apple so the waist was always going to be more of an issue than the hips (do you hear a justification in there?)
Great pattern! The waistband muslin sewed right up! Can’t wait to move on.
Hi Tasia, congrats on getting into the new office. One question here: when we sew along the bottom edge of the pocket, are we sewing it to the front of the skirt, or is it separate? Thanks!
@Amy: Hi Amy! When you sew along the bottom edge of the pocket, you’re ONLY sewing the two pocket bag layers together. The two edges that are curved and shaped exactly the same, not the front of the skirt.
If you have two layers, you’ve got it right. If there are three layers, you have one too many!
Let me know if a photo would help! :)
Thanks Tasia! That’s exactly what I decided to do last night. I couldn’t tell from your photo above (the tenth from the top) whether the pins were going through just the pocket or the pocket and the front of the skirt. I read your text as just the pocket, but I figured it couldn’t hurt to ask. Thanks again!
@Amy: Great! Definitely ask if something isn’t clear – muslin is hard to photograph as both sides look exactly the same, and the beige colour blends in…