 Hey sew-alongers! You know the drill: you can click the link to the left to catch up on all things to do with the Belcarra sew-along.
For this post, we’re going to attach our neck binding! I love this method as I find it always gives me the cleanest finish and the best results. You could also sew just one shoulder seam, attach your neck binding, and then sew the other shoulder seam. Switching up sewing order or using alternative methods is totally fine. Just do what you’re comfortable with!
Okay, so let’s get started.

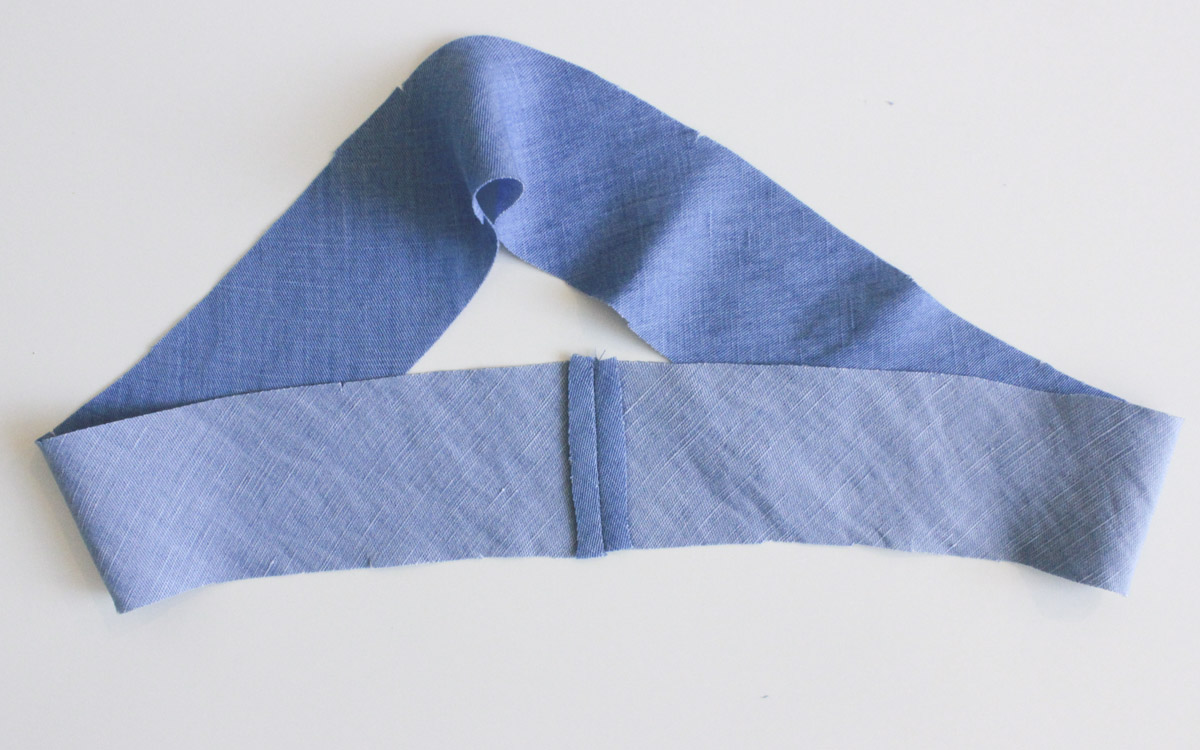
Start by folding your neck binding piece in half widthwise, like the photo above, right sides facing. This piece is on the bias so handle it carefully. Don’t worry if it seems to stretch a little bit as you hold it or handle it – it will just ease back to its size when we baste it later on.

Sew this edge, and then trim seam allowance to 1⁄4” (6mm).
Press this seam open
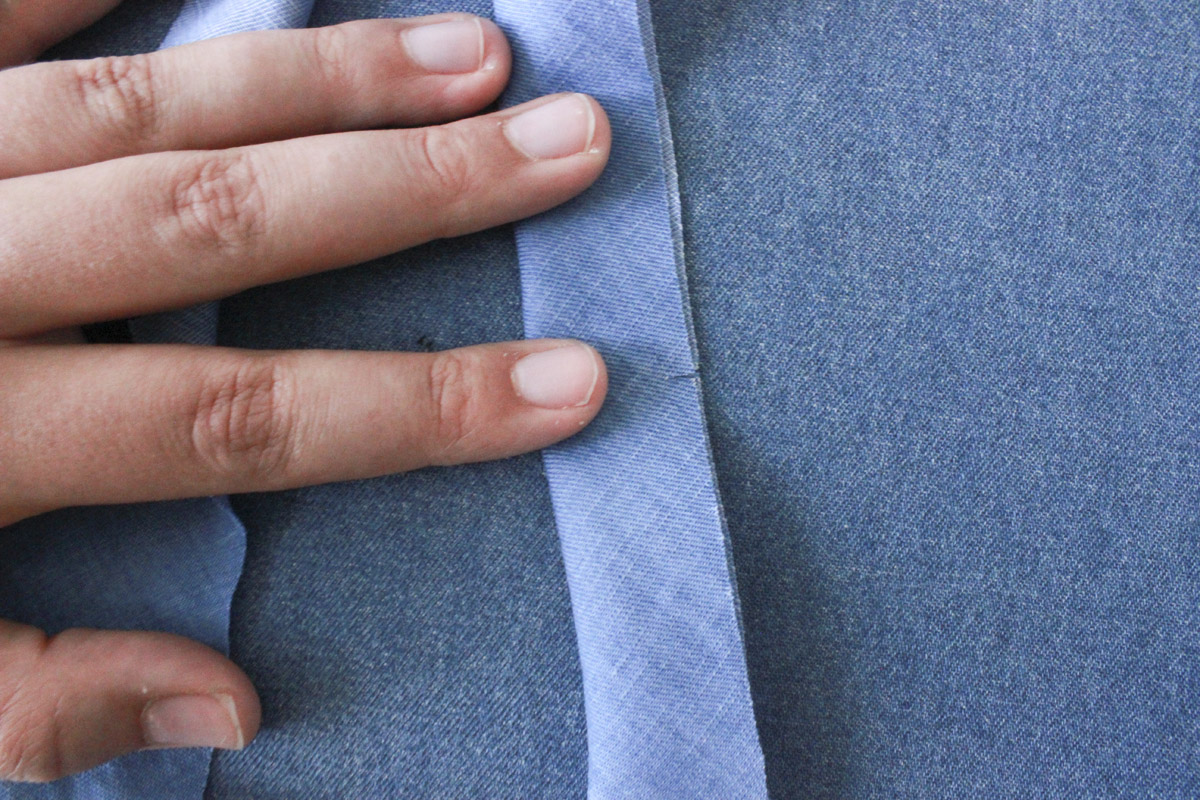
Now we can fold the binding lengthwise, wrong sides together, matching the notches. Press lightly with your iron, being careful not to stretch your fabric.
Here it is after I’ve pressed it.
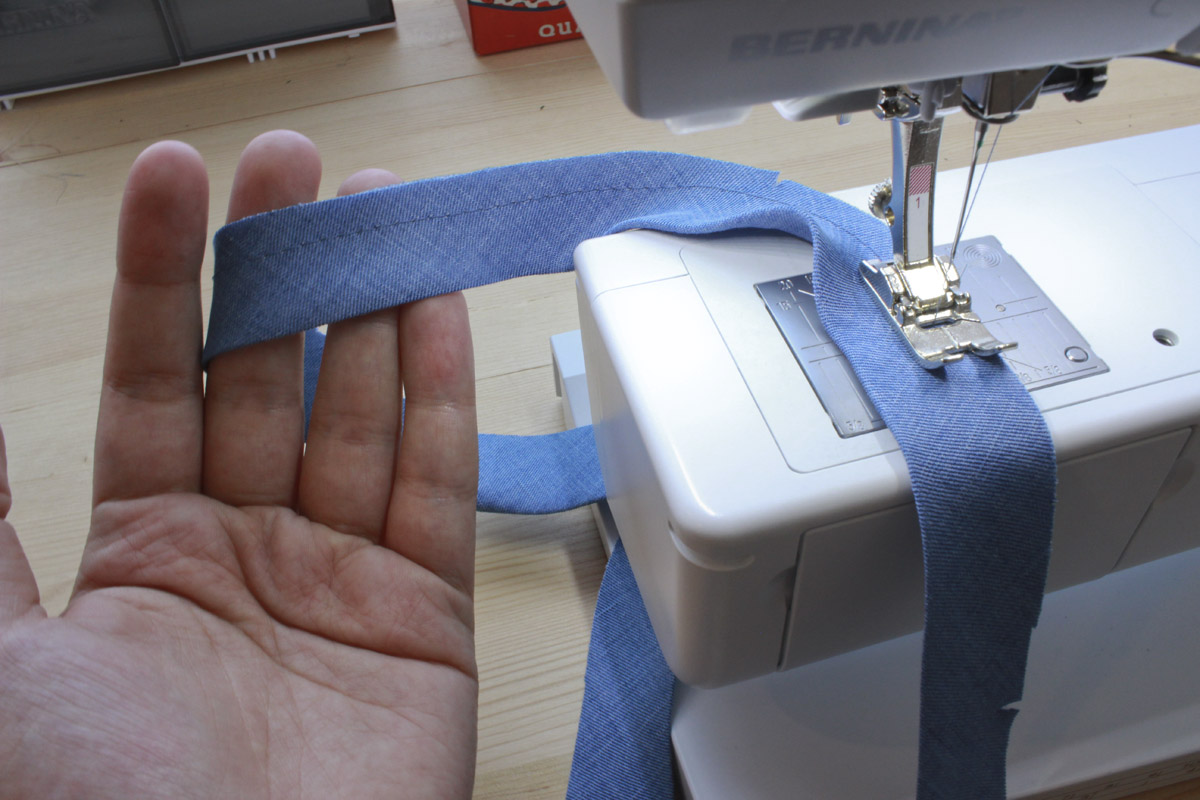
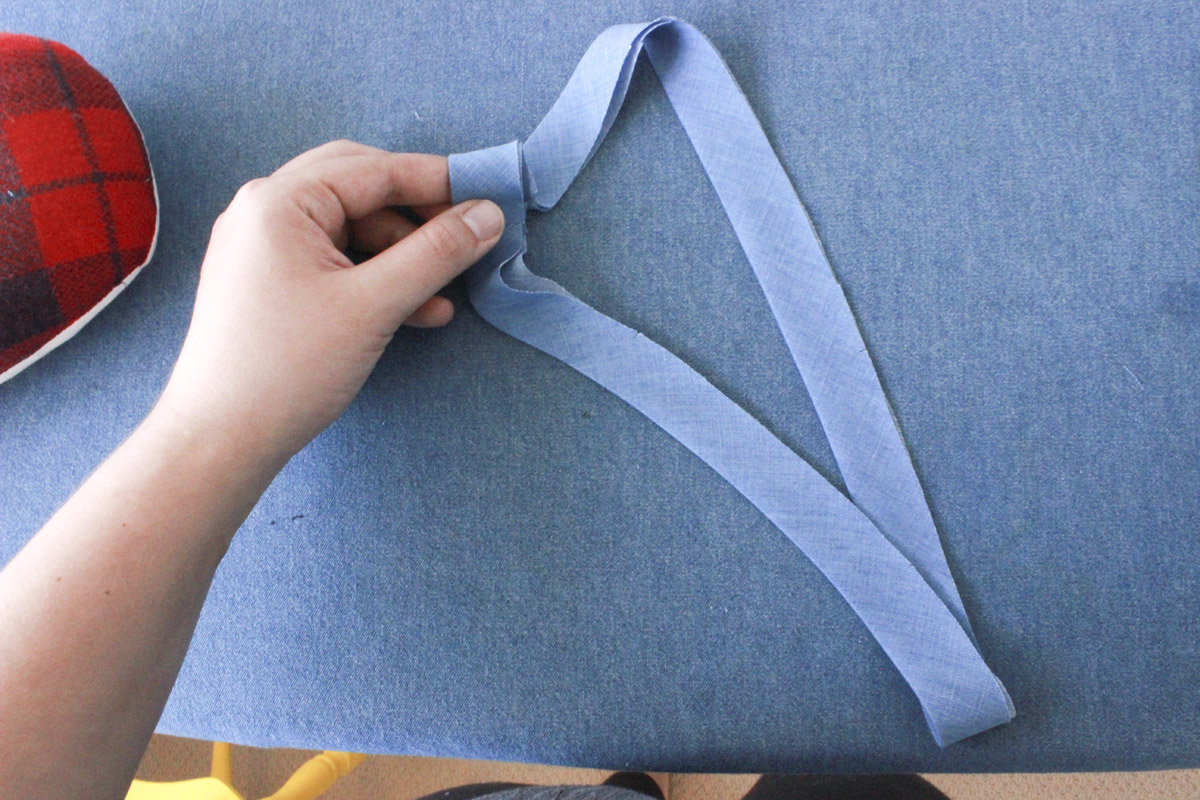
Now baste the raw edges together with a nice long machine stitch, or by hand if you prefer. I like to baste about 1⁄4” (6mm) from the edge. Again, take care not to stretch the binding as you go. Just gently guiding it into the machine will do the trick.
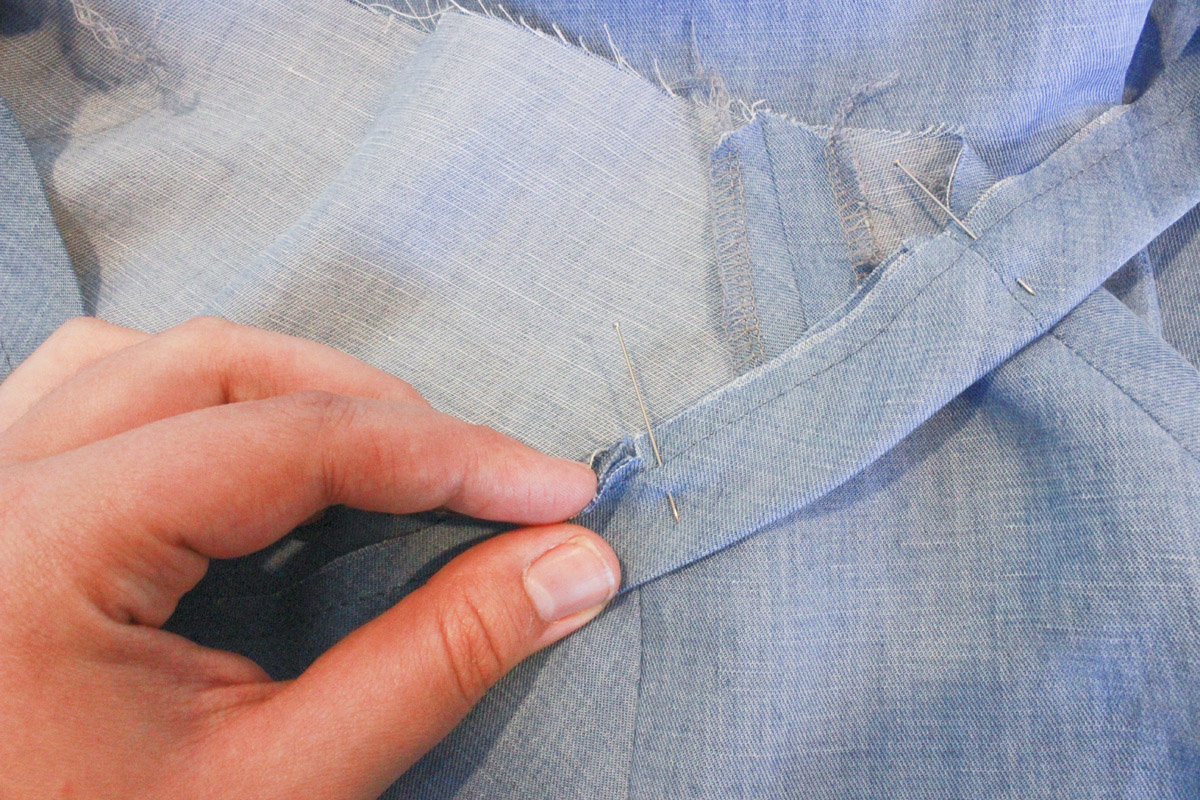
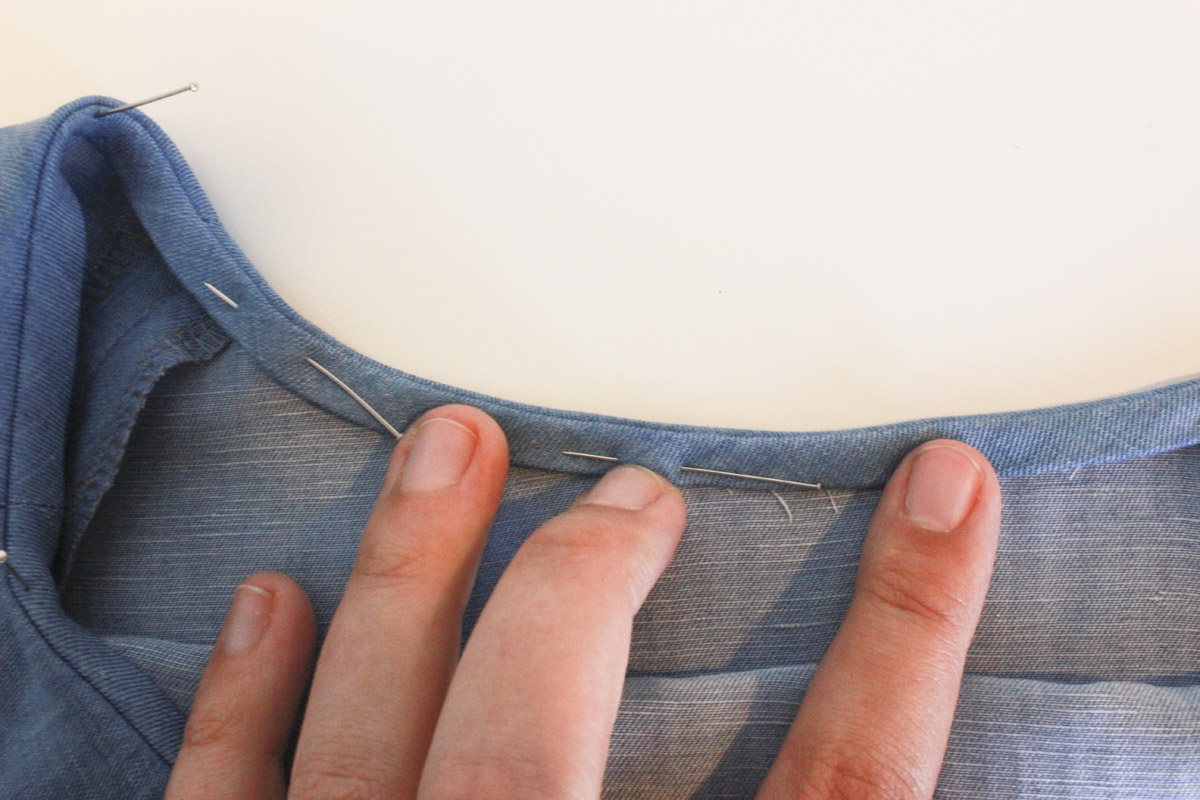
Now we can pin our binding to the right side of our neckline, raw edges matched up, matching the notches. Line up the binding seam with your left shoulder seam.
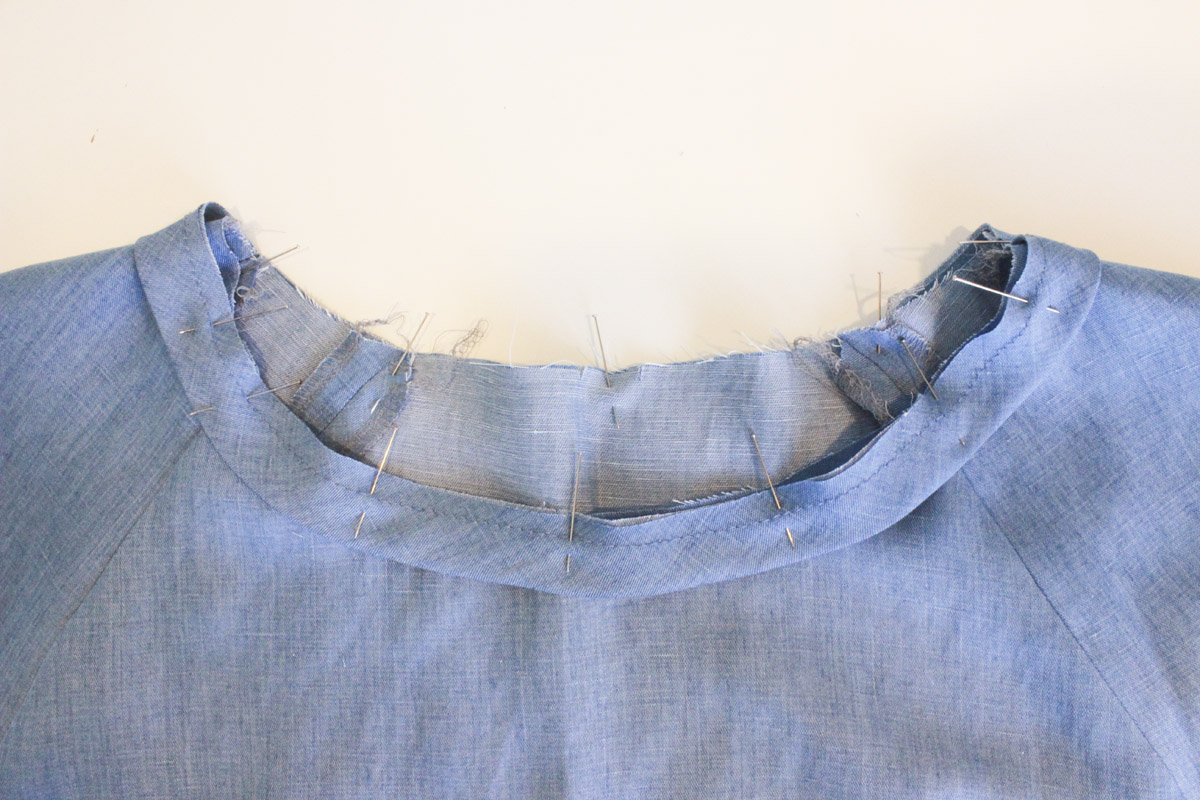
Feel free to use as many pins as you need, it will make your life easier when you sew!
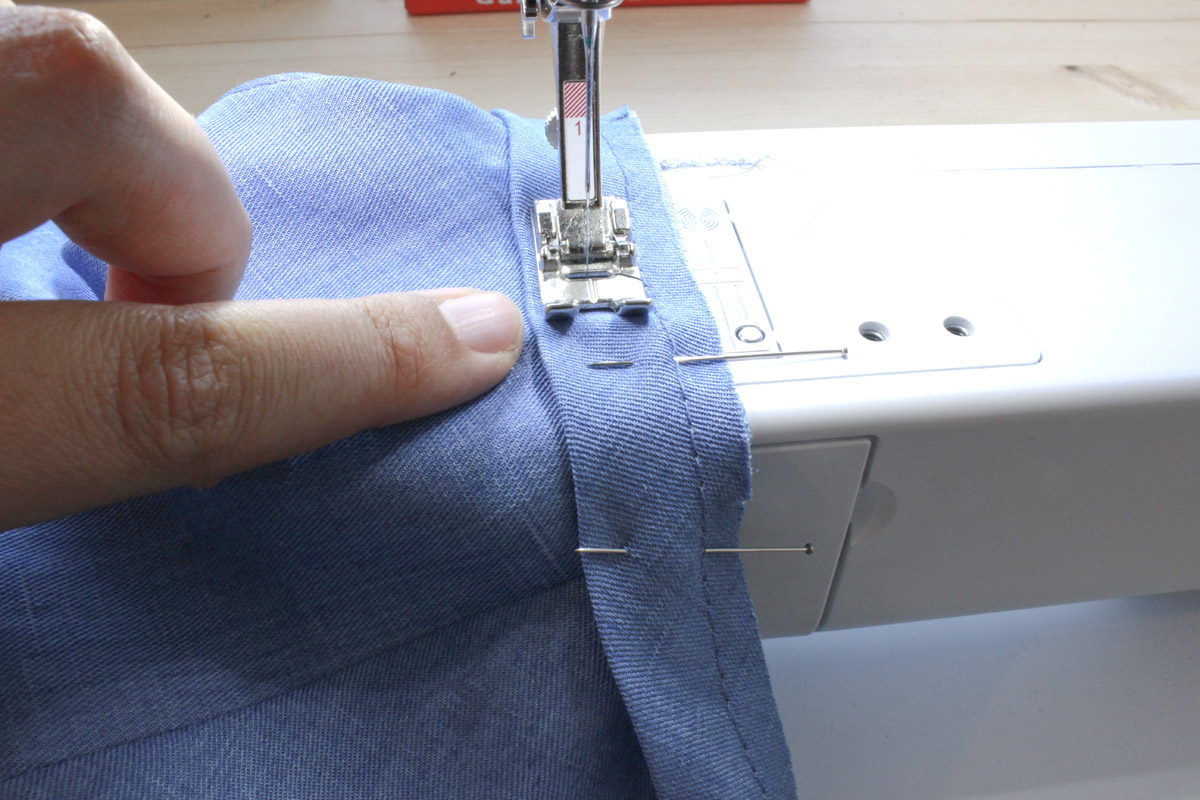
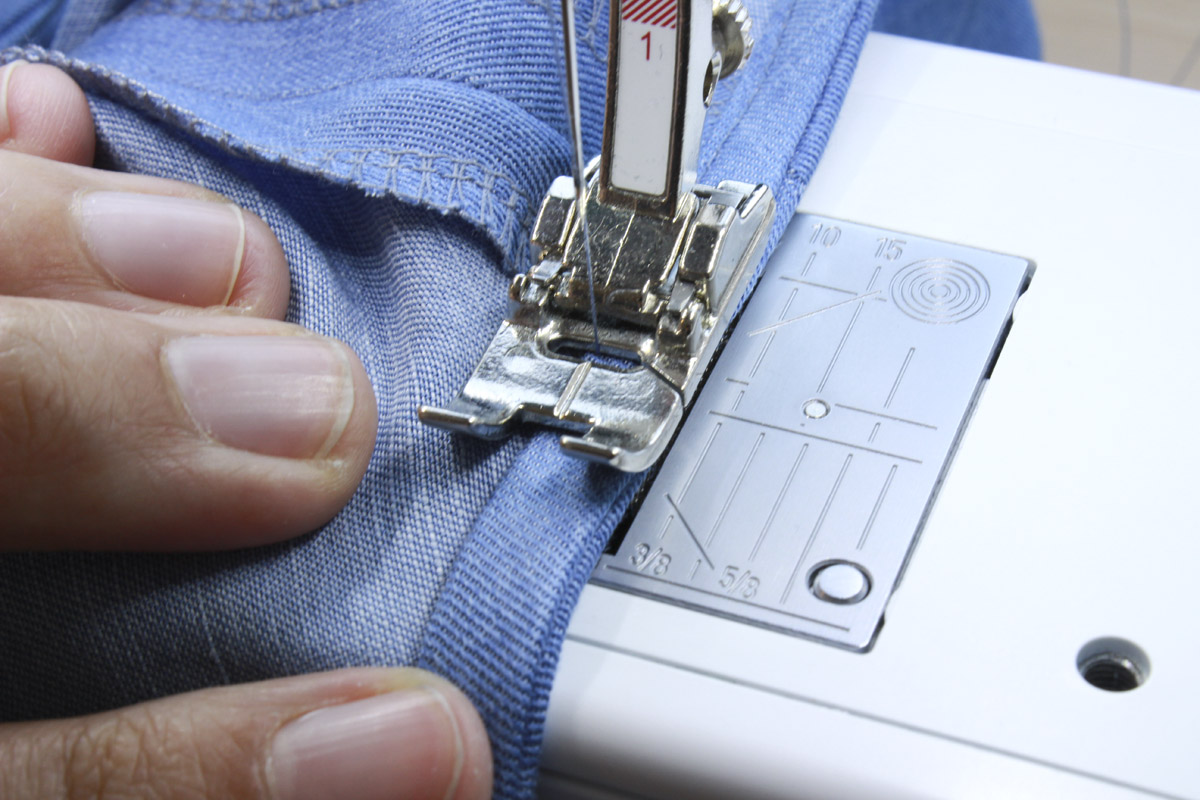
Sew the neck binding, at the usual 5/8” (1.5cm) seam allowance. Here’s a tip: the most important part here is that the stitch line is parallel to the fold of your binding. Instead of paying attention to the raw edge being lined up with my 5/8” mark on my machine, I look at the fold edge as I sew, making sure I keep my sewing line parallel to that.
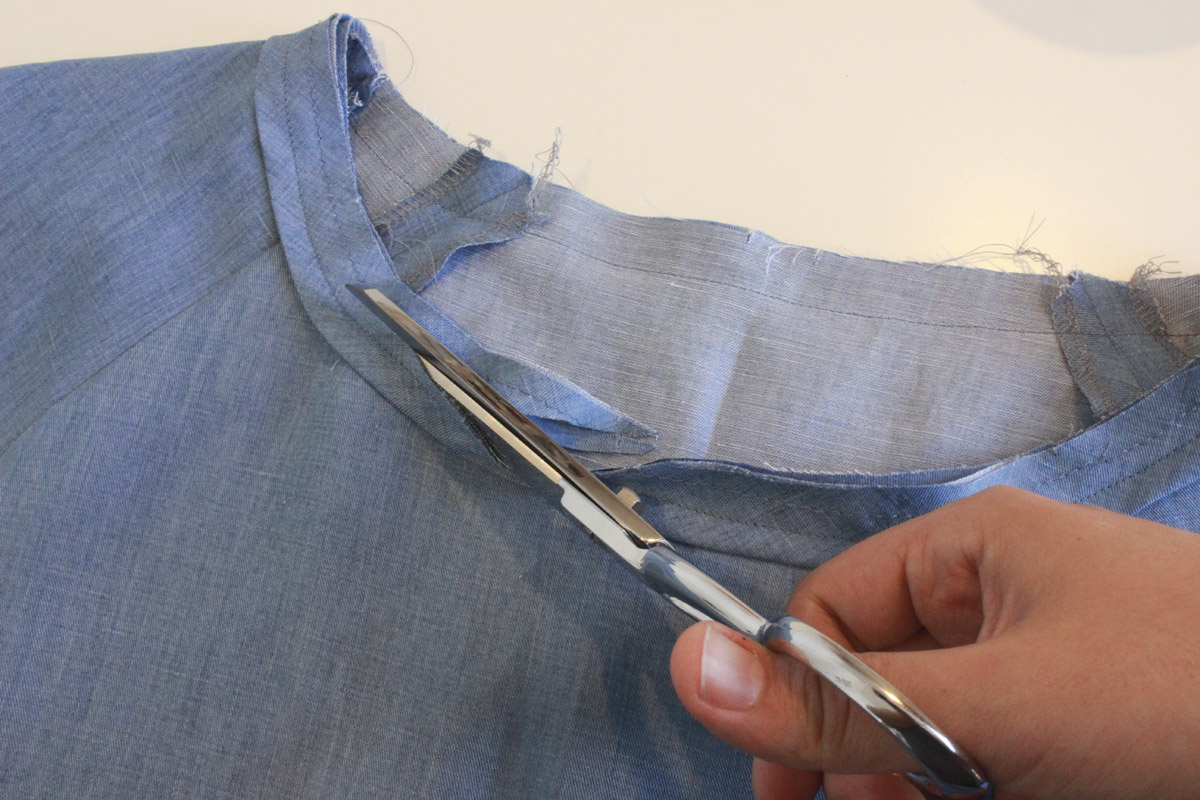
Trimming time! Trim your neckline seam allowances to 1⁄4” (6mm).

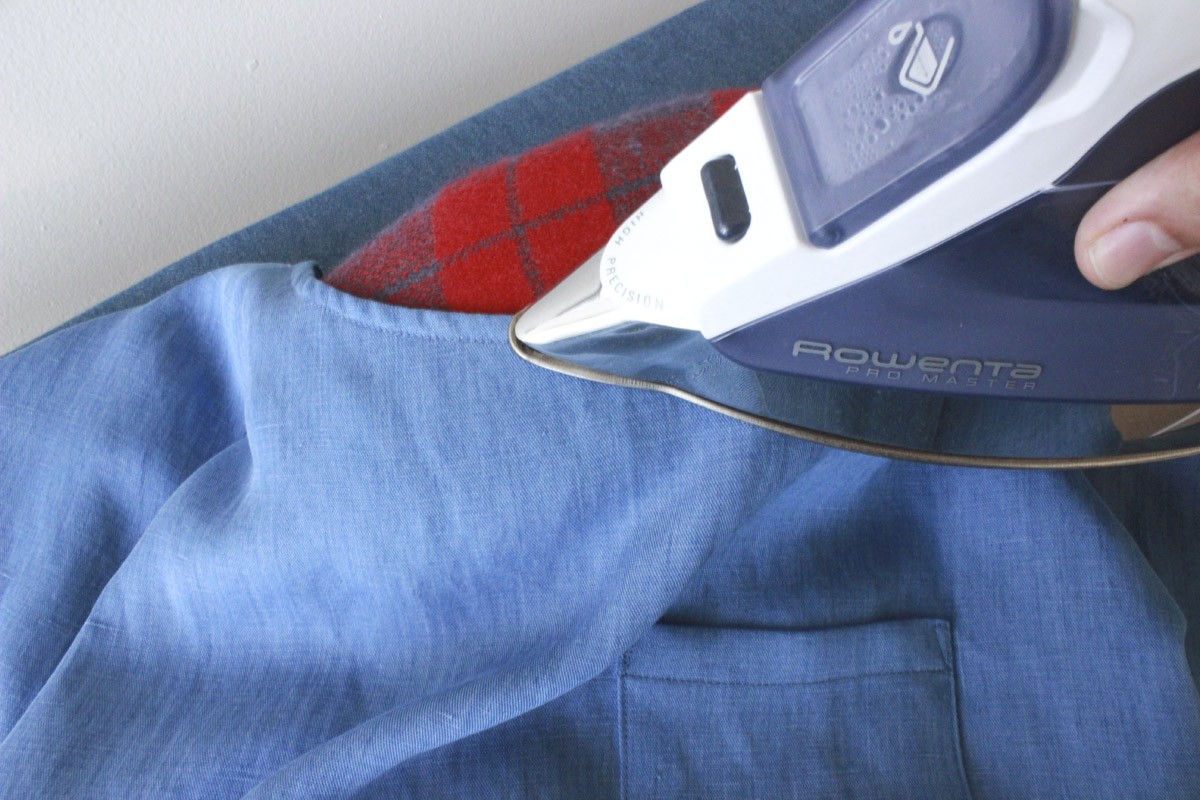
Next we press our binding towards the inside of our neckline. I like to press it upwards first, so that I’m sure I’m pressing it nice and flat open.
Then we fold it in, and secure in place. We don’t want the binding to peak out or be visible from the right side of the garment. You can pin it in place, or you can hand baste it if your fabric is slippery or difficult to deal with.
 Now we can edge stitch along our binding edge. For a more invisible finish from the outside, you can slipstitch your binding instead of edge stitching.
 Give your neckline a good press to smooth out any small ripples.
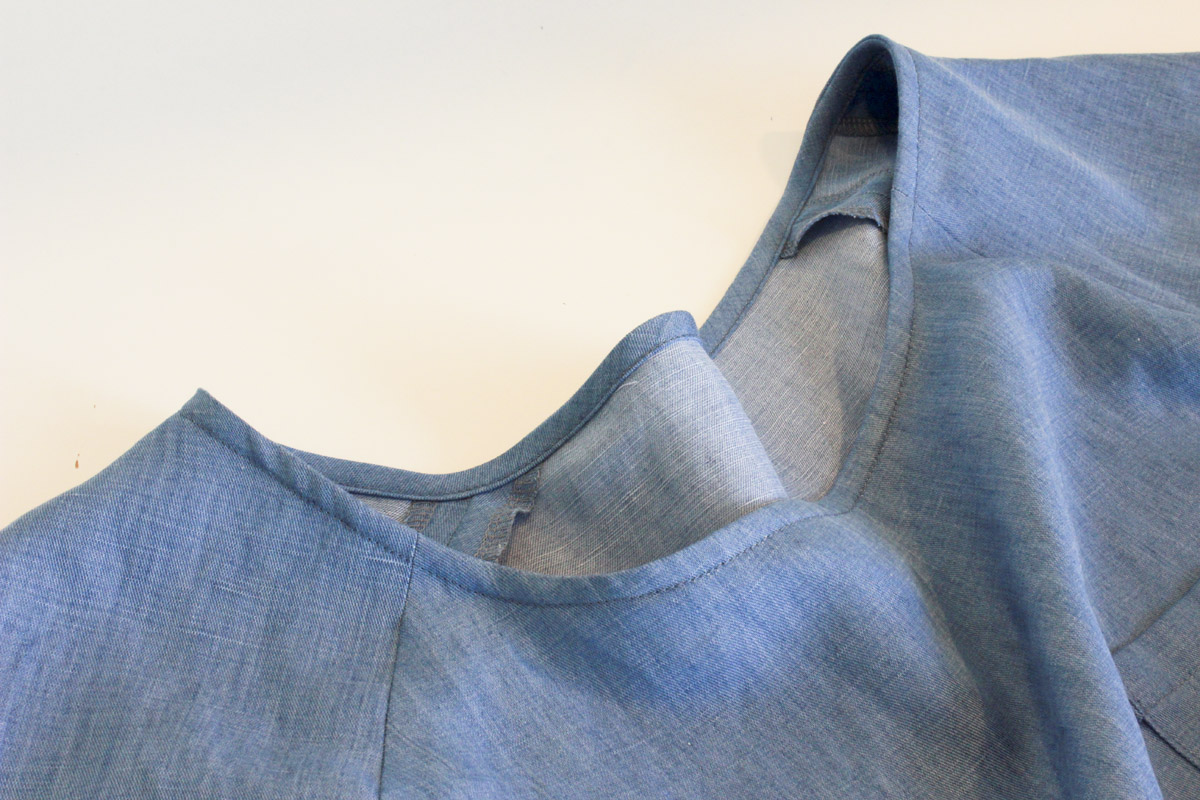 Look! We have a lovely bound neckline!
If you’re ready for the next sew-along, click here. As usual, if you have any questions, feel free to ask in the comments. Happy sewing!
I can’t believe I never thought of using the fold rather than the edge as a guiding line! Genius tip, thanks!
I know, when I discovered this it was a total game-changer :) Glad I could help!
I agree with Vairë – using the fold instead of the edge is so sensible! The blouse is looking great. I’m enjoying this sew along – too bad we are leaving for vacation so my sewing much come to a halt for how, but I’ll be back to it soon.
Have a wonderful vacation!
I love the sewing-parallel-to-the-fold-tip too. It makes such good sense!
Hi Caroline, I’m fairly new to sewing and not up to this step yet, but can i ask, when you have pinned the neckline to the inside of the top, have you pinned so that the seam you see is slightly to the inside ? Is that what you mean by “We don’t want the binding to peak out or be visible from the right side of the garment.”
Hi Leanne! Yes, that’s exactly right!
Has anyone else noticed that the bias strip is too long? I cut it out for my size, 8, and when I put it around it was a touch too long for the neckline. Shouldn’t it be shorter? I usually lightly stretch the bias tape around the neckline in the front and shoulder areas so that it’ll lay flat when turned. In this pattern, I had to go back and lop off another 5/8ths of an inch from the length of this piece. Maybe I cut the wrong one?