 Hi everyone! We have just a couple more days of sewing before we get to wear our Belcarra blouses. You can click the link to the left to catch up on all things to do with the Belcarra sew-along.
Today we’re going to sew our cuff, or bands, depending which view you are making! I will be demonstrating the cuffs, but it’s the same method for the bands, just a narrower pattern piece and no folding up and tacking at the end. Let’s get started.
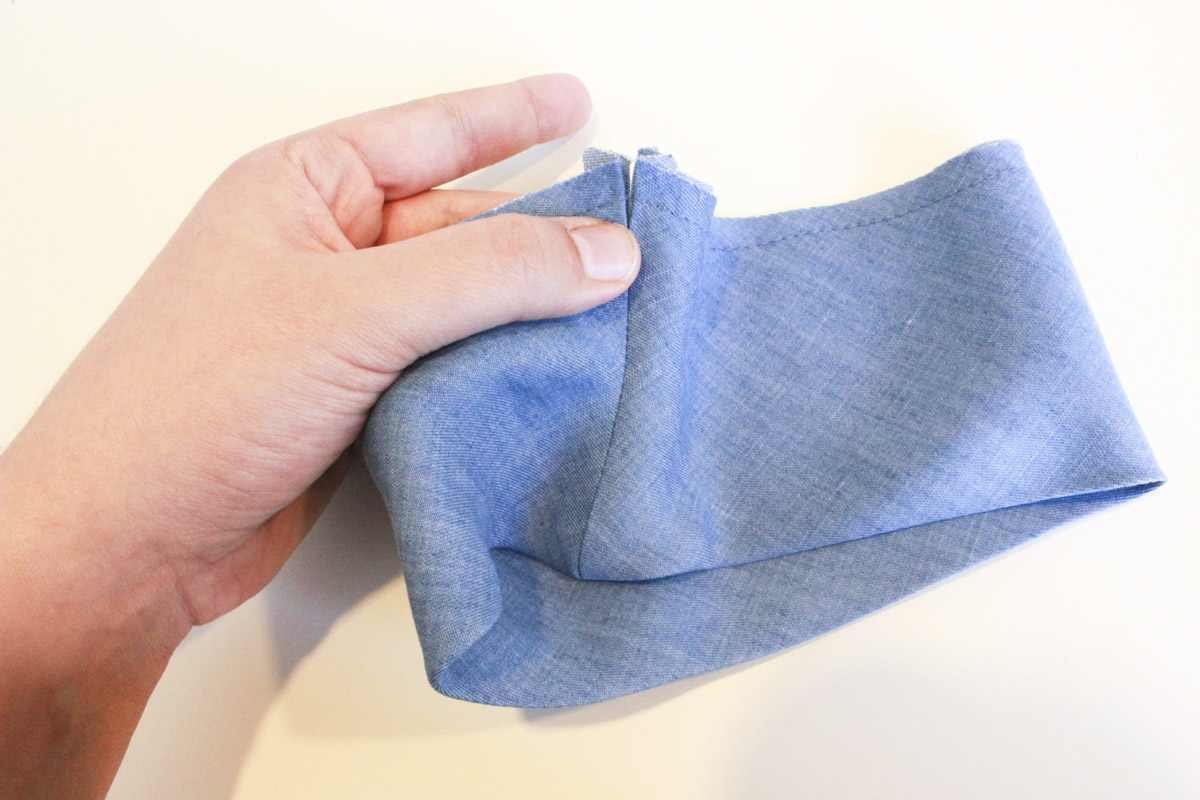
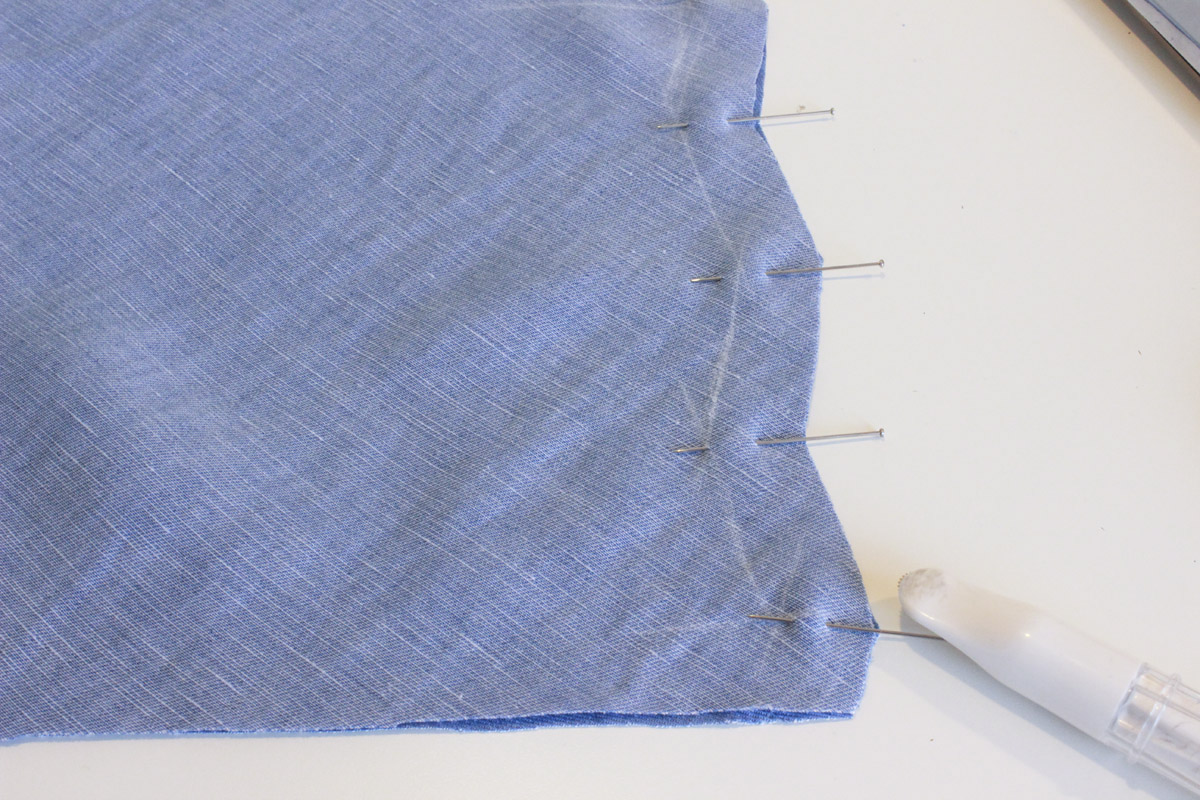 Begin by folding your cuff piece width wise, right sides together, matching raw edges. To make my life easier around angles like this, I like to mark at 5/8″ (1.5cm) from the raw edge, where I will be sewing.
After you’ve made your markings, pin the raw edges together.
 Next we will sew at this edge, making sure to stop 5/8″ (1.5cm) from each end – see where I am pointing! Then we will trim our seam allowances down by about half, and clip our corners.
You may be wondering why there are all these angled seams. Well, the cuff seam is going to line up with the underarm seam of our blouse. Because our blouse has raglan sleeves, the underarm shape is a little bit different than your normal armhole/underarm. So the band or cuff that attaches to this edge needs to have some shaping in it so that it fits snugly and falls nicely. You will see what I mean later, when we attach the cuff or band.
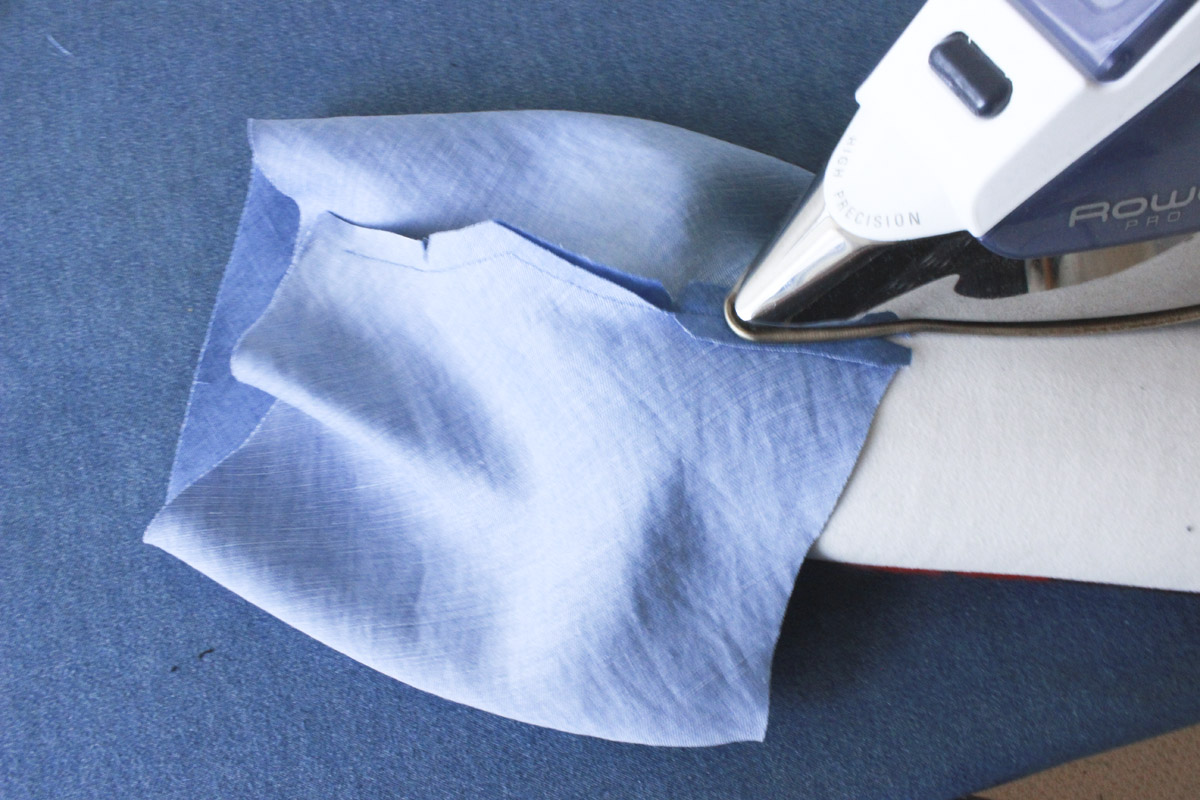 Press the seam open. I like to use a tailors ham for this, makes it easier to maneuver the iron around these angles. If you are working with just a band instead of the wide cuff pieces, your piece will still have these angles along the seam.
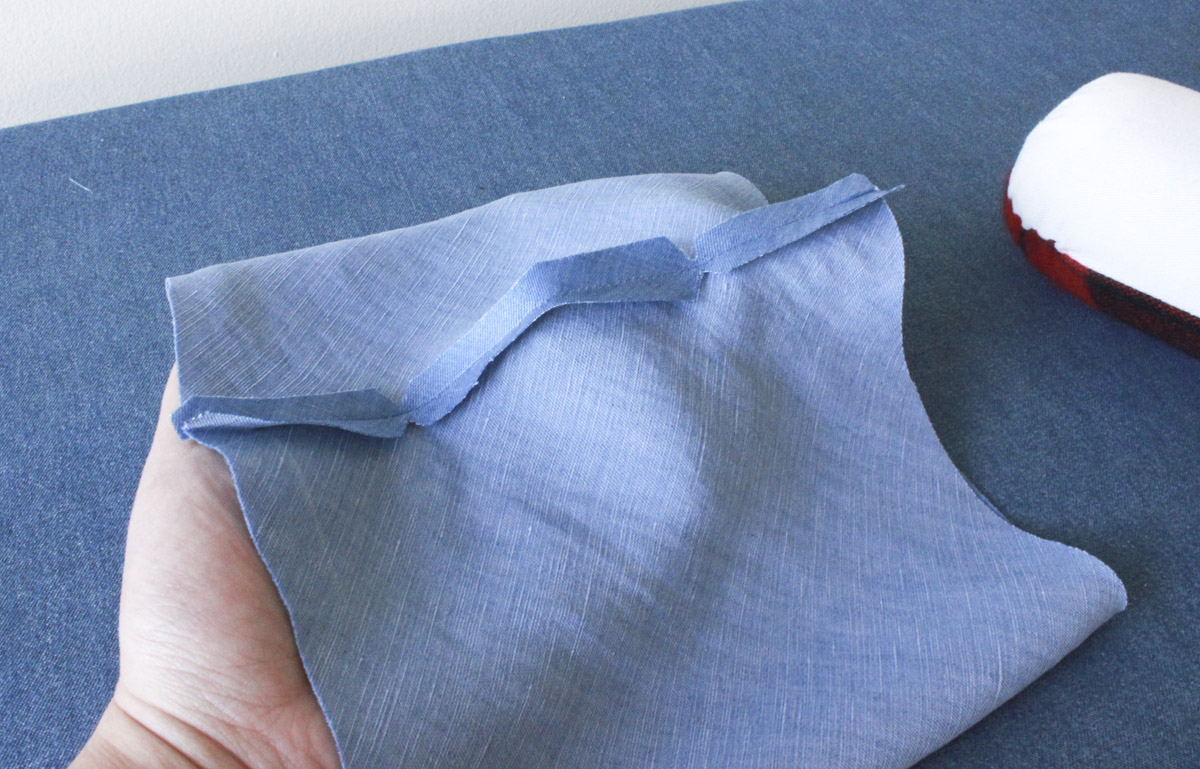 Here is what our cuff looks like after pressing the seams open.
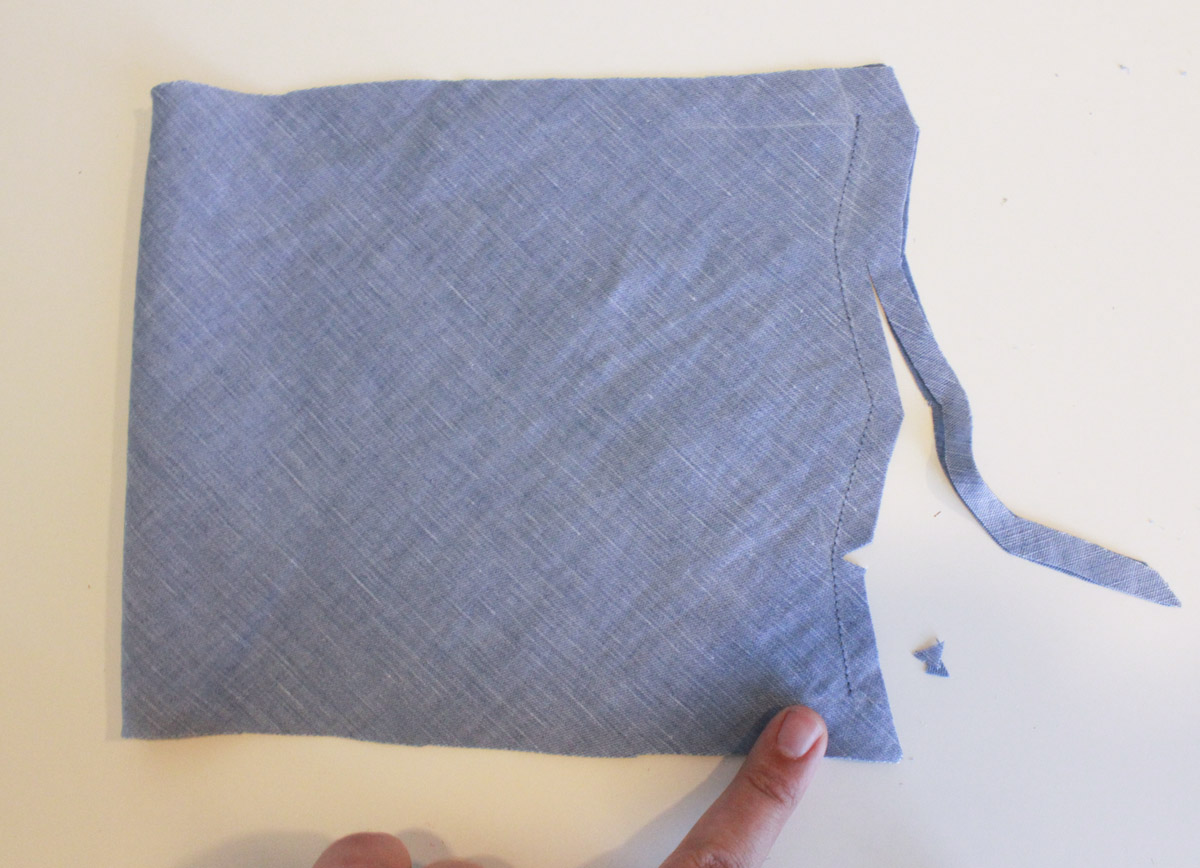
 Now let’s fold our cuff, wrong sides together, matching the raw edges. We’re going to baste this, so pin the raw edges together. Go ahead and baste your edge now, about 1/4″ (6mm) from the edge, with a long stitch length.
 Remember we left the ends open, so it will look like the above photo.
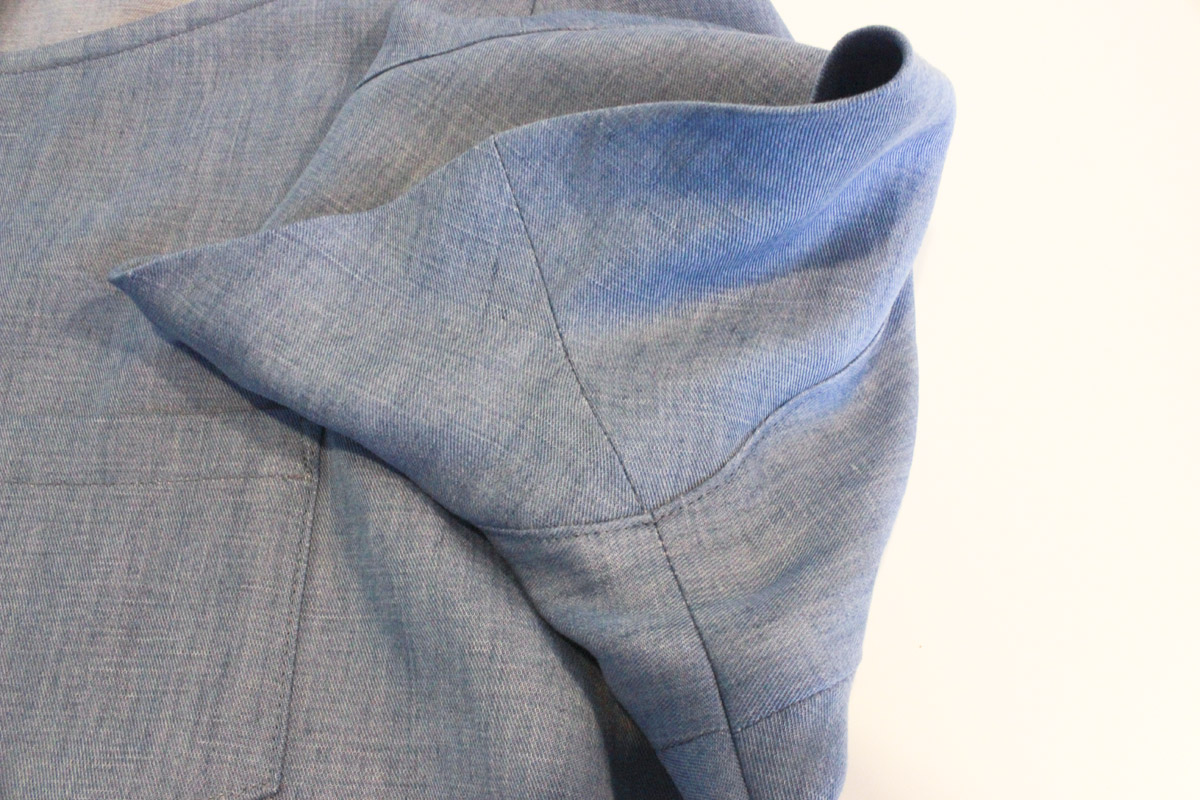
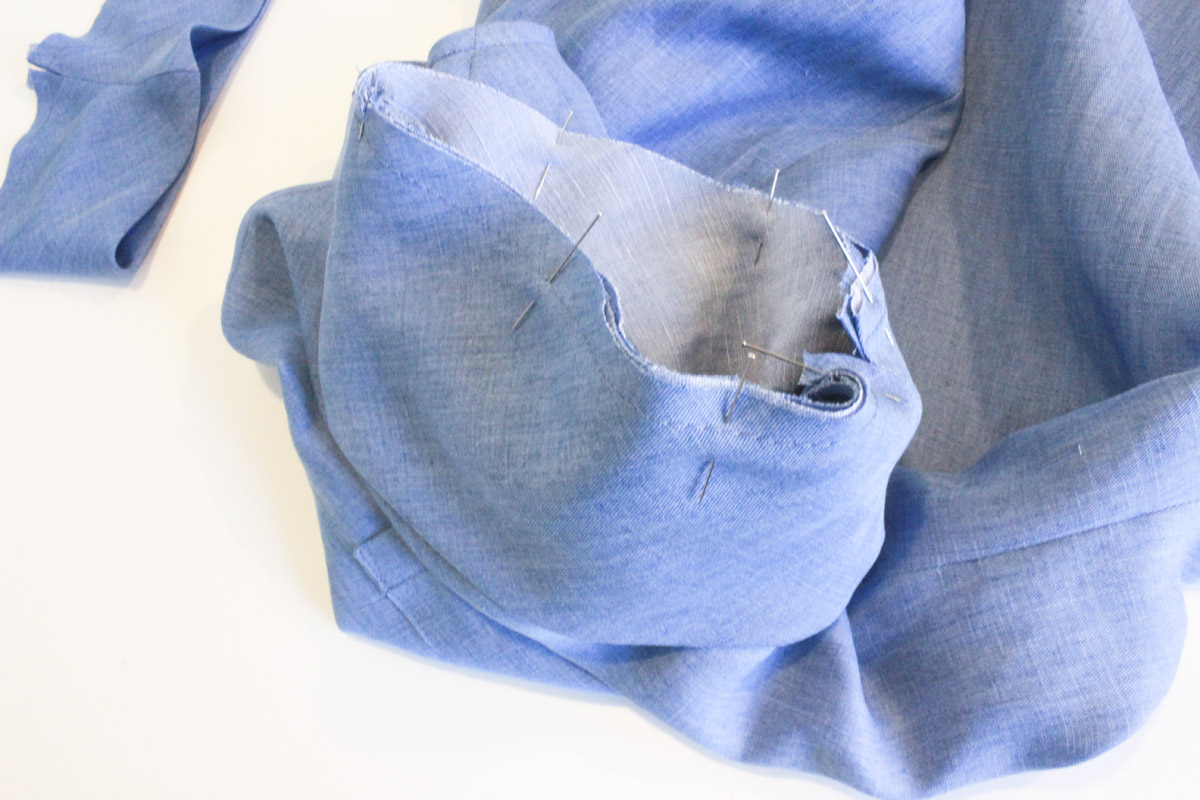 Now we can pin our cuff or band into the armhole! Pin it to the outside of your blouse, right side of your blouse facing the cuff/band. Match the blouse underarm seam with the seam in your cuff.
 Remember how we also left the blouse underarm seam open at 5/8″ (1.5cm) from the edge? This is going to come in handy so soon!
 Here’s another shot of my cuff pinned into my armhole.
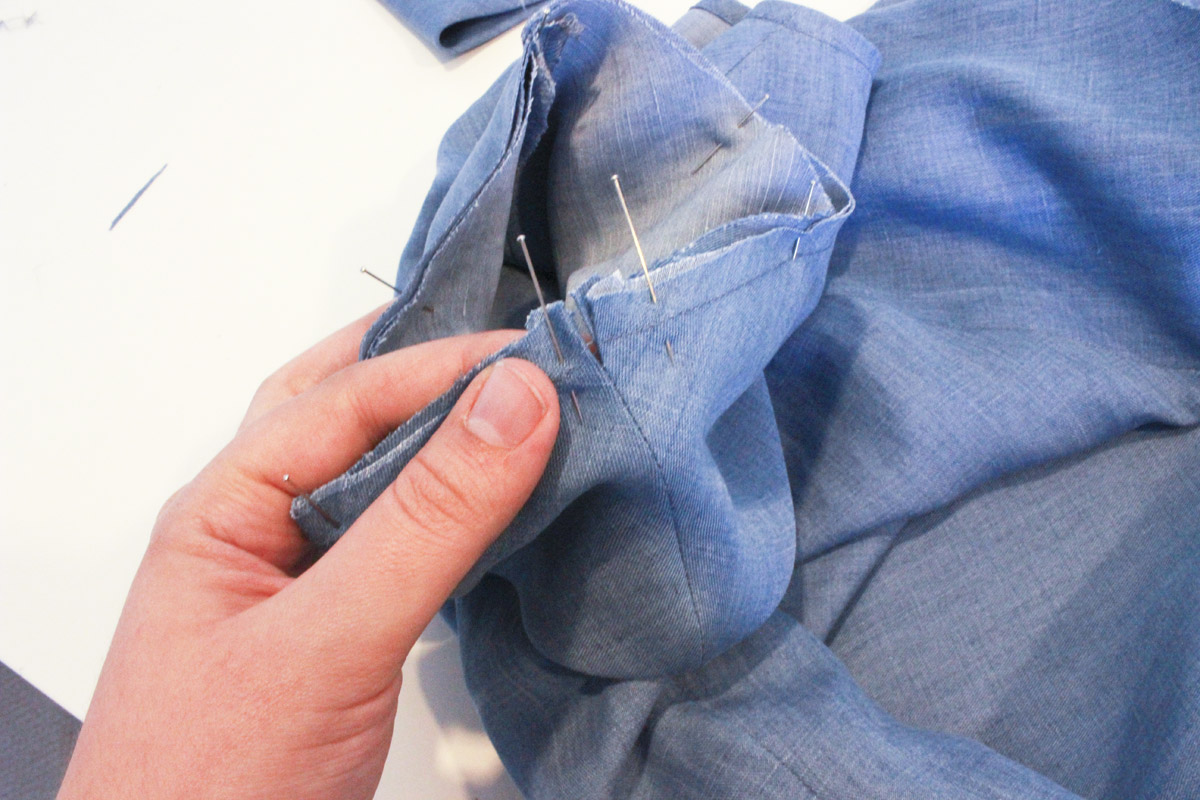
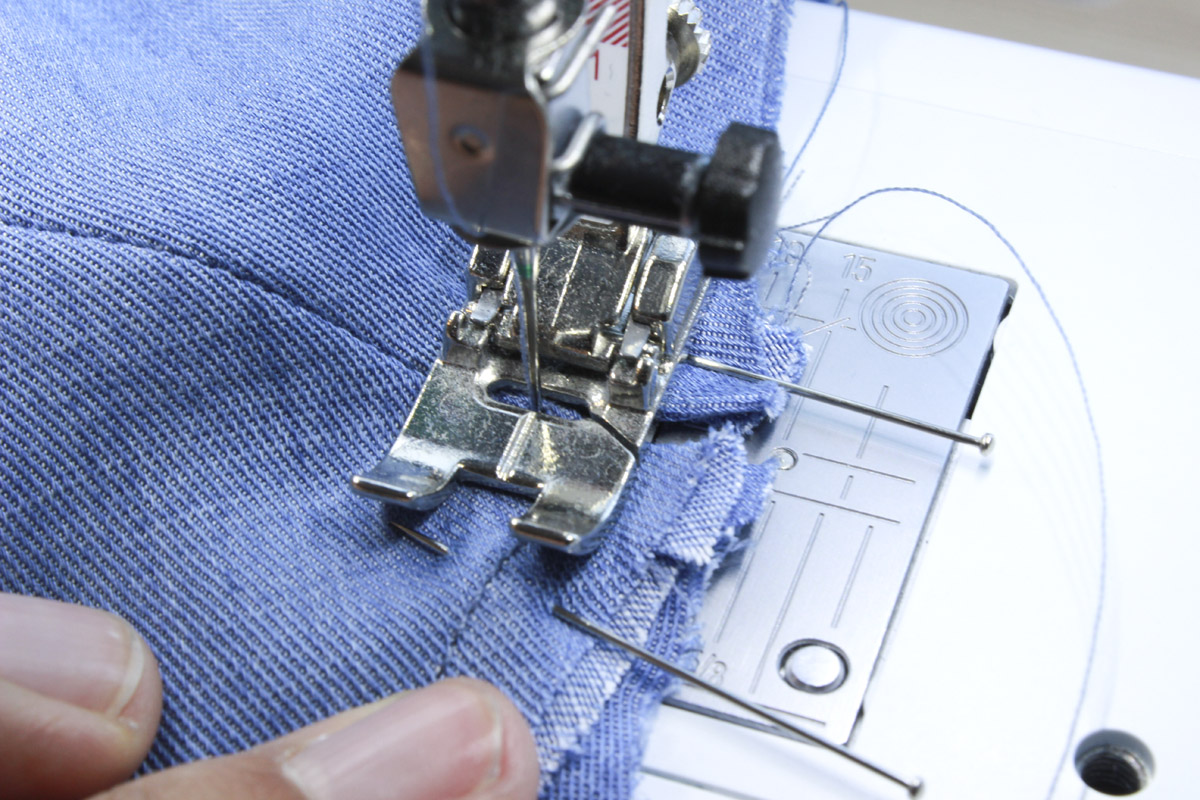 It’s now time to sew our cuff/band in. Sew at the usual 5/8″ (1.5cm) from the raw edge. When you get to the underarm seam, sew right up to the opening, insert your needle, and pivot to continue sewing.
 So there is a slight angle here at the underarm, right? If we had left our cuff and blouse sewn right up to the edge, it would have been difficult to maneuver around this corner without creating pulling or bunching at the underarm. Leaving the opening will make things lay super nice and flat.
 Let’s finish these raw edges together now.
I didn’t take a photo of the next step – we need to press our seam allowance towards the inside of the blouse!
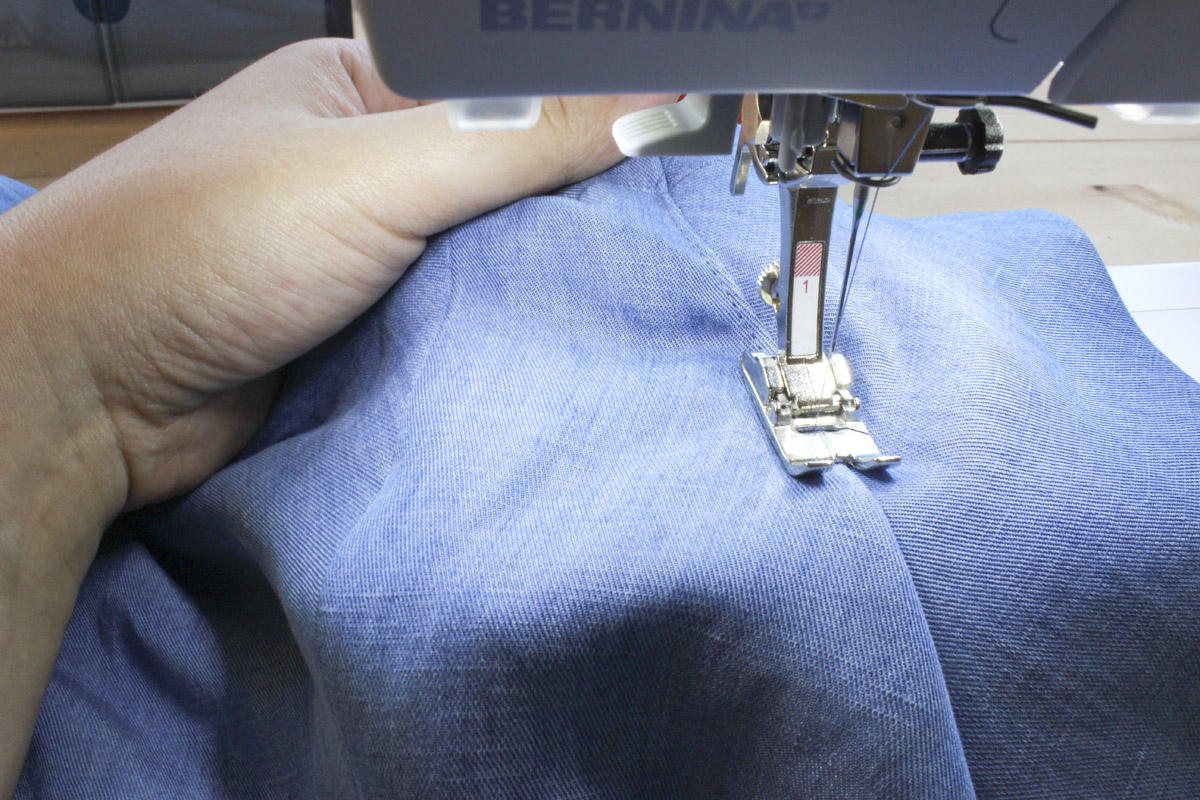 Now edgestitch along the blouse edge, securing the seam allowance in place.
 Now our cuff is almost complete! If you went with the band option, then you will stop here. It will not be as wide and it will look lovely and finished. If you are doing the cuff like I am above, we’ll need to fold it up and secure it in place.
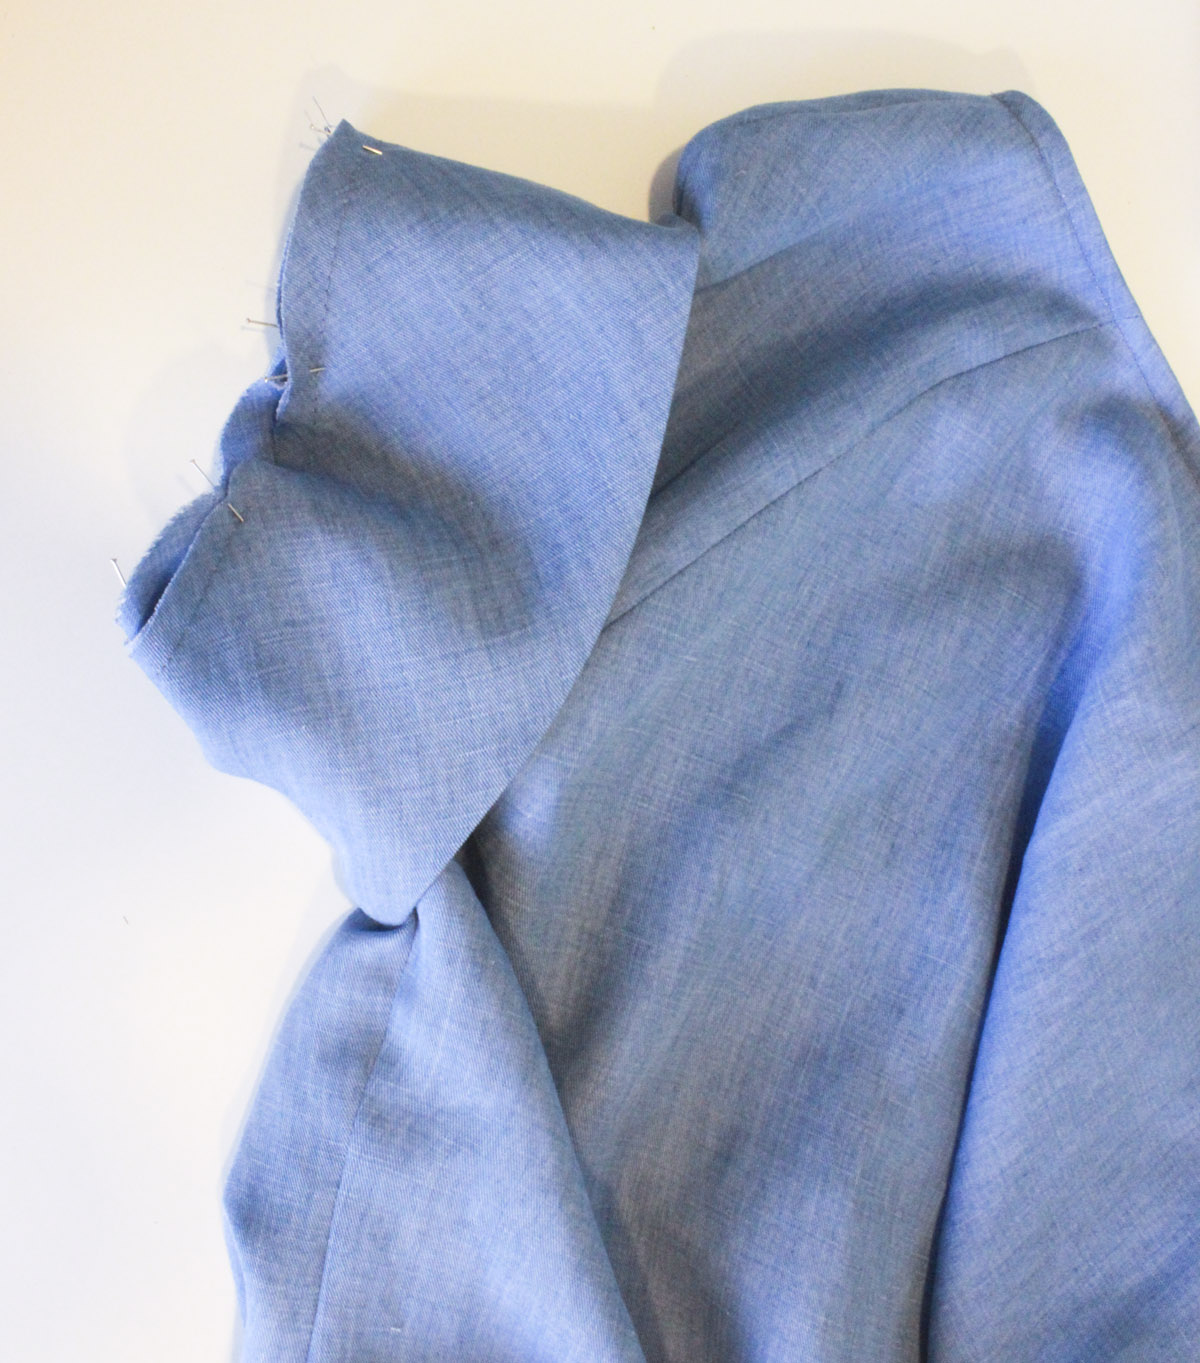
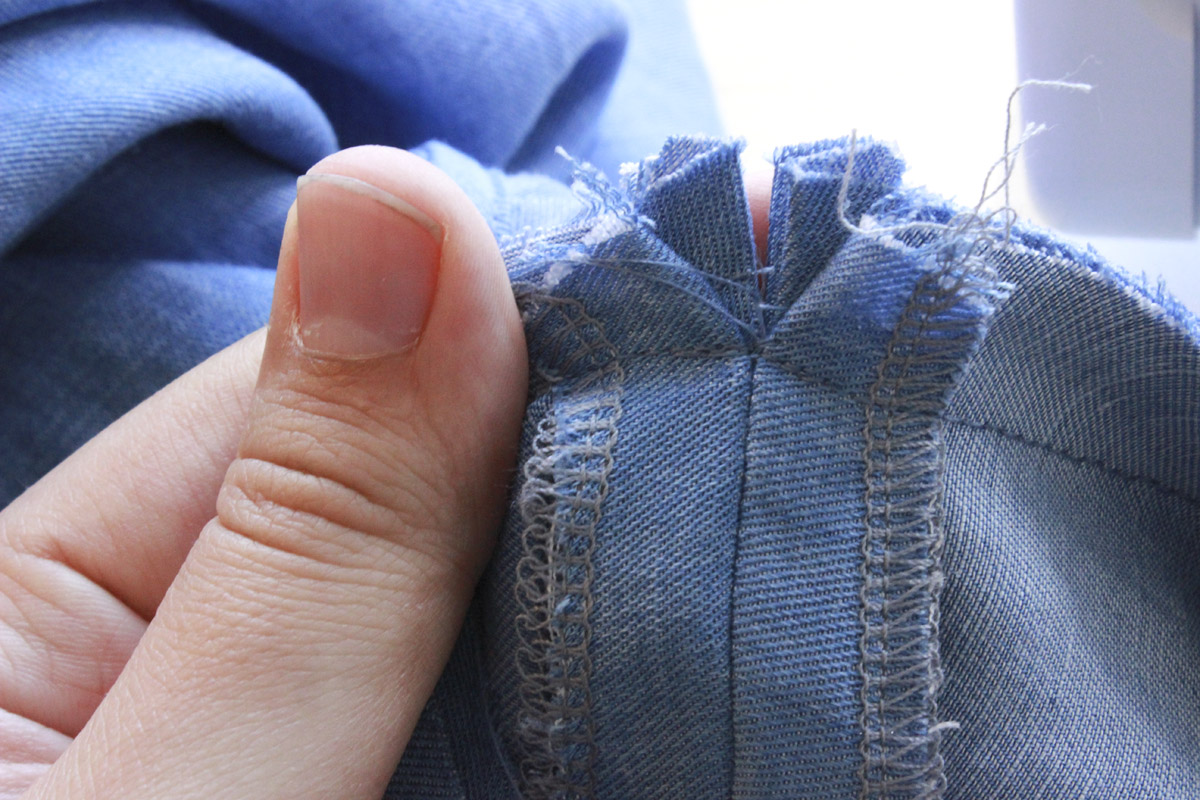
Before that, let me show you guys how my underarm looks.
 See how there is a slight angel to that cuff/band seam? It’s laying flat because we left an opening at each end. Is it making sense now?
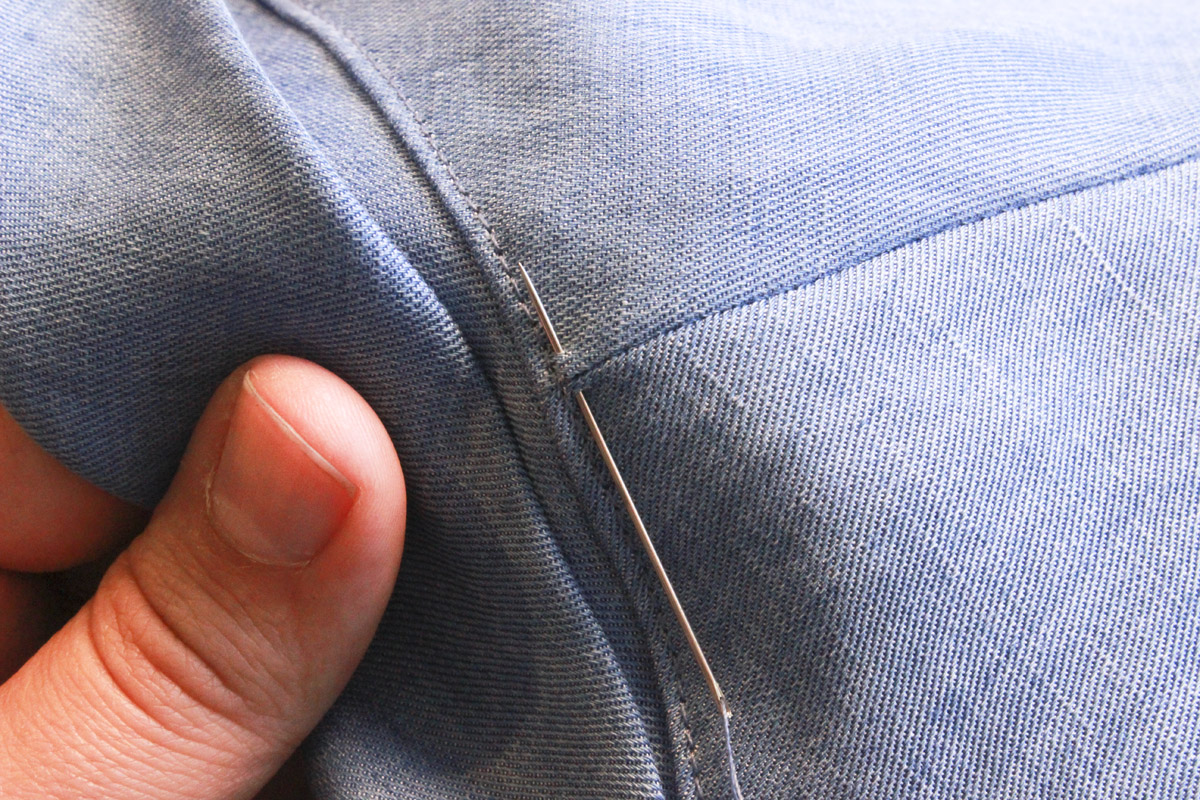 OK, now to tack our cuff in place, first fold the cuff back. then let’s grab a hand sewing needle and matching thread. There are other ways to hand tack cuffs in place, I’m sure. Here is my method: Make a little stitch in the blouse right at the edgestitching like you see above…
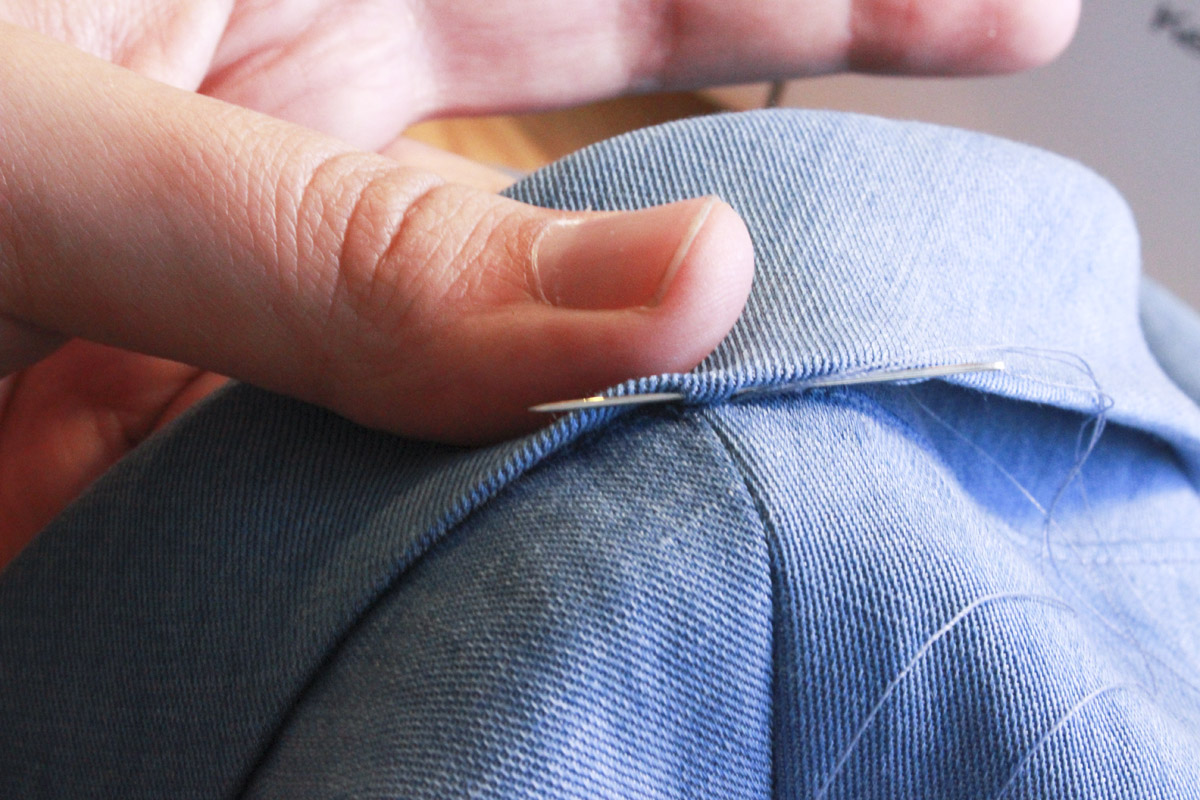 Then make a stitch in the cuff.
Repeat this about 3 or 4 times, then tie off, and you’re done! Tack at the underarms and shoulder seams, so four tacks total.
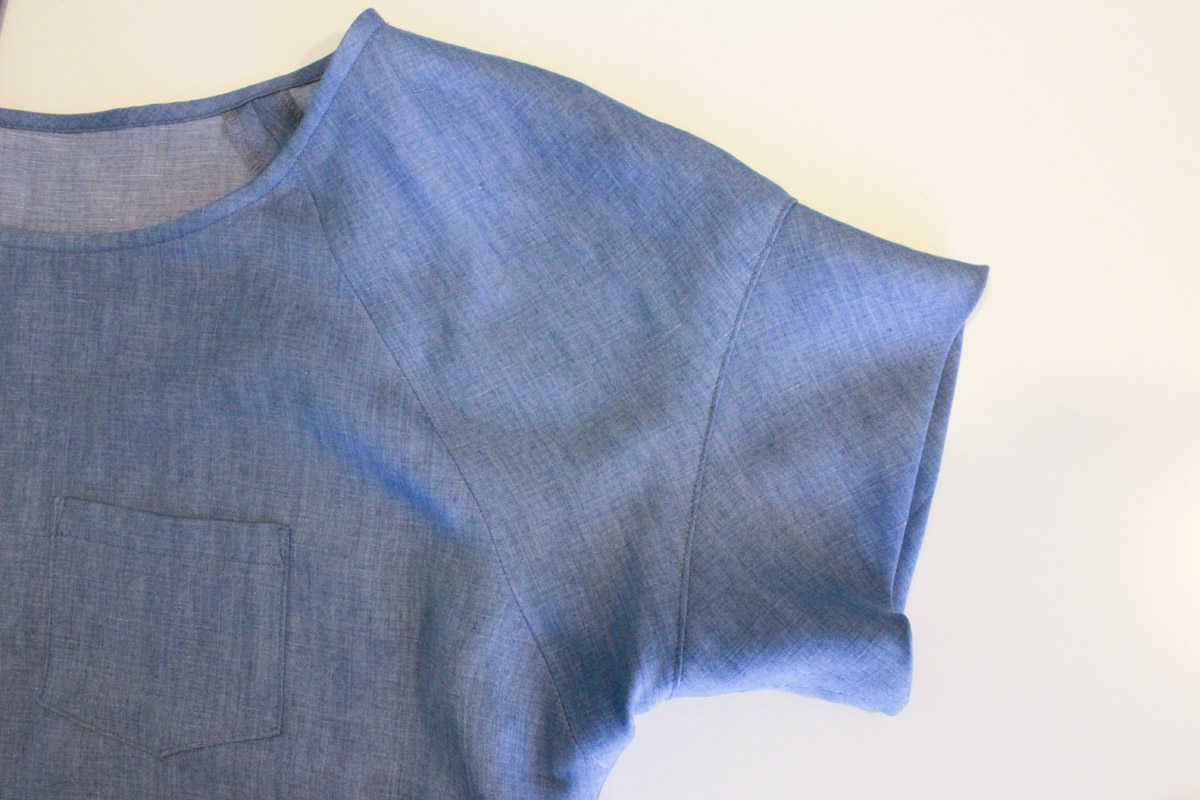
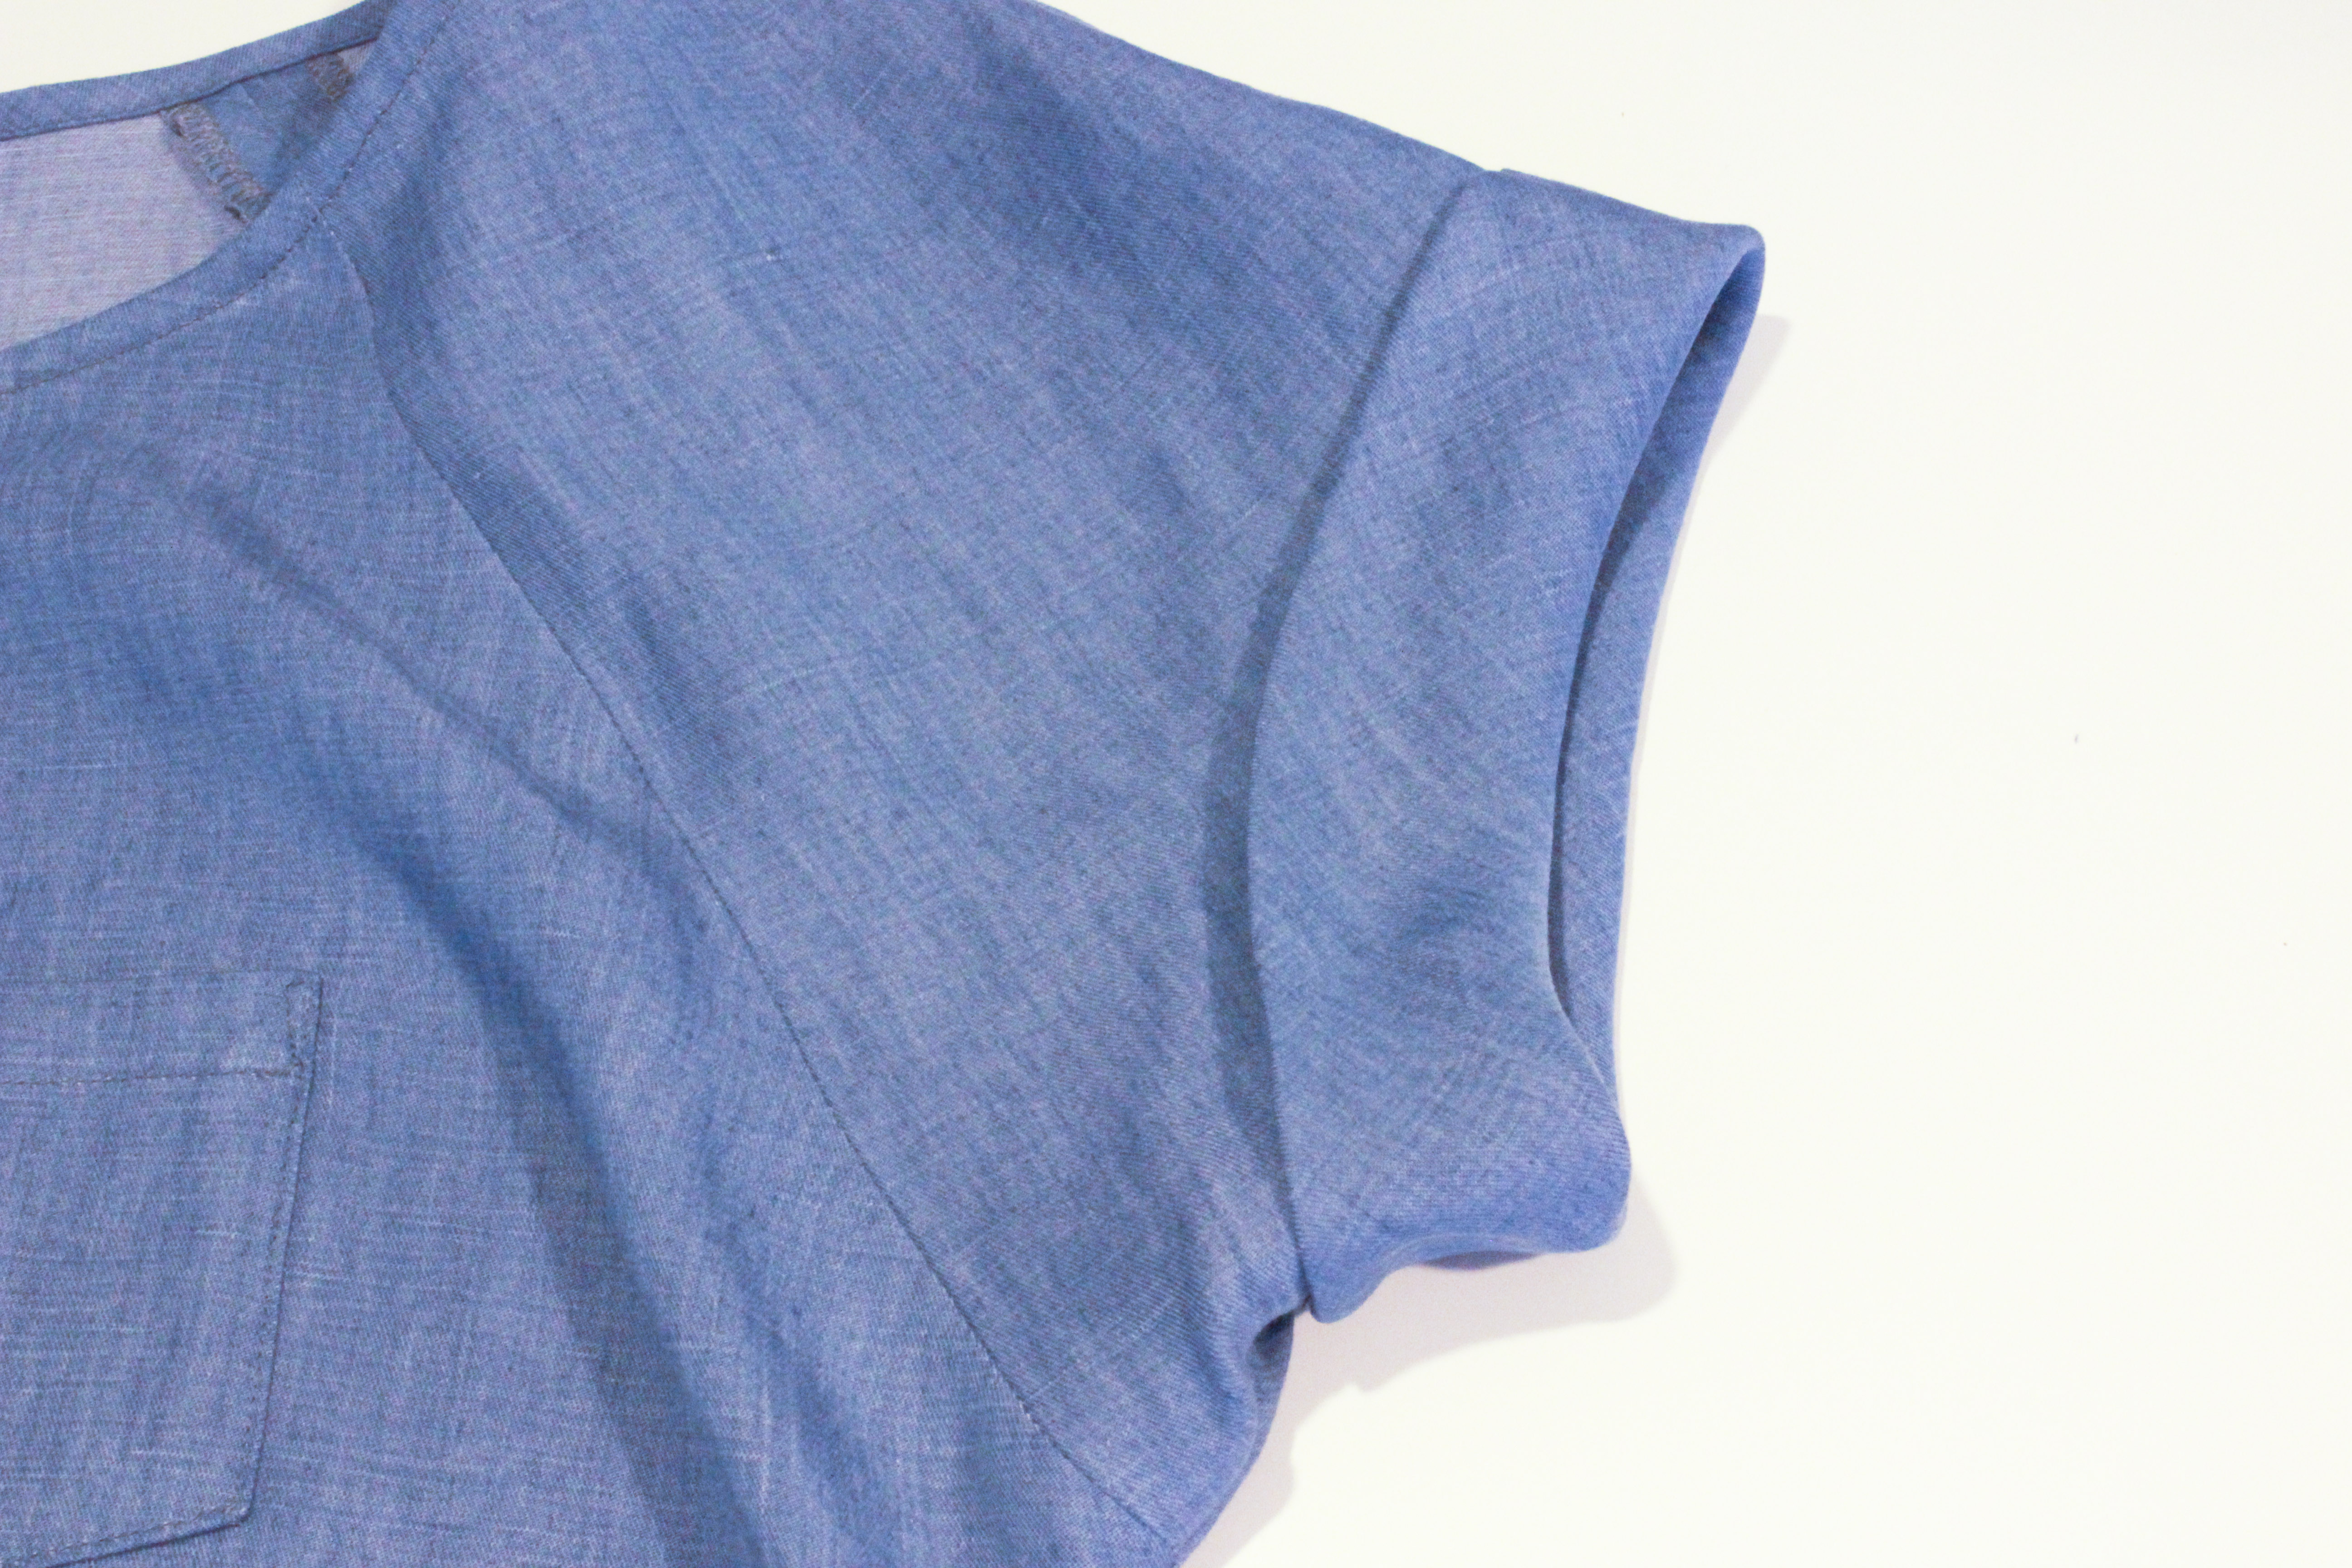 Now our cuff is complete!
Next, I’ll demonstrate hemming the blouse. Have a wonderful week!
Hallo Caroline,
thank you for this very comprehensible sew-along!
Until now I french seamed my Belcarra blouse because of the very ligth fabric I have chosen. I would like to do the same when I attach the cuffs. But I don’t know it’s possible. Particularly under the arms I think there will be bulky seams. Has anyone of you both tried french seams for attaching the cuffs?
Hi Dorthe! We have not tried french seams so I’m not sure how it would work. But if I were to do it myself, my instinct says … I think the best method would be to sew your underarm seam and cuff seam all the way (not leaving a 5/8″ opening), and then when you sew your cuff/band to your armhole, you will just have to clip your seam allowance at the underarm to help it lay flat.
Thanks, these photos were very helpful! I did not realize that I needed to pivot when attaching the cuff.
Can’t believe you are almost done! I’m working hard to catch up!
I have the same question (or a suggestion) as Dorthe. I’m using a light fabric and doing french seams to avoid seeing serged edges through my fabric. For the cuffs, I’m actually thinking of enclosing my seam into the cuff, so attach one edge of the cuff to the sleeve, fold it over, iron the seam allowance down into the cuff, and then stitching the second edge down (or slipstitching it). I haven’t tried this out yet, but I feel like it works in my head. :P
Hi Michelle, I think it would work just fine! The method you outlined sounds great. The only additional alternative method I can think of is sewing the cuff/band on as per our instructions, but instead of serging the raw edge, attach a seam binding for a cleaner and more attractive seam finish.
Hope this helps!
Woohoo! Thanks to my baby taking a long nap yesterday, I was able to catch up and just finished my cuffs this morning. With a little extra trimming, the self enclosed cuffs worked great! I didn’t even think of doing a seam binding, that would have worked just as well, I might have to keep that in mind for the future! So excited to finish!
No one has mentioned this so maybe the answer is obvious. But when I’m attaching my sleeves in the back I’m very confused because of the notching. My sleeve only has one notch. But the back piece has two notches. Which one do I line up?
You might be attaching the wrong sleeve piece. There is a front sleeve piece and a back sleeve piece, the front one has one notch and the back piece has two notches so you can differentiate between the two.
No, I swear its the back sleeve piece. I checked multiple times. I can take a picture and show you, it specifically says on it its the back sleeve.
Weird! I know my back sleeve pattern had a double notch on one edge so I wonder why yours is different.
Okay, I’m an idiot. I went back to again examine the piece. I didn’t realize they broke up the sizes. So I followed the size down and thought that was my size. But there was one notch for each of the remaining sizes.
I realize I’m way behind the times for this sew-along, but I’ve just recently taken up sewing and am working on my second Belcarra blouse. I love the pattern, but I have a problem/question …
Both of my versions have the pintucks on the shoulders, and both times I’ve found that the sleeve band is at least a size too small for the sleeve. Everything has been properly cut in a size 8 (I checked and re-checked), and I’ve used the proper pattern pieces, but when I went to attach the bands the first time around, there was quite a bit too much sleeve. I tried to smooth out the fit but still ended up with unintended pleats/tucks where the band meets the sleeve.
The same thing is happening with my second attempt, so I’m planning to cut new bands in a size 10 and see if that works … but I’m wondering if I’ve messed up somehow, or if there’s some technique I’m failing to apply. Any thoughts would be appreciated!
Update: I added 2cm to the length of the sleeve band (1 cm on either side, so actually more than a one-size increase), and the bands now fit the sleeves perfectly.
I am having the exact same problem! But you have answered my question beautifully! Love the blouse but can not get the band to fit the sleeve! Frustrated…..until I read this! Thank you!
Caroline