
In this post, we get to begin sewing our Belcarra blouses. You can click the badge to the left to see all of our Belcarra sew-along posts so far.
View C
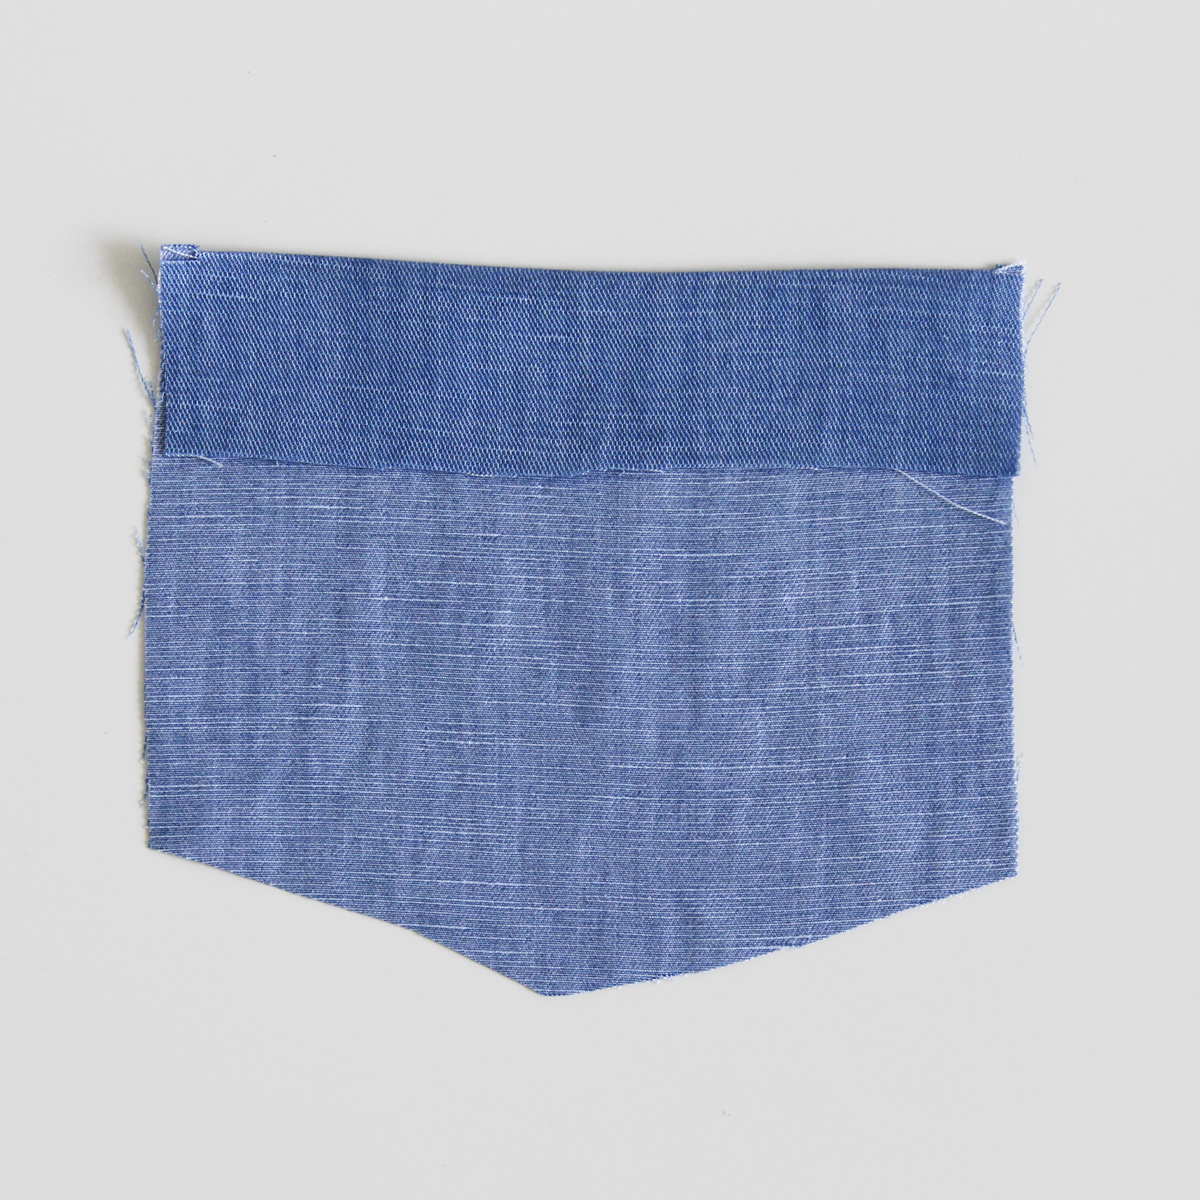 Start by turning and pressing the top edge of your pocket, use the notches as a guide.
 Next fold the raw edge under so that it meets the fold and press this again.
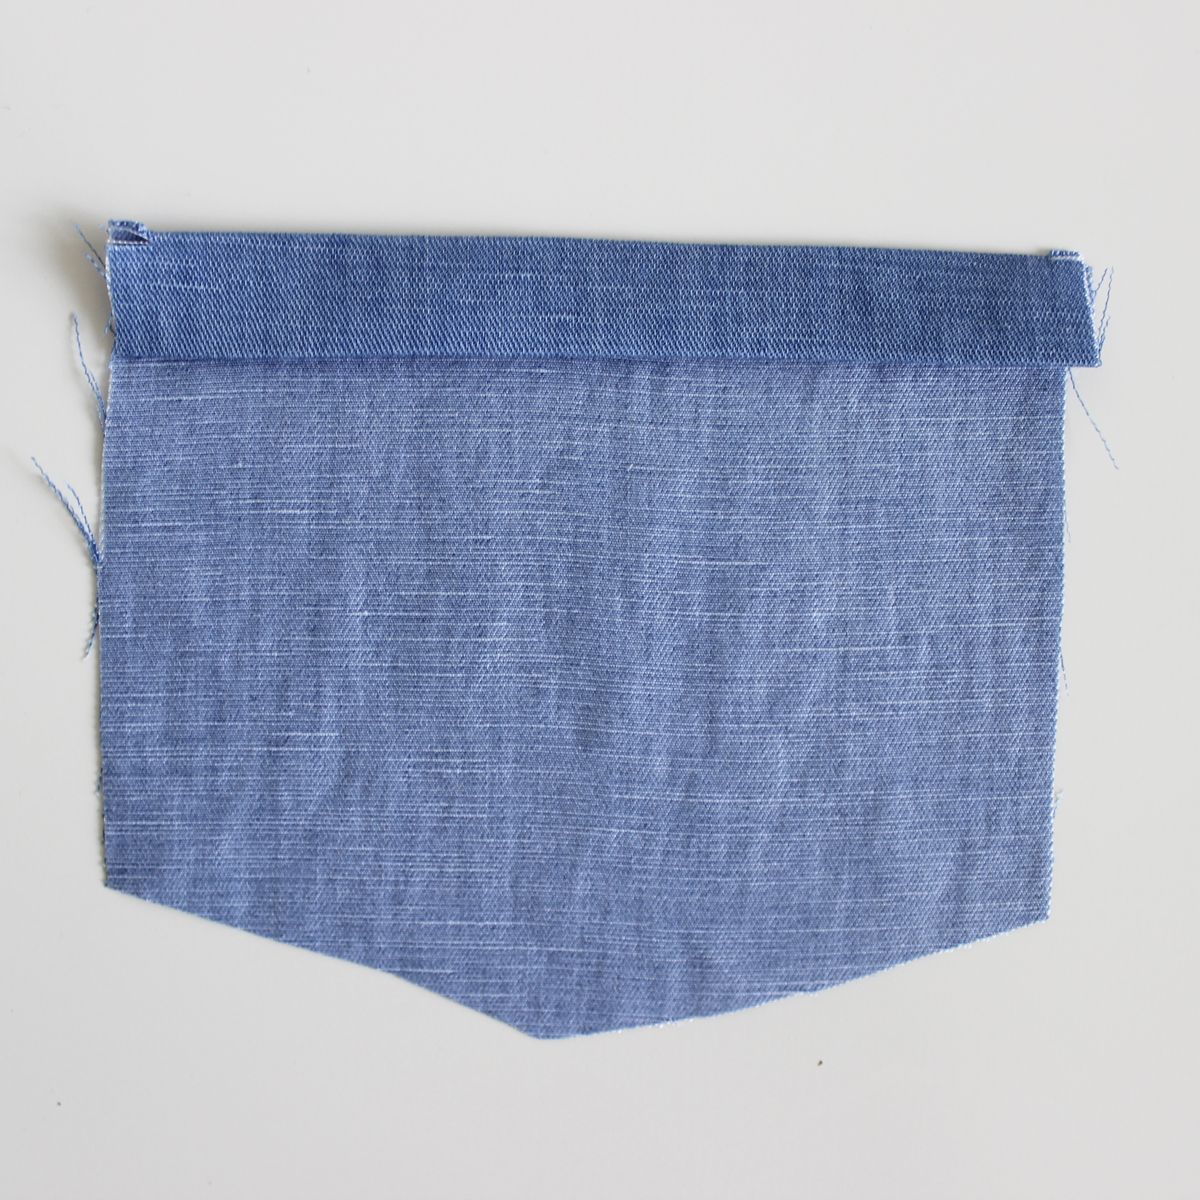
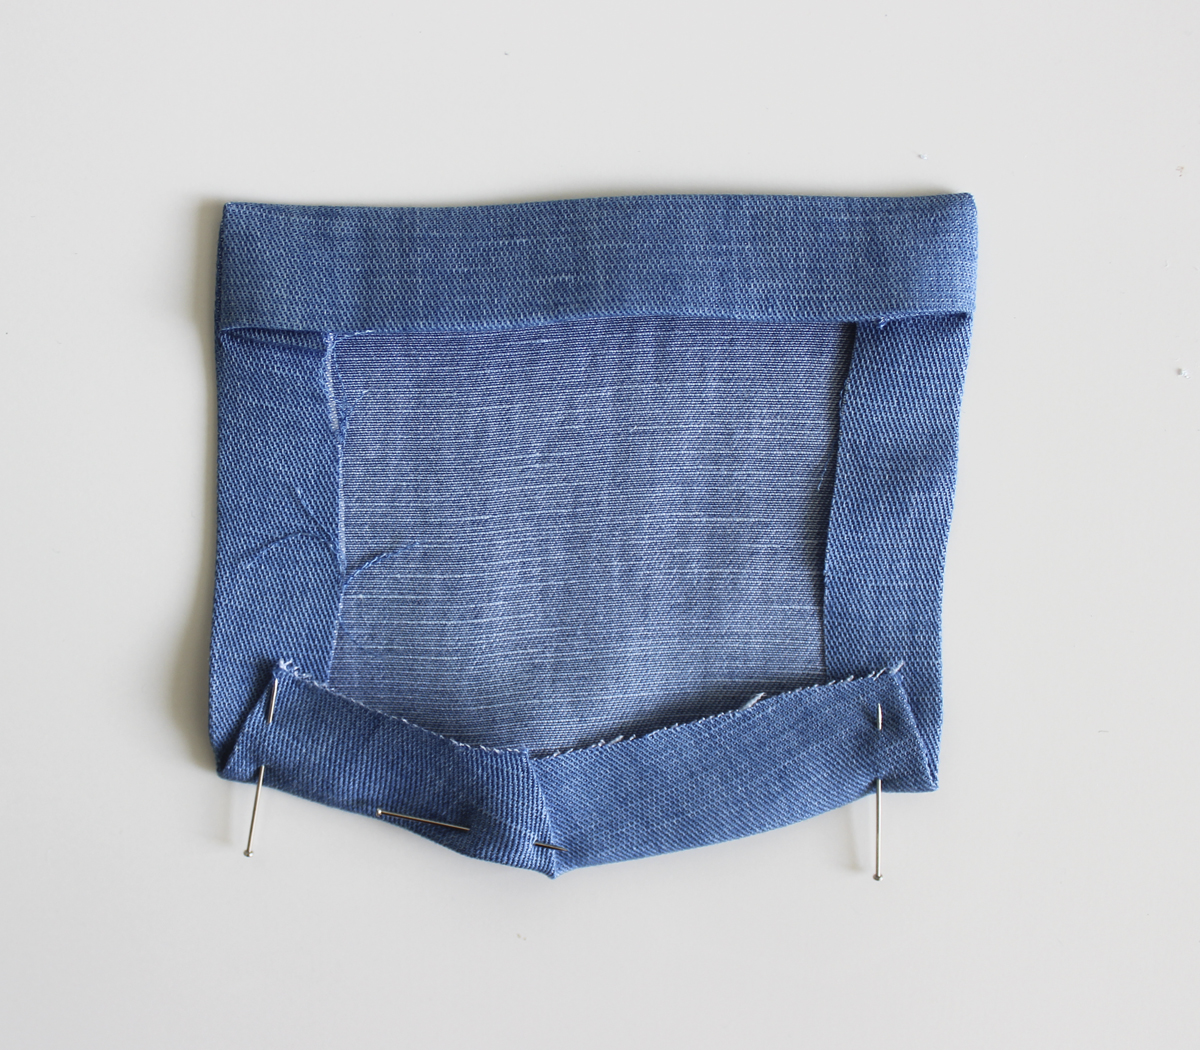
 Turn back this folded section along the fold line, so that the right sides are facing. Pin in place.
 The next step is a great way to avoid any raw edges peaking out in the top corners. It gives a nice clean finish. Sew across each end of the folded portion, at 5/8″ (1.5cm) from the edge.
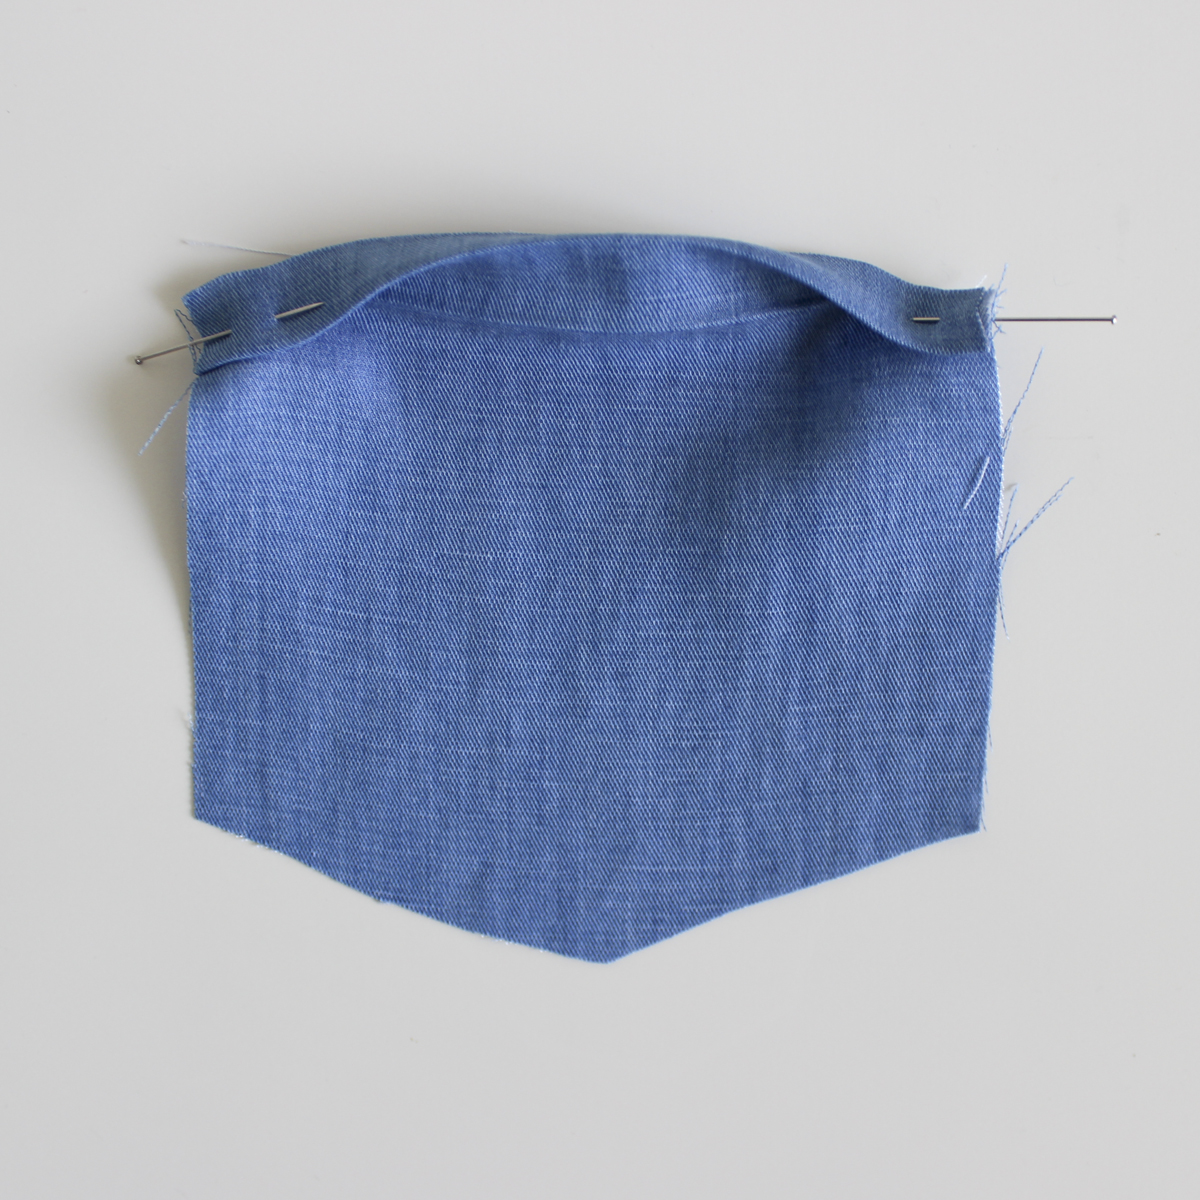
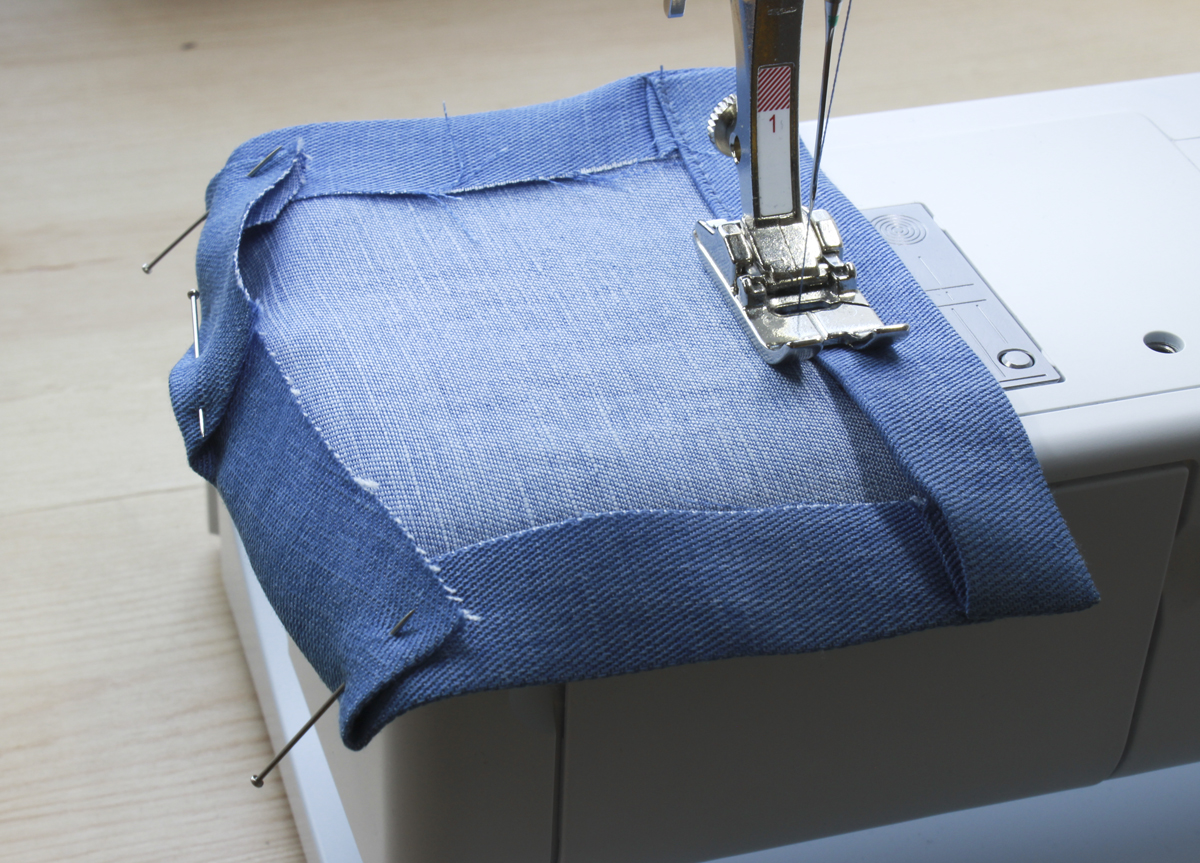
 Trim these corners so that we can turn things back to right side out.
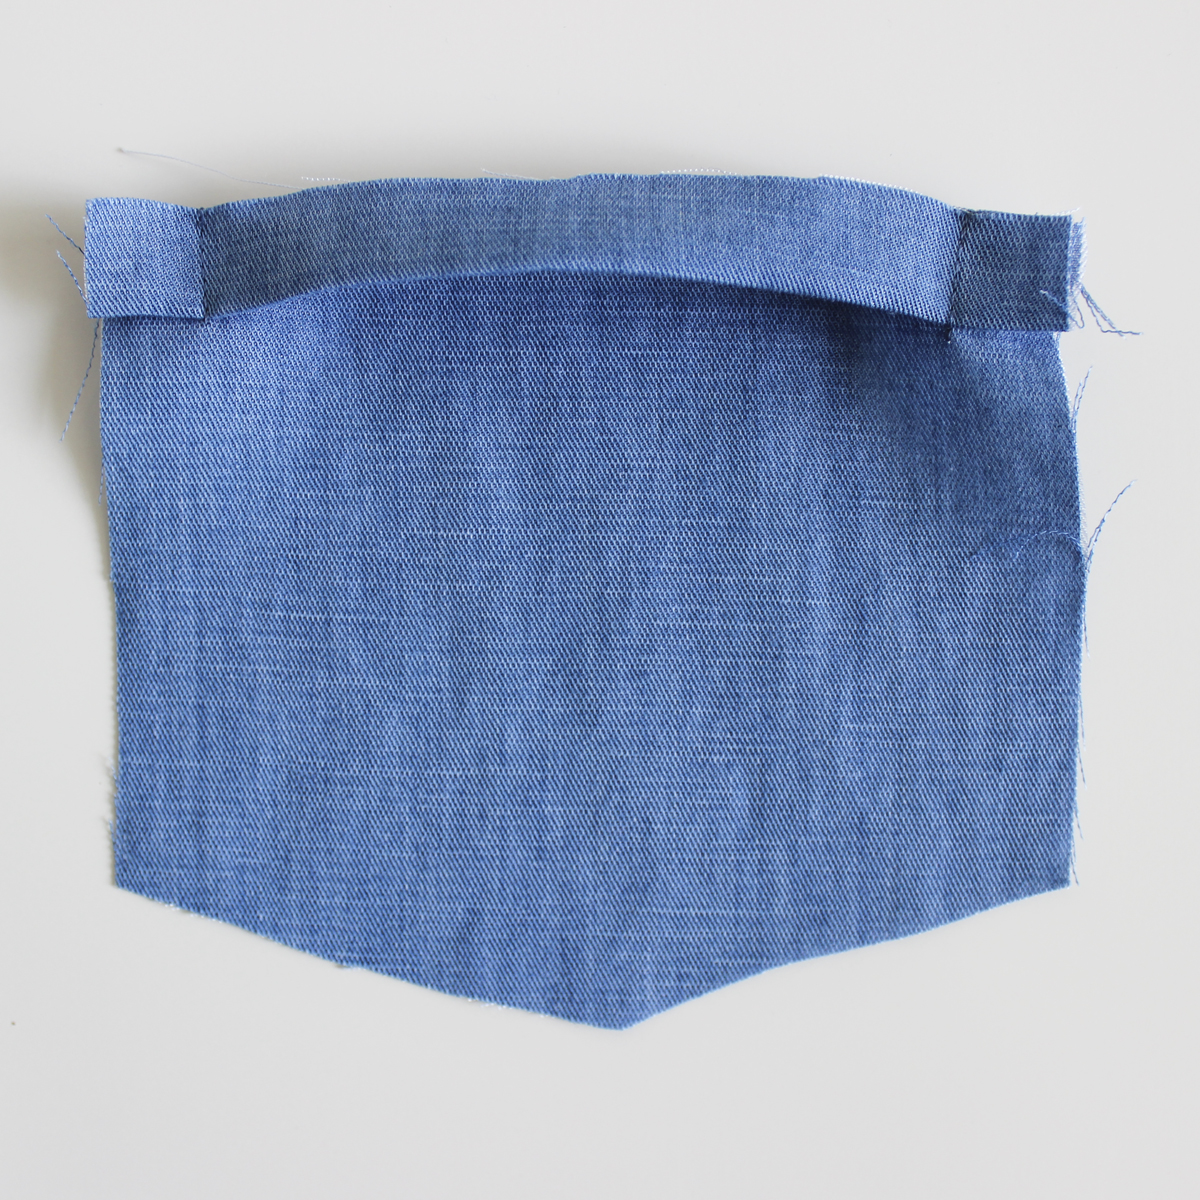
 Now we can press our top edge, and press up our other edges 5/8″ (1.5cm) to form our pocket.
 Edgestitch along the folded top edge, we’re finishing our pocket opening here. After this step would be the time to add any embellishment or appliqué to the pocket if that’s what you’re planning.
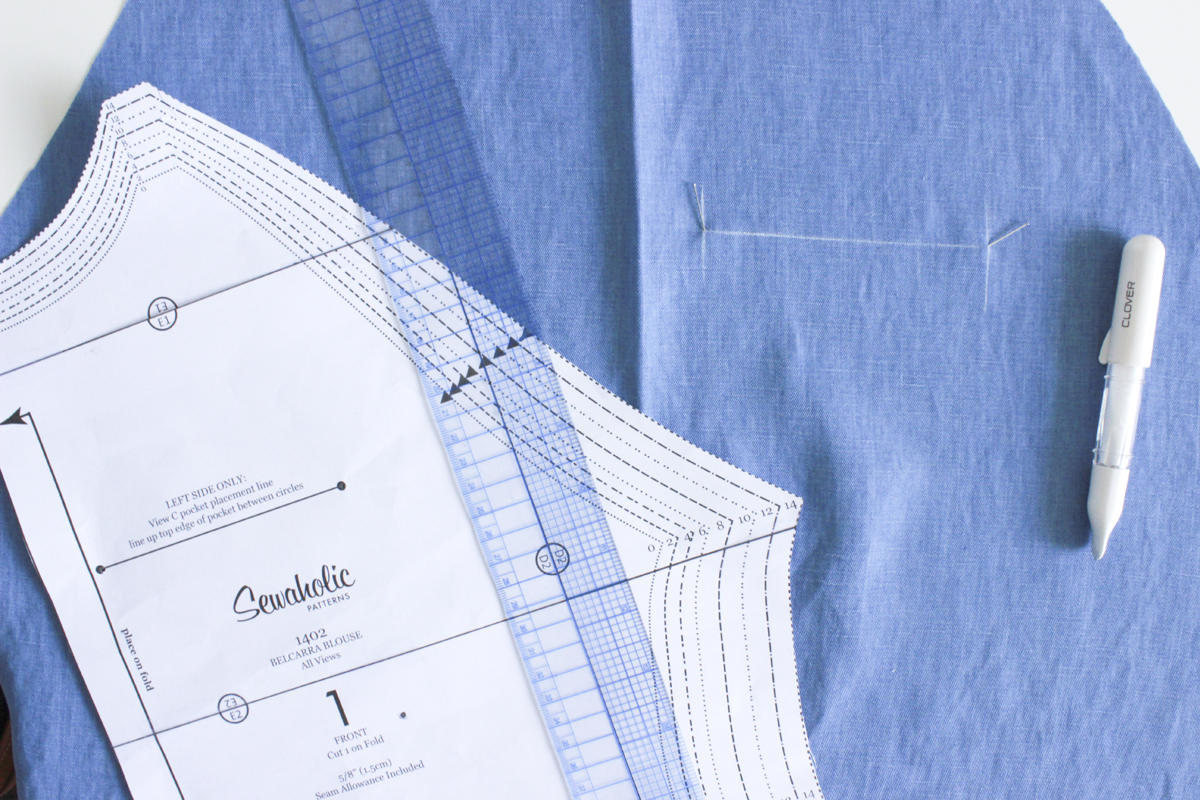 Now let’s grab our bodice front piece along with the pattern piece, and transfer the pocket marking. We want the pocket on the left side. But hey – if you prefer the right side, go for it! Whatever floats your boat. You might want to drape the front bodice on your body and check to make sure you like the positioning of the pocket.
 Pin the pocket in place. Line up the top edge of the pocket with your marking.
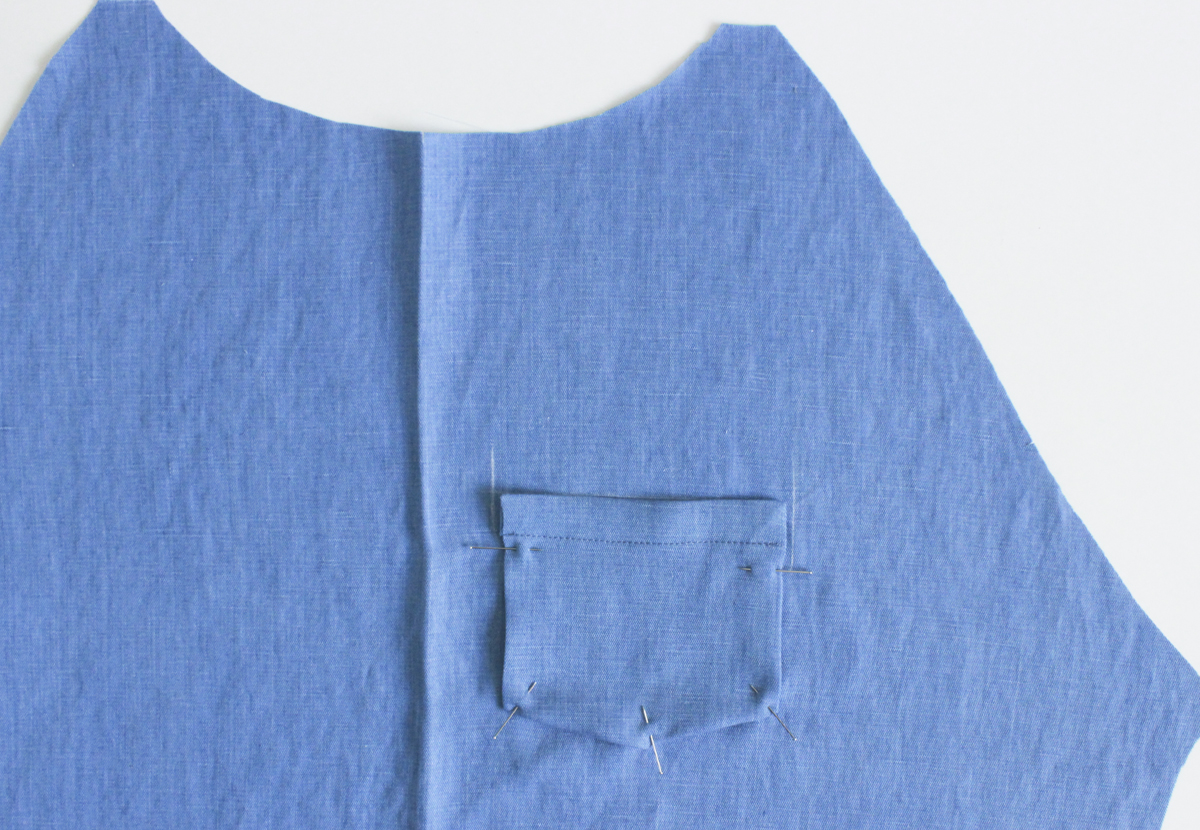
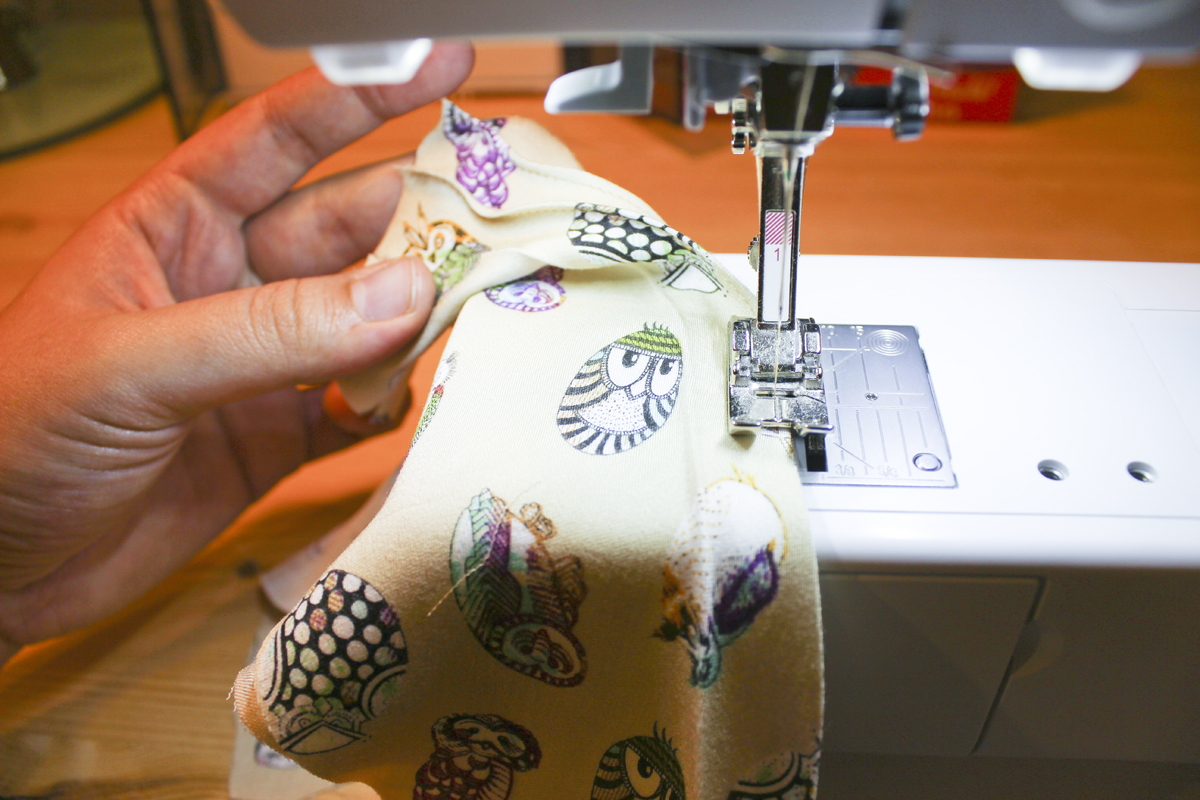
 Time to sew our pocket on! Start this way, at an angle moving from your stitch line up to the top edge. We’re creating those nice anchor triangles to give a lovely finish to our pockets. They are easier than they look! Go ahead and sew up to the top edge…
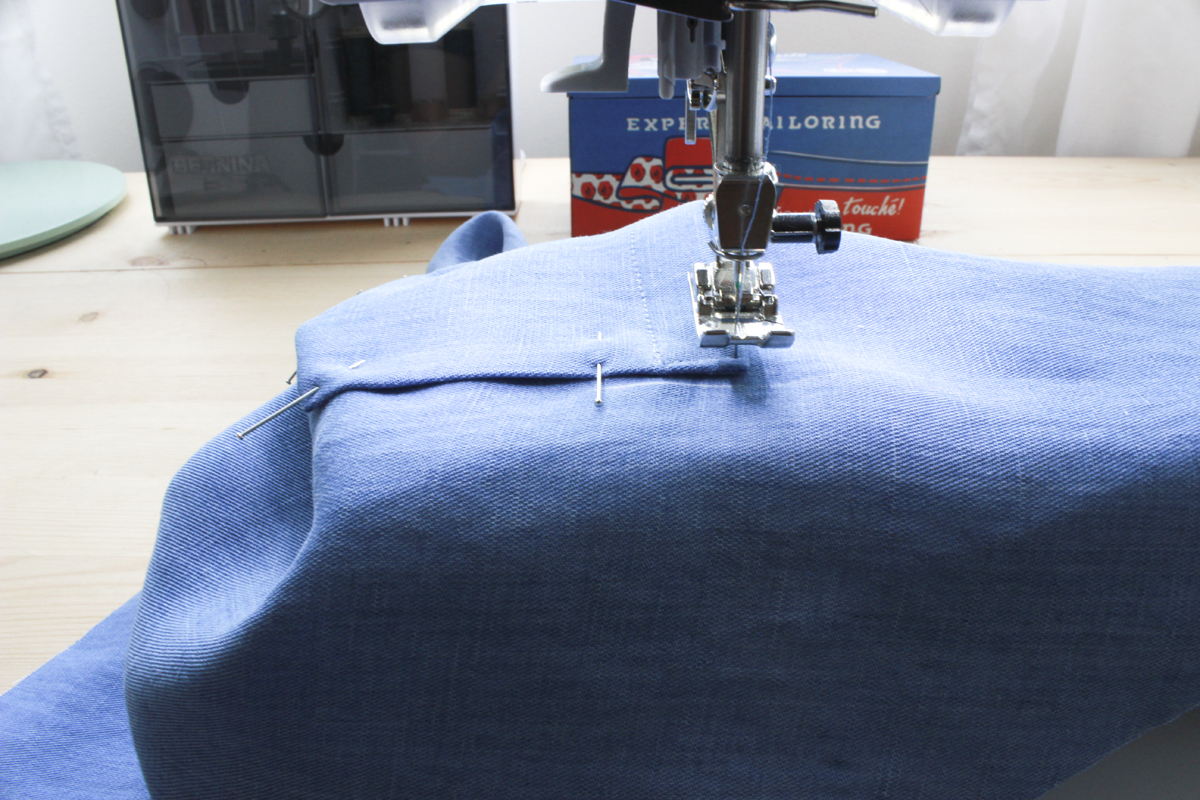 Keep your needle inserted into the fabric so things don’t move around, then lift your presser foot, pivot your bodice, and then lower your presser foot so that you can sew a couple of stitches along the top edge.
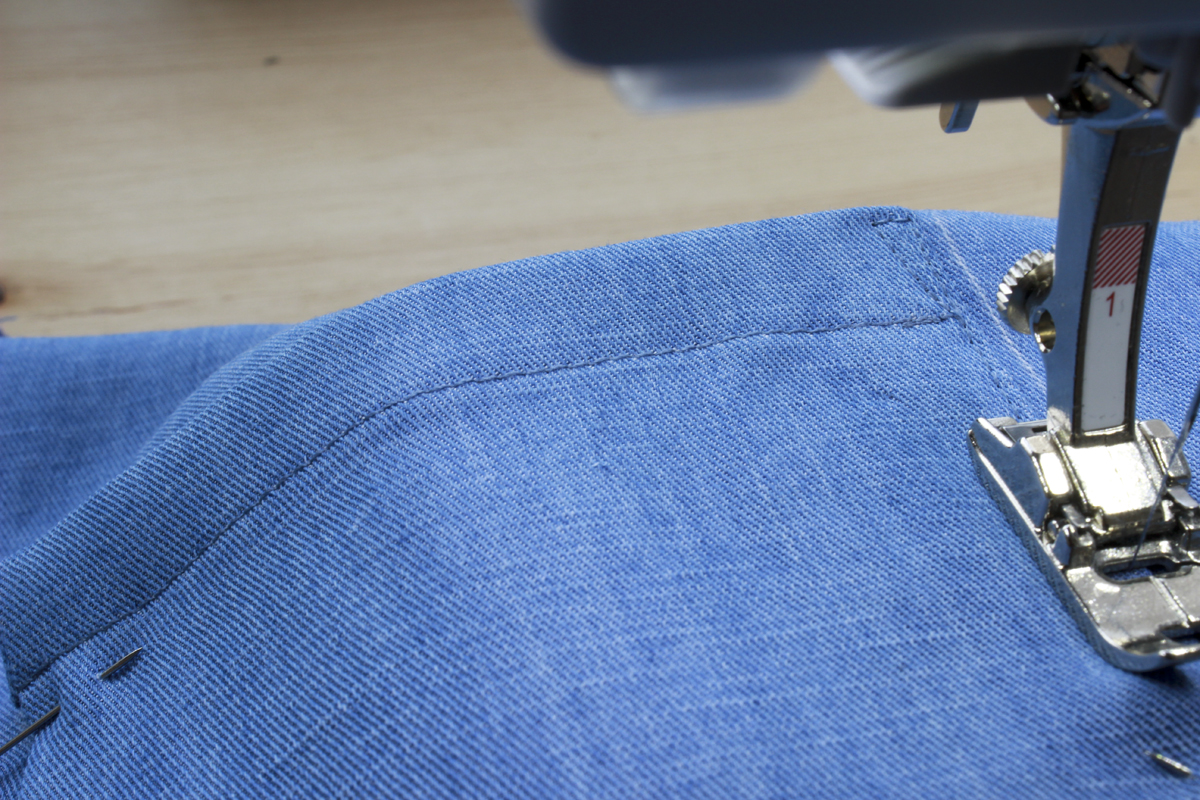 Then repeat the same thing: keep needle inserted, lift presser foot, pivot, lower presser foot, and continue sewing. We’re edgestitching about 1/8″ or a couple of millimeters from the pocket edge. Continue sewing all around the three edges of the pocket, and then repeat the triangle anchor on the other top corner.
 There we are! Pocket complete.
View B
I’m using a different fabric to demonstrate this step (the fabric is so cute!). I am planning a little Belcarra modification tutorial with the sleeves from view B, but a more A-line bodice shape and rounded hem. But in the meantime, let’s get to the pintucks…
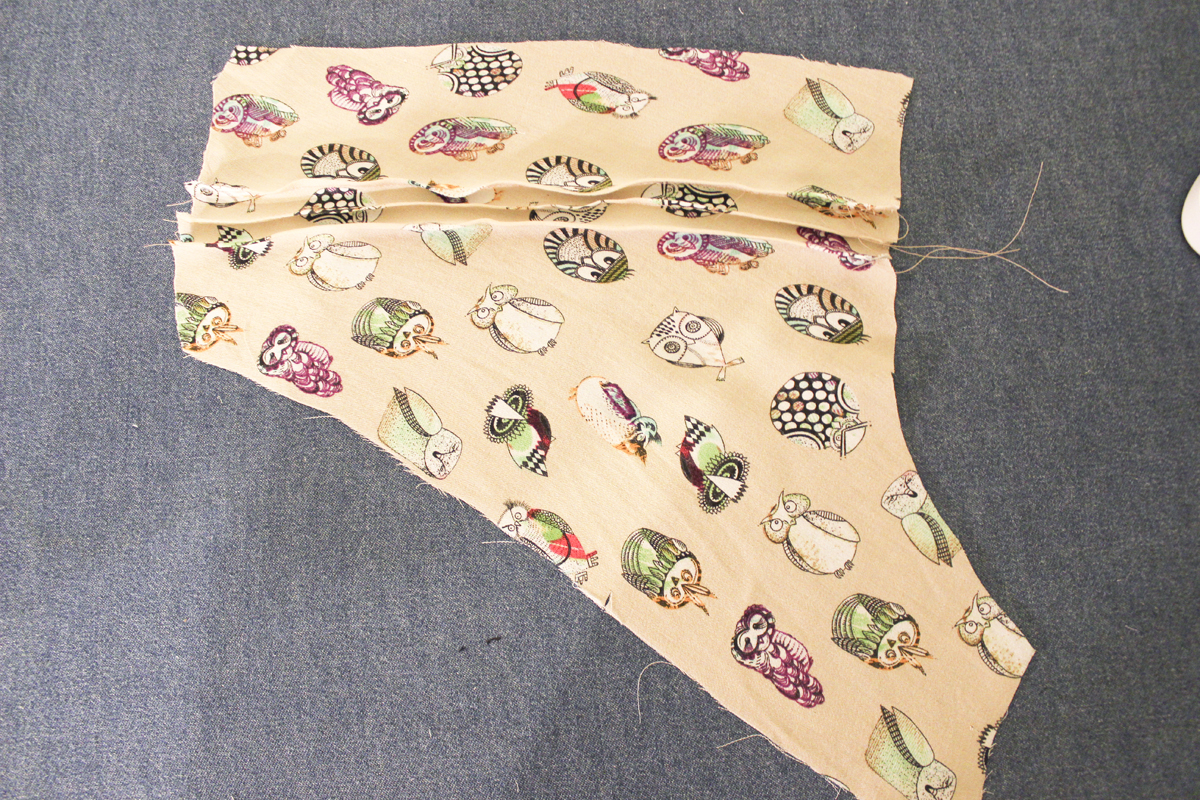
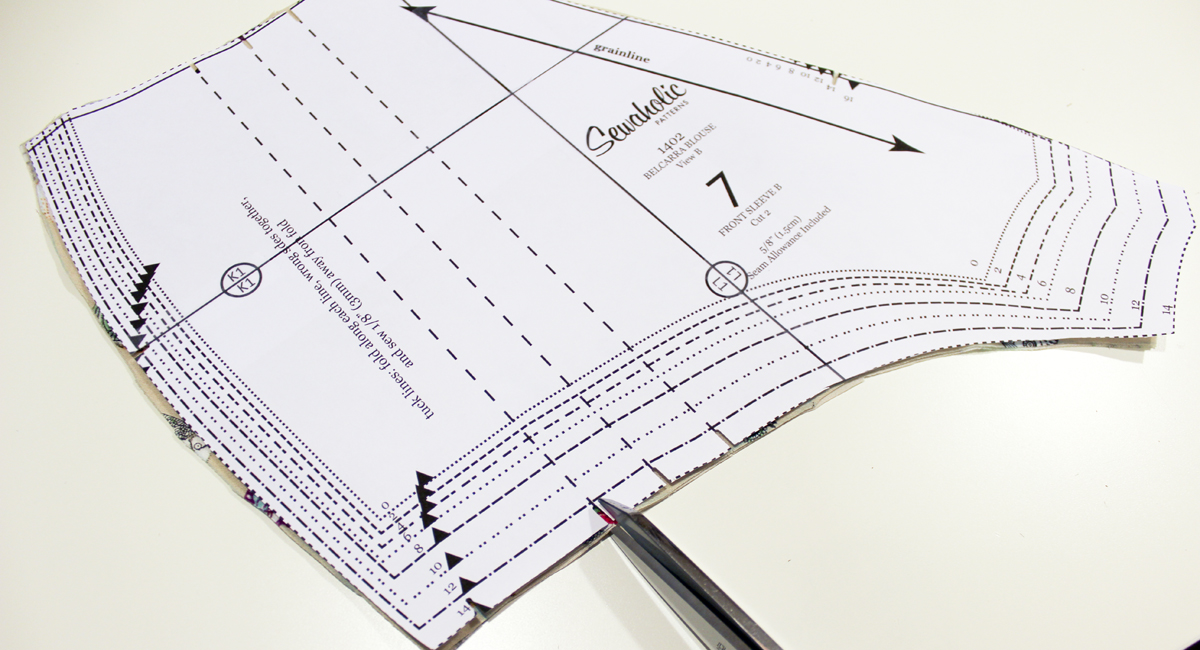 The pattern has dashed lines to indicate the placement of the tucks. I like to notch these markings at each edge to give myself a good guide.
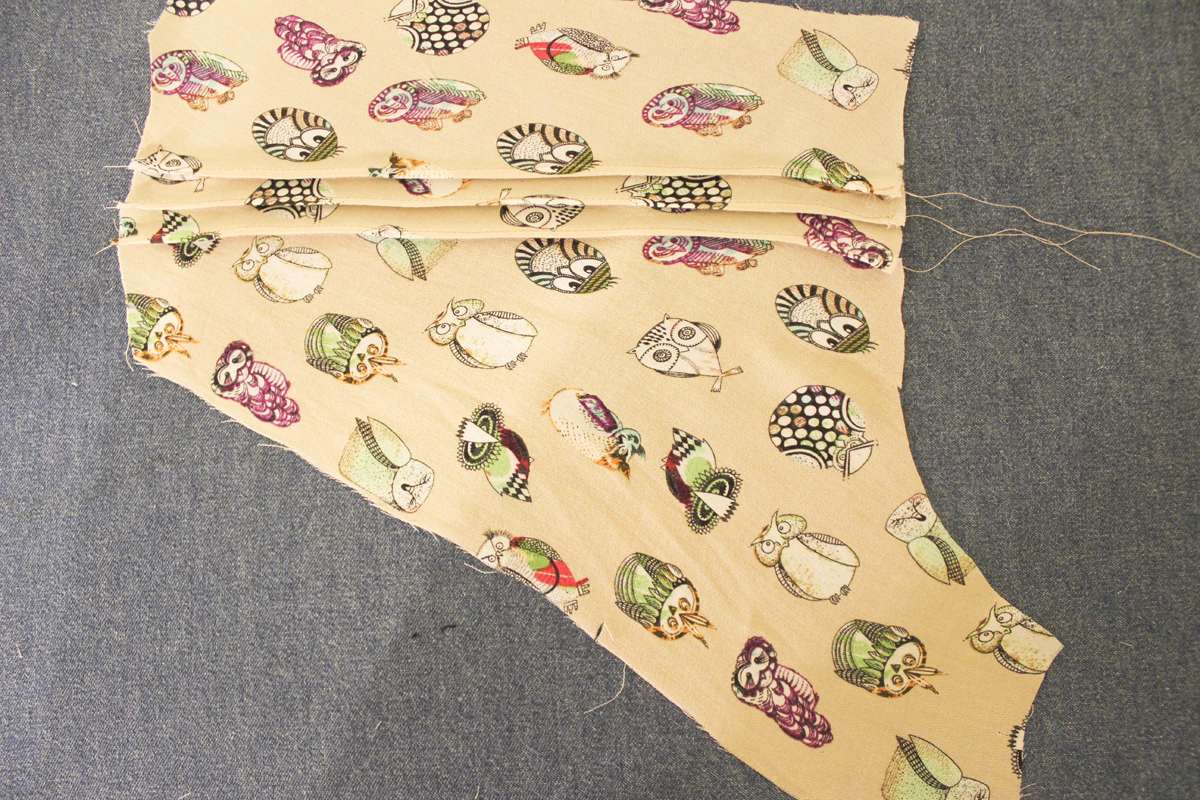
 Before I go in and sew the tucks, I like to iron the folds. This gives me a guide, and helps me to make sure that my tucks are in line and not crooked or uneven. I just find it gives me a bit more control.
 There we go, my tucks are pressed. Remember we are pressing wrong sides together, since the tucks are going to be sewn on the right side of the fabric.
 Now I’ll sew at 1/8″ (3mm) from each presses edge. You can use pins if you’d like, I find the pressing is enough.
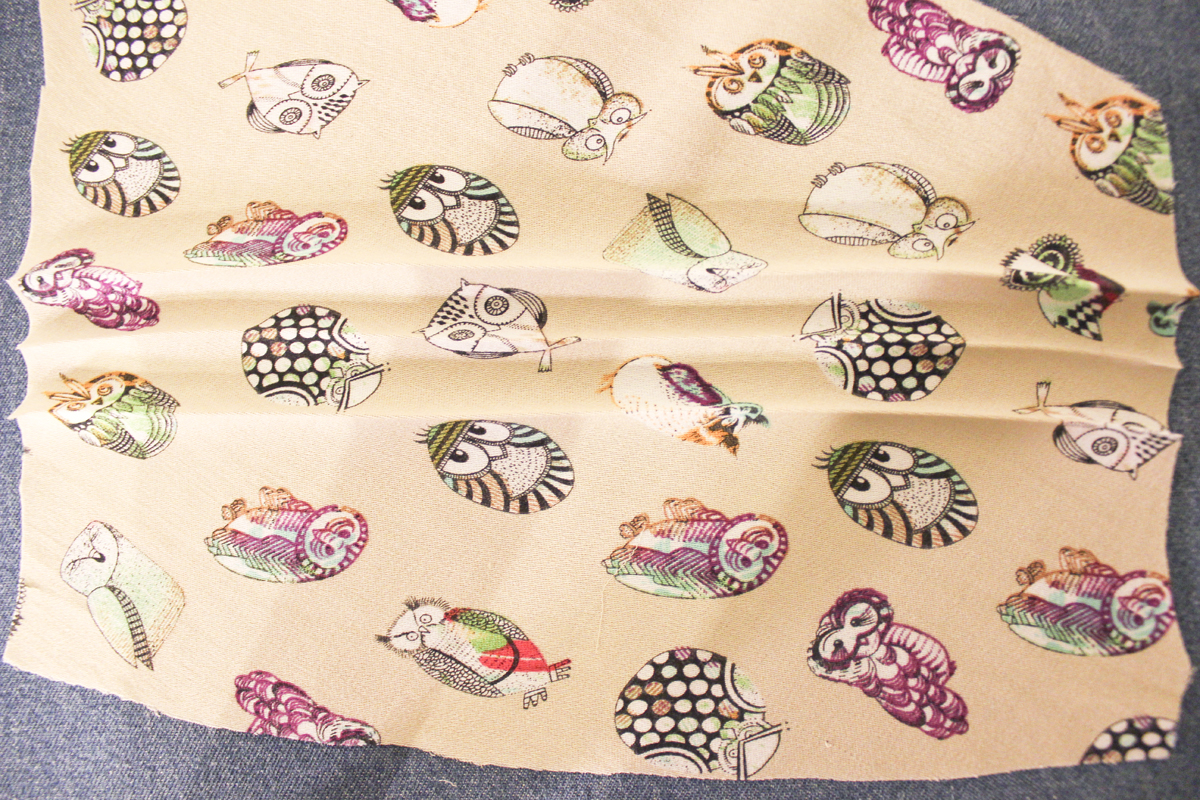
 Here is what it looks like before I press down the tucks.
 Here is how it looks after I’ve pressed down the tucks! We are pressing them towards the long edge, which will be the edge that attaches to the bodice, not the shoulder seam.
 Repeat for the other sleeve piece. Now we’re all finished with our pintucks.
Go to our next sew-along post where we’ll be sewing all of our seams and really get to see the blouse take shape.
Oh good, I will definitely be referencing this post when I get to this step. Thanks, Caroline! xo
I love the pintucks in the printed fabric. They really look good. I finished my pocket today and am ready to sew the sleeves on. I find it really interesting that the sleeves attach to the main body rather than being sewn together and then attached to the main body. It is so much simpler this way….
I absolutely love the way the pocket is put together! I always end up faffing around with the folded over part at the top & it never ends up looking particularly neat so thanks for this brilliant method :)
No problem! It makes things miles easier with the pocket. Happy to help!
FYI, if you use your edge stitch foot #10, then you move your needle as close as you need with perfect stitching lines. So much easier than the AP #1 foot.
Thanks Hilary! It’s a new machine so I’m still getting used to all the fancy feet. I am so accustomed to just using a regular foot for almost everything. I will give #10 a go next time. :)