The Gabriola Skirt is really easy to cut and sew in stripes! For cutting, simply follow the marked grainlines and the existing pattern layout. They’re designed to work with striped fabric already. Once the cutting is done, a few tricks will make it easier to sew with nice results.
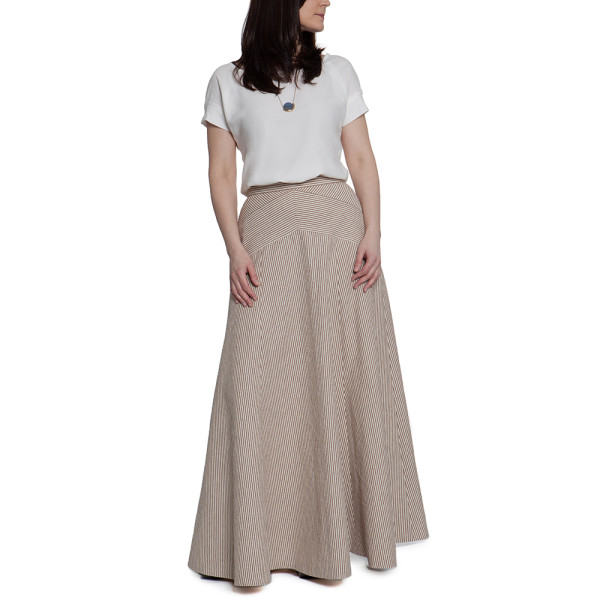
Here are some tips to making your striped Gabriola Skirt the best ever!
Cutting Tips
- Cut with Yoke pieces along stripe lines, using side of the piece as your guide rather than grainline. (They’re both the grainline, but the piece edge is easier to line up.)
- Cut the waistband piece the same way, lining up one of the edges with the stripe lines. This ensures that the stripes run around your waistline in straight lines, not veering off on an angle. If for some reason you wanted short vertical stripes instead of horizontal, place your waistband on the crosswise grain instead.
- Depending on your fabric’s stripe width and design, you may want to consider the fold of the waistband as well. Look at the fold line, and decide what part of the stripe design you want along the top edge. This is more important for wider stripes with dominant lines, or stripes with a long repeat and multiple stripe colours.
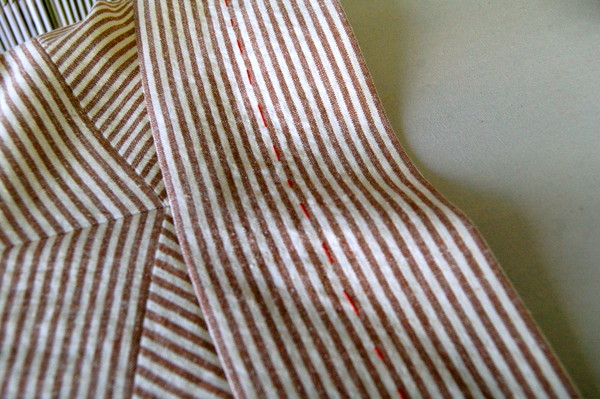
The more attention you pay during the cutting stage, the smoother the sewing process will be!
Sewing Tips
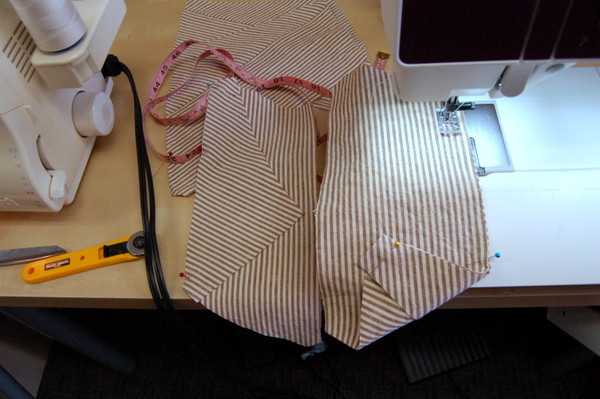
When sewing Top Yoke to Yoke pieces, sew with the yoke side up, so the stripes are running along the seamline. This is easiest if your stripes are yarn-dyed, and visible on both sides of the fabric like mine. In the photo below, you can see one set of pieces has the stripes facing up (the side under the machine) and the other set has the diagonal stripes facing up (on the left).
Lower the needle into the fabric at the 5/8” (1.5cm) seamline, and take note of where on the stripe that is. Then sew the seam using the stripe line as a guide rather than the guides on your machine.
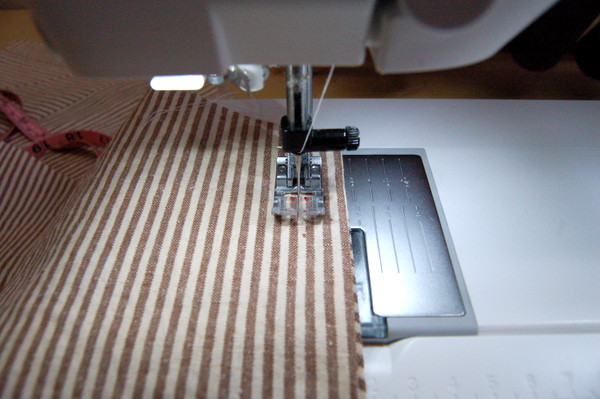
Follow this theory any time you’re sewing a panel with straight stripe lines to a panel with diagonal lines. I did it again when sewing the yoke to the lower skirt pieces, and again when sewing the waistband to the skirt. It’s a little harder with the waistband because of the interfacing but you can still see the lines a little bit.
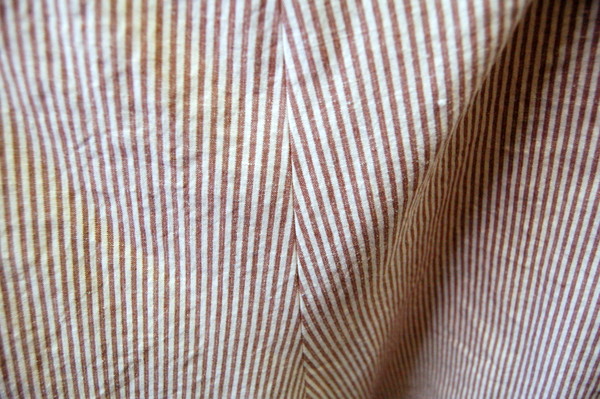
This is what will happen when you do! Look how nice that is.
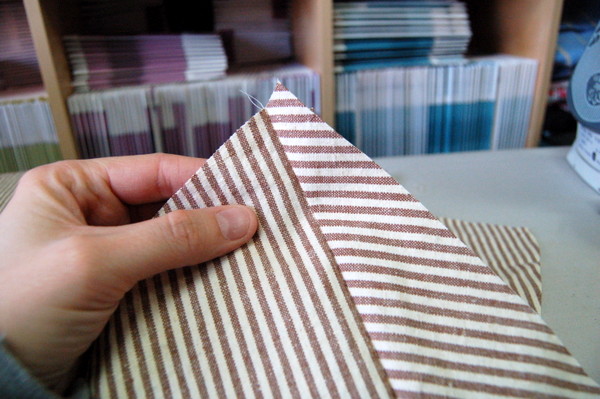
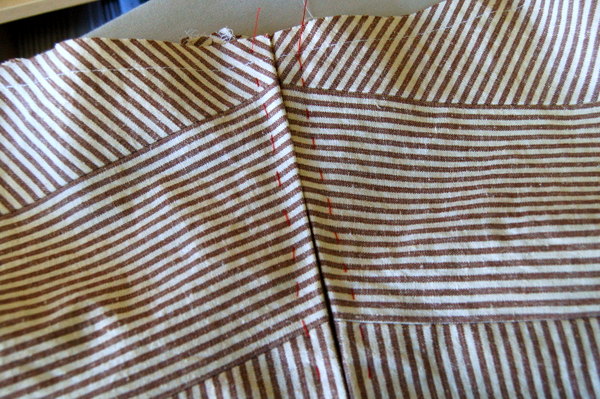
Baste seams first, to check stripe alignment. I stitch exactly on top of the seamline, because basting anywhere else won’t show us if our stripes are lined up or not. Then if it’s good, I stitch right on top of the basting stitches. I know that the basting stitch line was in the right place, so theoretically, my stitching will be too if I stitch right on top of it. (I did this along the centre front seam of the yoke, where I wanted the lines to meet.)
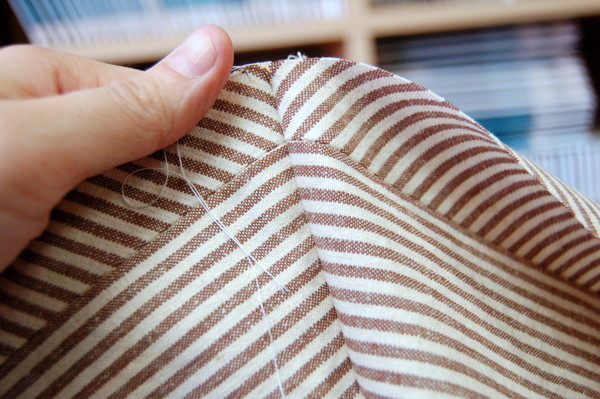
I didn’t worry about matching the stripes along the skirt panels. One, because they flare and curve and it’s a lot to keep track of, and two, because they in fact are so flared, the seam will be hidden in the folds as you wear it. No one is going to be hovering around your shins, checking your lower skirt seams for matching.
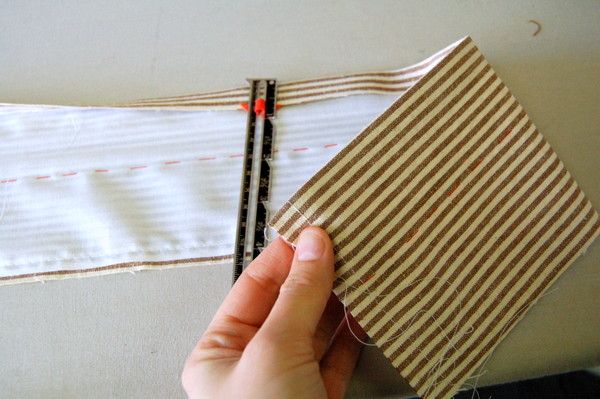
I used sew-in interfacing, and before basting it to the waistband around the outer edges, I hand-basted down the middle along the fold line.
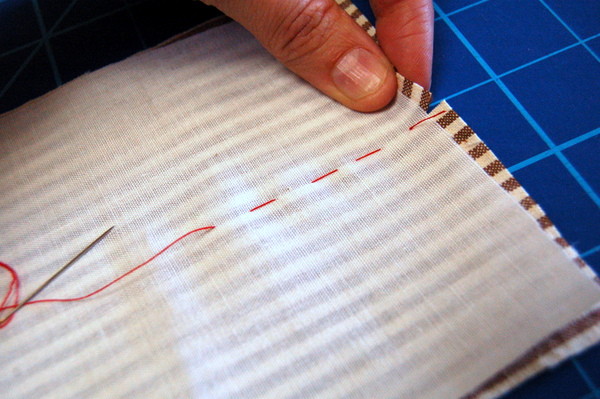
The fold line should also be on a stripe line, or centred down the space between two stripes. I did this so it’s easier to machine-baste around the edges without it slipping, and also so the fold of the interfacing stays tucked all the way into the fold of the waistband.
For the zipper, this is another place where the yoke lines look really good if they line up. After pinning the zipper in place, hand-basting will keep the layers and zipper in place while you sew it permanently. Hand-baste down one side, across the bottom, and back up the other side. Then when you sew the permanent line of machine-stitching, be careful not to sew over the basting so it’s easier to remove.
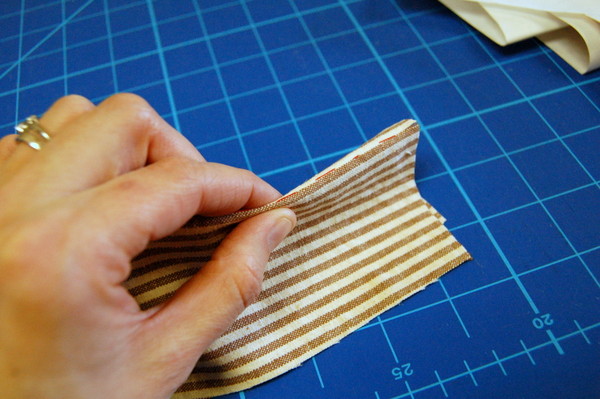
When you press the waistband, press along a stripe edge, instead of focusing on exactly 5/8” (1.5cm). In theory if you’ve cut the edge along a stripe line, it will be accurate!
And this part doesn’t have to do with the stripes, but the photos turned out pretty well. Here’s some good close-up photos of sewing the point of the skirt to the yoke.
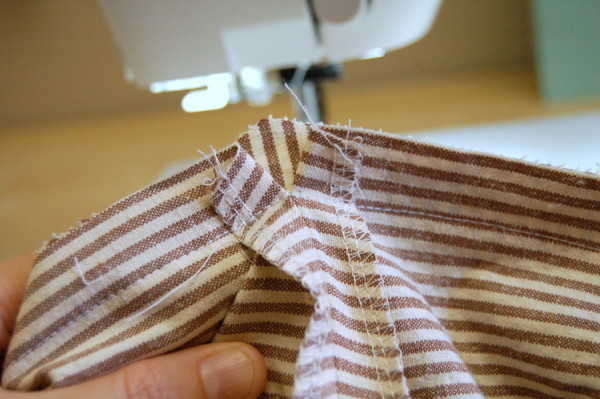
You can see how the seams meet at the point, and how the yoke seams separate to match the point of the V.
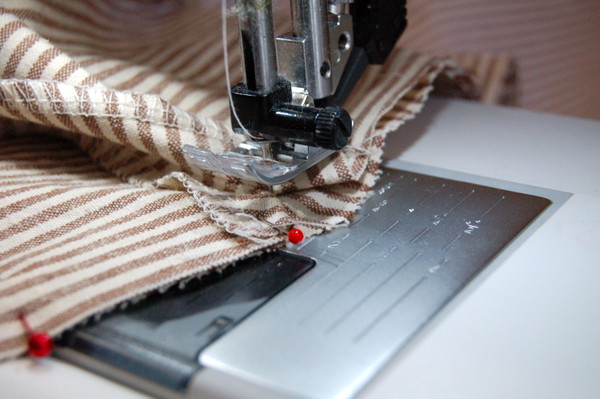
Here’s a close-up of the piece under the machine. When you reach that centre point, stop with the needle down and pivot. Keep the raw edges aligned, it’s easy for the top layer to slip upwards as you work with the pieces. (Please excuse the lint stuck to my needle!)
And here is how nice the stripes can look if you sew and cut carefully!
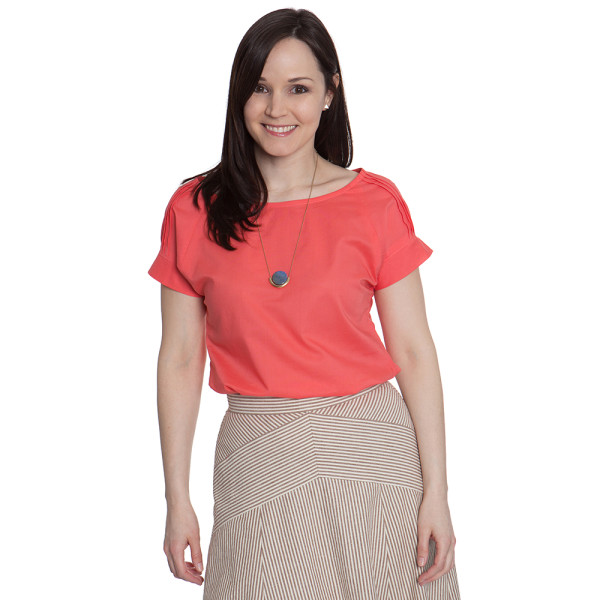
Anyone planning to sew the Gabriola Skirt in stripes? If you have any other questions, let us know.

I love stripes and I haven’t done anything from striped fabric in ages now. I always go all Monk and won’t settle for anything but perfectly lined stripes. But this seems like something I would love making. This is truly a versatile pattern. Well done :)
***
Check out my last post
http://needleforthoughts.blogspot.com/
***
LOVE the stripped version.. I purchased a slightly crinckle seersucker fabric in the same color as Tasha’s skirt. Can’t wait to sew it up for the summer. It will be cool for summer and elegant as well!! I have a narrow navy/cream stripe in a rayon and would love to sew it in either a midi length or just below the knee… Great for work or a fun night out with a cami! Ooh I love this pattern!
I was thinking how much I’d love to sew this in a nice striped linen, or similar! You’ve given me some brilliant ideas, thank you :)
I have a cream with fine navy seersucker earmarked for this! I love how the stripe direction is such an integral part of the yoke design!
I am BEYOND EXCITED about this. Ordered my pattern already and just waiting for it to arrive!
Now if only I had got the pattern before I made my own self-drafted version from stripy material… oh well! (http://cashmerette.blogspot.com/2014/03/if-its-worth-doing-once.html)
The cutting layout is already designed to work with stripes! Oh you beautiful, wonderful woman. That’s it, I’m buying this pattern immediately.
I, too, will be sewing this up in that lovely red/white seersucker I bought last summer only to find it was just a bit too heavy for the dress I intended. It will, however, be PERFECT in the lovely skirt. I can’t wait to start!
I love it in stripes! I plan on using widewide stripes myself. :D
Why, oh why, did you post this??!!!
Seriously, this is fabulous and my favorite versions of this skirt. I think this finally tipped me over into purchasing the pattern. (So far, I had been successfully resisting)
The striped version was among my favorite versions. I plan on making a striped version and floral version.
I happen to have several pieces of stash that have been defying use up until now, but are perfect for the Gabriola, so I’m going to use those first, but once those are done, some nice black and white stripes might be nice. OOOhhh, or red and purple colour blocking! (I’ve been dreaming of a long skirt that looks like a circus tent for ages, hahaha).
I’ve never really sewn with stripes before so I figure this will be a good opportunity to try pattern patching. I do have to wait until the pattern arrives, and wait a few weeks before I can start looking for fabric (I may have spent a bit much this weekend on sewing related items)
I absolutely love this stripe version! I find it casual and original.