The construction of the Davie Dress is pretty simple. The only part that may seem unusual is the neckline binding! Today I’ll show you how the Davie Dress neckline is sewn.
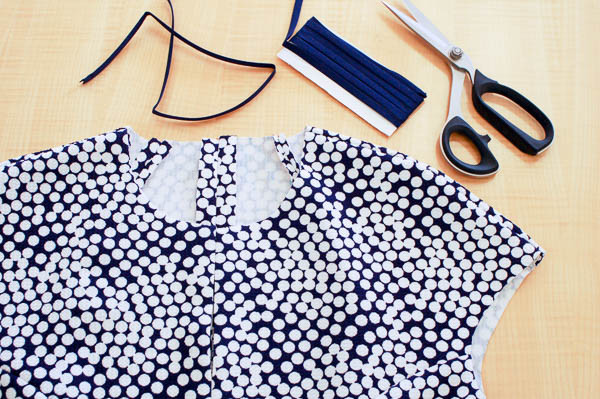
I chose a fabric for the Davie tutorial that has a distinct right and wrong side, to make it easy to follow. (And also because it’ll make a great dress!) You’ll also need 1/4″ (6mm) double fold bias tape. If you can’t find double fold bias tape in a colour you like, simply press single-fold bias tape in half again to create double-fold bias tape. Or cut bias strips and make your own binding. Choose a thin, lightweight fabric if you decide to make your own binding.
How to sew the Davie Dress neckline:
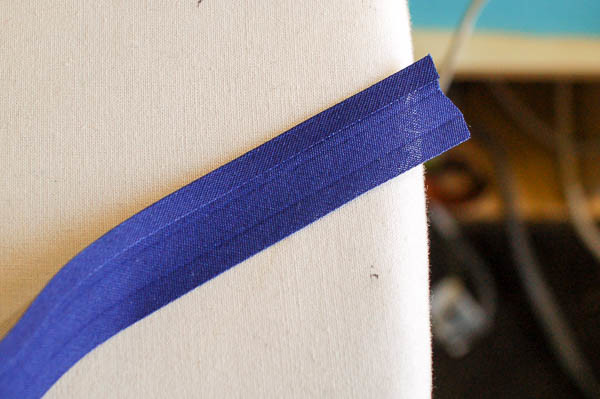
First, unfold one edge of the bias tape and press to remove the crease. It won’t be completely gone. Our goal is to get it to relax and unfold flat, but the crease line will still show. That’s OK and will come in handy later on!
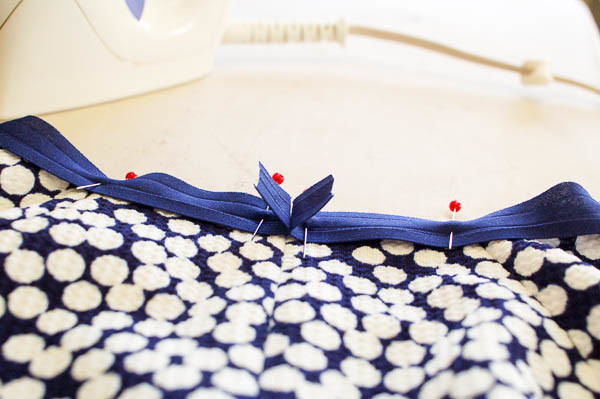
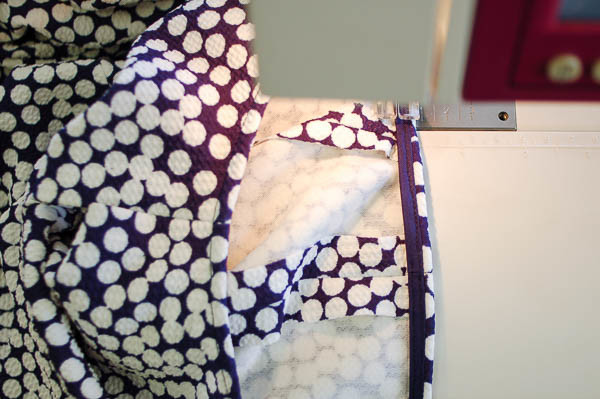
Start at the centre back seam, and pin the unfolded edge to the neckline, working your way all the way around until you reach centre back again.
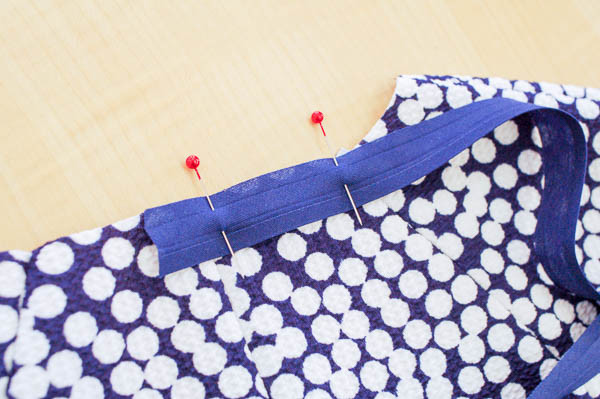
Leave 5/8″ (1.5cm) of tape at either end, and cut the excess tape.
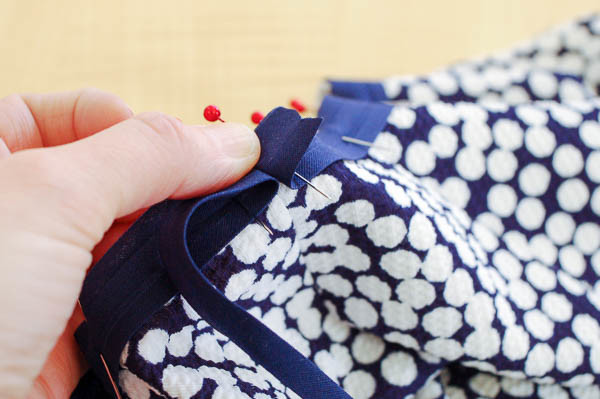
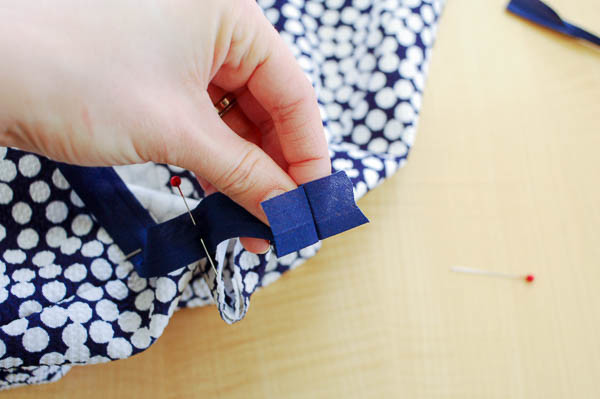
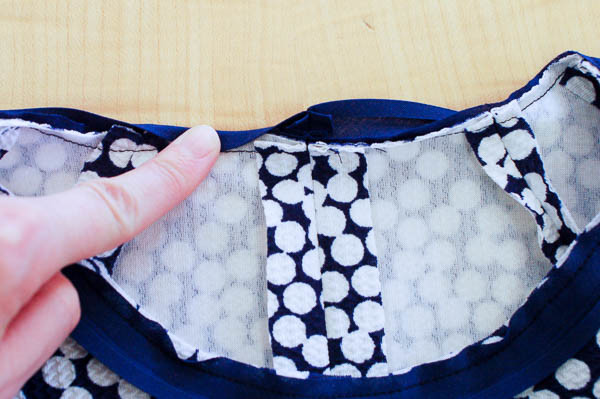
At the back, press under the ends of the tape so they meet and then fold away from each other. There shouldn’t be any space between the ends, nor should there be an overlap.
Lift up the binding – unpin a few pins if you have to – and sew a seam where the folds meet.
Place the binding back down and repin to the dress neckline. Trim the seam allowances of the centre back seam.
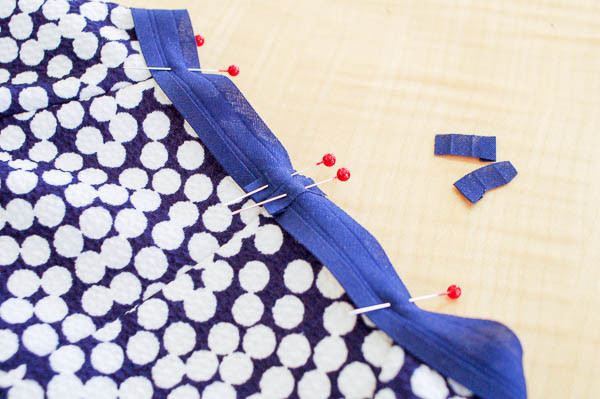
Now sew down the crease that you just pressed to remove, sewing all around the neckline. The crease will still be there even though we’ve pressed it; use it as your guideline to sewing on the binding. Overlap the stitching a few stitches when you reach the start of your stitch line.
Here’s what it will look like so far.
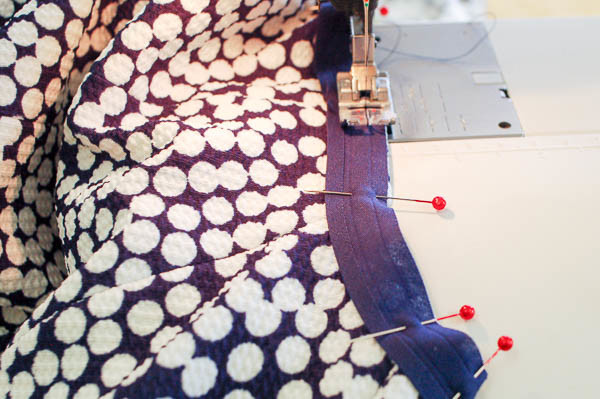
Fold the binding over the fabric edge, so the edge of the binding meets the stitching line.
Edgestitch close to fold. Arrange your work so the side with the fold is on top, so you can adjust the fold closer to the original stitching line as needed. This step encloses the raw edges of our Davie dress neckline completely.

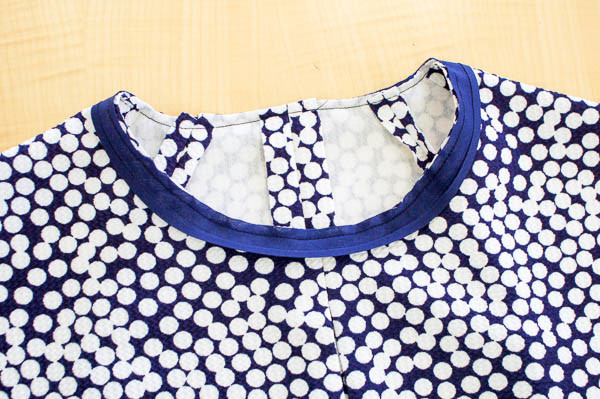
Here’s our dress neckline, so far:
Next, turn the bound edge all the way to the inside, so no binding is showing on the right side of the dress. I like to turn it just a little more, so there’s a ridge of dress fabric showing all around the binding. I’ve exaggerated this step a little bit more for these photos as well.
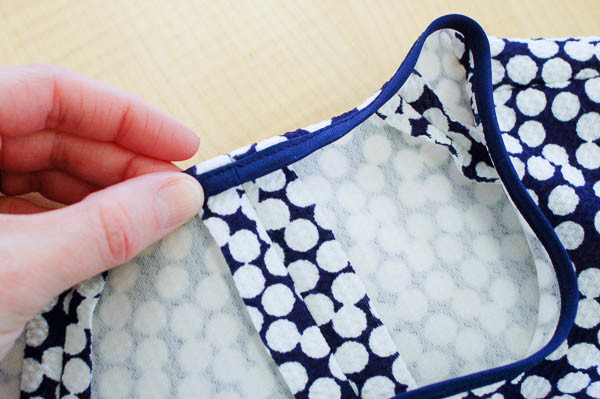
Press, and then topstitch binding in place. This hides the binding for a clean look, and strengthens the neckline of our dress.
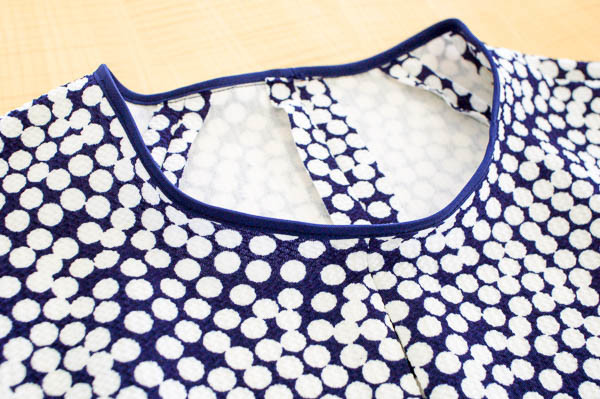
Here’s our Davie Dress neckline binding, completed!
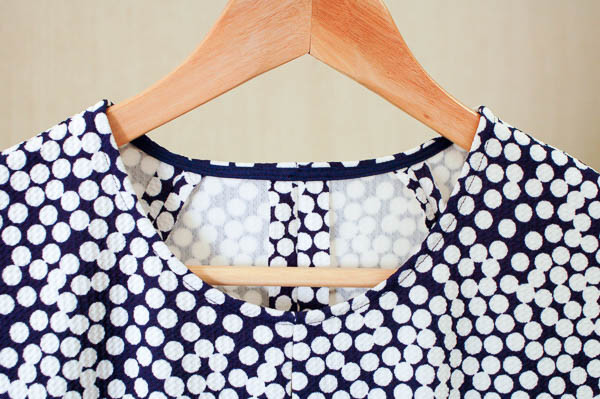
And a closer look:

What’s nice about the binding method on the Davie Dress neckline is that it adds stability to the dress. A knit dress is stretchy and can be heavy, so having a firm neckline helps maintain the shape of the dress.
It looks very neat indeed :) Do you recommend this method for lighter knits, e.g Tshirt knits?
Sure! As long as you don’t need the neckline to stretch in order to get the garment on. Using bias tape to finish a neckline takes away all of the stretch around the neck.
OMG thank you so much for this!! I always struggle with the binding, never thought of using double fold bias for that!
It works if you don’t need your neckline to stretch at all. It’s great for making a strong, stable neckline that won’t move or stretch.. good if you don’t need it to stretch, bad if you do!
I love this fabric! Where did you get it/what is it called?
I bought it at Fabricana in Richmond (a local fabric store), it’s some sort of textured synthetic, probably polyester. It works great for this dress!
Tasia, I love this dress pattern because I get the feeling it is the sort of thing you can whip up in an afternoon …
It is a quick project! Especially if you skip the topstitching and/or use your serger. The dress in this demo was sewn in one day! (Not counting the 24-hour wait for the dress to hang before hemming…)
Thank you for this tutorial! Simple, easy and it works. You can’t go wrong with that!
amazing tutorial, thank you very very much !!!
I am doing the project in which h the necklace is a V shape do you think I could use the binding rather than the facing ? I m not a great facing fan, since is always moving and popping out the garmet ….
It’s hard to do binding on a V-shape – you’ll get to the point of the V, and have to snip the binding in order to turn the corner, so there will be a section that isn’t bound properly. You can bind outer corners easily, like on the edges of a quilt, but inner corners are hard. Unless you’re finishing the neckline using a set-in piece (like on the Renfrew Top V-neck) or binding it in a circle first, then pinching the binding and sewing across the corner to force it into a V-shape.
That’s one of the reasons that patterns will use a facing, so the designer can make the neckline any shape they want, and the facing holds the shape in place.
Thanks very much for your kind reply ;-) that’s why I coudbt find a tutorial online ;-) I ll stick with the facing then, but I ll definitely have to try your method soon.
Thanks
S
You have the best blog:). I love this finish. One of my TNTs is an out of print dress for four way stretch knits (8663) which has a bias bound neckline – the bias shows though, it’s meant to be a binding, not a facing. I read a lot of reviews about it by people who said they hadn’t used the tape because it wouldn’t stretch, but I just measured round the neckline to make sure it would go over my rather big head (rolleyes) and it would so I did it. This is nicer. Thanks:)
So glad you liked the tutorial! I can imagine people skipping this step if they wanted it to stretch, but it’s part of the built-in structure to have it *not* stretch. You’re right, as long as it can fit over your head comfortably, it works just fine to have it not stretch. It’s also very easy to enlarge the neckline slightly if you do find it snug to fit over your head, just scoop it out a little. It won’t affect any other pattern pieces, as you cut the binding to fit the neckline opening later on.
Hi Tasia, l wanted to know whether l could use bias binding for the armholes instead of turning under the hem? I find that when l have to turn under the hem, l have to apply Steam-a-seam to the seam allowance before stitiching it down and the finish doesn’t always result in the look l desire for my garment!!
You could! On our first sample we sewed one armhole with the binding, and one with the edge turned under. We decided it looked cleaner to simply turn under the armhole edges, but you could apply bias binding instead. The trickiest part is working it around the curves, since the cap sleeve has tight curves. You could always cut one test armhole, even just the front section, and try finishing it with tape before doing it on your real dress project.