 Another chapter in our Sew-Along story! Today we’ll sew, turn, and attach the loops. You’ll have a choice whether to hide the loop seam in the middle of the loop, or turn it to the side. And we’ll be one step closer to finishing up the bodice.
Again, today’s post is estimated to take an hour at most to complete!
First step – fuse the interfacing to your loops.
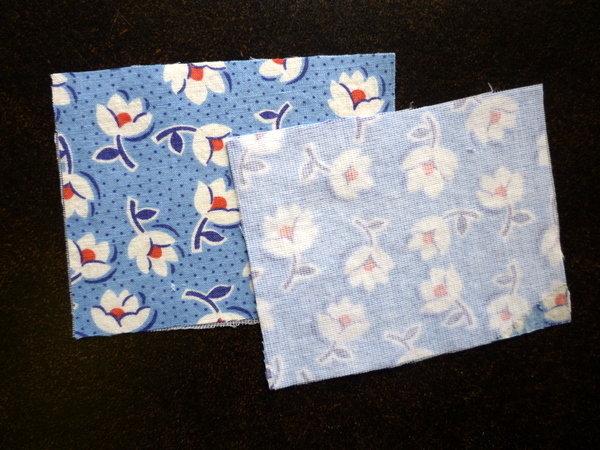 You might wonder why these need to be interfaced. They’re just loops! Well, I found if I didn’t interface the loops, they pull and lean inwards when the bow is tied, and look wimpy. A little interfacing makes them stand upright and look crisp. So my recommendation is to interface them! A lightweight fusible is perfect.
Fold the loops in half, with the un-notched edges together. Sew loop seams, backstitching at both ends.
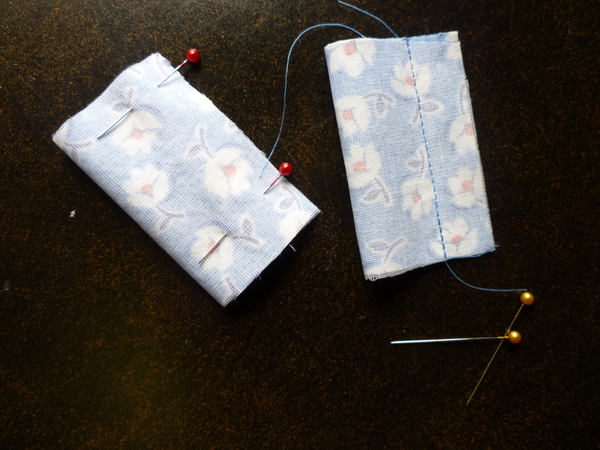 Trim loop seams down to 1/4″ (6mm) and turn loops right side out.
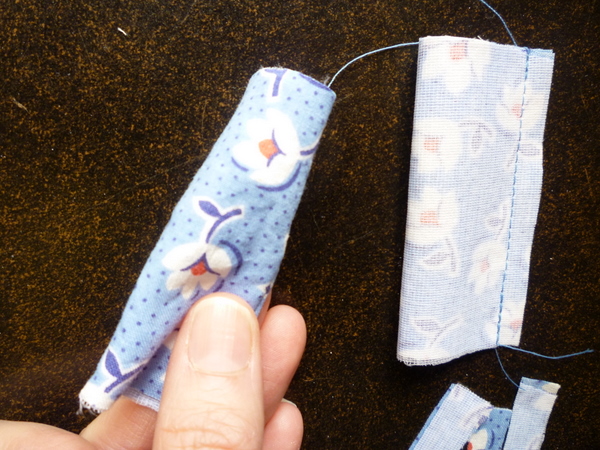
You have two choices for pressing the loops: either with the seam in the middle, or with the seam at the side.
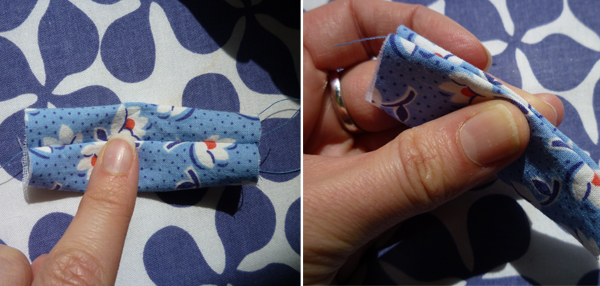
I think I’ve done all of my versions with the seam on the side, but it’s up to you! Putting the seam on the side means your loops will be flatter (no middle-lump when you press them) but putting the seam in the middle means it won’t show on either side.
Fold the loops in half, raw edges together, and pin between notches on back bodice.
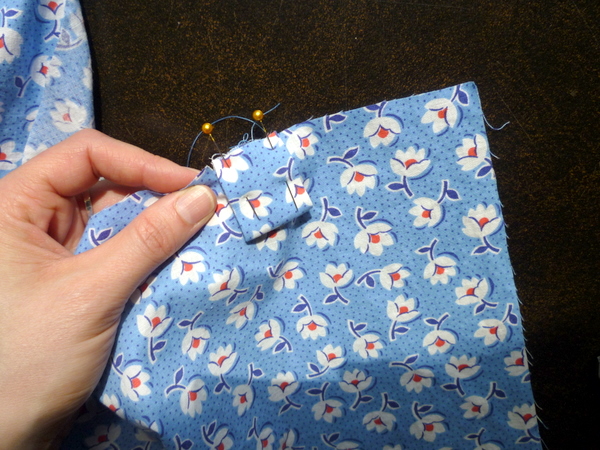
Pin the other loop to the other side of the bodice, like in the photo below.
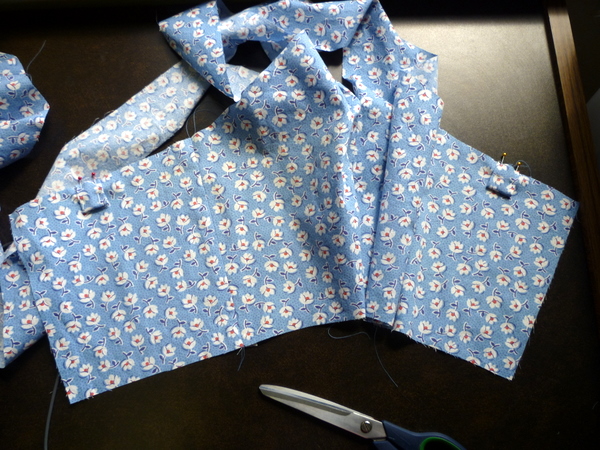
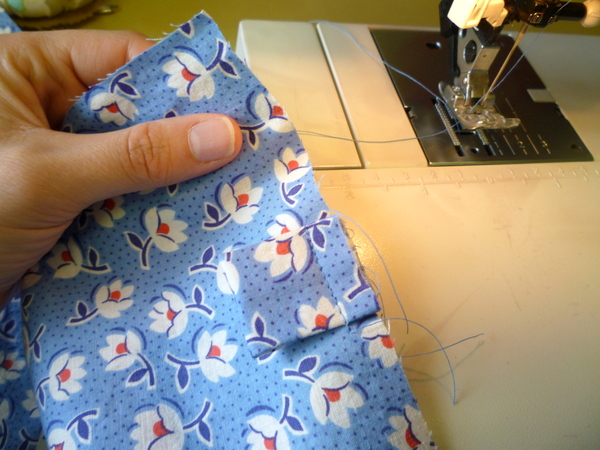
Baste the loops in place.
That’s it for today! Next, we’ll sew the bodice layers together.
Want to get a head start? Trim the seam allowances down to 1/4″ (6mm) on the sideseams and centre front seam. And make sure you know which bodice layer is going on the outside, if you have a large-scale print or colour pattern!

Sorry, I have again a seam-allowance-question.
“Trim the seam allowances down to 1/4‚Ä≥ (6mm) on the sideseams and centre front seam.”
Why 6mm? Why not 1,5cm? Am I not understanding something obvious? :/
@Volute:
You need to trim the side seams and the centre front seam which are already sewn. A trimmed seam looks neat, lays nice and flat with a seam allowance of 6 mm. Otherways if you leave it with 1.5 cm your garment might look bulky along the seams. Sometimes you even need to notch and clip inner or outer curves.
Be careful to only trim the seam allowances that are already finished! You still need to attach the two bodice parts, so don’t trim the top and bottom seams!
@Doortje: Thank you! I was totally confused.
@Doortje: Thanks for jumping in here!
@Volute: I’m glad it makes sense now! I mentioned it in today’s blog post as well, you’re basically trimming your seam allowances in half to reduce the bulk.
So I’m finally getting around to sewing this dress! It’s been languishing, all cut out, on my fabric pile for weeks, and in that time my cut out loop pieces (and their attached pattern piece) have gone missing! Can anyone help me by measuring their loop piece and giving me the dimensions so I can cut the loops again? Now that I’ve started it I really want to finish!
I’m sewing this dress for this spring, but since I often will wear a jacket or cardigan over the dress I want to sew the straps to the dress instead of having the bow adding bulk under another layer of clothing. Do you have any advice on how to do this? Or would you not recommend making this alteration to the dress?
Thank you so much for all the nice sew-along posts (and that they still are available). I’m looking forward to having my dress finished for the coming spring and summer :)