Last month, we released the Rae skirt pattern. Designed for true beginners! This is the perfect first project if you’re just learning to sew. It’s also an amazingly quick instant gratification project for the more seasoned seamstress. Since this skirt is such a cinch to make, we thought it would be fun to have a one-day sew-along. You can truly sew this skirt up in just one day. So let’s do it!
First thing’s first. Gather your fabric and notions (thread, 1″ wide elastic, and a 2″ piece of ribbon to mark the center back). Cut out your pieces, using the cutting layout as a guide if you’d like.
I will be sewing up view C, but the steps are the same for all views. Time to get started! The front and back of the skirt are the same. So we will assemble the same thing twice here…
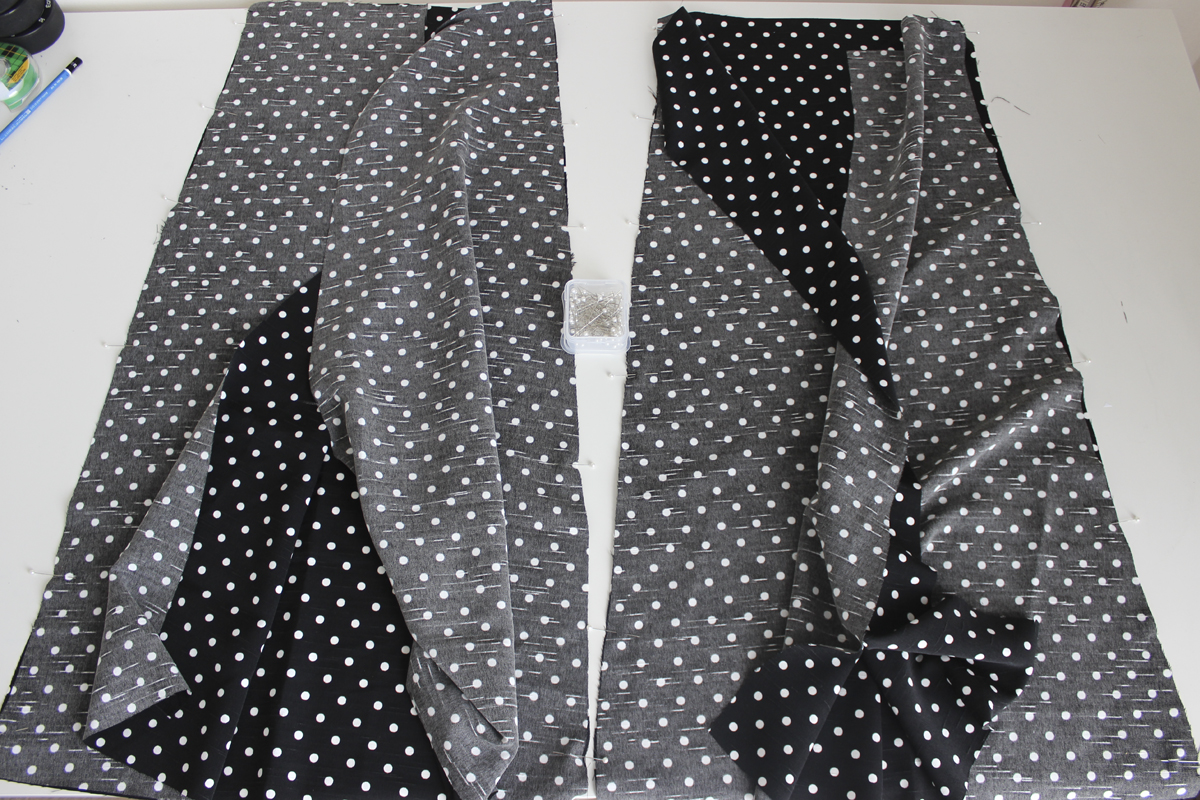 Start by pinning two of the side panels to one of the center panels, right sides together. Match the double notches along the seamlines. Repeat for the other set of side panels and center panel.
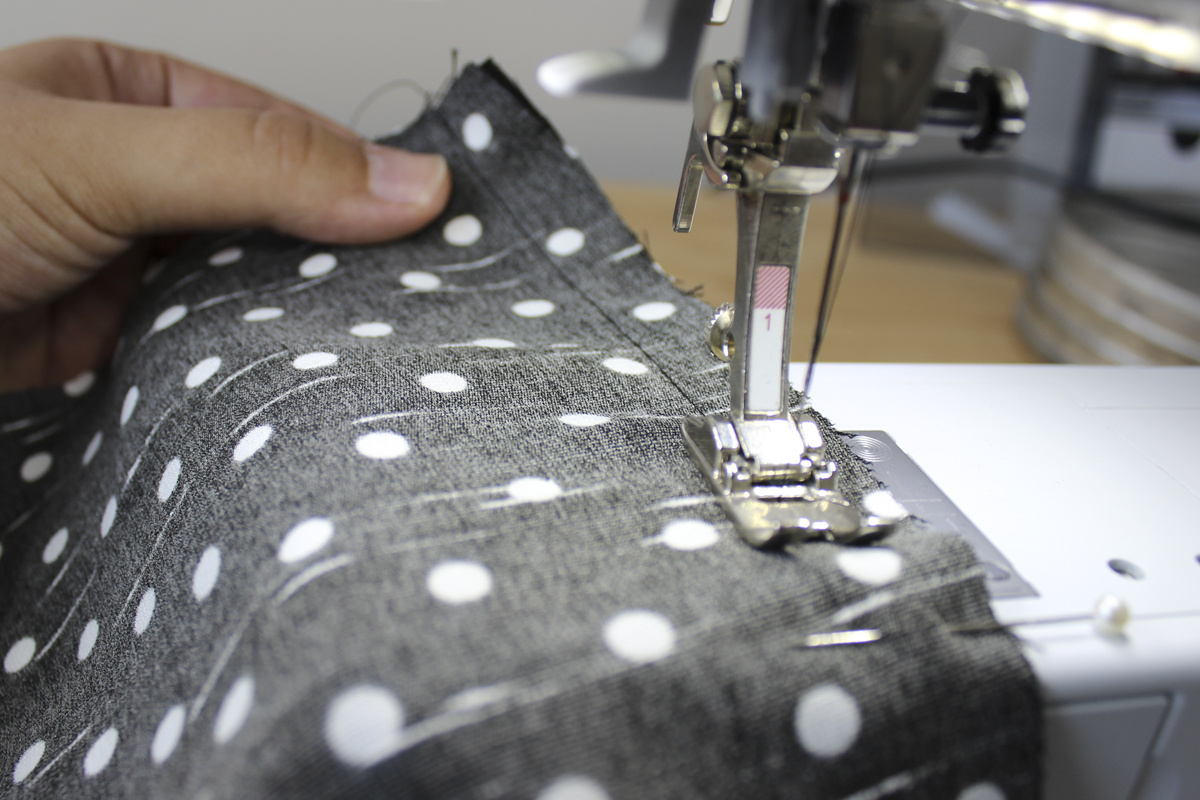
Sew these seams from the bottom to the top. This will help to avoid any distorting of the seams, if your fabric is fussy. Not so much of a big deal with a stable fabric, but it’s always a good idea to sew bottom to top just in case!
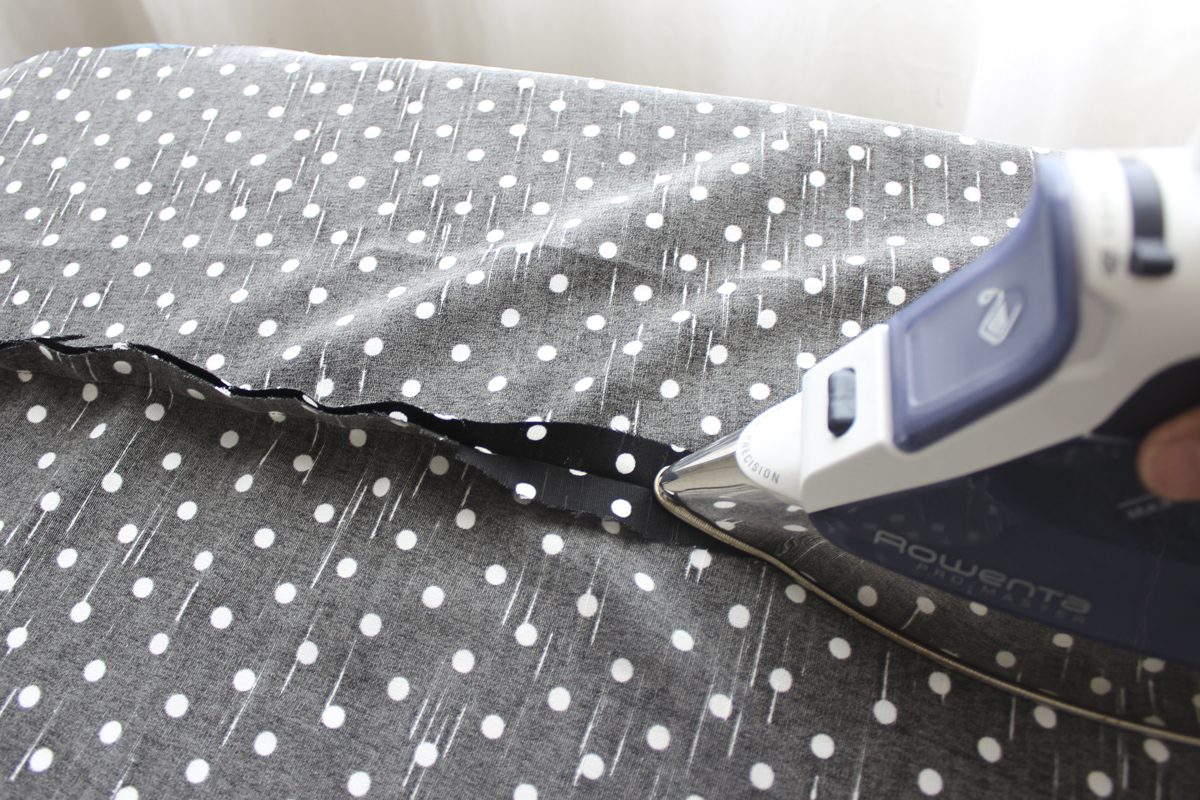
So now you’ll end up with a front and back to your skirt. Next we want to finish the seam allowances. I like to press my seam allowance open and then finish the raw edge. But you could do this the other way around!
You could also finish the raw edges first, before sewing the seams, and then sew your seams and press them open. If you do this, just be sure to finish your edges without trimming anything off.
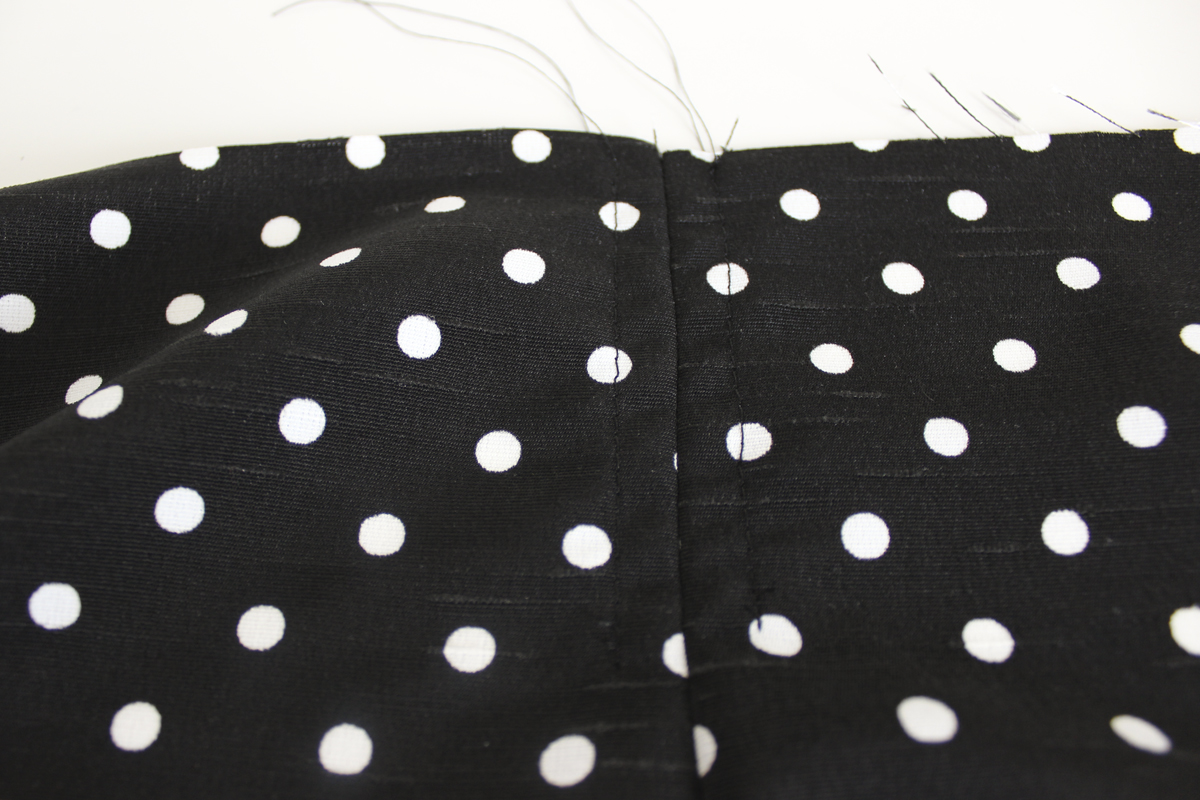
So! As you can see above, I have opted to press my seam allowance open first, and finish my raw edges next.
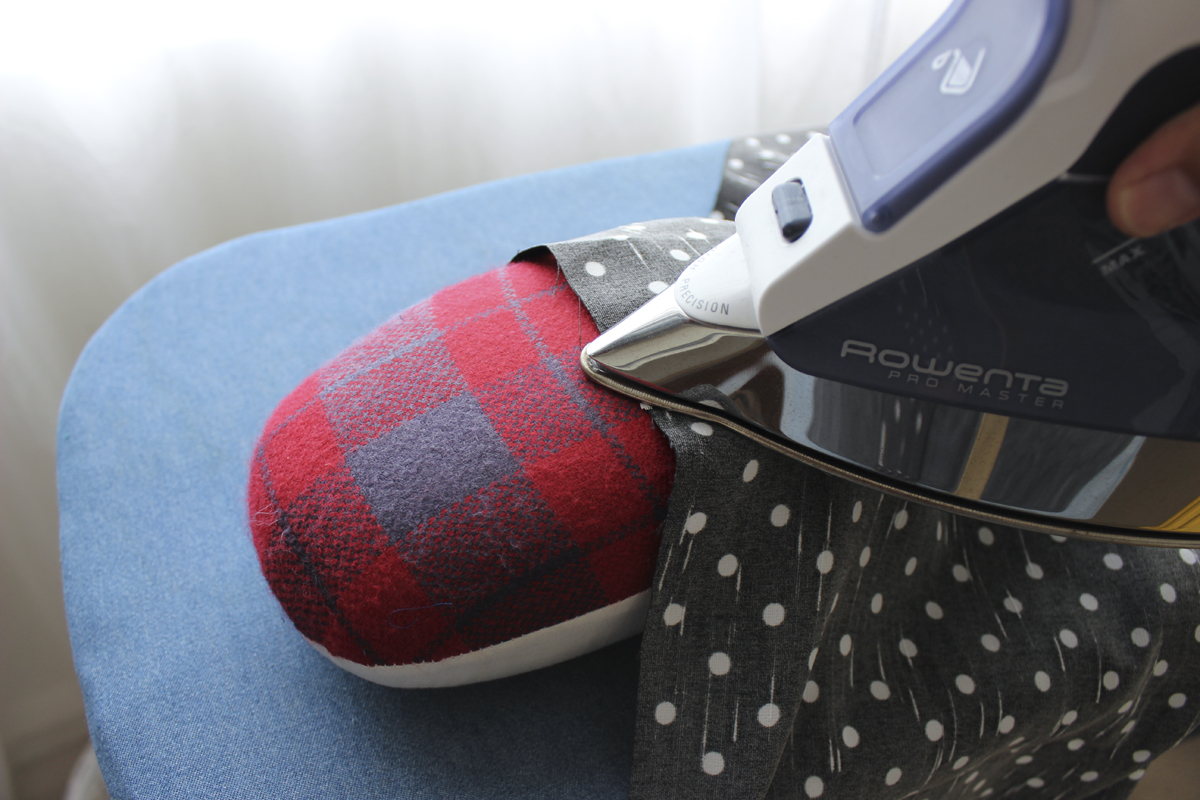
When you get to the top of the seams, you might find it easier to use a tailors ham to press this area. This way the skirt drapes out of the way, and you are pressing a smaller area at a time so you won’t get any wrinkles.
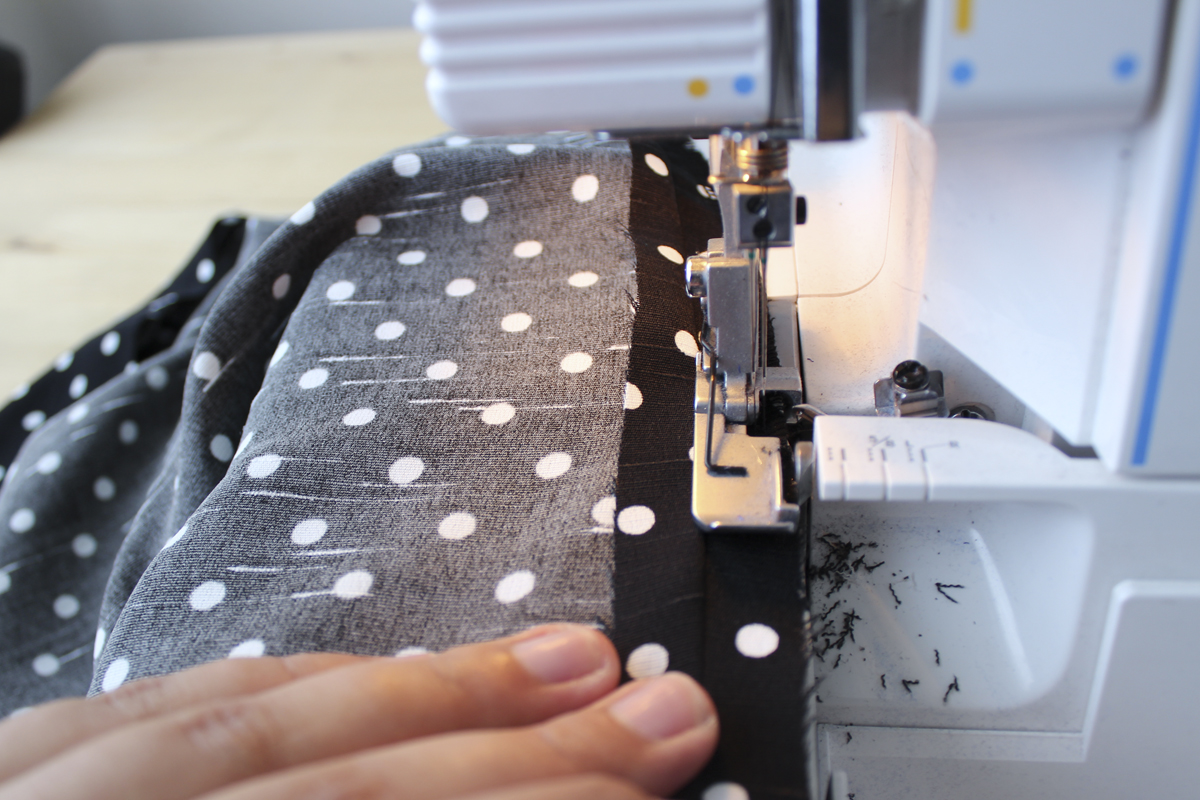
Finish the raw edges of your seams separately. I am holding the bulk of the skirt out of the way with my fingers, and feeding the raw edge through my serger.
Don’t have an overlock or serger? No problem! Here are some alternative seam finishes…
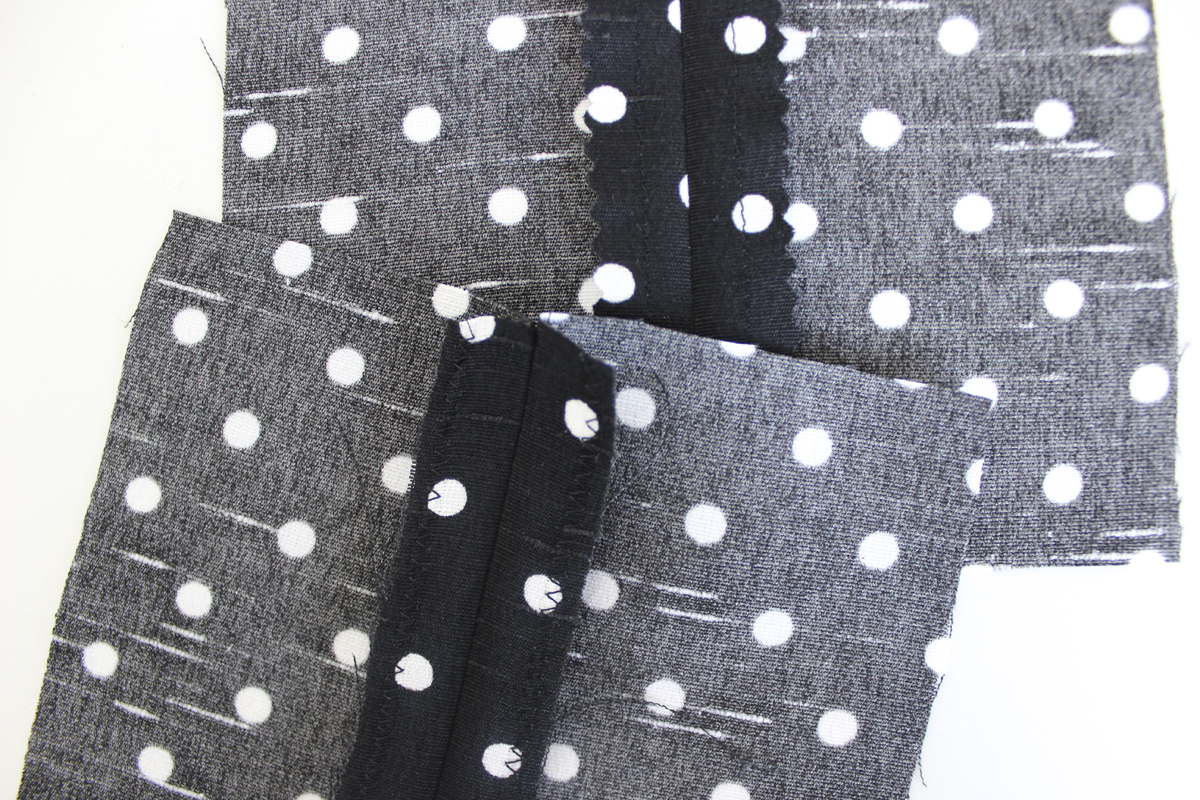
The top swatch is finished by stitching along the raw edge, with a straight stitch, and then pinking the raw edge with pinking sheers. The straight stitch line prevents the pinked edged from fraying too far.
The next swatch is finished with a zig zag stitch along the raw edge, that’s it!

Alright so now that we have our front and back sewn up and raw edges finished, we can sew the skirt back to the skirt front. Pin right sides together along the side seams.
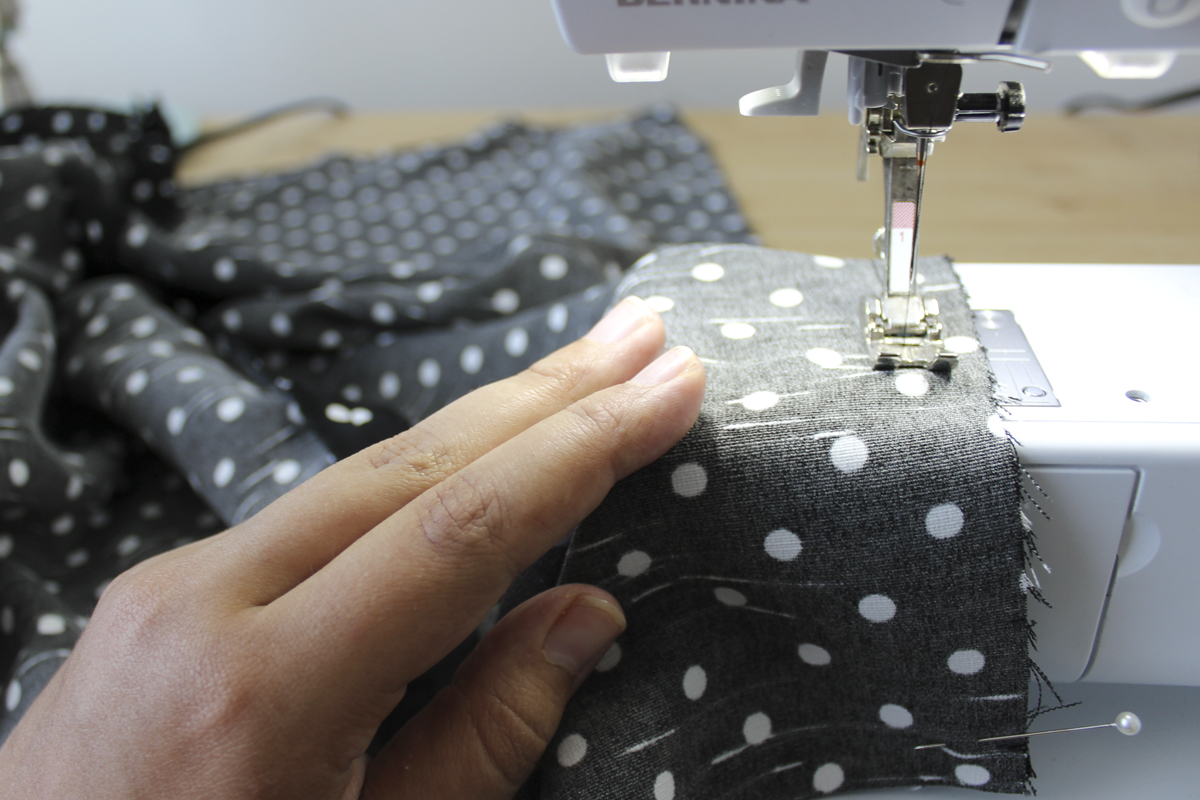
Sew along this seam, and finish seam allowances in the same way we did above – serger, pinked, or zig-zag. Press the side seam allowances open.
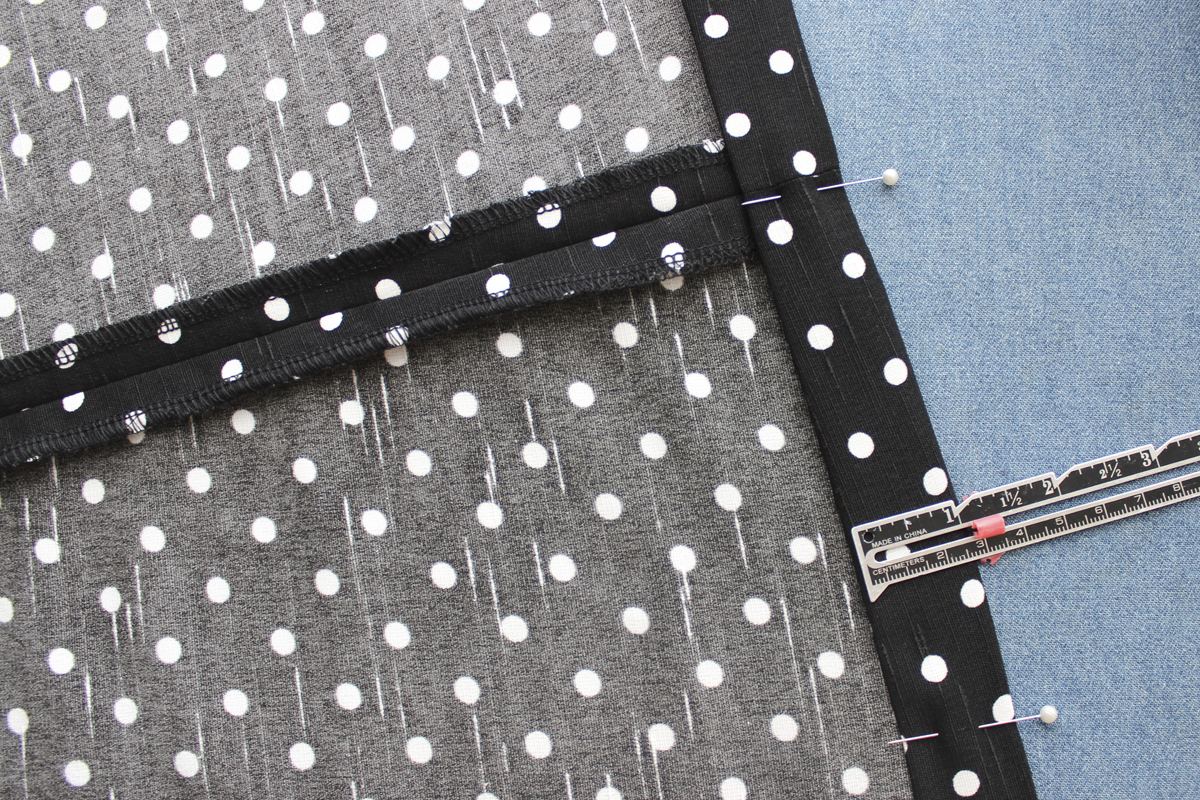
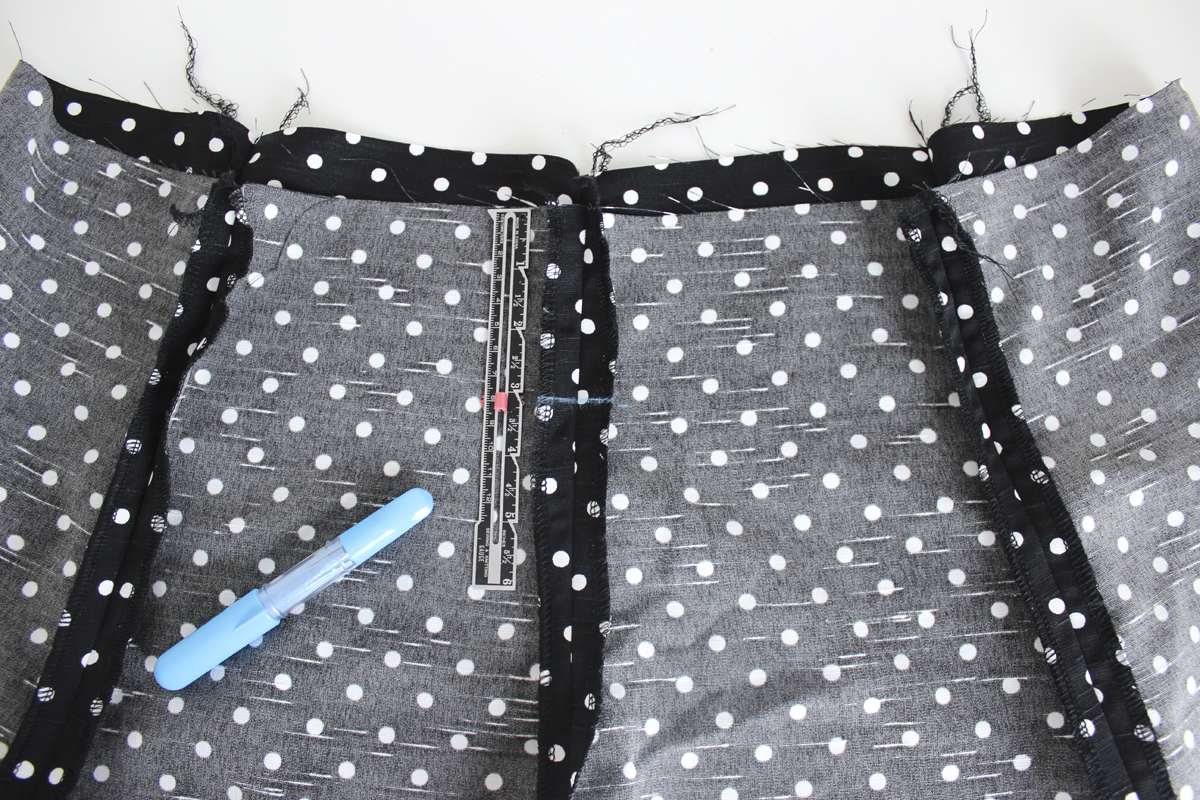 Now we want to baste the side seam allowances open, 3″ (7.5cm) down from the top edge. I like to mark the 3″ point with chalk, and then just sew a line of basing stitched on their side of the seam. You can also use fusible web to hold the seam allowance in place, instead of basting them down.
We will be glad we did this when we insert the elastic later on! It will make it easier to feed the elastic through.
Above is what it looks like from the right side.
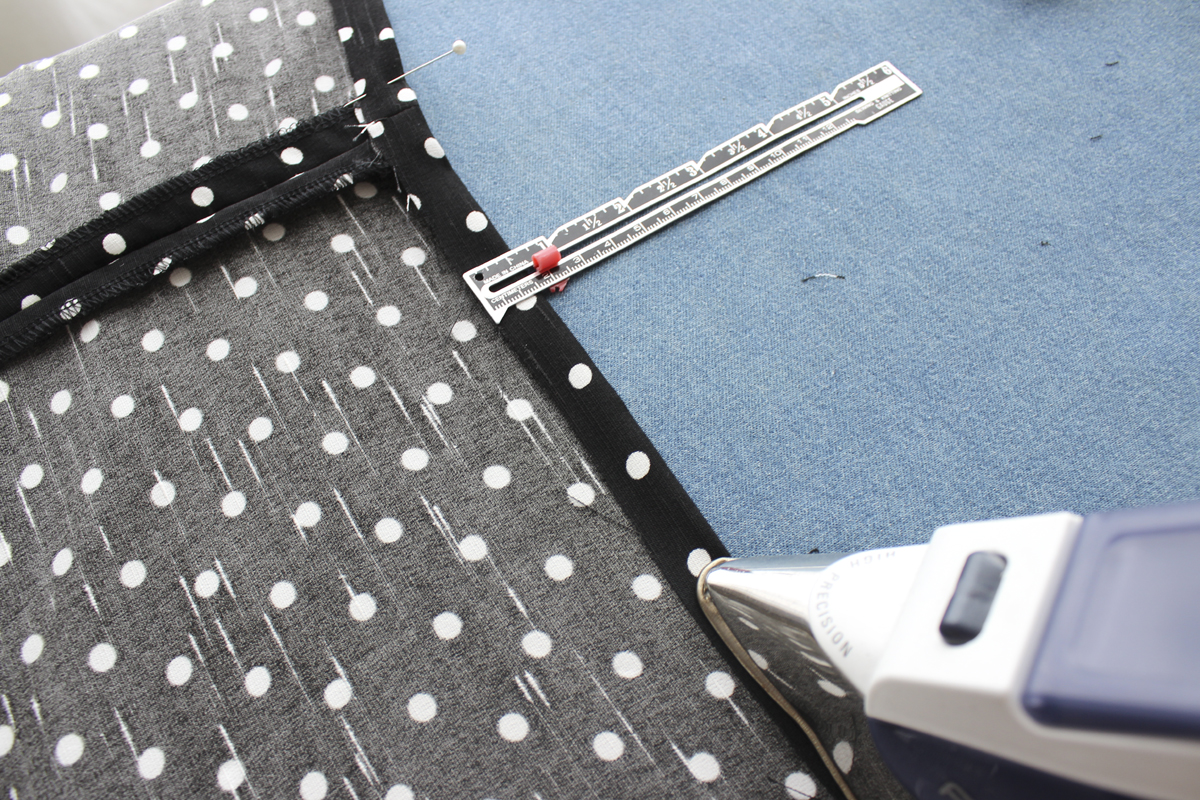
Now let’s make our casing for the waistline elastic! First, press your waistline raw edge under 5/8″ (1.5cm).
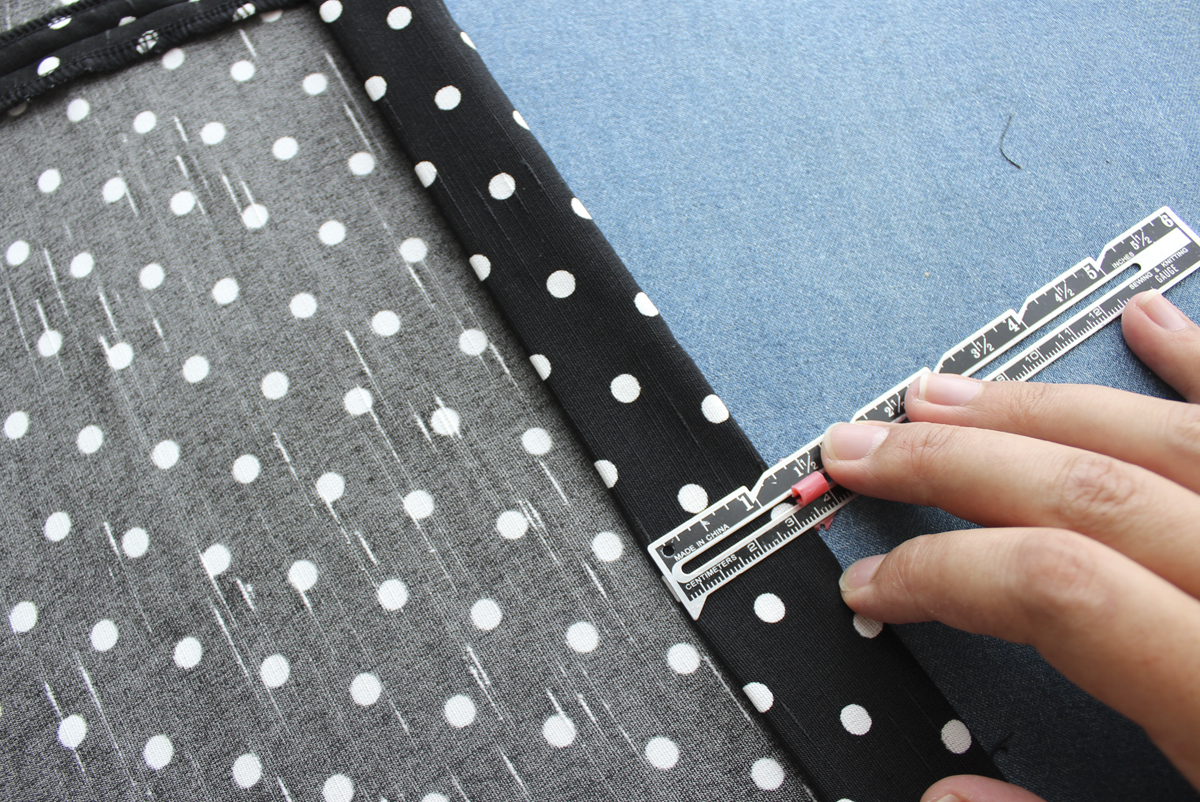
Then press under again by 1 ¼” (3.2cm).
Be sure to line up your seams on the inside. Don’t be shy to use lots of pins along the waistline to keep things in place.
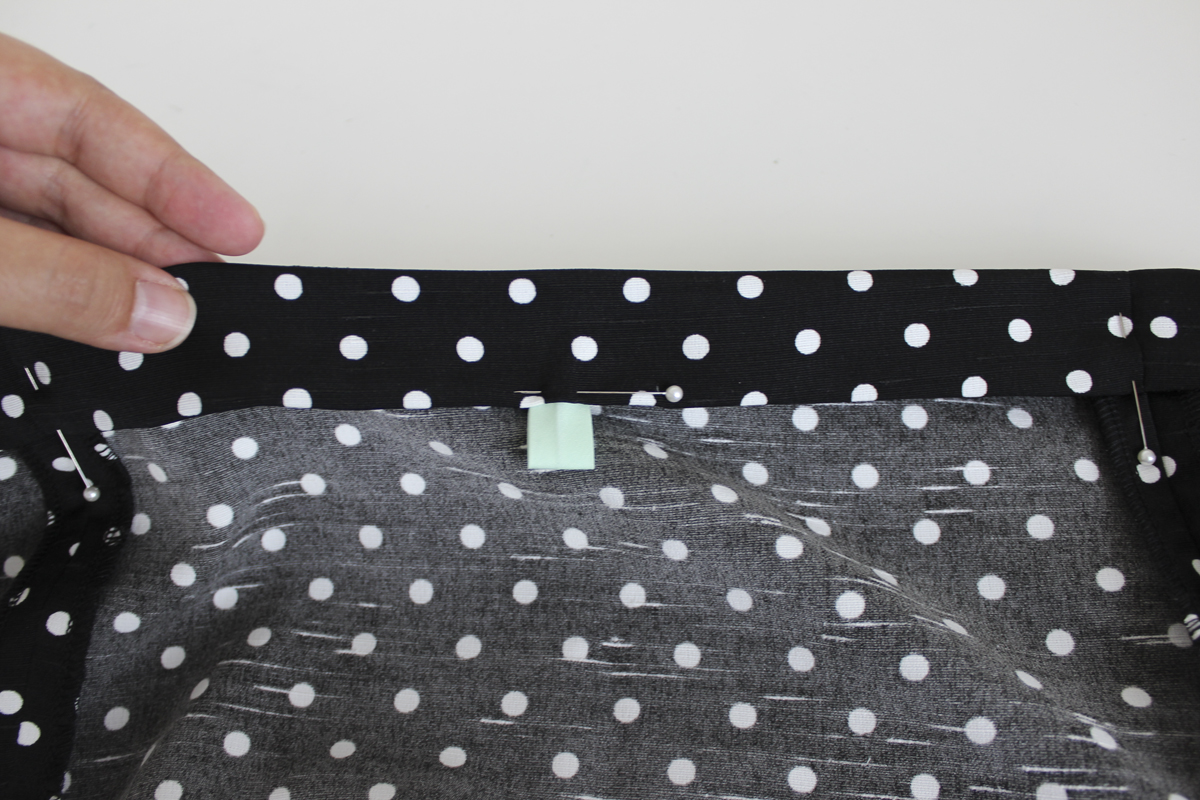
If you’d like, you can use a small piece of ribbon, bias tape, twill tape, or whatever you’d like, to mark the center back of the skirt. I used bias tape. Since the front and back are the same, this will help you to know which is which when you put the skirt on! Choose your center back and mark it with chalk or a pin.
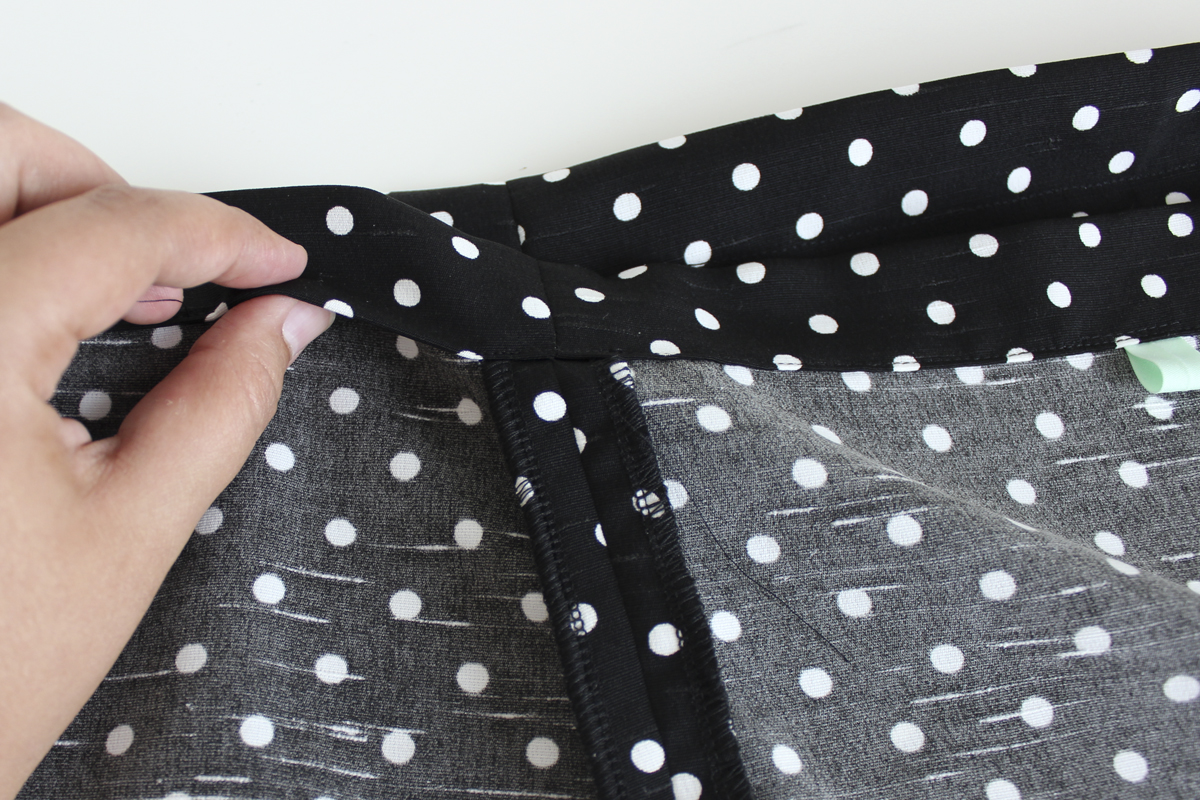
Cut a 2″ (5cm) piece. Fold your ribbon or tape in half, wrong sides together. You can baste across the raw edges if you’d like. Next, tuck the ribbon or tape underneath the folded edge at the center back, and baste it in place, attaching to the folded edge of the casing only.

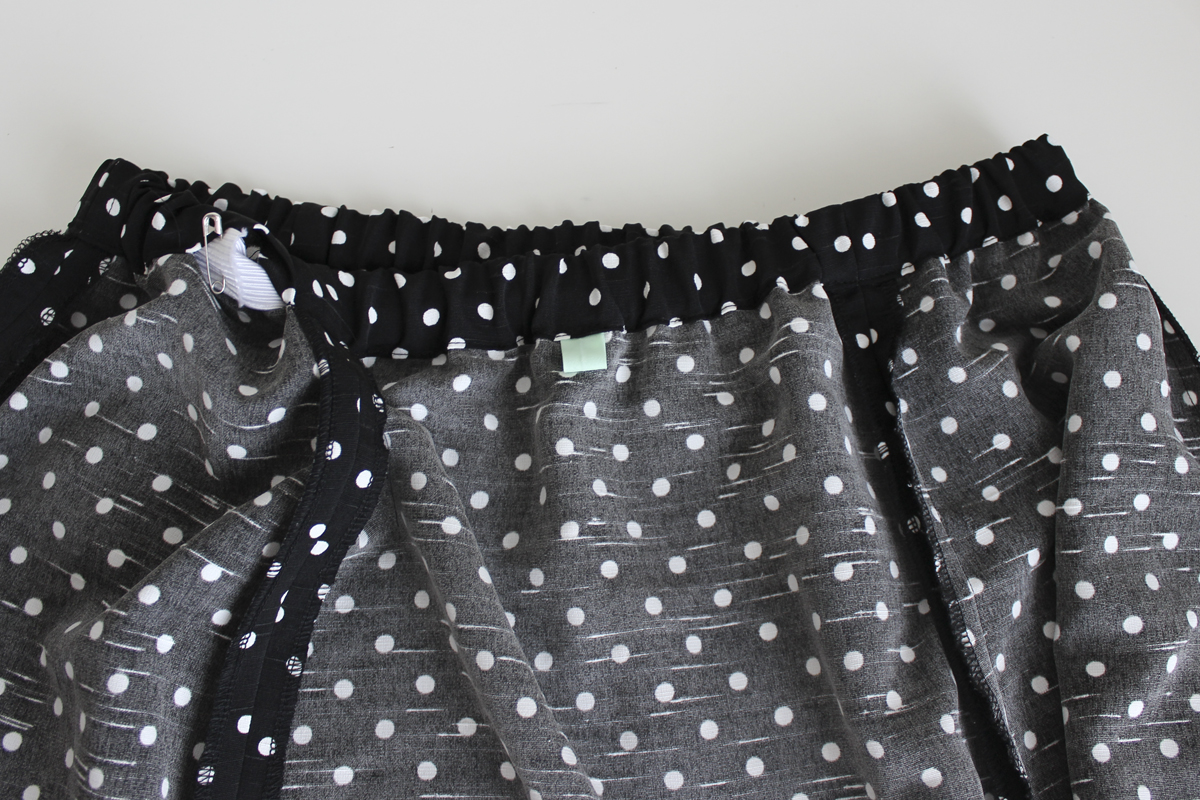
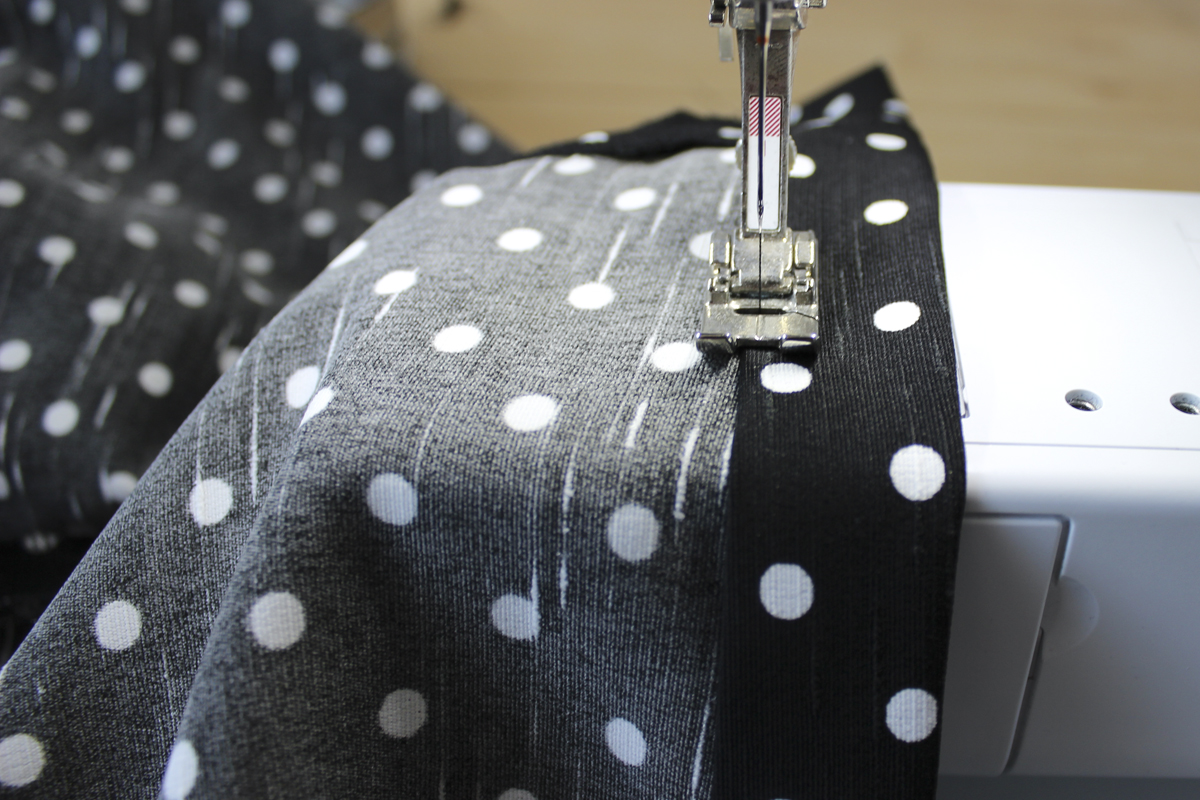
Next, we are edgestiching along the folded edge of the casing. Remember, we want to leave an opening to feed the elastic through. A good place to leave an opening is at the right back panel.
Here is my opening above, just about 3″ (7.5cm) wide.
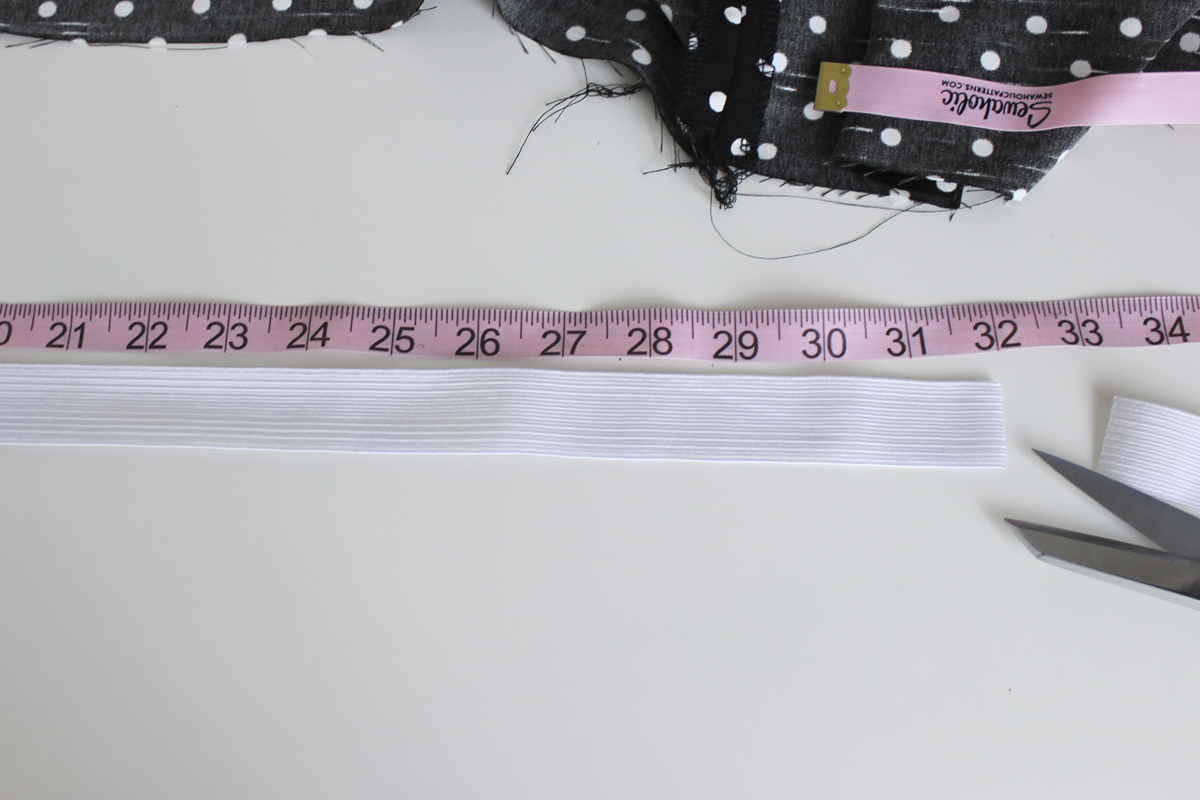
Next up: elastic! There is a handy elastic guide in the instructions for the pattern. Go ahead and cut a length of elastic according to your size.
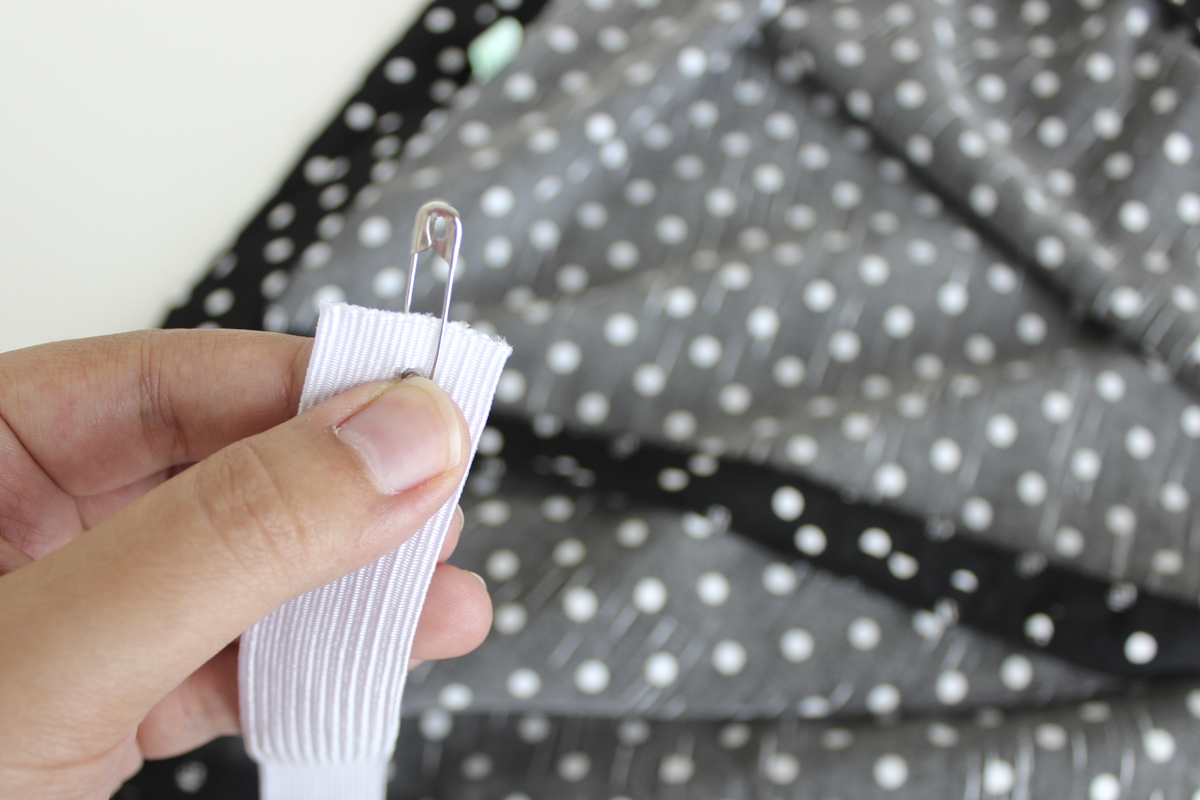
I like to attach a safety pin to the end of the elastic, to help me feed the elastic through the casing.

Work the elastic through, taking care not to twist it inside the casing.
When the elastic comes out the other side, overlap your ends and secure them with the safety pin. Now we get to try on our skirt to see how the waistline feels!
It’s really a question of preference. I like my elastic waistlines to feel nice and snug, so to me, this was a little bit loose.

Easy fix! I just overlapped my ends by an extra inch or so. After another quick try-on, I was happy with the fit.
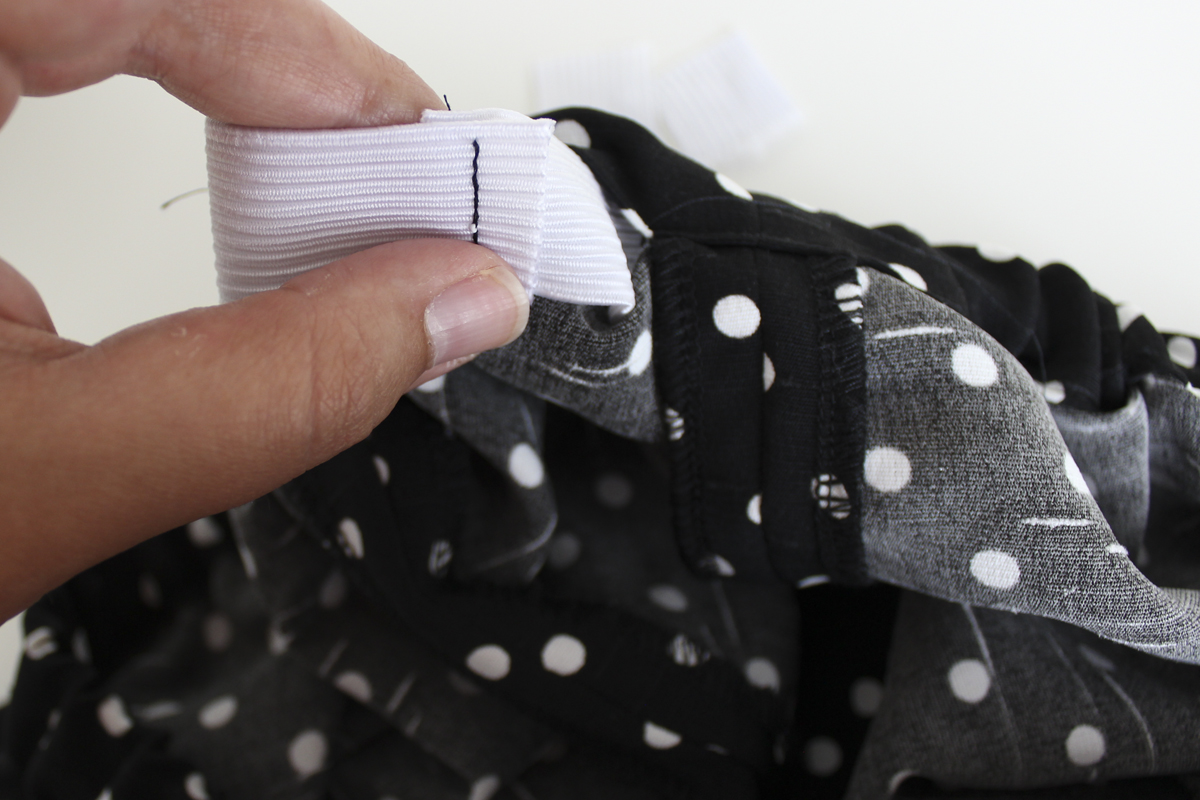
Give your waistline one last check to make sure the elastic is laying flat and hasn’t twisted. Next stitch across the overlapped elastic a few times, and trim any excess.
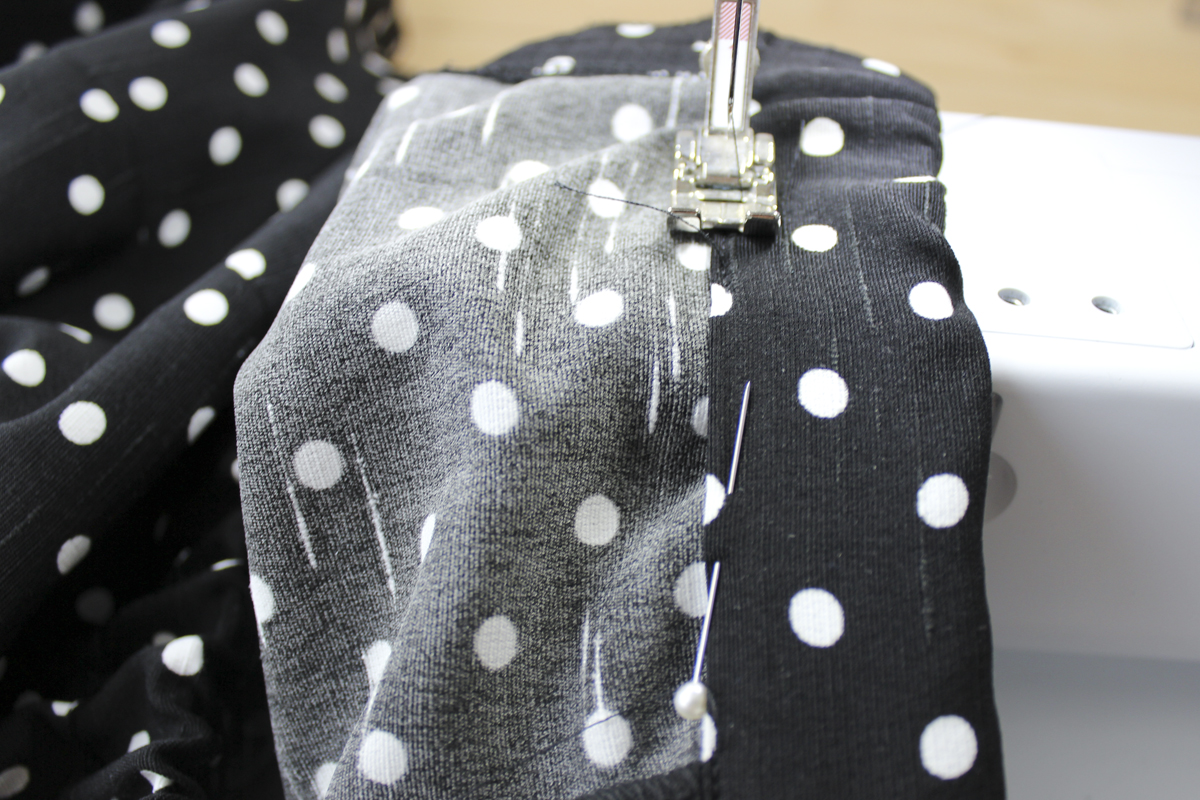
Now we can close up the opening. Edge stitch across the opening to encase the waistband completely. Use your hands to push the waistband gathers out of the way so that you can sew without getting any folds or puckers.
Here’s a trick to distribute your gathers evenly! Once you’re all finished, stretch your waistband all the way out, and let it relax. Do this a few times. I find this works wonders.

Here’s an optional extra step: you can sew your elastic in place along the side seams. Just sew over all layers. This will keep the waistline gathered evenly and prevent your elastic from folding over inside the casing. Bonus!

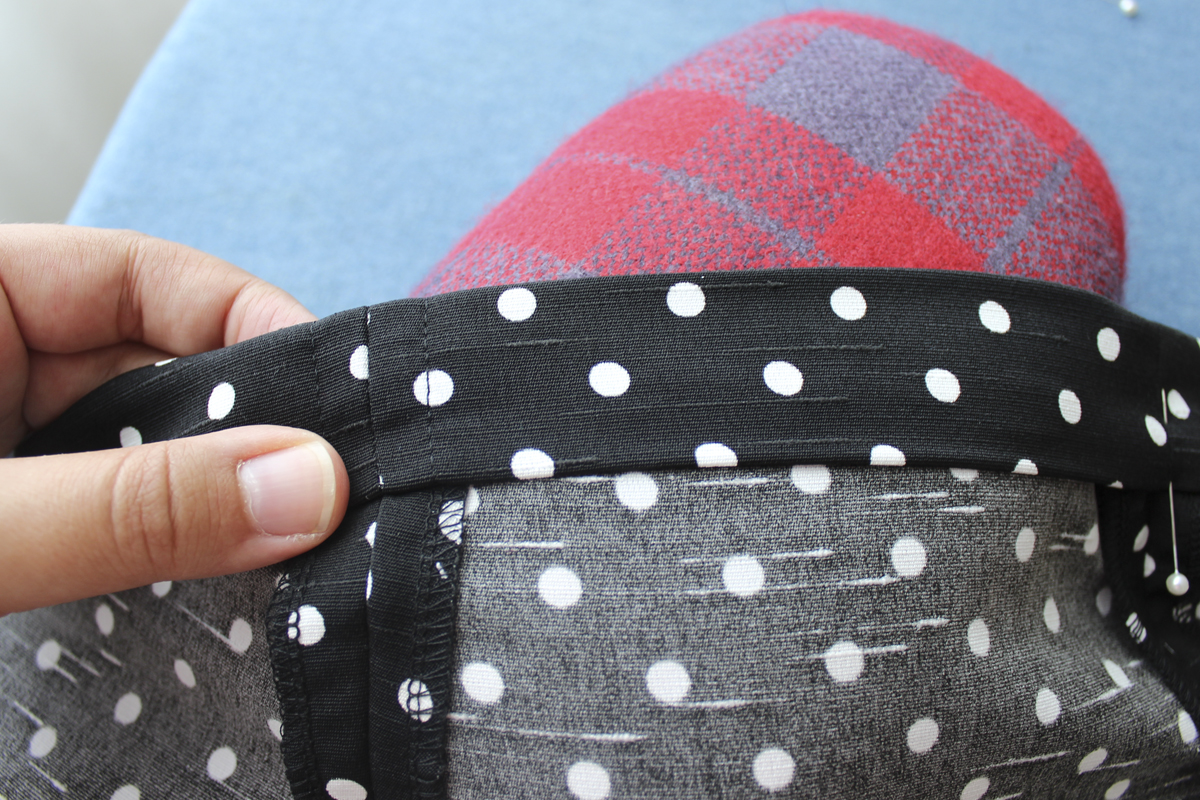
Almost there! We need to hem our skirts now. Press your raw edge under 5/8″ (1.5cm).
Press under again by another 1″ (2.5cm). This will enclose the raw edge of the hem. I love this clean finish!
And finally, topstitch your hem.
When you’re all finished, turn your skirt right side out, give it a final press, trim off those loose threads, and you’re done!
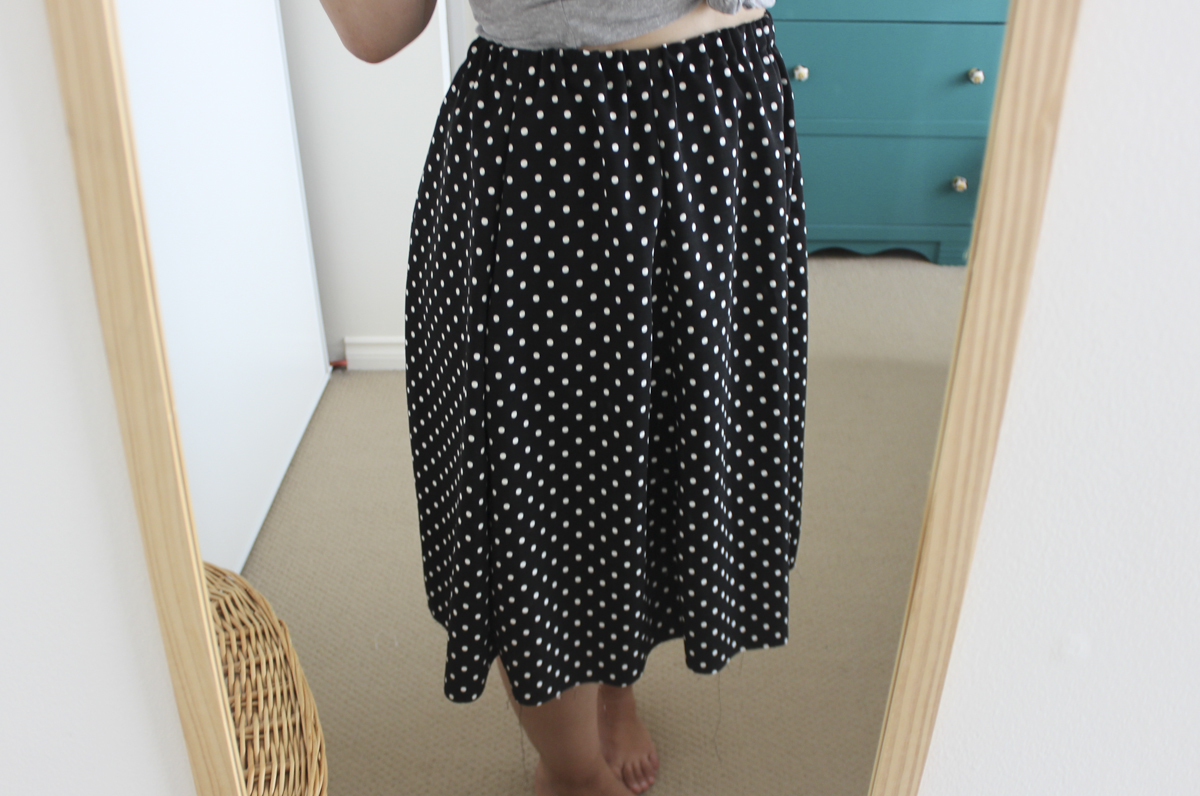
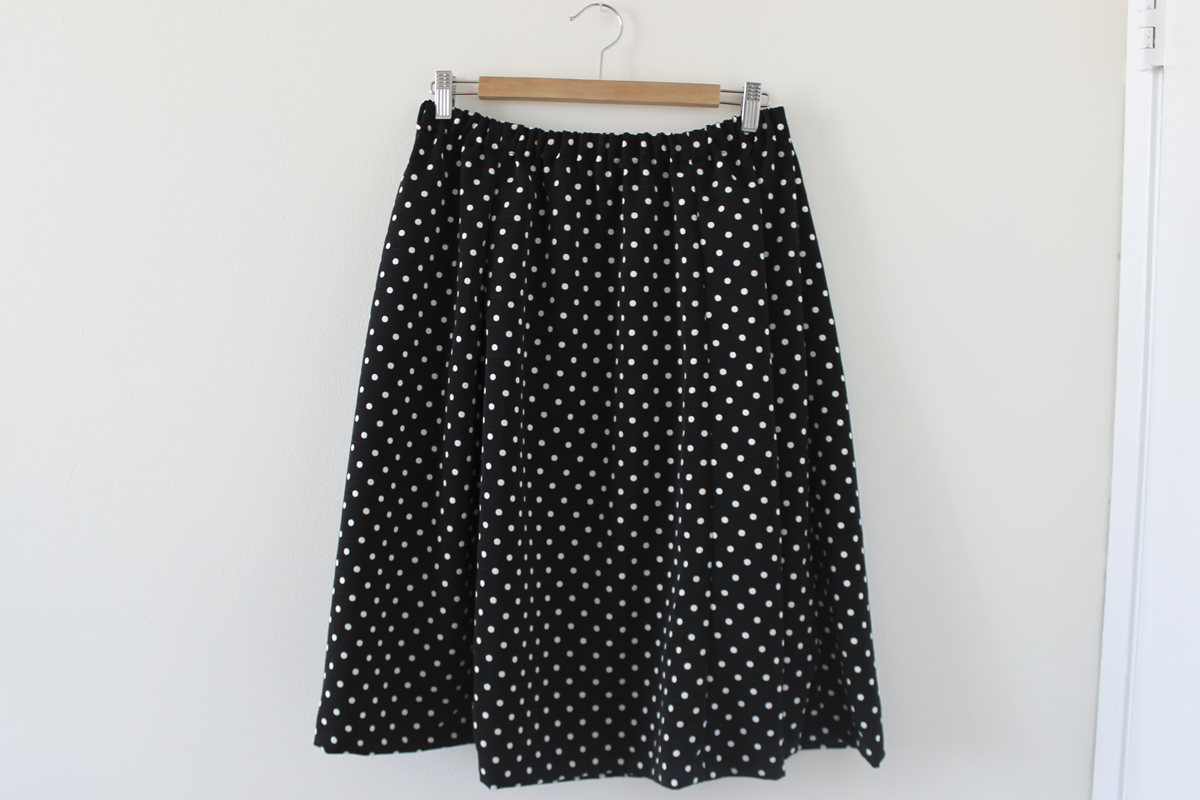 Look at that! A lovely skirt, sewn up in (less than) a day!
If you’d like to grab the Rae skirt pattern, you can find it in our shop here (PDF version here). Happy sewing everyone!
Thank you so much for doing this, Caroline, I look forward to sewing my first Rae :)
I have a question about the PDF version of the pattern. I only plan to make view C. When I am printing out the pattern is there any way to tell which pages I need to print for just view C? Or do I need to print out the whole thing with all three versions? Thank you.
–C.B.
Hi C.B.! Yes, on the first page of the pattern (with the test square) there is an index that tells you which pages to print for view C only. So when you open the PDF on your computer, it’s the first thing you’ll see.
Thanks, I think I’ll go ahead and try the PDF version — a first for me.
C.B.
Hey! I want to order some of the patters but I see the webside for the retailer in South Africa is not working if you can maybe help. Thank you
Hi Joline. Unfortunately it seems that Stitches, our SA retailer, has closed. Sorry about that! However if you order from sewaholicpatterns.com, we can ship to South Africa :)
Thanks for taking the time to sew up this super simple skirt. I got the pattern last week at Fabricana in Richmond and just have to put a day aside this week to sew. Keep up the good work!
Thanks so much for going through each step! I’m working on my Rae right now. :)
I have one question: it turns out that the fabric I chose is a little bit sheer, so I was hoping to add a lining to make it more wearable. At what step could I add a lining?