 Today is the day that we finish our maxi skirts! If you’re just tuning in…you can catch up on all our Gabriola sew-along posts by clicking on the image on the left.
So we’ve sewn up our skirt, and it’s been hanging for at least 24 hours.
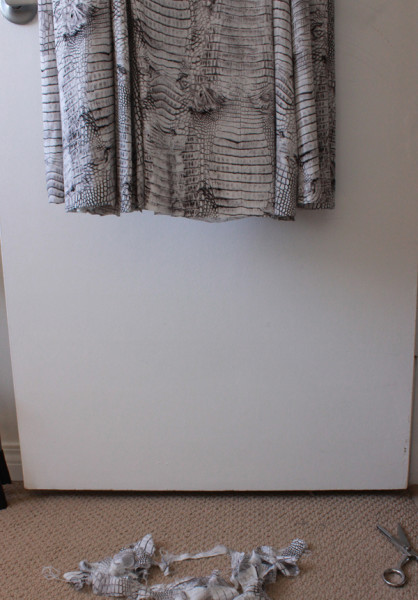
Time to even out our hem! You might also want to trim your hem even more if the skirt is really long on you. I am 5’8″ and I didn’t trim, just evened out the hem. You want to measure from the floor up – your skirt can hang on a clip type hanger (but make sure it’s not drooping off the sides of the hanger! Or if you have a dress form, use that.
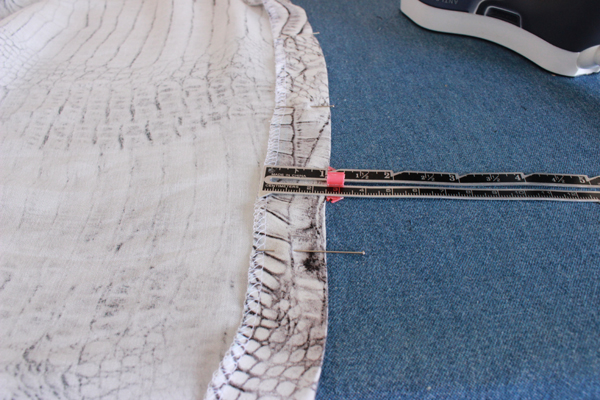
Finish the bottom edge of your skirt with your overlock/serger, a zig zag stitch on your regular machine, or you can even be fancy and finish it with a colorful binding or lace! Turn it up by 1″ (2.5cm) and pin in place.

Either machine stitch your hem, as I am doing above, or hand sew it with a catchstitch – see a demo of the catch stitch at the end of this post from the Lonsdale Sew-Along.
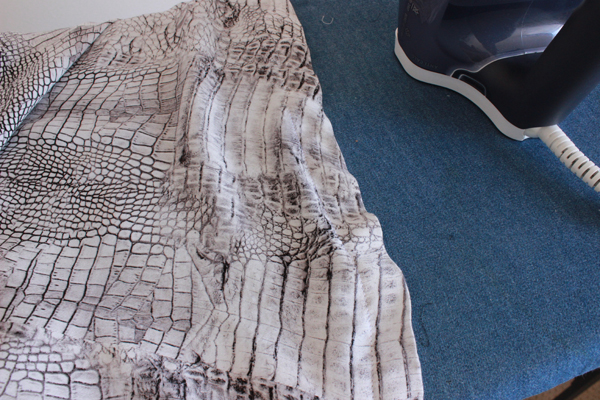
If you machine stitched your hem, you might find that your hem stretched out a bit while you sewed it, no biggie!
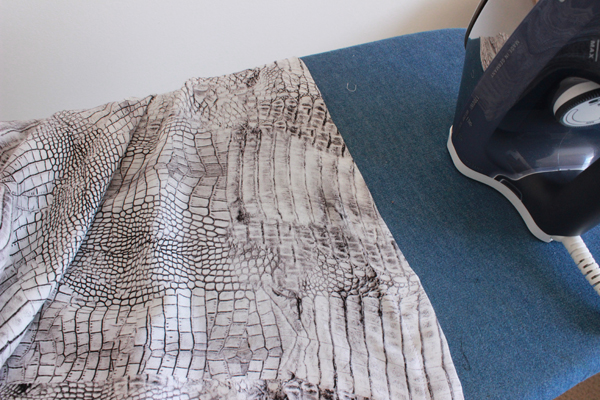
Give it a good press with steam (if your fabric allows) and it will correct itself. I love the look of a nice stitched and freshly pressed hem – so clean and tidy!
Remember your skirt waistband is going to overlap a little bit, left side over right side.
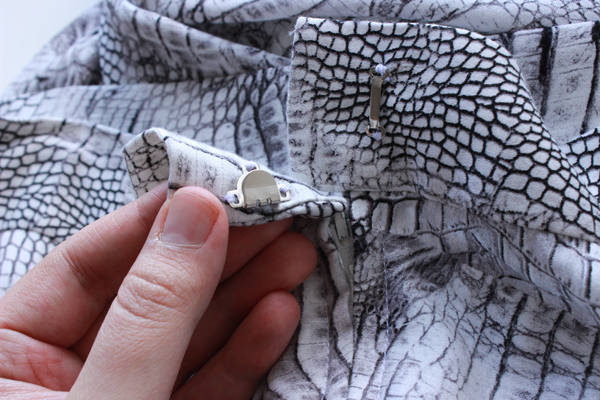
Time to decide on a back closure! For my skirt, I wanted to keep my waistband clean, so I decided on a hook and bar.
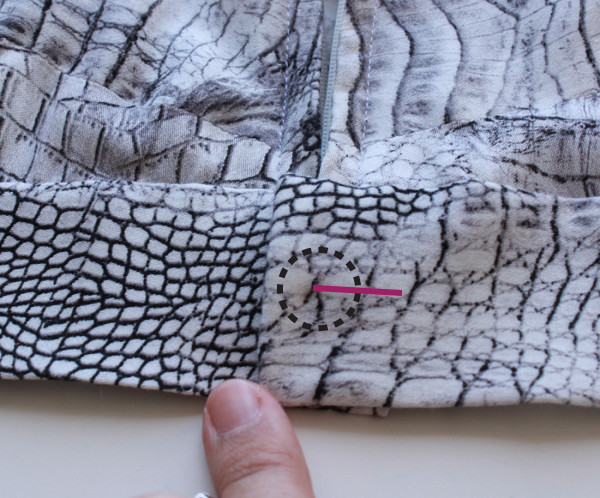
You could also go with a simple button/buttonhole, this pattern calls for a button approximately 1″ (2.5cm) in diameter. You could easily use a slightly smaller button, or even two small buttons one above the other! You want your button to hit right at your center back. The center of your button is the point where your buttonhole will start, and the buttonhole will extend towards the left side. I’ve given you a little outline in the photo above.
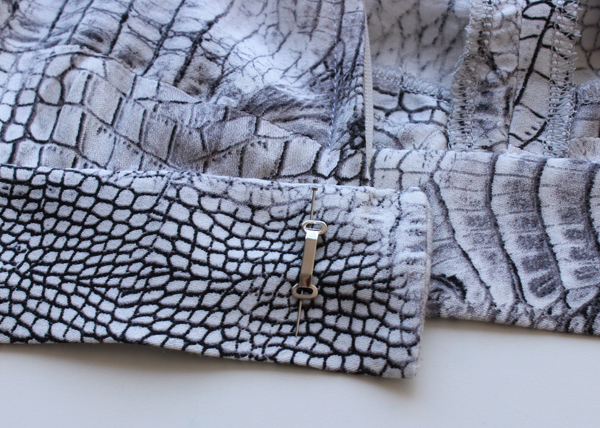
For the hook and bar, I marked the overlap with a pin, and then used that pin as a guide for where to place my bar.
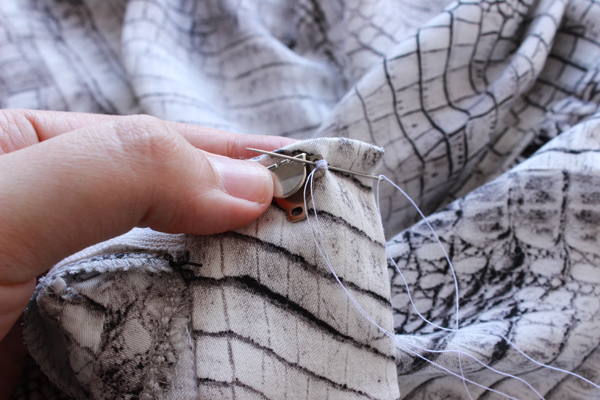
Hand sewing the hook and bar is really straightforward. You are just looping the thread around and around. I find that pushing my needle through the underside of the hole, from from the outside in, gives me the most control. Hard to explain with words – you can see the motion in the photo above.
There we go, all done with our lovely closure! That wraps up the sewing of the Gabriola skirt.
Thank you so much for following along everyone. I would love to hear from you in the comments! Any questions or comments? Suggestions for next time?
Happy sewing!
What a great sewalong – thank you!! This was my first time sewing along “in real time” with a sewalong, and I had tons of fun. The pacing was great – thank you for not going too fast!! And I loved the extra tips about lining and sewing with chiffon.
Here is my finished skirt – I love it so much!!
https://dressingtherole.wordpress.com/2014/03/28/gabriolaaaa/
I actually have a second one in the works – all I have to do it hem it, so it should be up in a day or two. I’ll post it here when it’s done!
Can’t wait to see your second one! Thanks for sharing :)
Thanks for the sewalong! I’ve already worn my skirt and got a lot of compliments. Thanks for such a great pattern! Here’s my link: http://isewyousew.blogspot.com/2014/03/sewing-excuses.html
Thanks so much for following along and sharing! :)
un bel lavoro !!
Thanks Caroline! It’s been great, also my first sew-along. I’ve learnt a lot and I love my Gabriola. Definitely want to try a velvet one next. Here’s a link to mine:
http://barbarajanemade.wordpress.com/2014/03/31/gabriola-skirt-sew-dramatic-competition/
Thanks again.
Looks so great Barbara, I love the print you chose! Thanks for sharing :)
I managed to make two Gabriolas – a long and a short. I have blogged the short one here http://fadanista.com/2014/03/28/short-gabriola-skirt/. Long one coming soon as I am wearing it today!
PS, forgot to say how much I enjoyed the whole process and I love the skirts – thank you!
Wow – Sue, your short version looks amazing! I love it on you. Thanks so much for sharing!
Well, I haven’t started mine yet (so much for sewing along). Love seeing everyone else’s versions, keep ’em coming!
Yay just finished mine and love this skirt so much! Thank you Sewaholic for such a fab pattern! I don’t have a blog…but I did share a post to a sewing community on google+, check it out: https://plus.google.com/111754036279251010992/posts/9BPnqvdGUWB
Thanks Ali! Hope it’s alright that I’ll be including it in the next round up, with a link to your google+. I love the contrast panels! You’re the first to do them that I’ve seen. :)
OK, here is my long version http://fadanista.com/2014/04/02/long-gabriola-skirt/. I thought I liked the short better, but having worn them both I now can’t choose between them – very different!
I love both! They really look like totally different skirts with the two lengths. Thanks for sharing both! I included both of them in the next round up :)
I just finished Gabriola 2.0 as well! Here she is – made out of a knit with an elastic waistband :). Trying to mix it up a little!
https://dressingtherole.wordpress.com/2014/04/02/gabriola-take-two/
You brave girl! Love it in the knit. Was totally worth your pattern placement meltdown :)
Finally got mine hemmed! I love love love it. Can’t wait to make another one. Maybe another 5. :) Here’s my blog post with photos… http://www.littlegreenorchids.com/my-finished-gabriola-skirt/
Thank you so much for a wonderful sew-along Caroline, and for the wonderful pattern Tasia!
It looks great Aspen! Thanks so much for sharing it with us :) I’ve already put together the first round up post, so I will include yours in our second round up… just in case you’re wondering why you don’t see you skirt in the post on Monday. I really like it on you, you look lovely!
I absolutely love the look of this skirt but was wondering how well it would fit someone who is just 5′ tall with a very short distance between her waist and hip?
Hi Linda! It may need some alterations, you may find the proportions are a bit off in the yoke area vs the skirt, since you will certainly need to shorten the skirt a bit. You can use the lengthen/shorten lines to shorten the skirt, and the slash your yoke pieces horizontally across and overlap your yoke pieces. You’ll have to straighten out the edges with a ruler after overlapping, and then double check that the seams match up. This will make the yoke pieces narrower and more proportional.
You could make a muslin first before doing any of the above to see how much you need to shorten and adjust, and go from there :)
Thank you for your help. I will use your suggestions and let you know how it turns out.