Some readers asked me to show how I adjust patterns to give it a more relaxed fit. Since I’m working on a tencel denim Granville shirt right now, I thought I would show you. You can make this same adjustment on both the Granville shirt and Oakridge blouse. Plus, it’s mega easy.
The side seams of the Granville and Oakridge blouses have lots of shaping, which creates a semi-fitted, curve skimming effect. If you prefer a looser fit, the easiest thing to do is reduce the side seam curve. Since I am closer to a size 16 at the hips, I also want to grade to a size 16 in that area. Here’s how I did that:
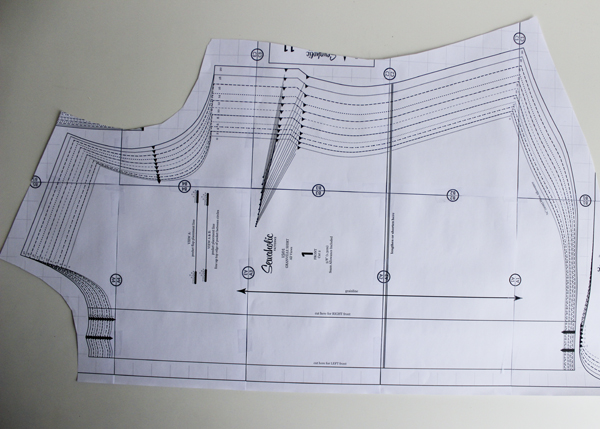
We’re going to be working with our front pattern piece first.
 I like to mark my size at the armhole and dart, just so that I know what line I’m dealing with.
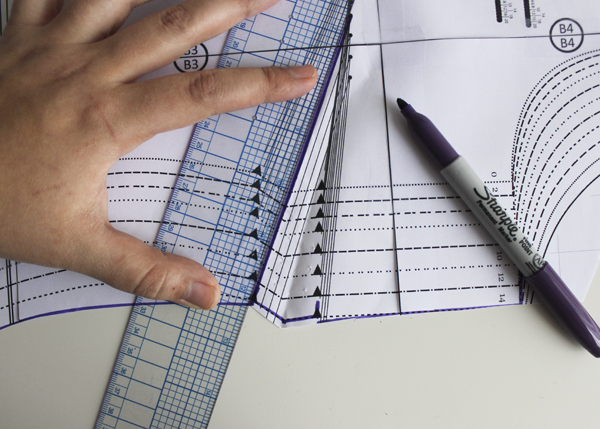
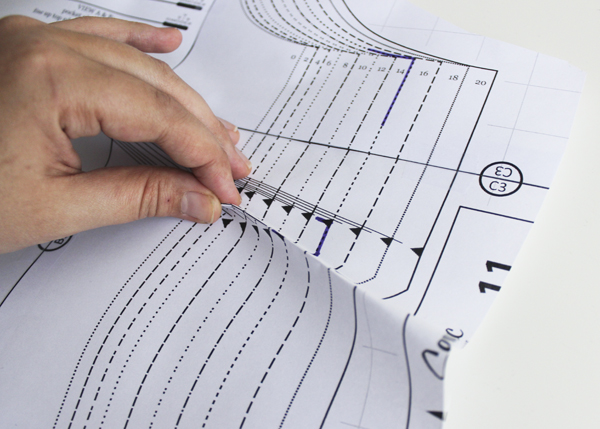 Anytime you are making adjustments to a seam that has a dart, you want to close that dart before re-drawing any lines. Fold the the dart as I’m showing above…
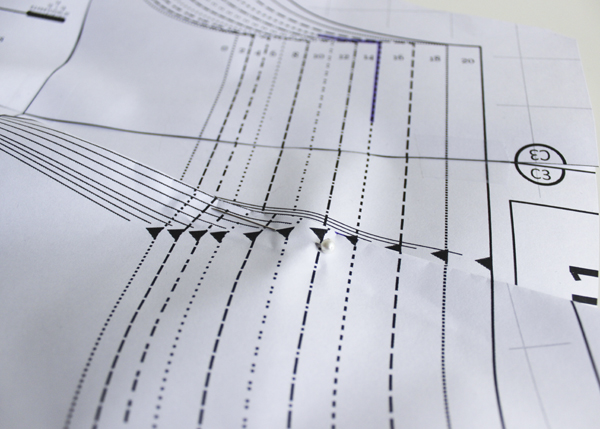
And pin the dart closed. The dart point/bust area is not going to lie flat . That’s okay. Focus on making sure the dart is closed nicely at the side seam.
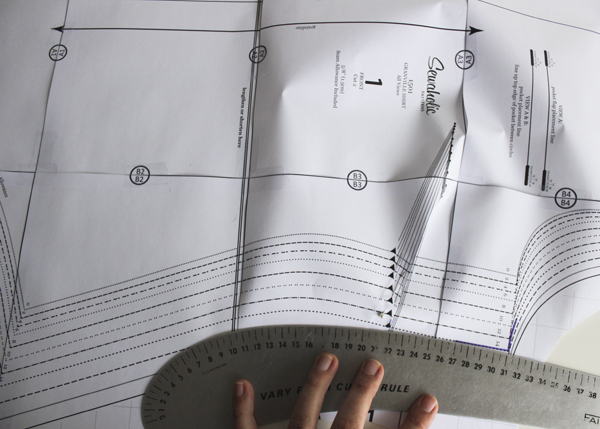
Now what you want to do is re-draft the waistline curve to be much shallower. It’s nice to still have a bit of shaping, but you can see that I am going very subtle. I’m using a pen for this tutorial but I would recommend a pencil so that you can adjust if necessary.

Continue to trace down to the hips. Since I want to cut a size 16 hips, my line is extending to that size at the hipline.
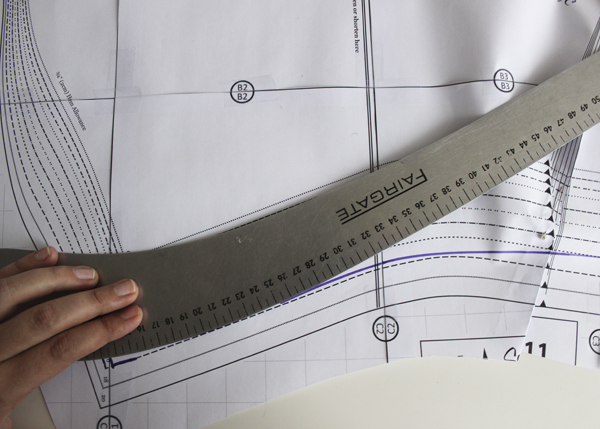
Side note: my curved ruler is one of my favorite drafting tools. If you don’t have one, I highly recommend it! It’s invaluable when making pattern adjustments.
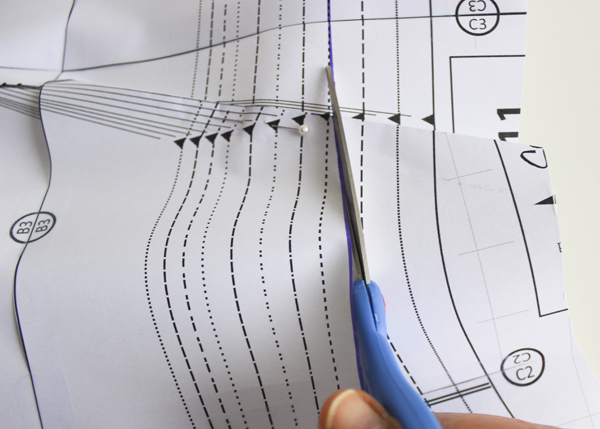
Keep the dart closed with a pin while you cut the side seam.
I like to trace my bust dart in thick pen so that I don’t get mixed up when I trace out my pattern pieces.
Remember to make the same adjustment to your back piece – it’s even easier because you don’t have to close up a dart. You can also adjust the curves of your back princess seams, but it’s not necessary. This simple side seam adjustment will give you a more relaxed look.
After making this modification, I also did a full bust adjustment. Luckily for us Mary wrote a wonderful Granville FBA tutorial for the Curvy Sewing Collective, check it out here.
Thanks Caroline! I was one of the wonderers last week… I liked the looser fit but wasn’t super confidant about tackling it myself. Thanks for the great tutorial- can’t wait to try it!
I too want to say Thanks for the tutorial. It will come in handy, for sure! Annette