 Hi everyone! Welcome to the next sew-along!
After reinforcing the centre front, we’ll gather the top edge of our Skirt Front and Back, and get ready to attach it to the waistband.
Let’s get to gathering! There are lots of different methods of gathering, but I’m going to use the usual one that’s in the pattern instructions. For this method, we sew two rows of wide, basting-size stitches, and pull up the bobbin threads to tighten the stitches.
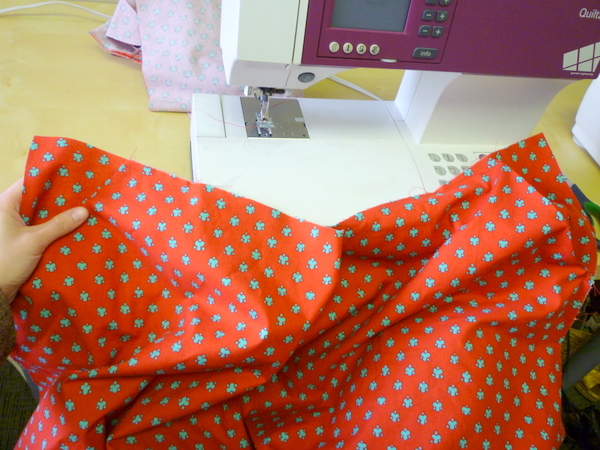 Remember how we gathered our skirt muslins, and secured the edges with a pin? It’s just like that, all over again!
We’re going to gather our Skirt Front panel first. We’ll start where the pocket starts…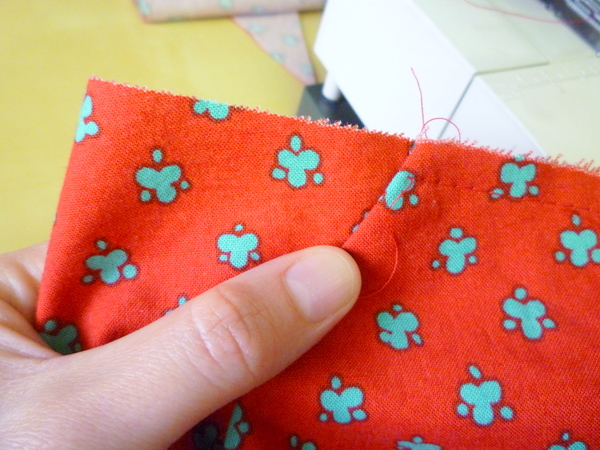 And end at our reinforced centre front clip.
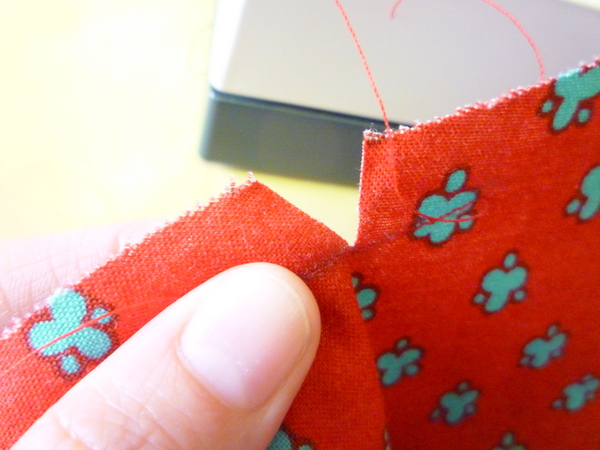
Then, we’ll do the same thing on the other side of the clip.
Set your machine to long, basting stitches. On my machine I use stitch size 4; aim for approximately double your normal stitch size.
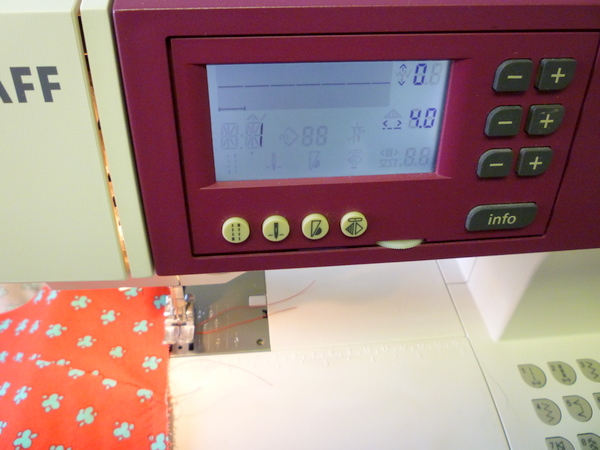 Note: you will have a pesky row of basting stitches along your top edge. I find these get in the way, so I’ll just pull them out!
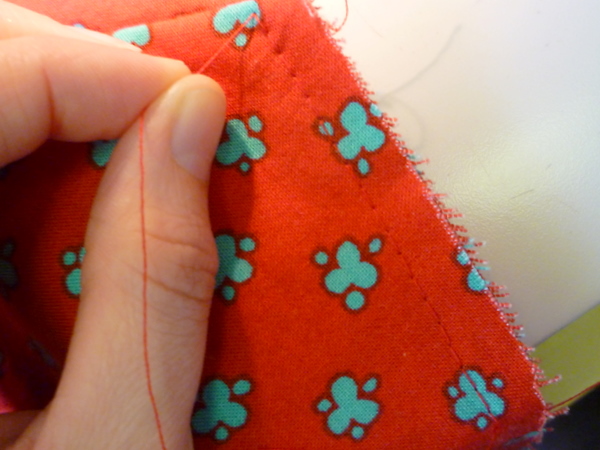
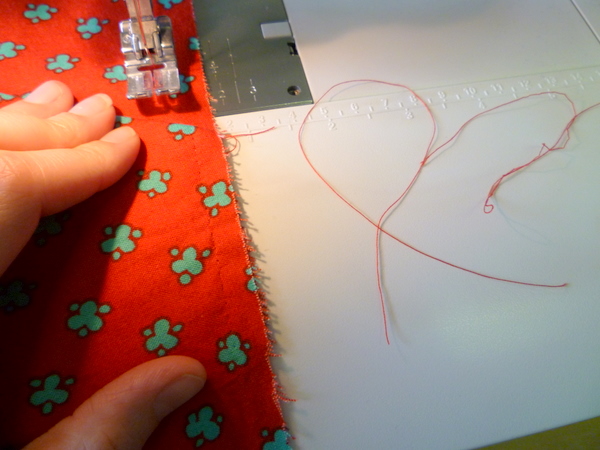
Do this when you’re going to sew immediately afterwards, so your layers don’t move or slip at all. If you’re worried your layers will slip, leave the basting in, sew the two rows, and THEN remove this little section of basting. (You don’t have to, it’s just something that I did that might be helpful to try!)
Lower your needle, then lower your presser foot. We’ll stitch our first row 1/2″ (1.2cm) from the raw edge. Do NOT backstitch at the start.
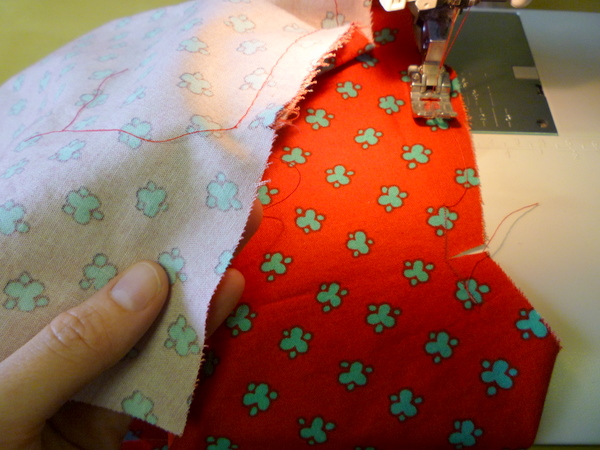 When you get close to centre front, you’ll see the reinforced stitches at the centre. Trim the thread tails to get them out of the way – the small stitches are less likely to unravel!
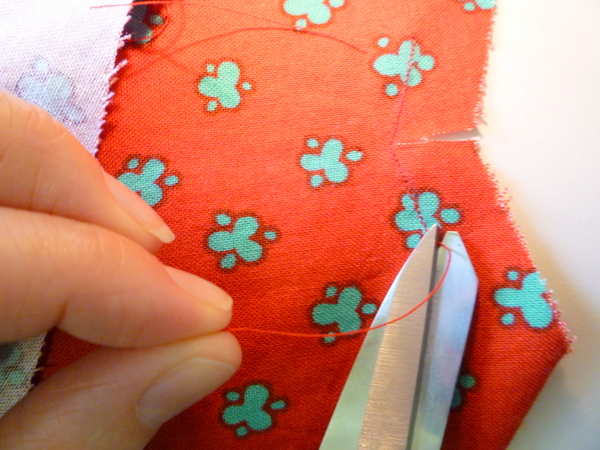 Stop your stitching JUST shy of centre front. Can you see where mine stops in the photo? You want to go maybe one stitch short of the edge.
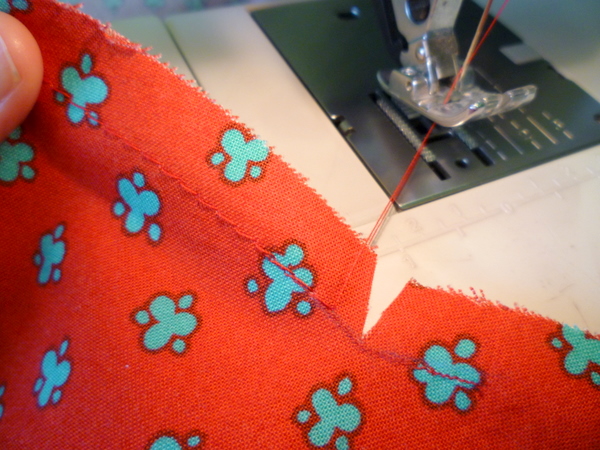 Leave long thread tails when you clip the threads from the machine. (I swear I wasn’t sewing in the middle of the night – the photos just look like I did!)
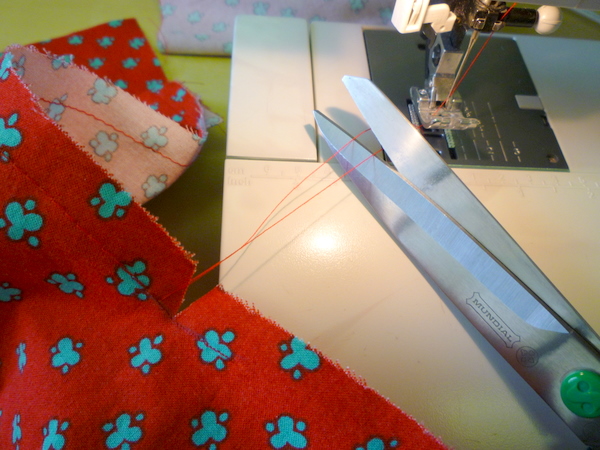 Now, for your second row, aim for the middle between the first row, and the raw edge. It’s easier to ‘straddle’ the middle than it is to line up the raw edge with the markings. (Either is fine, whatever helps you to line it up as you sew.)
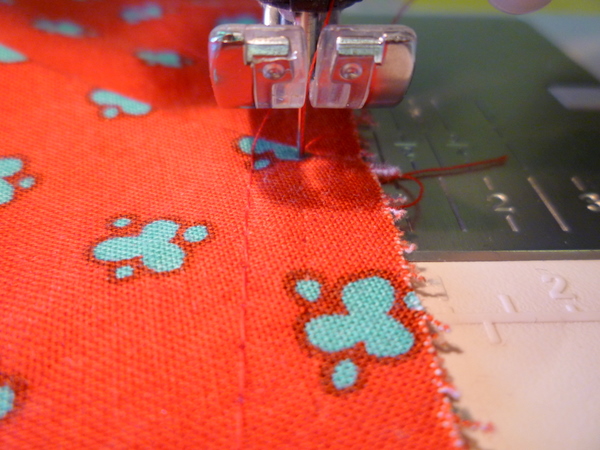 End the second row at the same place, just before the clip.
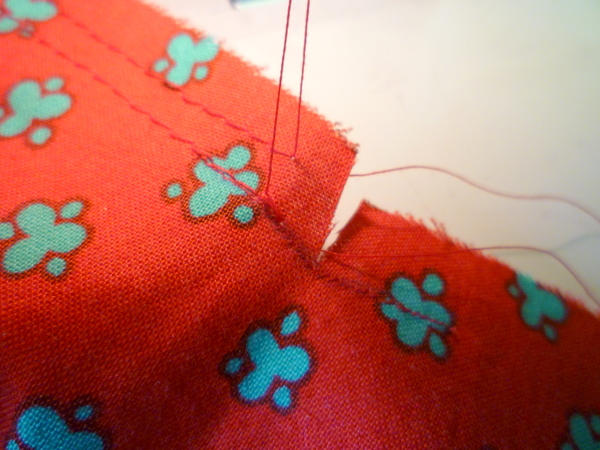 Repeat with the other side of Skirt Front.
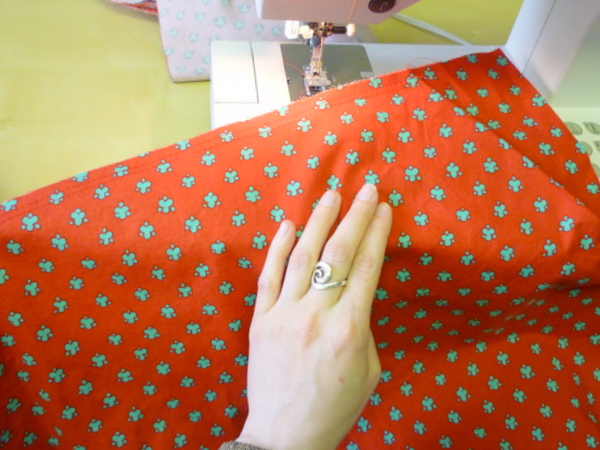 Remember that cool step from making the muslin, when we secured the gathering threads using a pin? Let’s do it again!
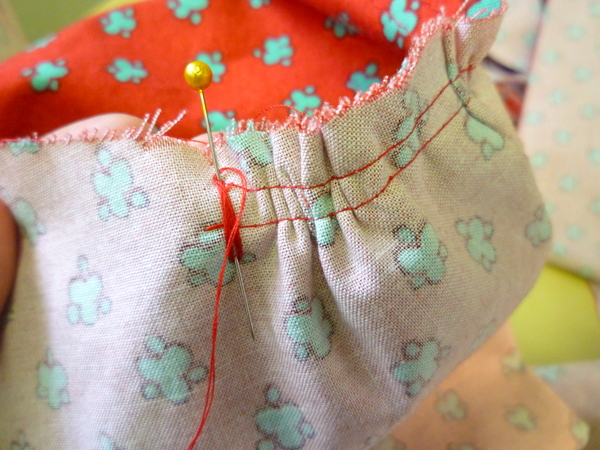 Gather both of Skirt Back pieces in the same way:
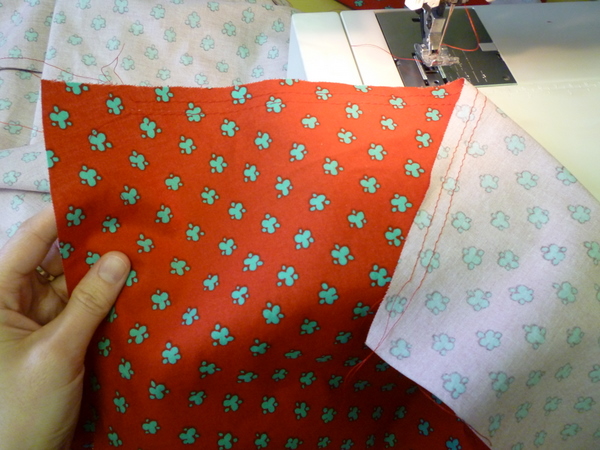 And that’s all for today’s post!
If you’re lining your Crescent Skirt:
Stay tuned for a post on this!

Hey Tasia,
I just wanted to say how much I love your blog ! It is one of my favourites. Especially today as I was working on the muslin for a project last night which involves gathering, and I was wondering how I would go about it – and, as if by magic, you posted today on that very subject.
Today will forever be known as ‘serendipitous Saturday’ ! :-))
Thank you so much. And your skirt looks lovely by the way !
K xx
Thanks Tasia. It’s nice to have a post from you at the weekend. I’m probably being slow here but what that basting that you unpicked was there for?
@kirsty: Well that worked out perfectly! Glad this post found you at exactly the right time! :)
@Sewingdina: It’s the basting along the top edge of the pocket bag – we did it in the Sewing Pockets post, to secure the pocket bag fold to the top edge of our skirt.
In the second-to-last photo here, you can see the basting running along the top edge:
http://sewaholic.net/crescent-sew-along-11-sewing-slash-pockets/
Hope that helps!
Hey Tasia! I’m really enjoying your sew-along and love, love your blog! Jen, of Pretty Little Pictures (http://the-paperdoll.blogspot.com/) is travelling from Australia to Vancouver in June. She is looking for places to visit and, of course, I thought of you!! Sounds like an international blogger meet up in the works?
Hi Tasia. I like the baby steps you’re taking through this Sew-Along. It’s keeping the sewing relaxing, and it’s allowing me to take the time to make sure I stitch everything nicely the first time around. I’m having a blast!
@Sarah: Very cool! She left me a comment on yesterday’s post as well. Thanks for the introduction!
@Amy: Great! If I were sewing along with a new pattern, I’d like the baby steps too. Easier to make steady progress, one bit at a time!