Click the badge to the left to see all of our Belcarra sew-along posts so far. Today, we’ll be attaching the sleeves, and sewing the shoulders and side seams.
We’re going to see our Belcarra blouses really take shape today, after just a couple of steps. Let’s get started!
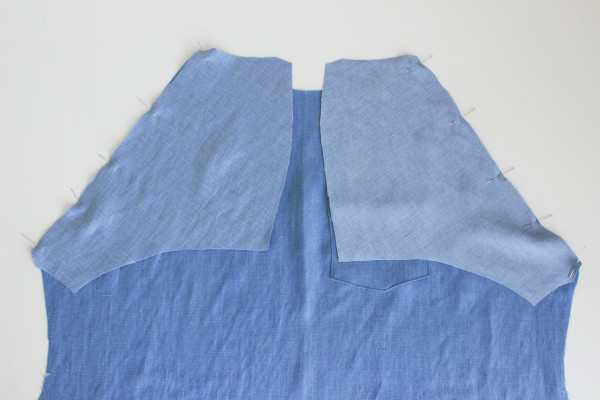
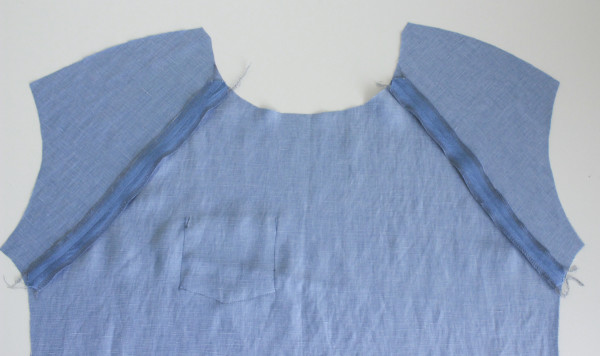
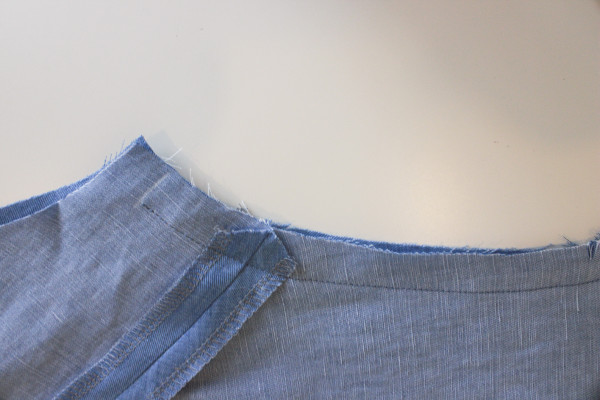
First let’s sew our front sleeves to our front bodice. This seam is on the bias so be careful not to over-handle it, and not to stretch it while pinning or sewing. Start by pinning the seam, right sides together.
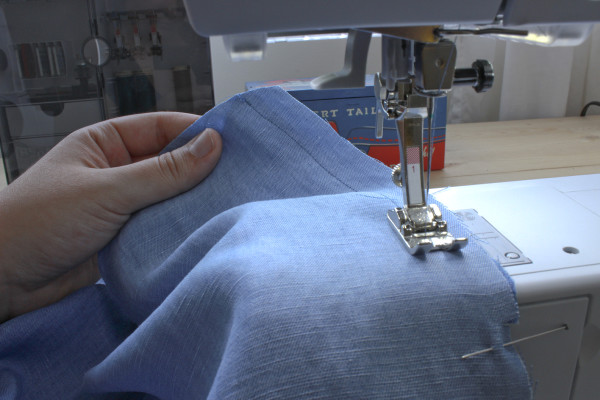
Next sew the seam, at the usual 5/8″ (1.5cm) seam allowance.
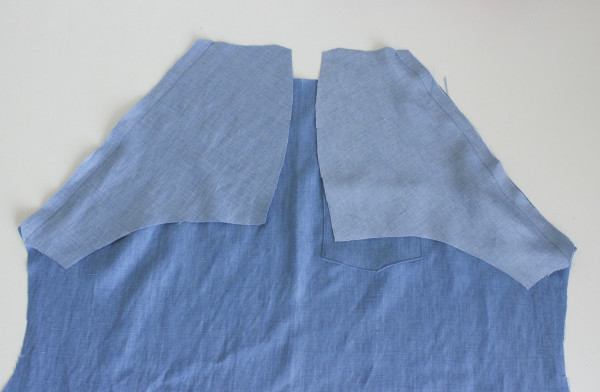
Repeat for the other side so both front seams are sewn.
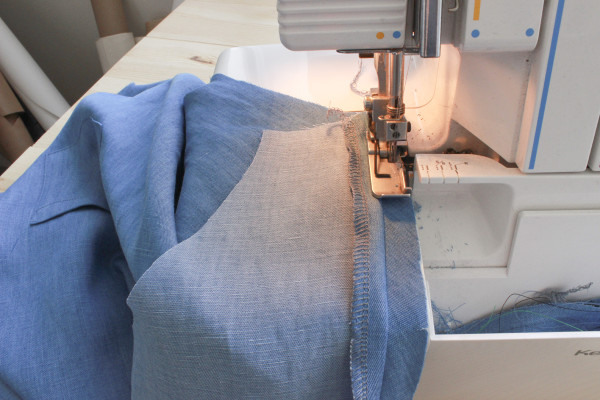
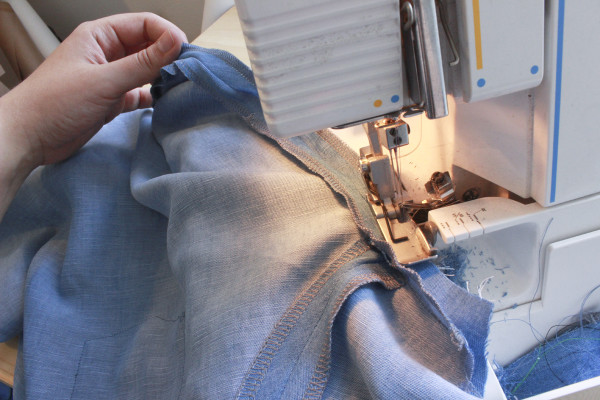
Time to finish the seam allowance. Finish them separately because we will be pressing all of our seams open. You could have done this before sewing, but I’m opting to do it after I’ve sewn my seam because I don’t want the overlock to stretch out my fabric. This way the seam is already sewn, so I don’t have to worry if the edge stretches a bit. You could also zig-zag or pink your raw edges to finish them.
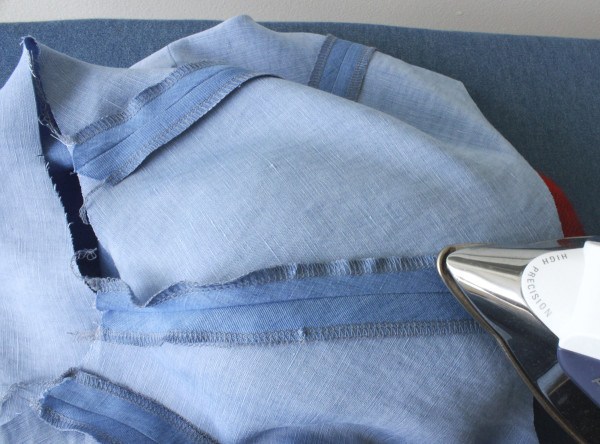
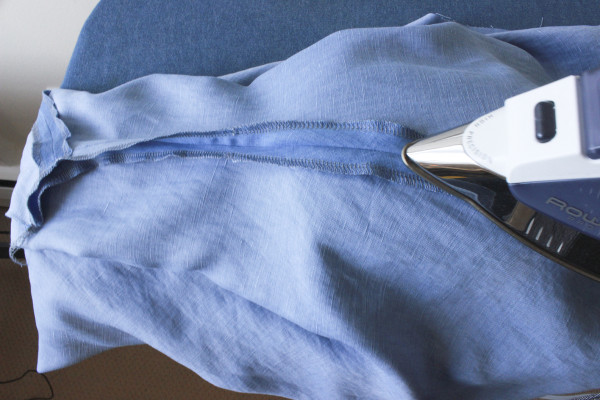
Press these seams open.
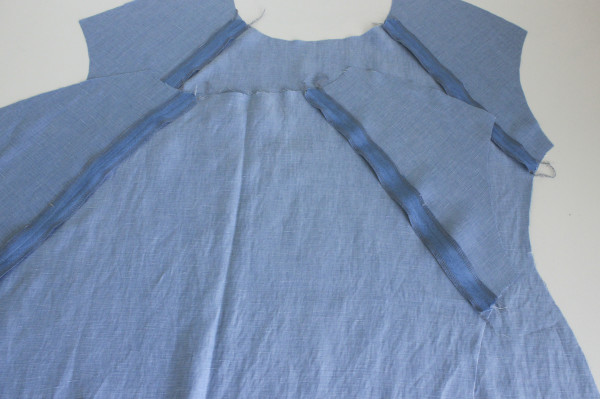
Repeat these exact steps for the back sleeves and bodice.
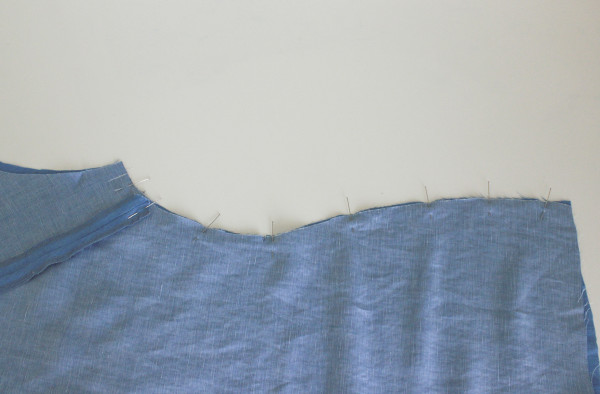
Now let’s pin our back to front, right sides together, along the shoulders.
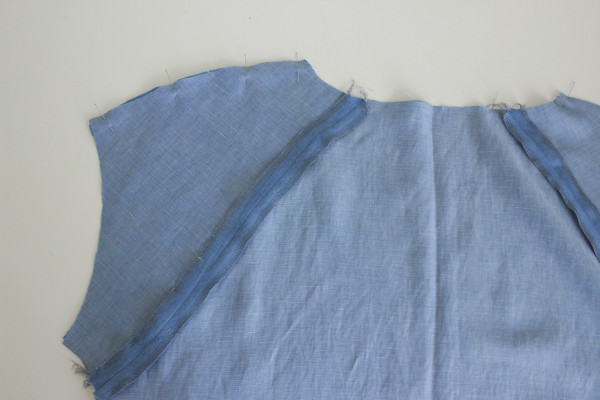
Sew the shoulder seam, and then finish the raw edges separately with your preferred method (mine will be overlocked).
Press this seam open!
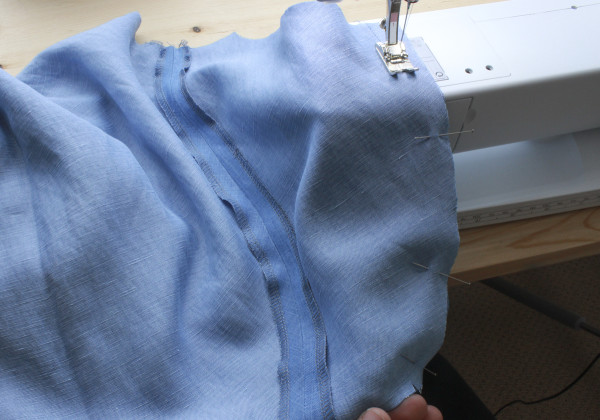
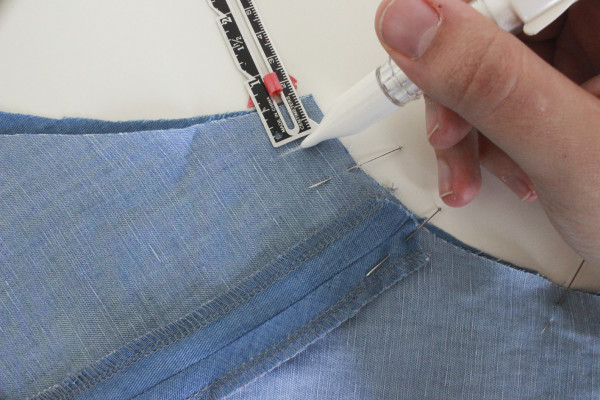
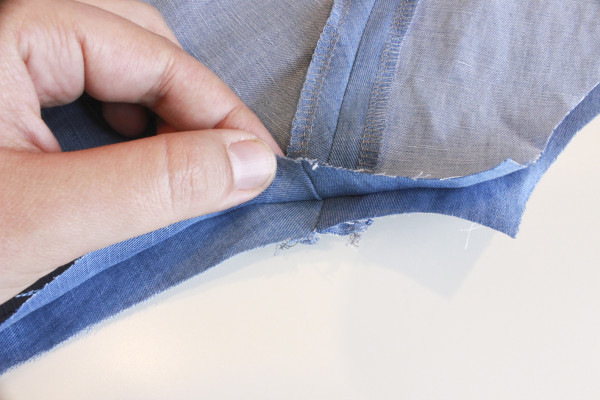
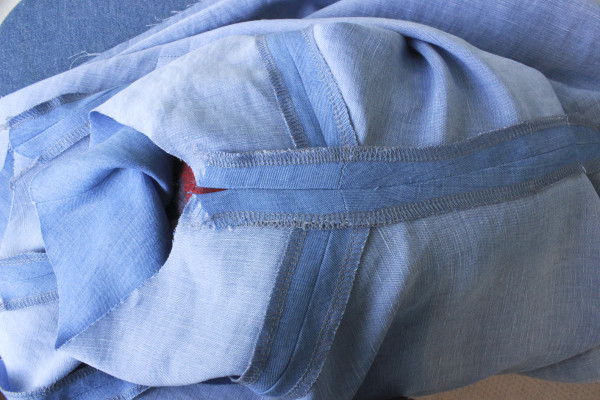
Now for the side seams. Pin front to back along side seams, right sides facing. I am going to make a mark 5/8″ (1.5cm) from the end at the armhole. This is where I am going to start sewing. Leaving this 5/8″ open will make it much easier to sew in our sleeve cuffs later on – trust me!
So we have our marking at the armhole, and the rest of our side seam pinned. Make sure that your front and back is lined up nicely at the sleeve seam.
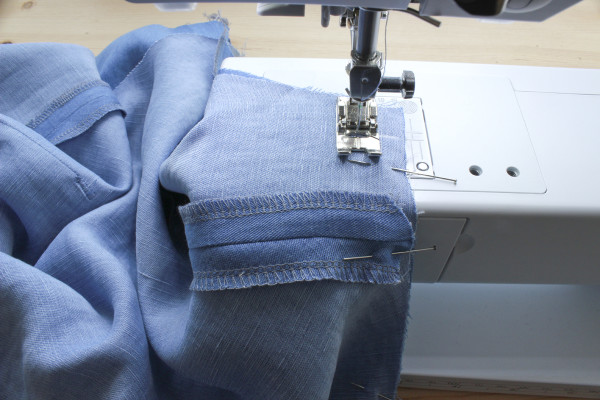
Now we can sew the side seams.
Remember to leave that opening at the underarm!
Double check to make sure your sleeve seams are nicely lined up. With a simple blouse, little details like this make a difference!
Now we can finish our seam allowance. You may want to trim off a bit of your seam allowance here, so that when you press this seam open, it lays nice and flat. I didn’t and mine is just fine because cotton is pretty pliable when you use steam, but it will depend on your fabric, if it’s a stiff fabric, or synthetic, then trimming your seams would be a good idea.
Press the side seams open.
Here’s a close up of the opening, I’m pressing the seam allowance back at the opening too.
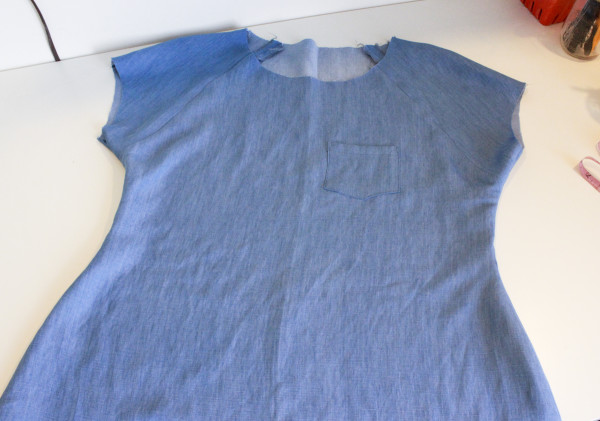
And look, it’s beginning to look like a blouse! You can try it on at this point and check to see how it fits. Remember the sleeves will get longer not shorter since we aren’t hemming them, we are adding cuffs. Now is a good time to take it in at the side seams if it’s a bit too loose, or even let it out a bit if needed (the nice thing about generous 5/8″ seam allowances!).
For the next sew-along, we’re already on to neck binding. If you have any questions, ask in the comments!


Only just gathered my supplies (aahh). It’s going to have to be a quick slow sew. Making a slow sew Alabama Chanin/Sewaholic jersey Belcarra, so thank you for the bias arm hole note, hadn’t considered that, I’ll need to baste the edges first to keep them from stretching. Can I ask if you do a fba for jersey Caroline? I have made a similar adjustment, but doesthe stretch make it unnecessary?
Strike that question above, just looked down and answered it myself. I’m wearing a renfrew top straight out of the packet, no alterations, straight off the washing line and back on again. Going with adding dart for woven versions only.
Hi Sonia, good call! I don’t think it’s necessary to do a FBA for knit fabrics.
Wow what easy pics to understand. I love this top. I plan to perfect the first one and then make a few more in some fun retro fabrics.
Duh question here. Is that a chalk pencil you’re using, Caroline? Thanks.
Yes! It’s the Clover Chacoliner pen, my favorite:
http://www.amazon.com/Clover-Style-Chaco-Liner-White/dp/B0016ZZOEK
Yeah, like Sue, would love to know what brand of chalk pencil you’ve got there- it’s hard to find a good white chalk with precision point…
It looks like a clover chalk pen. I have one, it is good for making precise lines.
Yep, the the clover chacoliner pen. Here’s the amazon link:
http://www.amazon.com/Clover-Style-Chaco-Liner-White/dp/B0016ZZOEK
I found it necessary to use ease stitching below the notches on the back sleeves. Did I do something wrong?
Hi Carol, unless there was a TON of easing, I think this is pretty normal. Your fabric may have just stretched our a little with handling, especially if it’s lighter weight or slippery fabric (like a satin weave). Once it’s sewn up, as long as it doesn’t have gathers or puckers and it looks good, then the easing is okay.
Hi Caroline,
I have a question regarding the Belcarra. I am not doing the sew along as I am looking for a job at the moment :( however when I do get around to sewing it (hopefully this week) I was wondering how I could make the sleeves more elbow length. I live in Australia and we are having our winter at the moment so just want to be able to wear it now.
Any tips? I am fairly new to sewing.
Thank you so much
Hi Veronique! I’m not sure that elbow length sleeves would work for this pattern, but you can give it a go! All you need to do is adjust the front and back sleeve pieces, you can work on the front piece first and then repeat for the back piece. You can slash your pattern by cutting a straight line parallel to the sleeve edge. Split your piece and spread it open to make it longer in length. It’s as simple as that!
I’m having a fit problem. (1) I am getting diagonal lines from the bust point to the side seam. (2) I have too much fabric between the top of my bust to about 3 inches below the shoulder line, and (3) I have extra fabric approximately four inches behind the shoulder line on the back sleeve/armhole area. Also, can you tell me how I know the shoulder seam is hitting the right spot or if its too far to the back?
Hi Suzanne, no problem, I’ll try to help you out.
1) the diagonal lines could be due to the pattern being too snug around the bust?
2) the best way to fix this is probably to pinch out the excess fabric and remove this much from the pattern pieces by slashing and overlapping.
3) the shoulder seam should sit at the normal spot for a shoulder seam, right at the mid point of your shoulder, or just a touch back. If you have extra fabric in the black then perhaps try to trim a bit off of your back sleeve piece at the shoulder to bring everything up.
Hope this helps!
Oh, and I graded from a 12 on top, to 14 around side seams/bust under the armhole area, and back to 12 at hips.
Hi I try to connect me to first part of belcarra blouse :modifications and
but the page is not found
I hope some help
Thanks for pointing that out! I’ve fixed the link :)
If you were going to finish the raglan sleeve seams together (not pressed open), is there a rule about which way to press the seam? Toward the body or the sleeve? Does it matter? What’s the advantage or disadvantage to each? Thanks! These blouses are looking great!
Hi Lynl. I don’t know of any rule in this case, but my instinct tells me that it makes sense to press towards the body, because the seam will naturally fall that way (gravity!). I don’t think it matters though. :)
Thanks for this. But why bother finishing seams that are on the bias? My aunt who taught me never did, and I’ve seen this mentioned in a couple of good books too. Finishing always adds some bulk or stiffness, and stretches bias seams too. I don’t even finish seams that are not on the pure bias, like the sides of a skirt when they’re cut on angle, unless the fabric is very loose weave :). Call me lazy, but I can tell you my clothes have stood up to loads of wash and wear.
Hi Caroline,
Way behind the sewalong here, but there’s no other space (like a forum) to ask this question.
I’m having a fitting issue. There is way too much fabric in the back. I cut a size 8 which fits perfectly in the front and around the shoulders. However, at the back, around the waistline, and from the shoulders, there is SO much spare fabric. I’ve pinched out wedges on the side seams (as they were flaring), but it’s still too big. I can live with some draping, but I would like to fix this.
Unfortunately this has happened with my real fabric and I’m not sure why. When I made the muslin, there was room in the back, which is fine, as I prefer a looser fit. But with the real fabric (linen) there just seems to be too much.
I’m thinking the best way to fix this is with some darts? I don’t think it’s a sway back issue, as I’ve never had that before.
Appreciate your help – thank you.
Hi SJA, sorry that I’m late in replying to this one! If you ever have any questions, feel free to e-mail us at info[at]sewaholic[dot]net.
To address your concern… Linen tends to relax and stretch out a bit when handled and worn, so that might explain why your real garment is fitting looser than your muslin. Darts could help to save this version. I’m also partial to a center back seam to solve this type issue. You could perhaps add a detail along the back like buttons or an exposed zipper, just to make the back seam make more sense.
If you’d like to discuss further, feel free to shoot us an e-mail!
Caroline