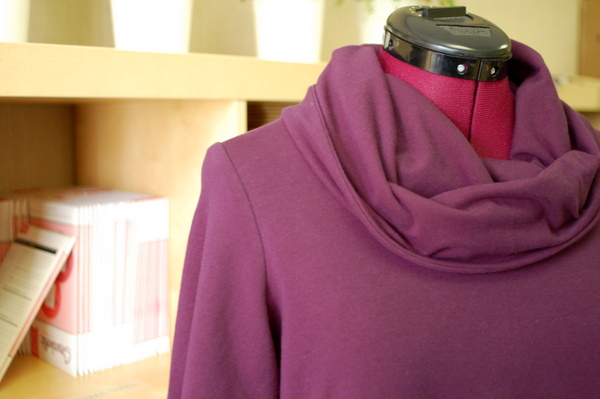
Today we’ll sew in the sleeves (easy!) and sew bands to the hems (just as easy!) to finish off the top. None of these steps are particularly hard, but I thought I’d complete the demonstration of this top, from start to finish.
Get the pattern here. Catch up on previous posts:
- Three Tips for Sewing Stripes
- What’s a Stable Knit Fabric?
- Cutting Knit Fabric: Making Sure Your Project is Cut On-Grain
- Thoughts on Cutting Knit Fabric
- Cutting Striped Knit Fabric and Matching Stripes
- Why Add Twill Tape to the Shoulders? Plus Possible Substitutions
- Sewing & Stabilizing the Shoulder Seams
- That Tricky Cowl Collar
Let’s get started! You’ll need your sleeve pieces. All three sleeve styles – short, three-quarter, and long – are all sewn the exact same way.
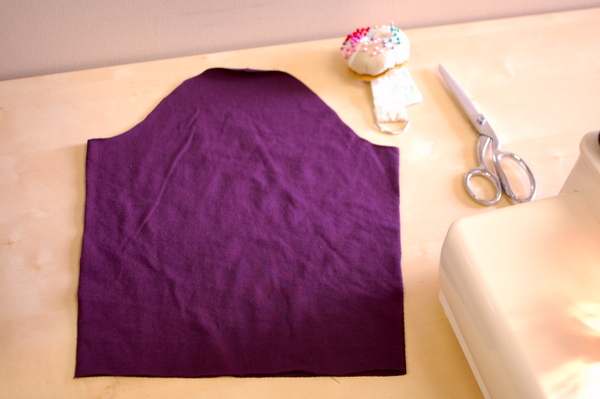
What’s great about these sleeves, as opposed to woven set-in sleeves, is that they are sewn in flat. If you’ve ever set in a sleeve into a woven dress, blouse or jacket, you’ll appreciate how simple it is to sew these sleeves!
Let’s get started. Arrange your shirt body, right sides up, with the armhole spread open like in the picture. Place the sleeve, right side up, near the armhole with the sleeve cap facing the shoulder seam.
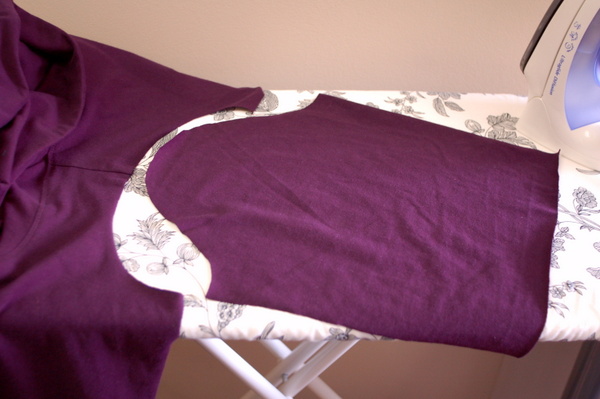
Now, flip the sleeve over, so the wrong side is up, while the sleeve cap is still facing the shoulder seam.
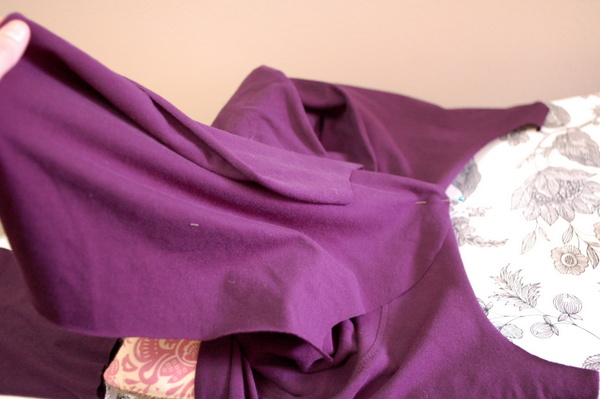
Pin the sleeve to the armhole, matching the top notch on the sleeve to the shoulder seamline.
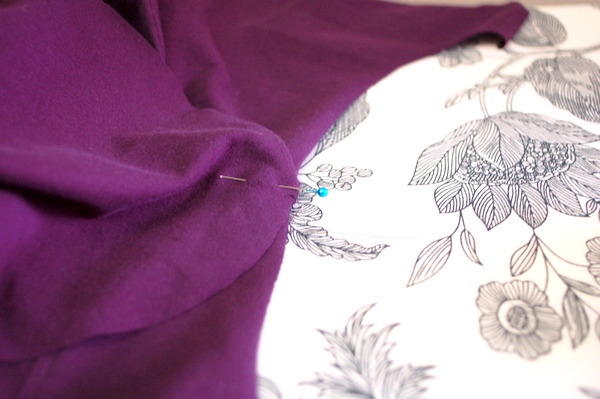
After pinning the middle, pin the sleeve into the armhole at each end.
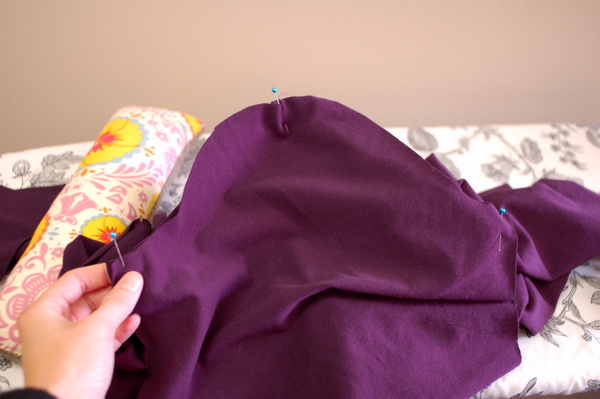
Put as many pins as you want in between the ends and the middle. I tend to sew without very many pins, so I didn’t add any. (But don’t let me stop you from pinning your sleeves!)
Sew the sleeve into the armhole.
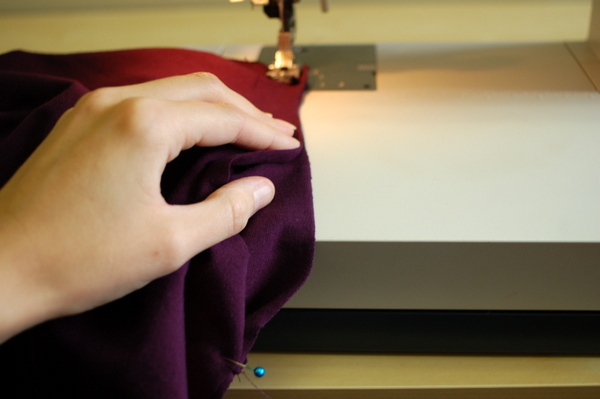
If you didn’t use a lot of pins, like me, make sure that both layers of fabric are meeting at the raw edges.
I lightened up this next picture so you can see how I’m lining up the layers. Make sure the fullness is distributed evenly, and you don’t sew any puckers.
This is a seam where you want to use a stretchy stitch, as the area is under strain when we get dressed, move our arms, yawn, lift things…
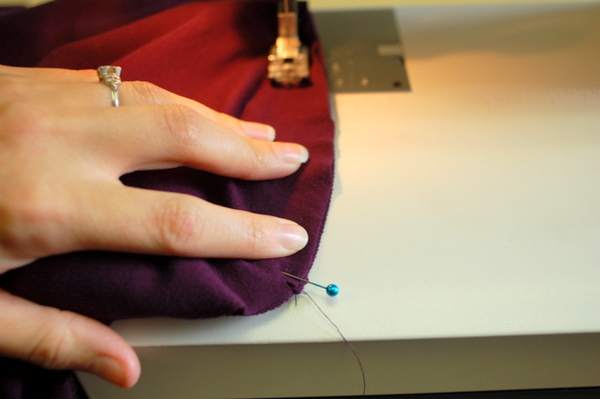
Sleeve is sewn!
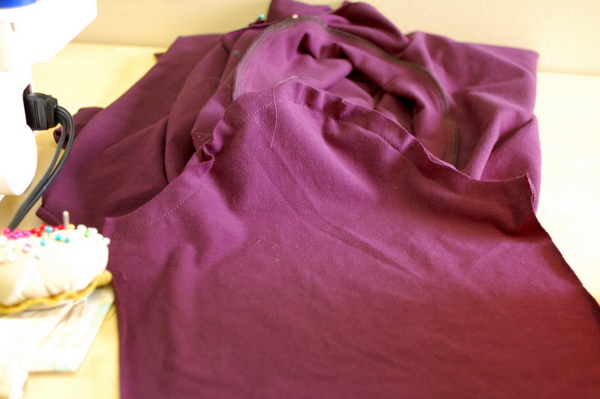
I finished the seam allowances, because I like how it looks.
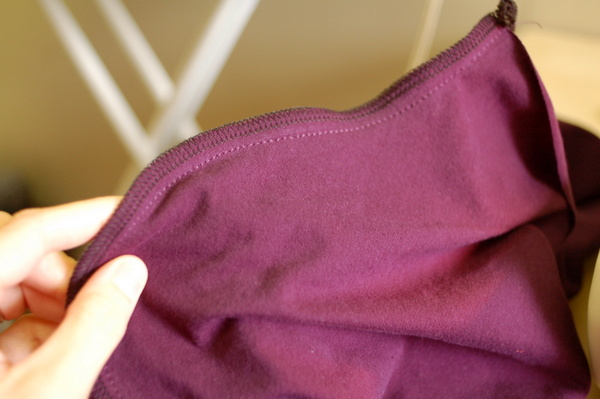
Press seam allowances towards the sleeve. (Try it on your dress form if you like and admire how nice that set-in sleeve looks.)

The last step, before sewing the hem bands, is sewing the underarm and side seam. We get to sew this seam in one non-stop motion!
Fold your shirt right sides together and pin the underarm and sleeve seam.
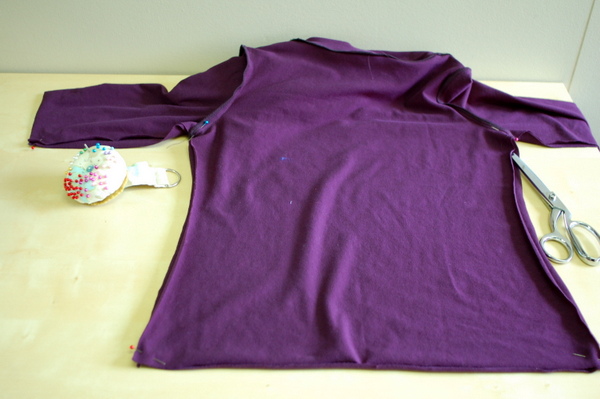
Pin the layers together at the armpit, sleeve edge, and lower edge, and as many pins as you need in between.
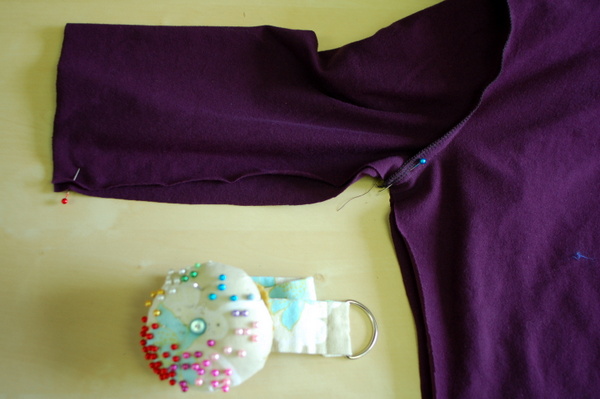
Sew this seam and finish seam allowances if desired.
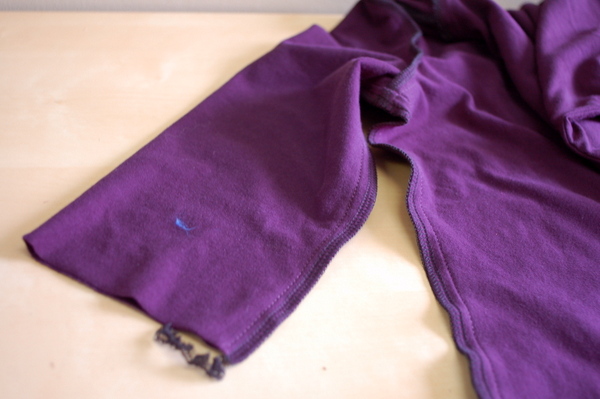
Ok! Just the bands left to do. We’ll start with the hem at the bottom of the top. (Bottom of the top, that sounds funny. I mean bottom of the shirt.)
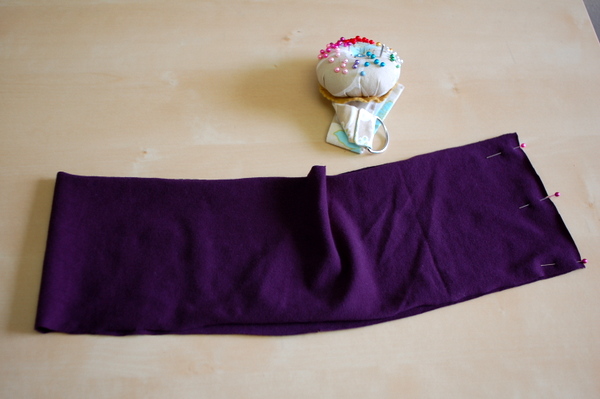
Pin the short ends of the band together, with right sides together. Sew this seam.
After this seam is sewn, fold the band wrong sides together and line up the raw edges.
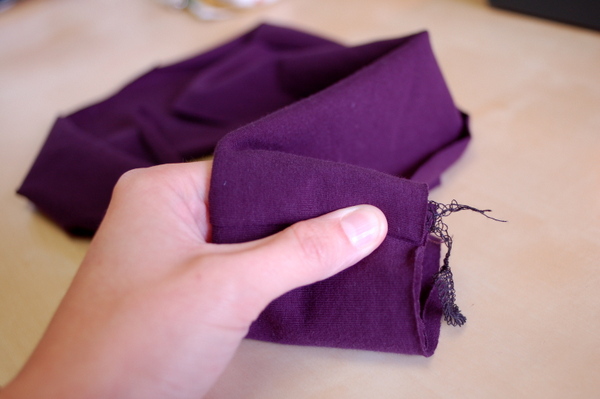
Pin band at notches. We’ll use these pinned markings to line up the band along our shirt’s hemline.
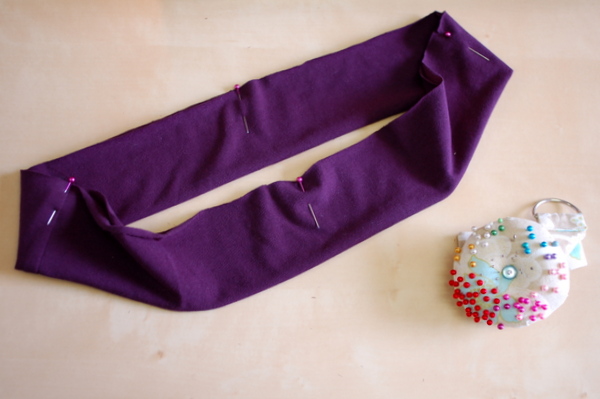
Line up the seam of the band with the shirt’s left sideseam. Pin in place.
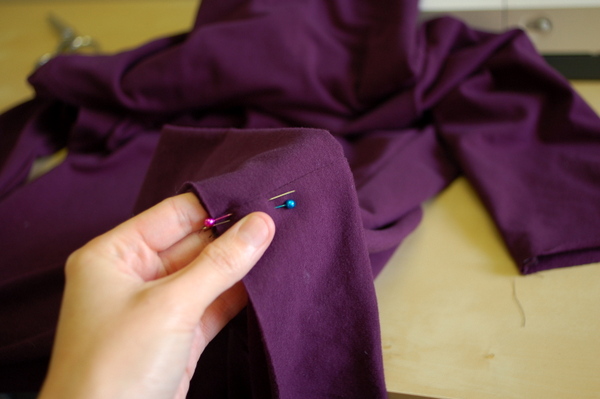
Pin band to shirt, matching notches to other sideseam and to centre front and back notches.
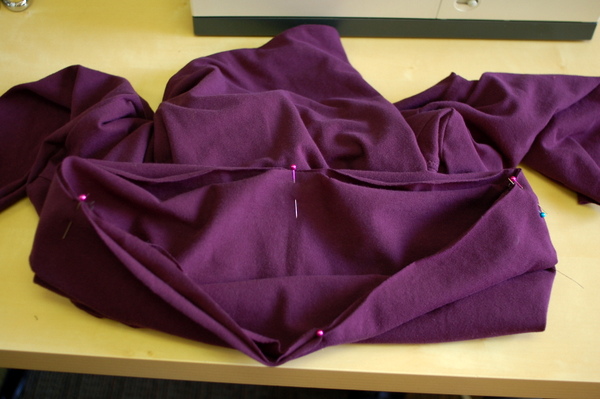
Sew band to shirt, using a stretchy stitch. Here’s what it will look like!
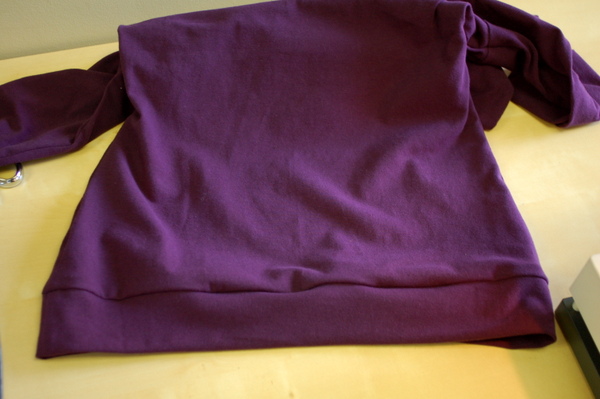
Unlike the neckline, I didn’t topstitch the band-to-shirt seam. I prefer not to draw attention there, and the bands are wide enough to hide the seam allowance even if it did flip downwards.
Repeat these steps with the cuffs.
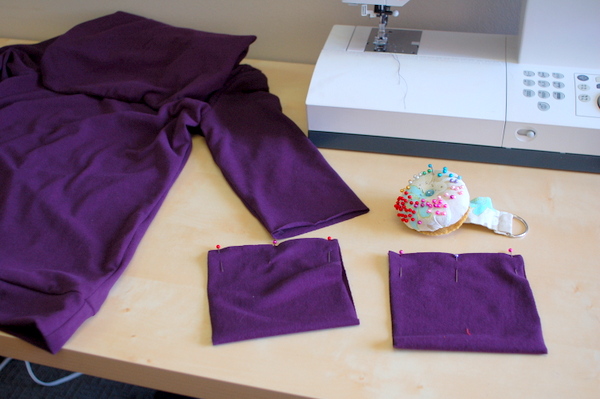
I like to sew the cuffs from the inside, with the cuff on the outside of the sleeve.
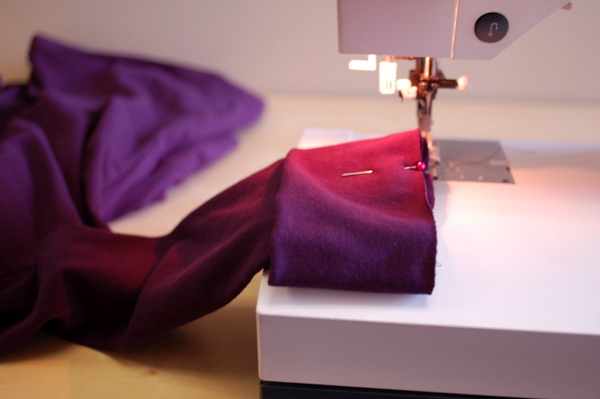
Cuffs are done!
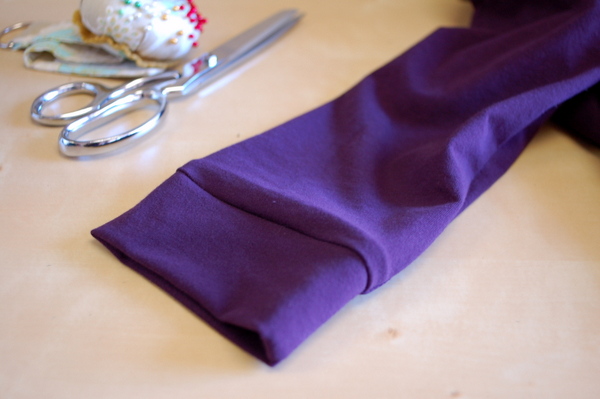
And that’s it for the purple Renfrew Top!

Hi Tasia!
Just wanted to let you know I am hosting a giveway of one of your patterns on my blog:
http://sewingthroughthemotions.blogspot.com/2012/11/two-year-blogiversary-and-giveaway.html
Your patterns are fantastic and I wanted to do a giveaway on my blog for my two year anniversary, and I was having trouble parting with the ones in my stash, so I thought I would just let them pick the pattern of their choice and send it to them. Yay!
That’s so nice of you, thanks for letting us know!
Thanks for doing all these wonderful tutorials! We’re you going to do one on the v neck? I have my fabric all set, but I’m afraid to screw it up! Oh, and it’s striped too. Guess I like a challenge!
Hi Sarah! Yup, the striped Renfrew I mentioned in today’s post is a V-neck version. I do plan to do a tutorial on the V-neck, hopefully sooner than later!
I have said it before and I will say it again, the best tutorials are right here1
Thank you so much! I do enjoy putting them together. :)
I love the Renfrew! It’s the one make that I wear all the time. I have two versions but I think the version with the slinkier knit works better than the slighter thicker knit I have. Have you found a particular type of fabric works best for you with the top?
Love my new Renfew! I dove in and made the Cowl with long sleeves. Cut, stitched and wearing it by 12:30. Just in time for lunch. Thank you for the Tutorials they really gave me the confidence I needed. I made the 16. I cut the side seam a little straighter due to my large bust line.It has just enough ease to make it super comfy.
I made my first Renfrew earlier this week – the V-neck version. What a great pattern!!!!
Thank you so much for the tutorials!
I’m making the cowl neck version this week. Super excited!
Tasia, you do the best sew-alongs and tutorials I’ve seen! I’ve already made two Renfrews (one was a sad fail due to poor fabric choice, but the second is amazing!), and your tutorial series inspired me to make some maternity Renfrews! I used the tutorial from SoZo’s blog (http://sozowhatdoyouknow.blogspot.com/2012/07/maternity-tops.html), and they came out great!
I’m always on the lookout for Renfew-worthy fabric so I can make a few more. Thanks for such a great pattern!
Hi Tasia, I like the way that you finish you seam allowances. I can see that you used two parallel stitches. What are they? I can’t quite see from the photos. Thanks!
For those who were interested in sewing the v-neck version of the Renfrew, I came across this tutorial, you may find useful:
http://sewingsquared.blogspot.co.uk/2011/06/new-v-neck-tutorial.html