 Hey everyone! If you’re making View B, the hood-less jacket, you get the day off today! Today’s sew-along post is all about constructing the hood.
Those of us who are making the hooded jacket will sew the hood, hem it and just like that our hoods will be ready to attach to our jackets. I’ll also talk briefly about how to line your hoods, if you wanted to show off your lining fabric or just cleanly finish the inside of the hood. Remember, our hoods are getting rolled up and stuffed in the collar, so we don’t want to add too much bulk with a thick lining!
Want to catch up on previous Sew-Along posts? Click the links below to read more:
- Minoru Sew-Along #1: Let’s Get Started!
- Minoru Sew-Along #2: Sewing Sleeves and Topstitching Tips
- Minoru Sew-Along #3: Gathering!
Let’s sew up the hood. If you’ve just cut out your hood pieces, they will already be lying on top of each other, right sides together. Don’t separate them! 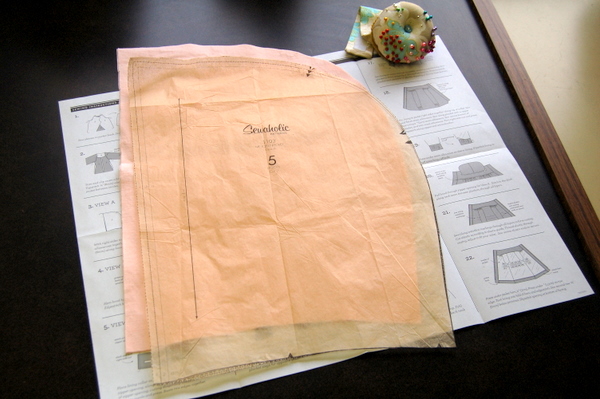
Simply pin them together, lining up the long, curved edge. Sew this seam.
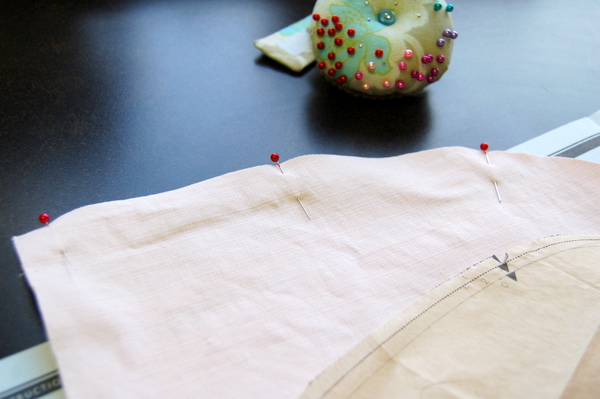
The next step is to finish the edges and press to one side. This is the one place in the whole entire jacket where seam allowances are going to be visible. For mine, I happen to have pale-pink serger thread, so I’m going to serge my seam allowances and then topstitch it in place. (Changing my serger thread to sew one seam – seems like a lot of work, I know. It’s because you’re all watching me, I have to do it right!)
You could zigzag, you could sew a French seam, you could bind the seam with seam binding or tape. (Actually, that last one would be cute if you pressed the seam open and bound the edges in lining fabric! Especially if your lining fabric is particularly pretty or contrasting.)
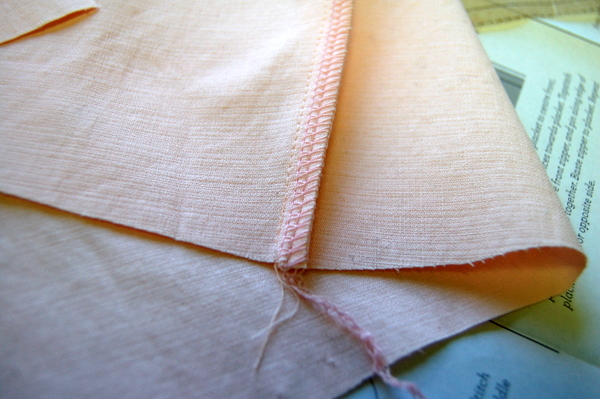
Would you believe I had to unwrap the pink serger thread, it had never been used. I suppose I never sewed the project I bought it for as I’ve had it for years! After the seam is finished, press it to one side. It doesn’t matter which side, although I checked my first two jackets and I’ve pressed them to the left both times, so left seems to be the natural way to go. You may want to just give it a light press, then press it more thoroughly after the topstitching is done.
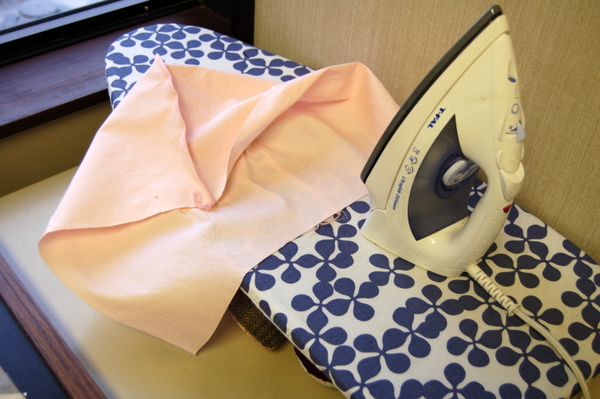
Next, we’ll topstitch the hood seam. You don’t have to, but I like how it flattens the seam allowance and gives the hood shape. Topstitching this seam starts off easy to do, but gets a little tricky when we go over the curved part. Stitching closer to the seam will be easier than stitching farther away. You could even just do an edgestitch along the seam, too!
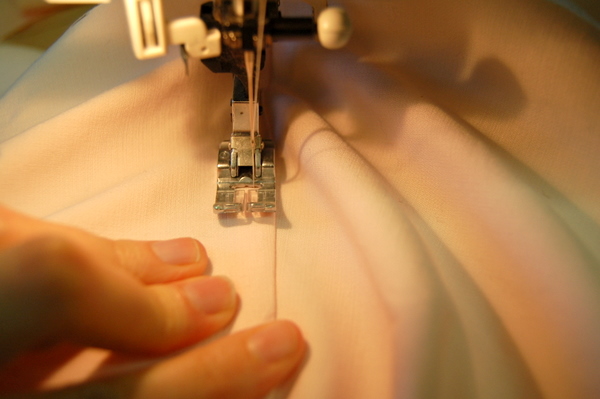
If your topstitching is really giving you trouble, or if you’re worried you might be sewing puckers and bumps into your hood – stop, and start again from the bottom up. When you meet your previous stitching, stitch over it for a few stitches and stop. This little overlapped area of stitches will barely show on the final jacket but it might help keep your topstitching flat.
After that, we’ll hem the hood. This is going to be the part that goes around your face when the hood is worn. Press under the edge 1/2″ (1.2cm) and then another 1/2″ (1.2cm) for a total of 1″ hem.
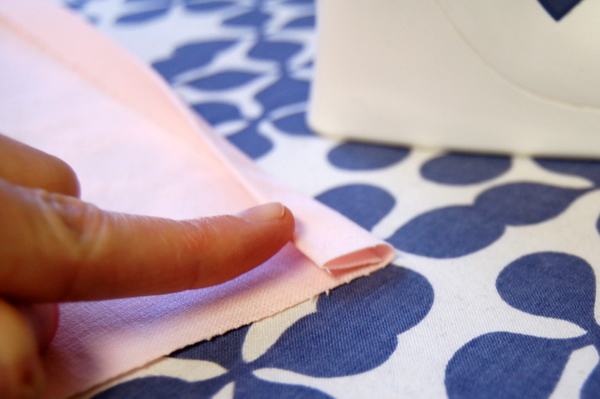
Edgestitch this hem.
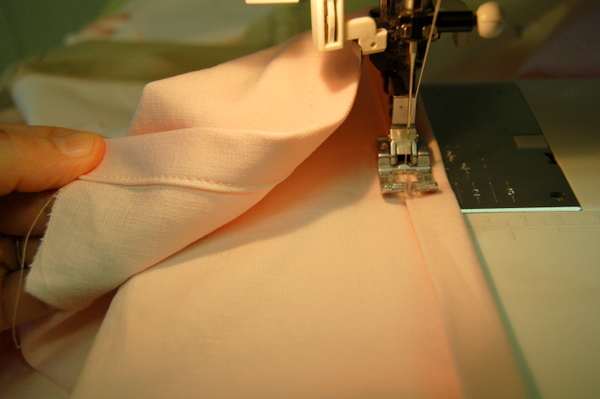
And that’s it! The hood is ready for sewing into the collar.
Hood alternatives:
Lining the hood. This is very easy to do! Cut another pair of hood pieces out of your lining fabric. Sew them together along the long, curved edge. Instead of hemming the hood, pin the lining hood to the fabric hood, and sew along the hood opening with a 1″ seam allowance. Turn hood right side out and press this hood opening edge flat. You might want to understitch this edge, or topstitch it to keep the lining from rolling to the outside.

Good Morning Tasia! I have one question on the lining instructions….
When you say “pin the lining hood to the fabric hood, and sew along the hood opening with a 1‚Ä≥ seam allowance” do you mean to basically fold the two pieces twice, 1/2 inch each and then hem together as in the single layer hood?
Or do you mean to turn the hood in one inch, and the lining in toward the hood one inch and then stitch them together and finish with a top stitch and/or understitch?
Morning, good post Tasia ! Looks great!
Staci. am sure Tasia will reply , but she means put both hood fabrics right sides together &
stitch with a one inch seam allowance. Then , after trimming the seam you will be
turning it right side out. Then you can topstitch it. No folding at all.
Ahhh…perfect. Got it! Don’t know why I couldn’t wrap my brain around that one. I think more coffee is in order.
Thanks much Nancy!
You’re welcome ! I’m still undecided about lining the hood , trying to keep the overall weight down so that’s it’s packable.
Thank you Nancy for jumping in here! Thanks for your clear explanation. I’m much better at explaining when I can use photos to demonstrate! :)
If you don’t have a serger available could you use a French seam to hold the two pieces of the hood together?
Jumping in here – yes! That’s an option! Another one I think might be fitting, is a flat-felled seam. It’s often used for jeans, and makes for a nice finish on both the outside and the inside.
You make a flat-felled seam by stitching the layers together with the normal seam-allowance, cut away half of the seam-allowance on *one* side, then wrap the other side’s seam allowance around (and under) that trimmed side. When you stitch this sandwhiched side down, you also essentially get topstitching on the outside/right side too. This probably wasn’t the best of instructions – I’m sure google can help you find a tutorial with pictures!
Thanks for jumping in! Yes, you could do a French seam and it’ll finish off the seam allowances nicely. Flat-felled is another good option but it’s really tricky to do along the curve. (Tried it on one of my earlier samples and because of the excess fabric along the bend of the curve, it’s hard to stitch the topstitching without getting bumps and lumps.) The French seam is easier, the flat-felled is more durable and more like ready-to-wear jackets.
Thanks Tasia for the guidance! I think I will make a lining in the hood, because my fabric is very thin.. I think my teddebear lining will be very nice on a cold day :D
That does sound cosy! If it ends up being too thick to roll up into the collar comfortably, you could always wear it unrolled mostly and show off the lining fabric.
I was thinking about lining the hood but as you said we should avoid too much bulk and my fabric is a little heavier than it should be, I’ll be sewing french seams.
It’s starting to take shape…
I’m sure your readers will figure this out easily, but to save anyone the mistake- You might want to correct “Press under the edge 1/2‚Ä≥ (1.2mm) and then another 1/2‚Ä≥ (1.2mm) for a total of 1‚Ä≥ hem.”
It should be 1.2cm not 1.2mm :)
Love your sewalongs and I’m sooo looking forward to your new pattern! I’m going to get it and finally the pendrell I’ve been wanting too :) Looking forward to your sewalong for the new pattern as I’ve never sewn knits before!
Fixed, thank you! I’m glad you like the sewalongs and are excited about the new pattern!
My hood is done and lined in a lovely cosy flannel to snuggle into or hide from the wind in! As it’s lined I didn’t do anything to finish the seam, but I did serge the flannel lining. I also had to notch the outer hood seam allowance to get it to curve nicely. I’m working on the basis that the top stitching is enough for the rest of the lined jacket so as the hood is also lined it’ll be OK!
What do you folks suggest for finishing other seams on this jacket if I don’t have a serger? Is pinking the edges enough to stand up to washings or should I really zigzag or use an over lock stitch?
I have to take a 1 week hiatus from my sewing machine. Can’t wait to get back to finishing my jacket!
Hi Katherine,
I also don’t have a serger, so I used the overlock stitch.
It consumes a lot of thread and it’s slow, but it worked quite well for me.
I am a little behind but hope to catch up this weekend. I have a quick question. I am thinking of interfacing the collar can I use fusible interfacing or should I be using non-fusible interfacing? My fabric is nylon and it’s water-resisted. Thanks in advance.
I added lining on my hood yesterday, but it felt (and looked) like those baby towels with caps to me…
(Yes, you’re allowed to laugh).
So I unpicked everything, hemmed the hood and looks nice…. ;-)
I’m skipping the hood for my minoru. I’ll use my jacket sewing break to sew something else. :)
I decided to line my hood as I am using a coated waterproof fabric I felt would not be nice against my skin, and also to add the contrasting splash of colour.
Also I added a drawstring to my front edge with some elastic. Method here – http://rocketsews.otheredge.com.au/?p=62. It was a little bit fiddly but worthwhile to keep the wind out.
Trice – I wondered about interfacing on my collar too. It feels a bit like it could collapse in the fabric I have without the extra bit of oomph. I’m thinking about a medium weight fusible using a pressing cloth so as not to melt the coating on my fabric.
YAY! I finally caught up! Cut out my fabric last night and was able to get through the sewing steps while my son was napping! I did put the lining in my hood – laughing at Fabiana’s comment above! We’ll see how mine looks on the finished product! This was the first time that I’ve done top-stitching with a triple stitch, and I really liked it!
Hi there. I’m doing the sewalong, but am not doing a hood for my jacket. Will you be doing a separate day for those of us not adding the hood? Thank you!!!
GAH I just hemmed the neck edge of the hood instead of the front edge. Lacking motivation to tear it out. Oh well, it’ll be some busy work to keep me occupied during TV time :)
Finally made it to this step! Actually, I haven’t started this step, but I’m here, yay! Everybody is ill, it seems, including me! I meant to catch up like a crazy-person all weekend, but a case of the sick got me, big time. Well, I’m pretty sure I’ll be wearing the coat until May, so if I don’t finish with the rest of you, at least I can count on our nasty New England weather to still be in full force, as usual.