 Today we’ll understitch the bodice, and turn it right-side out. We’ll baste the lower edges together and get the bodice ready for attaching the waistband!
If you haven’t done so yet, trim and clip your seam allowances, like in the photo below. Clip the curves as much as necessary so you can stretch the seam out flat.
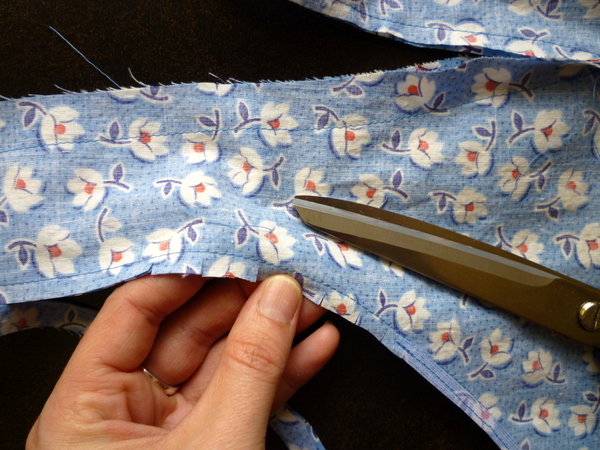 At the tips of the straps, clip the seam allowances like in the photo below – diagonally across the tips, and then angled again to remove more of the bulk. (I put the trimmed bits back in place, so you can see how it was trimmed.)
The less bulk we have, the easier it will be to turn them right-side out!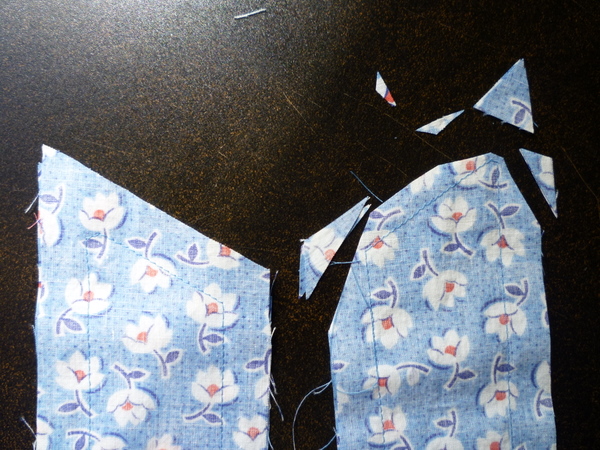 Ok! Now let’s get ready to understitch the bodice. We do this to keep the wrong side of the bodice on the inside, and not rolling to the front of our dresses. Understitching also makes our edge easier to press, and more professional looking!
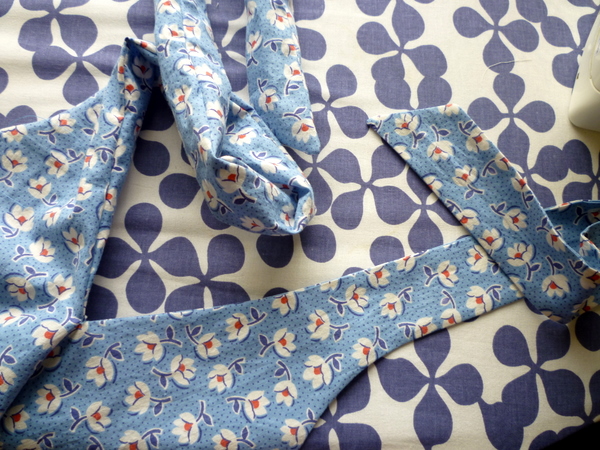
Before we can understitch, we need to turn our bodices right-side out. Here’s how I did it, after turning it right side out, I start pinching the middle of the strap end, and pull a little more out through the strap tube.
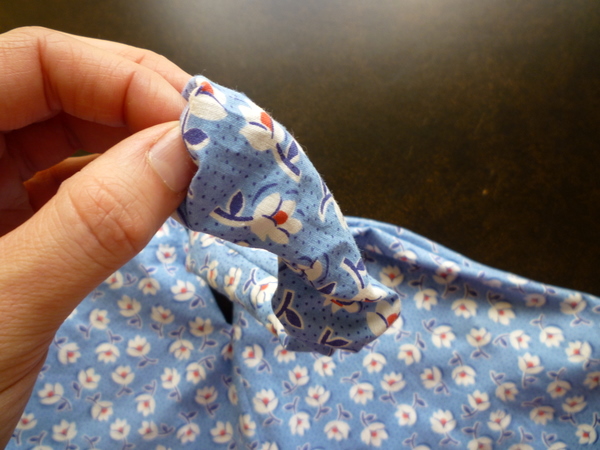 This part is a bit slow to do. If you know of a faster way to turn things like this right-side out, I’d love to hear it! For me, I just pinched a bit more fabric each time, tugged it out, and reached in for another pinch.
Here’s what it will look like, eventually!
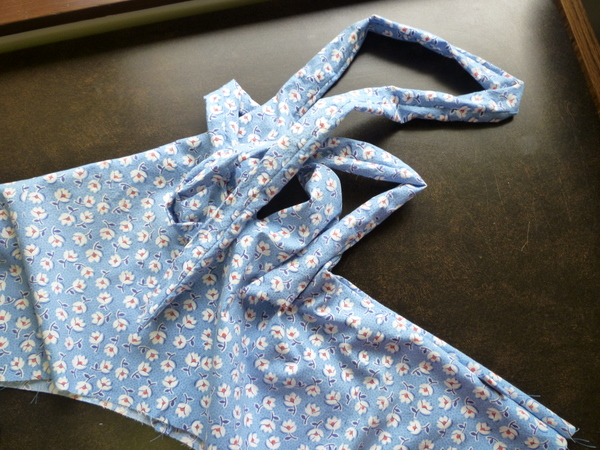 Take it to the machine, arranging the RIGHT side of the bodice on your left, and the INSIDE of your bodice to your right. Seam allowance needs to be tucked towards your RIGHT.
This is what it will look like, looking down on your work:
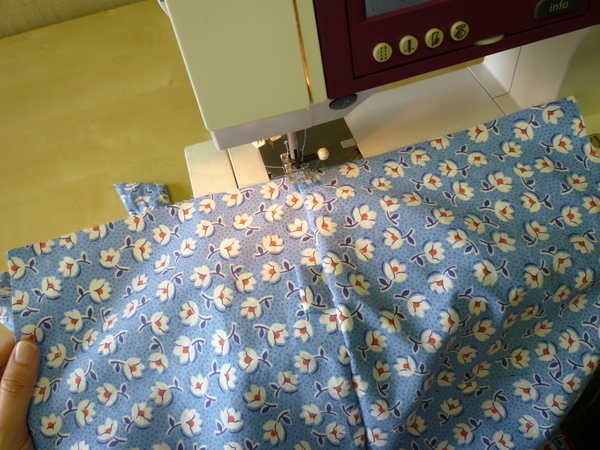 Now, understitch away! You’ll want to stitch very closely to the fold, without crossing over to the right side of your bodice. Start at centre back and get as close to centre front as you can. You’ll probably get to where the stay tape stopped, just before the top edge narrows and turns into straps.
Here’s how your edge will look with a little understitching – and that’s before pressing!
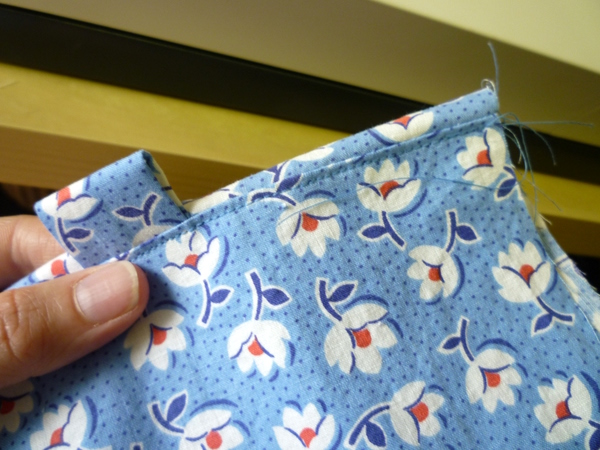 Press this edge, rolling the understitched layer to the back, making sure it doesn’t show on the front.
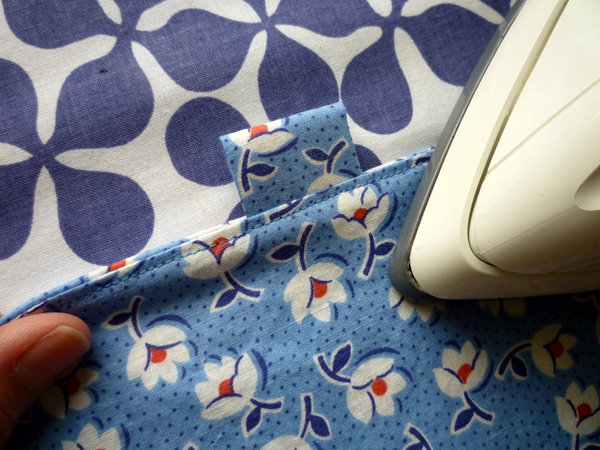 See! Nice and crisp.
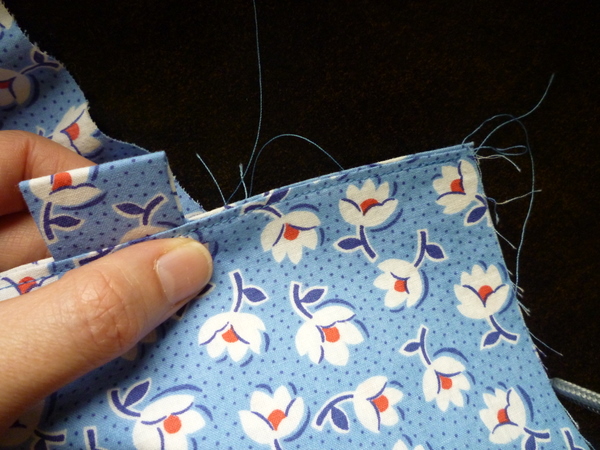 Press all around the top edge, up and down the straps.
 Here’s what it will look like, so far:
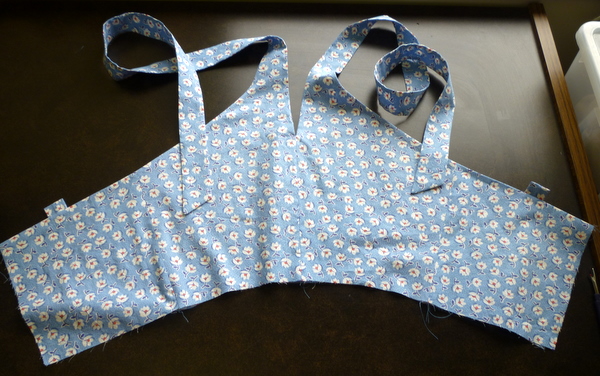 One last step today, and that’s basting the raw edges together. We’ll do this so they stay aligned when attaching the waistband and zipper.
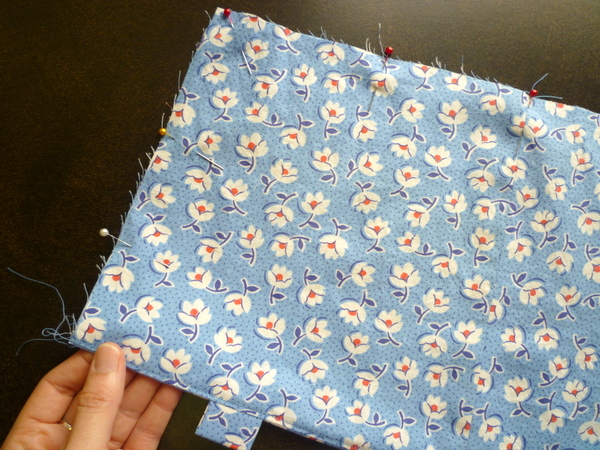 Pin along lower edges of bodice, and raw edges of zipper. I don’t think I always baste the zipper edges together, but definitely do the lower edges.
Line up the seamlines on both bodice layers – here I am peeking to make sure the seamlines line up!
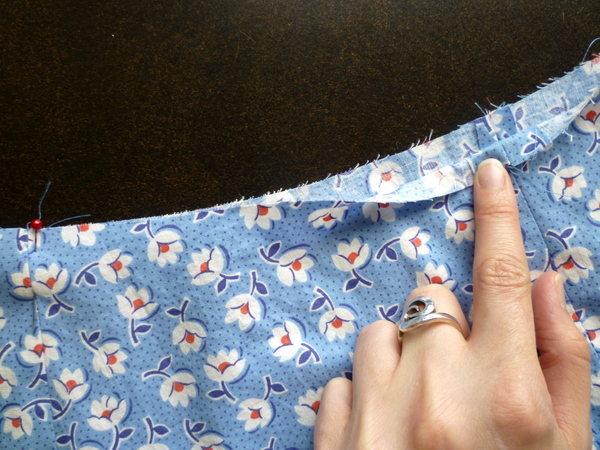 Baste along lower edges and along centre back raw edges.
Done for the day! Happy sewing!

This step looks great. I love seeing how professional an understitched dress looks. I still have to start my dress but I am hoping to catch up next week.
They do make tube turners for such things – I have one and use it for most everything. Also, I have found that instead of clipping curves, that trimming the seam down to 1/8″ or less works much better and gives a clean curve, without risk of a “bumpy” curve.
Your dress looks beautiful!
So, just to clarify because I’m dense, are you stitching the facing to the seam allowance or not. I’ve always been confused by this step and more or less usually skip it. It looks like you’re not, but what gives it that crisp edge? Thanks
TURNERS WORK WELL, BUT I HAVE SOME OTHER SUGGESTIONS. PIN A LARGE SAFETY PIN TO END OF STRAP. PUSH PIN TO INSIDE AND WORK IT ALONG TO OPENING. ANOTHER CHEAP TRICK IS TO USE ANY STIFF ITEM HANDY, EX. RULER, PENCIL, WOODEN DOWL, PUT SEWN END OVER THE END OF TOOL AND AND TURN STRAP “INSIDE OUT” WHICH IS REALLY WHAT YOUR TRYING TO DO. HINT IF A RULER OR PAINT STIRRER FIT SNUGGLY YOU CAN MAKE SURE ALL SEAMS ARE COMING OUT SMOOTHLY AS YOU GO ALONG. FOR REALLY STUBBORN CORNERS I HAVE OFTEN USED A BLUNT PECIL AND PUSHED SOFTLY TO GET POINTS ALL THE WAY OUT. THAT SAFETY PIN ALSO COMES IN HANDY TO TUG POINTS OUT FROM THE OUTSIDE OF FABRIC. IF YOU ARE NEW TO SEWING I AM STRESSING TO PUSH SLOWLY AND GENTLY TO YOU GET TO “KNOW “YOUR FABRIC.
Thanks Tasia. Your dress is looking great. There are some lovely completed versions of this dress out there. I can’t wait to start mine.
If I understand correctly, we are understitching from the center back to where the straps start only and not along the straps and center front as well? I can’t quite see how stitching along the straps and front could be done, but want to be sure that I don’t have to do it.
@Cynthia: you are indeed stitching your seam allowance to the facing (bodice back in this case) – you’re gently stretching the two pieces and making sure the seam allowance is under the needle as well as the facing. That way, it holds the seam allowance to the back, or to the facing, and stops it from moving :-)
@Natasha: Nah, you can’t do the whole thing. Just go as far as you can, until you get so close to the straps that it starts bunching – it’ll be around the point of that first notch. Just don’t do what I did and find you’ve gone so far you’ve started catching some of the bodice itself…oops.
…for those beginners that struggled with this step (like me!), Tasia has a really good explanation and demo on in Sewtionary
@Cynthia: Hi Cynthia – yes, you’re stitching the seam allowance in place with the understitching! That’s what creates the fold at the edge, and keeps your edge from ‘puffing up’ and keeps the facing from rolling to the front.
@Jenn: I do that too sometimes! It all depends on the curve, and also the fabric. A more delicate fabric would be better to trim, a sturdier fabric can handle the clipping. Thanks for the tip!
@eleanor rueb: Thanks for the tips on turning the straps! I agree with the ‘don’t push it!’ tip if you’re newer to sewing. It’s easy to poke a hole if you’re too forceful!
@Natasha: You’re right! We’re understitching just from centre back along the top edge, as close to centre front as we can get. I got to just where the curve starts, it’s too tight and small of a space to understitch any further.
@Lucy: Thanks for jumping in here! :)
I started by turning the strap out with a my finger but realized a long, skinny paintbrush made turning the straps a cinch! Took about 10 seconds. :)
Hi Just wanted to let you know this was the best tutorial I could find on under stitching a bodice! I was a at a bit of a bind trying to understand that step from the printed pattern. Thanks!!