 Click the badge to the left to catch up on all things Gabriola Sew-Along.
Today we are going to install the zipper!
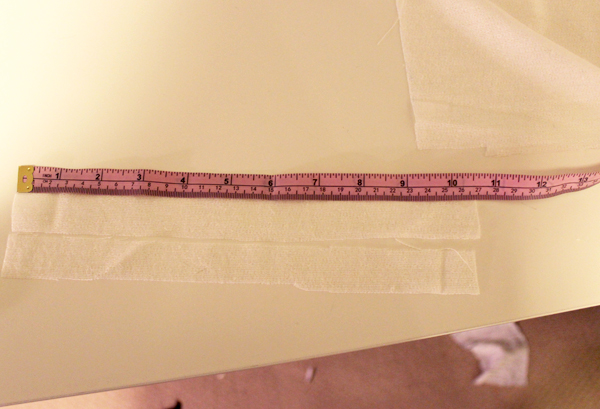
Here’s a little trick I like to use when I am inserting a zipper with really lightweight or delicate fabrics. If your fabric is strong or stiff enough, like a linen or cotton, go ahead and skip past this step. I am going to reinforce my zipper area with a couple of strips of fusible interfacing. We are going to be inserting a 9″ (22cm) zipper, so I’m cutting two strips of interfacing, 10½” by 1″ wide (that’s about 27cm by 2.5cm).
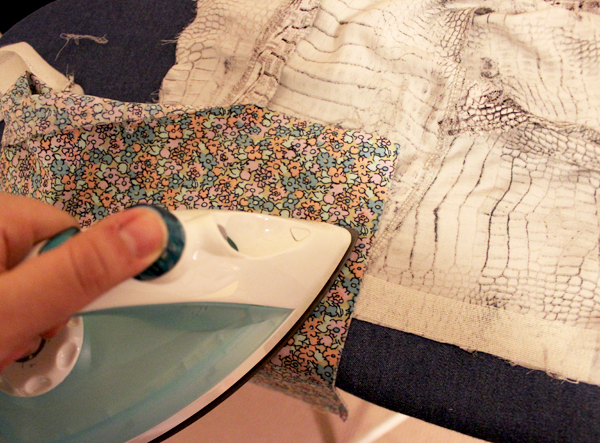
So now let’s iron on these strips of interfacing, right on the edge of our center back, where the zipper will go.
There we go! Now all of us with more delicate fabrics will have a nice strong section where our zipper will be inserted. Onwards…!
Next let’s finish the edges of our center back back opening.
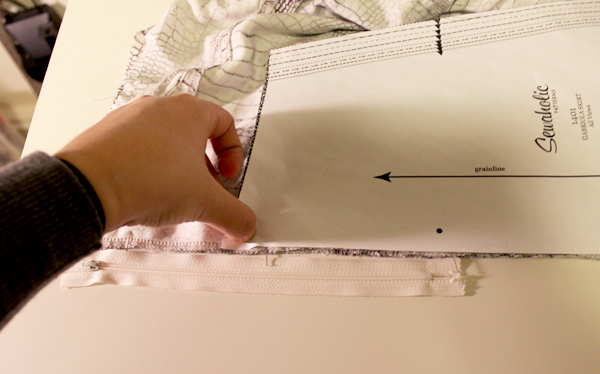
Okay so now we want to transfer the small circle marking from our pattern. Why not a notch? Good question. A notch in our fabric will create a weak spot, with the potential for our fabric to fray over time and washing, in a spot that may get a lot of stress. We want to avoid this, so we skip the notch and instead use the circle as a guide to mark our fabric with chalk. So line up your pattern piece with your center back panel, be sure to overlap the seam allowance, and mark your circle! This is where we will start sewing our center back seam. Always a good idea to check with our zippers too, to make sure the circle hits just below the zipper stop.
Now let’s sew our center back seam, you can faintly see my blue marking at the top there!
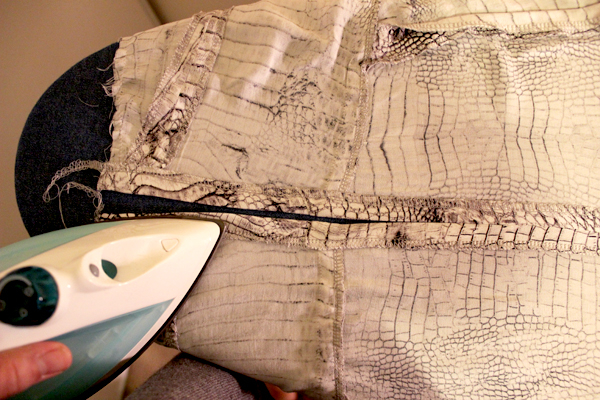
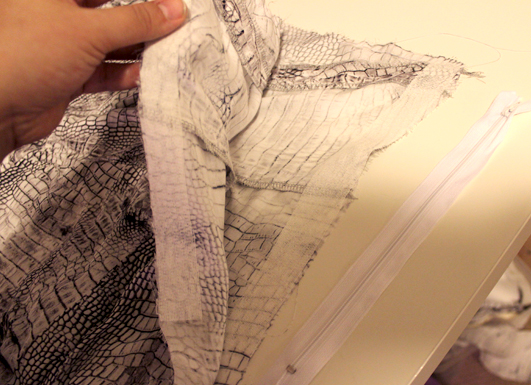
And now we’re going to press this seam open, continuing to press under your zipper opening edge at 5/8″ (1.5cm).
Now here is where we want to pin our zipper into the opening, lining up our zipper teeth with our opening edge. I went the extra mile here and basted my zipper into place, because my fabric is delicate and slippery and frankly I always manage to mess up my zipper on the first go. Basting gives us a bit of extra security and keeps things in place when we are sewing, but it’s by no means necessary.
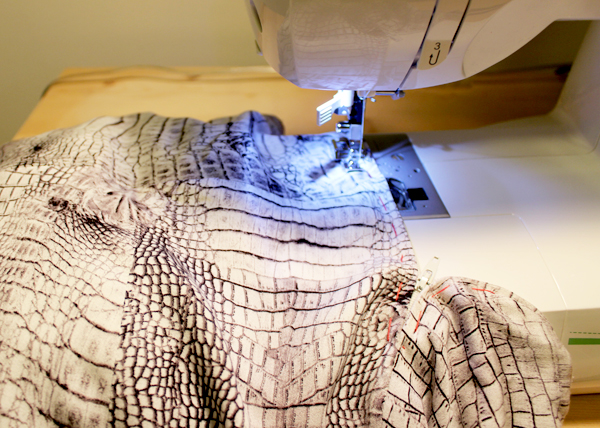
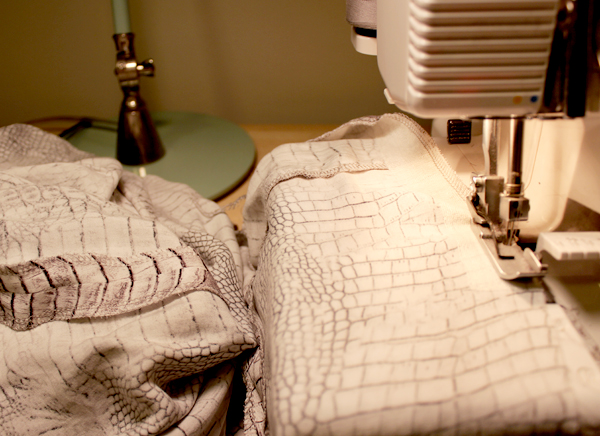
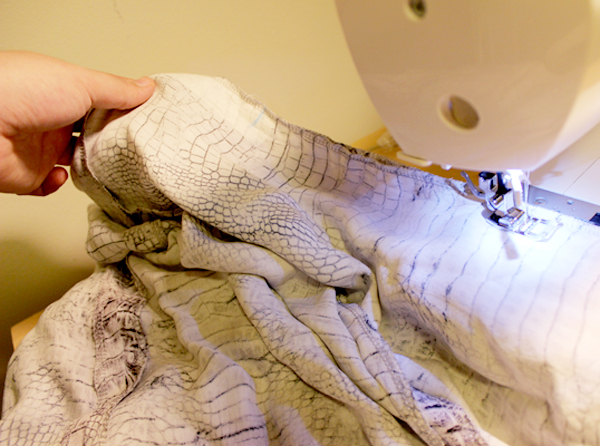
Let’s use our zipper foot, and begin sewing around our zipper at 1/4″ (6mm) from opening edge. When you get close to your zipper pull, insert your needle into the fabric, lift up your foot to give yourself room to pull up your zip. Once you pull up your zipper past your foot, you can push your foot down again and continue sewing.
Pivot around the bottom end of our zipper…
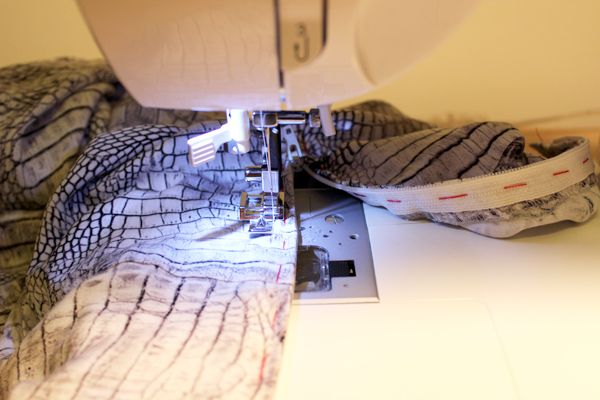
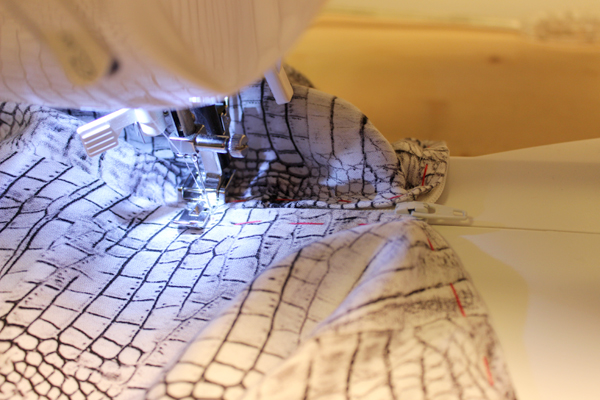
And continue up the other side! Once again when we get close to our zipper pull, we’re going to insert our needle, lift the foot, pull down our zipper, lower our foot, and continue up.
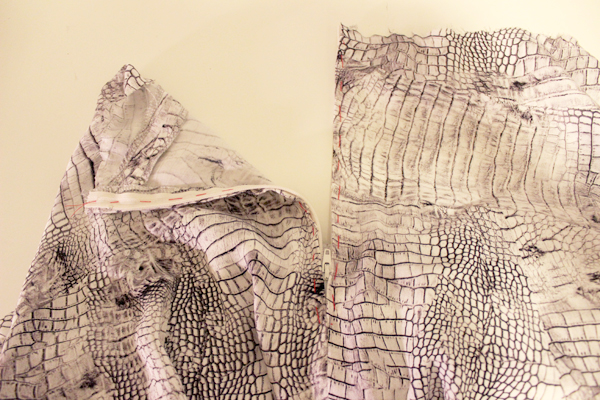
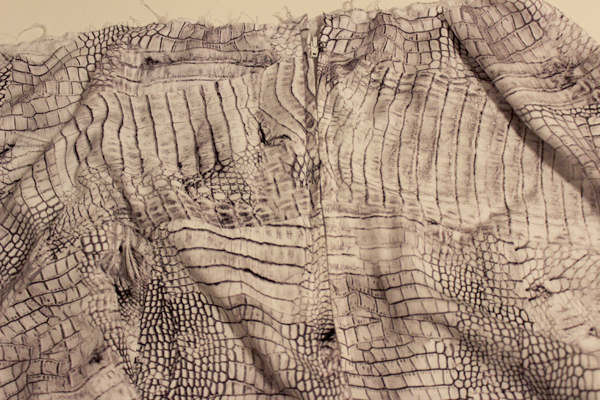 Here we are, a nice finished zipper, after I’ve pulled out my red basting thread.
That’s it for today! Next, we are going to be attaching our waistband, so if you haven’t already interfaced that piece, now is the time. Stay tuned!
Thanks for all the helpful sew along posts, they have been very helpful! I ended up chickening out on making the charmeuse version of the skirt this time (slippery charmeuse scared me into submission!), I used rayon challis instead for the first make and I’m glad I did, it turned out great- I love it. Since I’ve completed my skirt I’m wondering if you have a flickr group or place to post them? Thanks!
Hi Elizabeth! You can post your photo to the Sewaholic patterns flickr group. I will be looking in there for photos when I put together my round up posts. Cant wait to see your version! Here is a link to the group:
http://www.flickr.com/groups/sewaholicpatterns/
Hey! I love your blog and all your sewing tips they are realy helpfull. I was wondering if you can maybe do a few post on pattern grading I have all these old patterns from my granny but the sizes are to big or to small and I don’t know how to do grading.
Hi Joline! We are not experts in grading so I don’t think we would be able to dedicate posts to pattern grading in general, not right now anyways. We know the basics and are able to figure it out for our patterns. Maybe this is something we will learn more about in the future – I will keep your suggestion in mind! Thanks!
Thanks for the tip on using the interfacing – so simple to do!
I’ve only just started so I’m playing catch-up, but I’m grateful for the detailed photos – thank you.
p.s. – I noticed you have a paper pattern….. are we able to purchase paper patterns from somewhere? Tissue paper patterns make me crazy when I’m tracing ;)
Hi Colleen, unfortunately the patterns only come in tissue, sorry! My paper version was an early version of the pattern that I had specially printed at a print shop. This was before we had the tissues ready and I needed to print it to get a head start on the sew-along :). It’s not set up to be used or printed by our customers. I apologize if it got your hopes up!
Saw this kickstarter video (not a virus, I swear!) about a skirt clip for preventing flyup when riding your bike & thought of you! https://www.kickstarter.com/projects/1770007182/katch
I note that you go down one side of the zip and up the other side. I used to do this but then kept reading posts which say that you much stitch in the same direction on both sides of the zip to avoid drag or puckering. Any thoughts on this?
Oops, typo – “much” should read “must”!
I actually managed to install my first zipper, and an invisible one, at that! I was terrified to veer off of your instructions but really wanted an invisible one…it turned out absolutely perfect on my very first try, and I’m thinking the interfacing trick is probably responsible for that. Thank you!
Soooo glad the trick helped! :)
Thank you for another helpful sewalong post! I got a bit ahead and added the waistband, and now I have some fit related questions. Although my hips correspond to the measurements for the size I am using, the seams in the back are not laying correctly.
The side seam is pulling towards the back, and the yoke pieces have weird pull lines on them due to how the bias edges lay across my lumpy bits. I have a bit of a tummy and a fairly prominent derriere, so I have a feeling that is what is causing the pulling. Do you have any advice on how to fix fit issues with this particular pattern? Thank you!
I hope I can get these fit problems resolved, because I love this skirt and want to wear it!!
Hi Emily! Yes, actually someone recently e-mailed us about a similar fit question. So it’s normal for your “back hip” measurement to be a bit larger than your “front hip”. Bums sometimes need a bit of extra room! I think an easy fix for this is to grade up a size at the hips (we did a post on grading for the sew-along that should help you – you’ll just be doing the reverse of what I demonstrated).
With this simple fix, you’ll have your seams falling flat at the back and a bit of a looser fit in the front which can tend to disguise any tummy because it will drape instead of be tight.
For the skirt you are working on right now, try taking out your side seams a bit, you have some wiggle room because of our generous 5/8″ seam allowance. It should help with the pulling!
Thanks so much, that definitely helped!
Thanks for the sewalong Caroline! I recently ordered my pattern so hope to receive it and join in before the sewalong is over!
Great! No rush – the posts are not going anywhere, you can come back and refer to them when you are ready to begin. Thanks for joining!