 We’re almost halfway through sewing our Gabriola Skirts.
As per usual, click the badge to the left for all thinks related to the Gabriola Sew-Along.
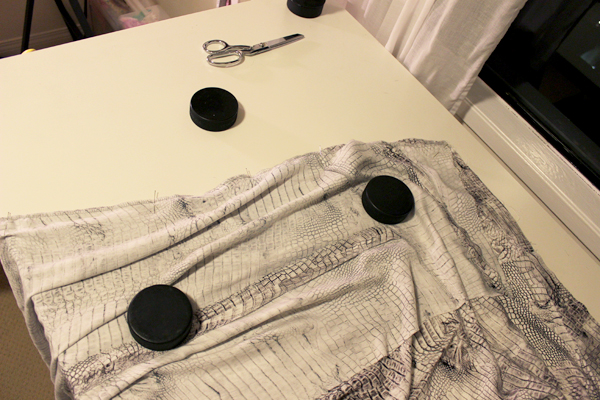
Today we’ll start with the back. So grab your back panels and back yoke pieces.
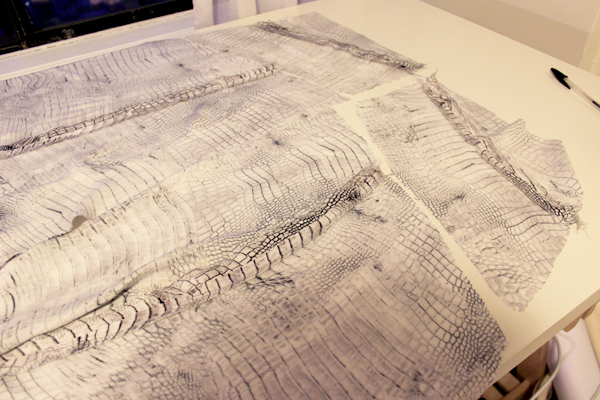
There they are. We still have not sewn our center back seam. That we’ll save for when we sew in the zipper!
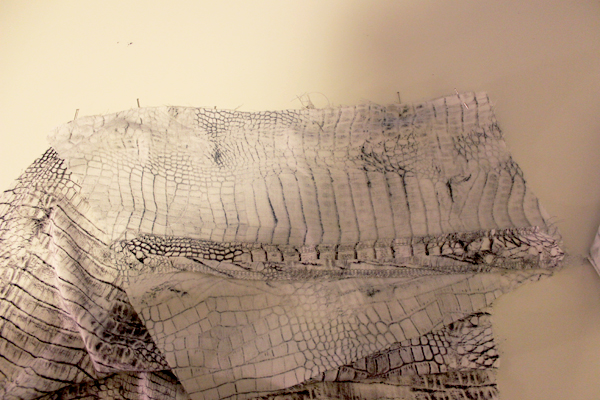
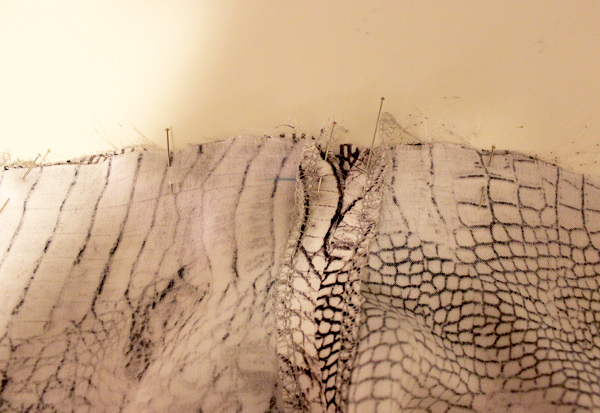
Okay start by laying your back yoke piece over your back panel piece, right sides together. Here I started with my left sides. Pin along this edge, and then sew at 5/8″ (1.5cm) seam allowance.
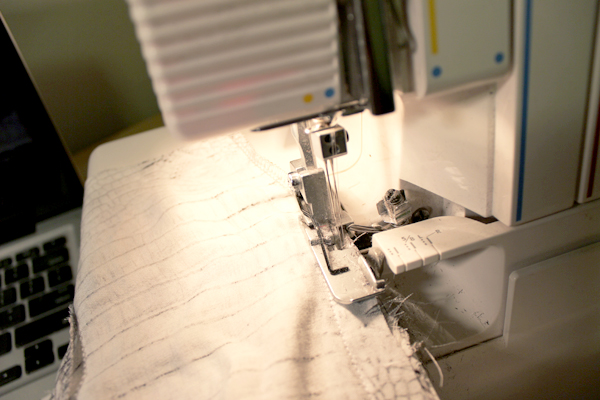
Finish your seam allowance. We are finishing the seam allowance together this time, not separately.
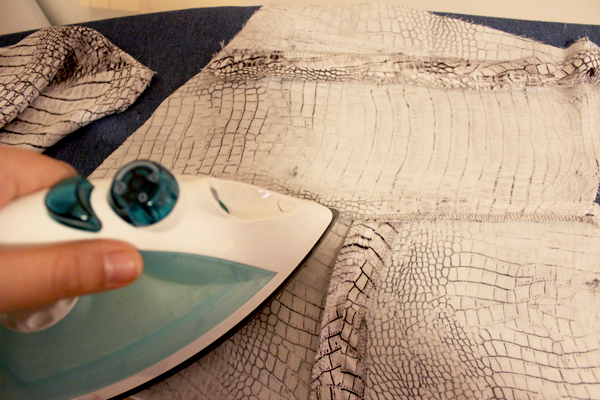
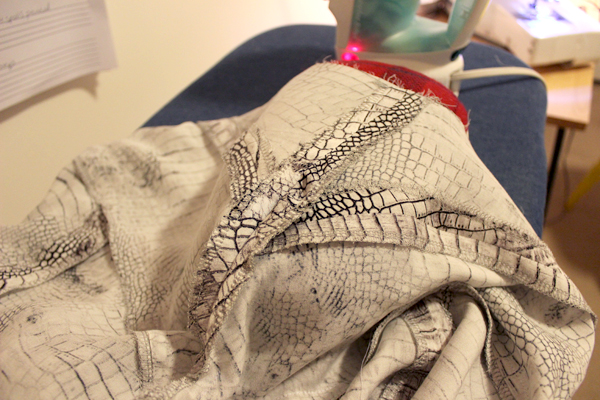
Now press your seam allowance downwards. Yes, I am not actually pressing my iron down in this photo, hence the shadow. But you’ll of course be pressing. I was having a tough time coordinating my iron in one hand and camera in the other hand.
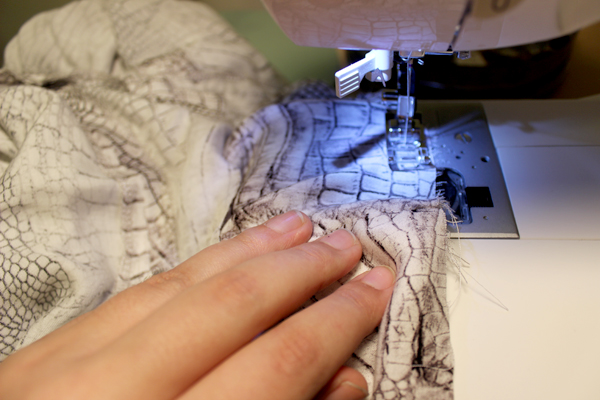
Now lets do our front yoke and panel. We are going to sew all along this seam. See at the center front of the yoke there, where we’ve stopped sewing at 5/8″ (1.5cm) from the edge? We did this because for us to be able to sew our corners, we need to split the center front. This will make for a nice crisp center front corner.

When you’re sewing this seam, pivot at that corner point.

Press these seam allowances down too. Our front skirt is all finished now!
Now let’s pin our back skirt pieces to our front skirt, along the side seams, with right sides together. Make sure you are lining up those yoke seams. Sew the side seams at the usual 5/8″ (1.5cm) seam allowance.
Press your side seams open.
And finally stay-stitch your waist seam 1/2″ (1.2cm) from the edge. This will prevent your waist from stretching out. Now my fabric is quite light and it definitely stretched out a bit while I was assembling my skirt. No biggie. When I am stay-stitching my waist at this point, I am ever so gently pushing my fabric forward. This will tighten things up again. Be very gentle here. If you push your fabric forward too much as you sew, you will over compensate or even create gathers.
Voila! That’s all for today. In the next post, we’ll be tacking the center back zipper. Happy sewing!
Im loving how my skirt is turning out! If there is a bit more ease in the waist/hip area than id prefer, is now the time to fix that? Ive just finished stay-stiching the waistline. Should i just take the extra width out of the center back before we get to mondays tutorial? Or will you be leading us through a fitting?
Hi Aspen! I would suggest taking out the extra ease at the side seams. This is similar to what we did when I demonstrated grading between sizes, but you’ll be doing it after you’ve sewn the pieces. Try on the skirt inside out and pin out the bit of excess along your side seams. You can then sew along this line and trim back your seam allowance again to about 5/8″. The reason I wouldn’t recommend taking it at center back is that then your side seams would sit too far back, and your waist at center back might come to a “V” shape. Let me know if this makes sense!
My fabric looks a lot like yours but is a cheap polyester and it stretched a lot after cutting. I don’t know if it is because of the fabric or the way the pieces are cut, but now the waist is waaaaay too big for me. I had already to ease in the yoke to the skirt panels creating a really subtle gathering and I’m not sure if I should attempt the same when attaching the waist or maybe I could sew again the sides and take in few cm each side. Anyhow, Gabriola is beautiful, thank you Tasia for yet another great pattern!
Hi Carly, similar to Aspen below, I would suggest taking in a few cm at the side seams. You can try on your skirt inside out and pin the side seams while it’s on so you’re sure you’re getting a fit you like. :)
Thanks! I’ll never buy cheap fabric again ;)
Ah, that makes senses thank you! Int hat case I think I’ll wait until after the zipper is in, and then take in the sides. I can just see myself not pinning it closed with the proper seam allowance and my measurements being all off.
That will work great! :)
Really enjoying the posts and making good progress on my skirt! I was just wondering if anyone had come across the same issue as me: I’m making the skirt in a size 14 and on attaching the front yoke pieces to the skirt pieces, they’re the same total width, but the notches on the yoke didn’t line up with the panel seams – they were a good inch or so out. I’m fairly sure it’s not how I’ve cut it out, as everything matches up overall – it was just the notches that threw me.
Anybody else making this up in a 14?
Hi Azzy! Good news – I am a size 14 as well! I just had a look at my pattern pieces and I think I know why you may have had an issue. Were you pinning the two layers together prior to sewing – and if so, did you begin pinning at center front? Start at center front and work your way out. The top edge of your side skirt panels is very much on the bias and a bit curved, so this edge will relax a little. if you pin from the center front, your notches will match and you can ease in the outside part of the seam. Hard to explain here! If you are still scratching your head, be sure to send us an e-mail at info[at]sewaholic[dot]net
Hi Caroline Amanda – thanks for the response. And yay for a size buddy! I think you might be right about it just being the bias of the pieces. I did pin and work from the centre out, but what you’ve said about needing to ease in part of the skirt makes perfect sense. I’ve just done that on the waistband section and it worked well.
When I make a second Gabriola (which I’m already planning!) I’ll do what you’ve suggested – this time I was naughty on those seams and just matched the entire overall length without matching the notches. At least if it hangs funny I’ll know what I did :)
I don’t think it will make a huge difference for the way it hangs – you should be fine! Let me know if you run into any trouble next time :)
I’m having trouble getting the back yoke pieces to align with the skirt pieces at the centre back. Should the edge of the yoke piece only reach to the notch on the skirt piece, or should it reach all the way across? Thanks!