With sewing, there often are many different ways to achieve the same result. Some methods are easier to sew, some methods work better for different fabrics and some methods are simply a matter of personal preference.
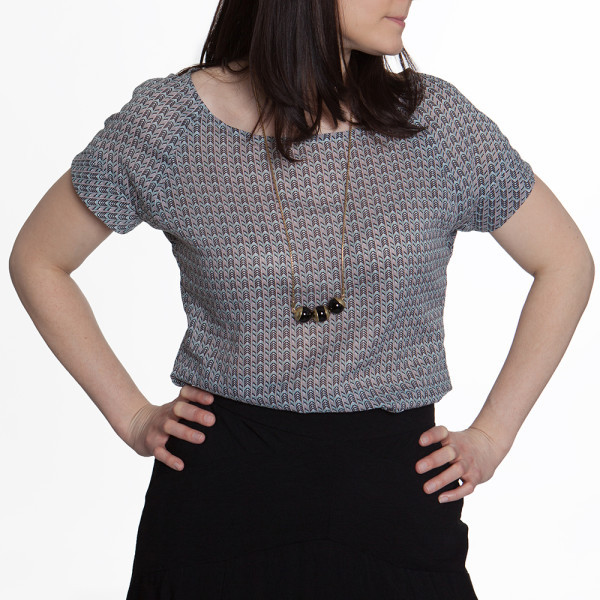
Whenever a pattern goes through testing, I get a ton of feedback from the testers. Some of it results in changing the pattern to make it clearer. The other feedback is about alternatives. ‘I like to sew my binding like this’ or ‘I would have added interfacing.’ These comments are great because they lead to blog posts like this!
I’ve written the Belcarra instructions the way that gives you the best results in my opinion. But there are many alternative construction ideas that you might prefer! I’m cheating and showing similar photos, or photos using different patterns that are close, to give you a starting point if you wanted to get going right away.
Neck Binding:
Leave one shoulder seam open on the sleeve. Sew the binding to the neckline flat, instead of in a loop. Then sew up the shoulder seam to close the neckline. It would be similar to the way the armhole binding is sewn on the Pendrell Blouse – see the full sewing step with photos here.
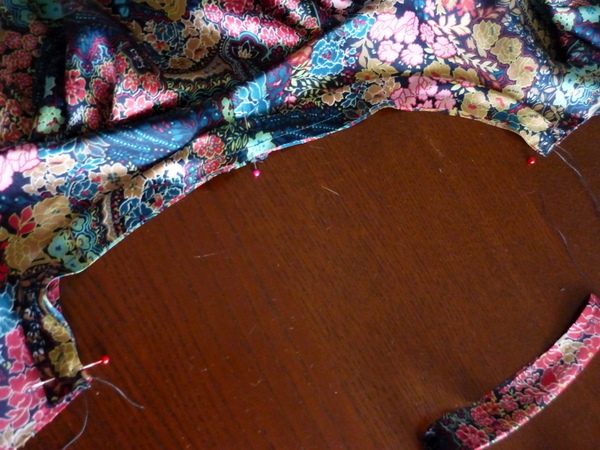
And here is where you could leave the neck opening open, at the left shoulder seam:
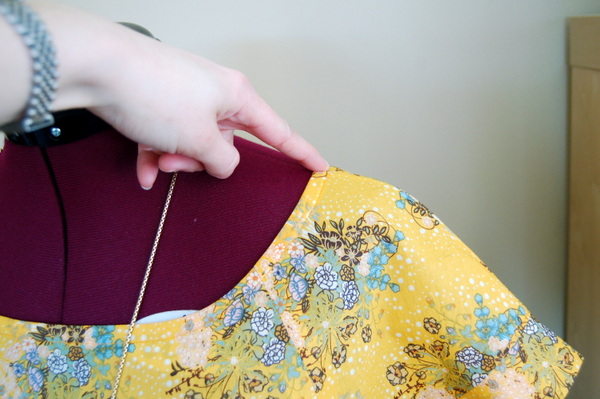
Understitching the Neck Binding:
You might get a flatter neck binding if you understitch the binding first, then sew it a second time with the edgestitching. In this photo I have not, but you can see how an extra row of stitching would flatten the edge along the neckline!
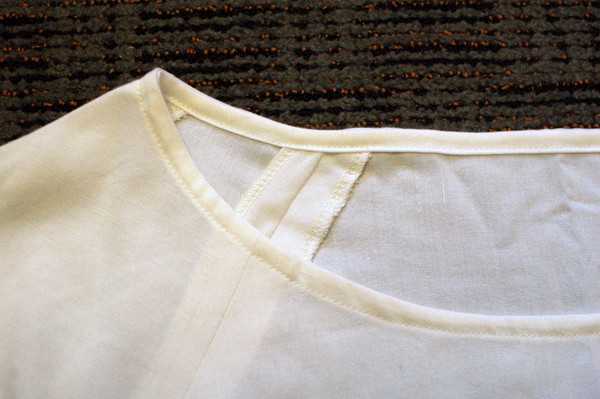
Cuffs:
Leave the side seam and underarm seam open. Leave the cuff seam open as well. Sew the cuff to the sleeve flat, and sew up the underarm seam and the cuff seam as one. You’ll want to tack the seam allowance to one side so it doeesn’t show as much. In this photo, you’d be sewing up that side-armhole seam last of all, after the cuff is attached.
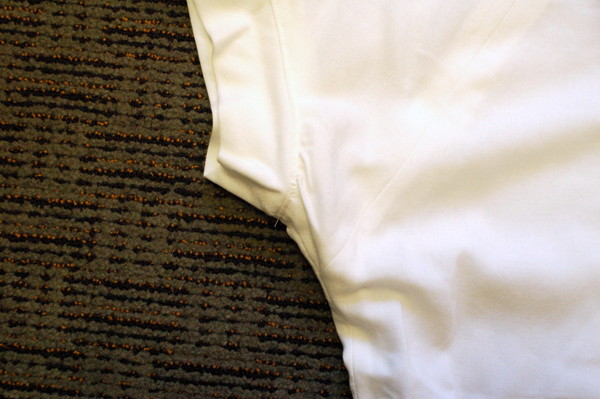
Interfacing the cuffs:
Depending on your fabric, you might want to interface the cuffs. I didn’t want a stiff look to the cuffs, and they’re on the bias so they stretch and move, so I wanted them un-interfaced. You might want a crisper look though for your blouse.
Hem:
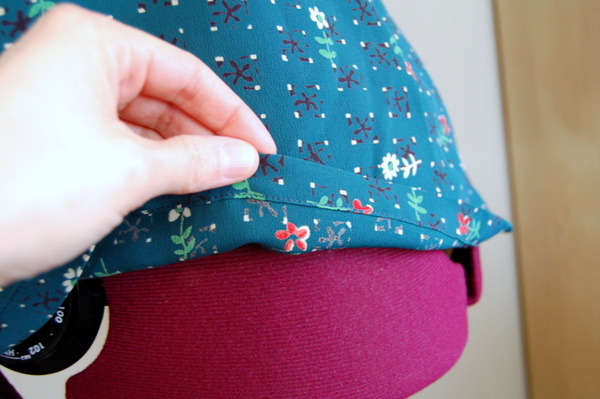
You could also press up the hem 5/8” (1.5 cm), then another 5/8” (1.5cm) to enclose the raw edge. I did this on a version of the blouse I haven’t posted yet, and it works well. It’s especially good for sheer fabric, so the edge of the fabric fills in the hemline. I find this hard to explain but if the raw edge was shorter than the hem, you’d see the ridge of the fabric edge through to the right side.
Hope this gives you some ideas for your Belcarra Blouse!

Thank you Tasia. I have a question if you have a moment. On a woven version I would like french seams. I have a high hip curve, so my side seam has a sharp/tight curve at the top, can a side seam be too curved for a french seam? Can the shoulder seams be french seams?
Sonia,
Have you considered binding the seam allowance with a self fabric bias tape? It would stretch around the curve and would give you the same look as a french seam.
Thanks Molly, maybe this is the blouse to try lots of different fabrics, alterations and finishes out on.
For what it’s worth, Sonia, I’ve made 2 Belcarras both with french seams on every seam and it has worked really well.
Good luck whatever finish you decide one!
Thanks Kirsten, it’s my favourite seam, but I have only used it on a straight seam before. Will give it a go
If you clip the first seam in your french seam and use narrow seam allowances overall, your french seam should be more flexible. That said, I’ve done armholes with regular 1/4″ french seams and they turn out okay (as long as the armhole isn’t too tight)
Thank you Ryan, good to know, sounds more versatile than I thought, and made me think of experimenting a bit more with types of fabric I use aswell
Just finishing up my FBA and then my pattern should be ready to make a quick muslin. I am very excited about this pattern.