Last week I promised to show you how easy it is to add a back vent to the Robson Trench coat. It’s as simple as a small pattern adjustment and an extra step in construction.
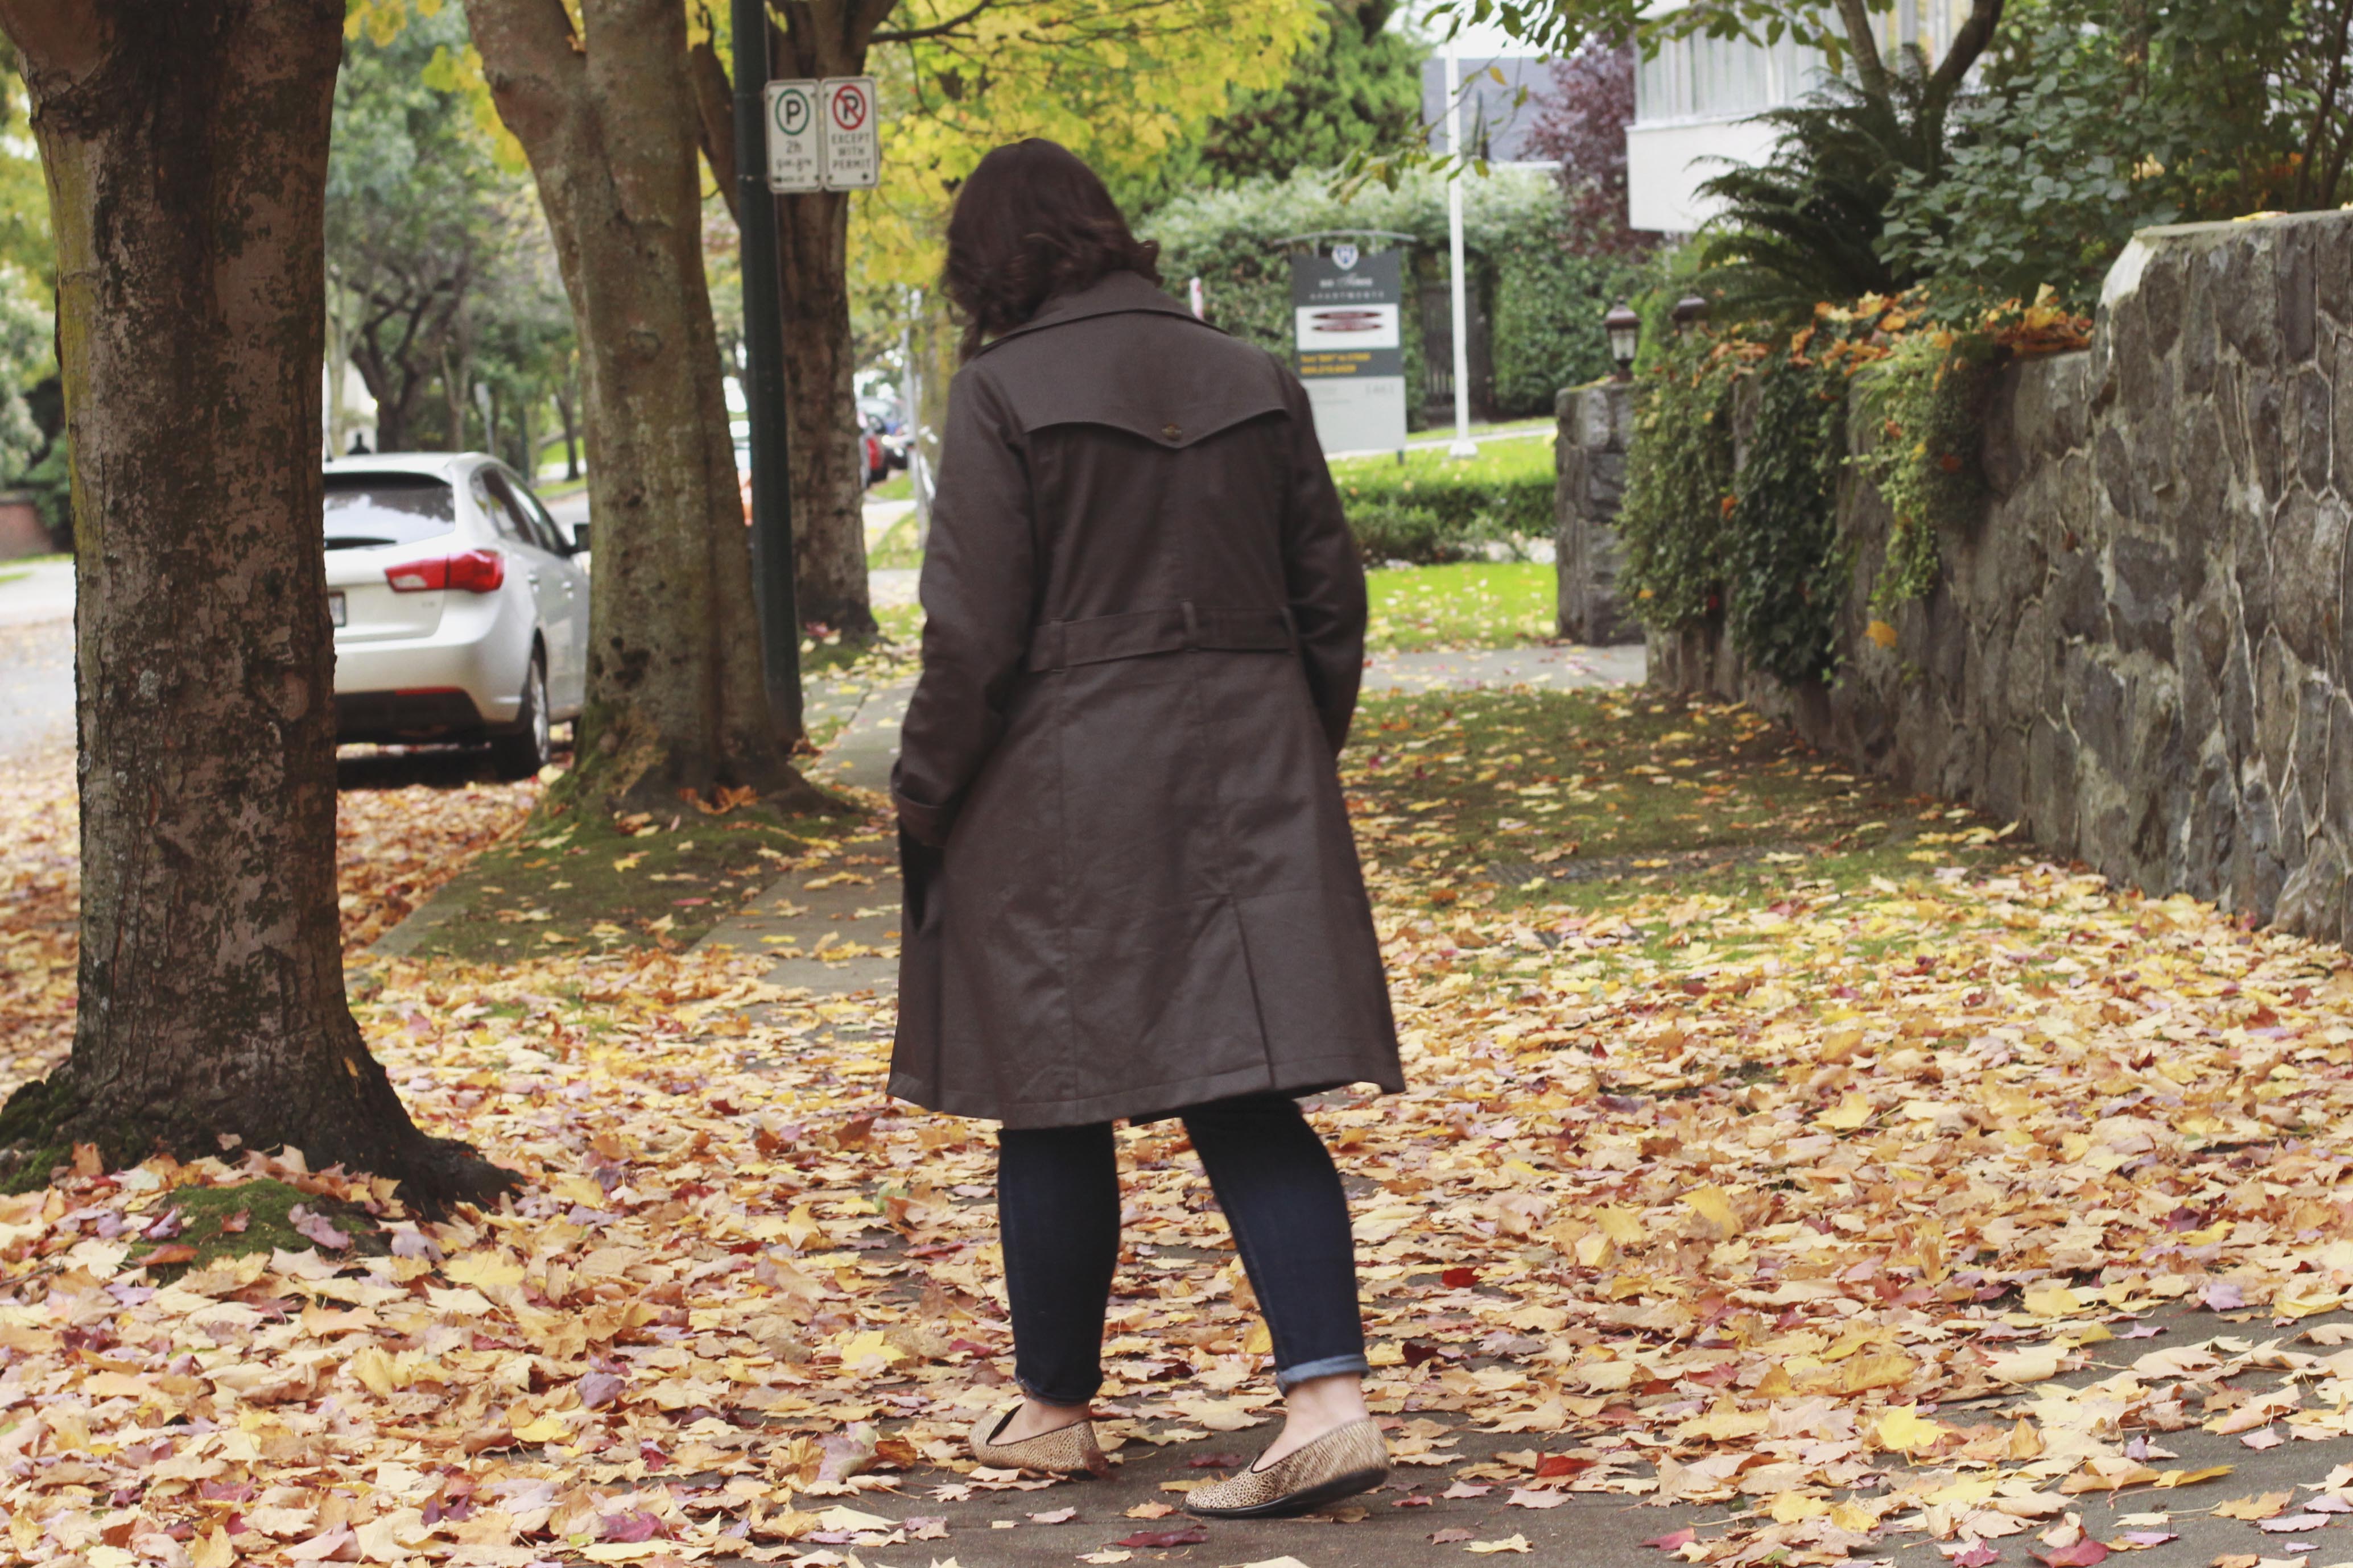 This trench doesn’t need a back vent, there is plenty of room built into the shape of the coat. I just like the tailored look of a back vent in a trench coat, so I wanted to see how easy it was to add one! Here’s how you can draft and sew one for yourself.
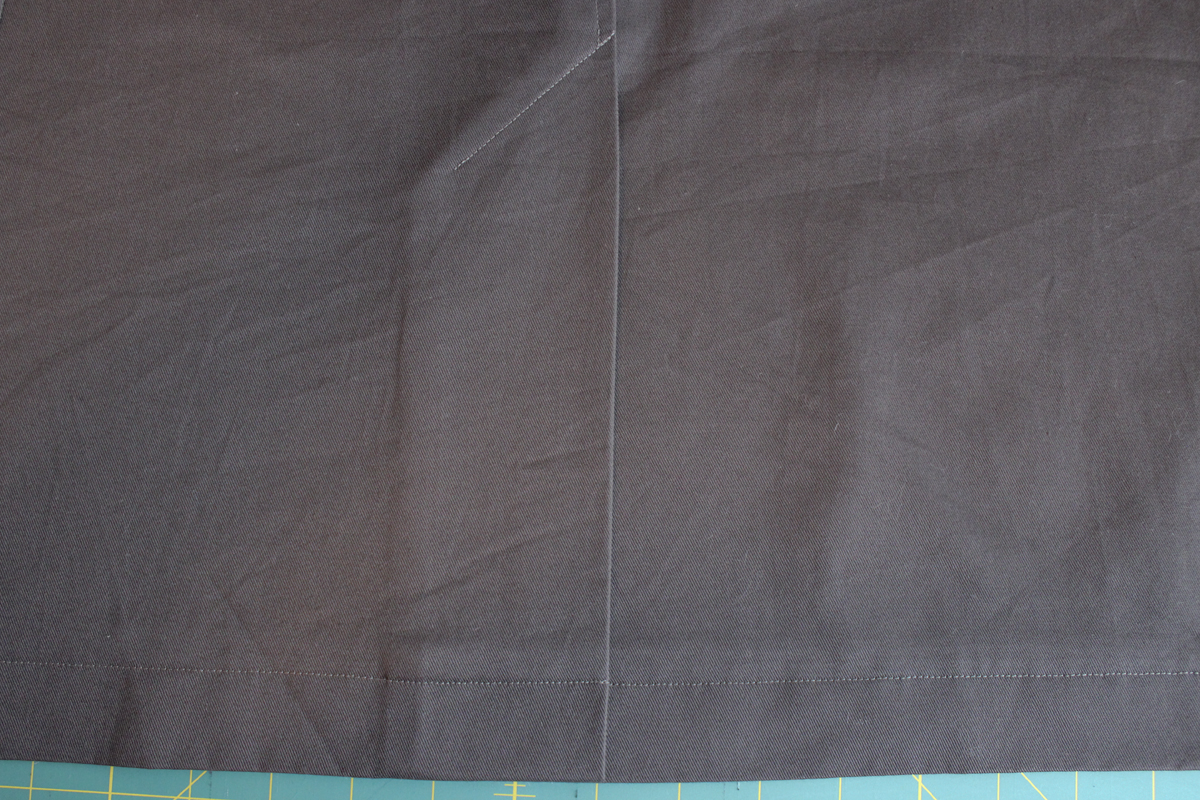
 First we need to add an extension to the back pattern piece. You can see my hacked up pattern piece above. I wanted my vent to be around 10″ (25cm) high, and the hem allowance is 1 ½” (4cm). So I marked 11 ½” (29cm) up from the bottom edge of my pattern piece. Then I drew a perpendicular line 2″ (5cm) out from center back edge of the tissue. Finally I drew a line at a 45 degree angle from my center back marking connecting to my extension line. Voila! It makes a sort of half house shape.
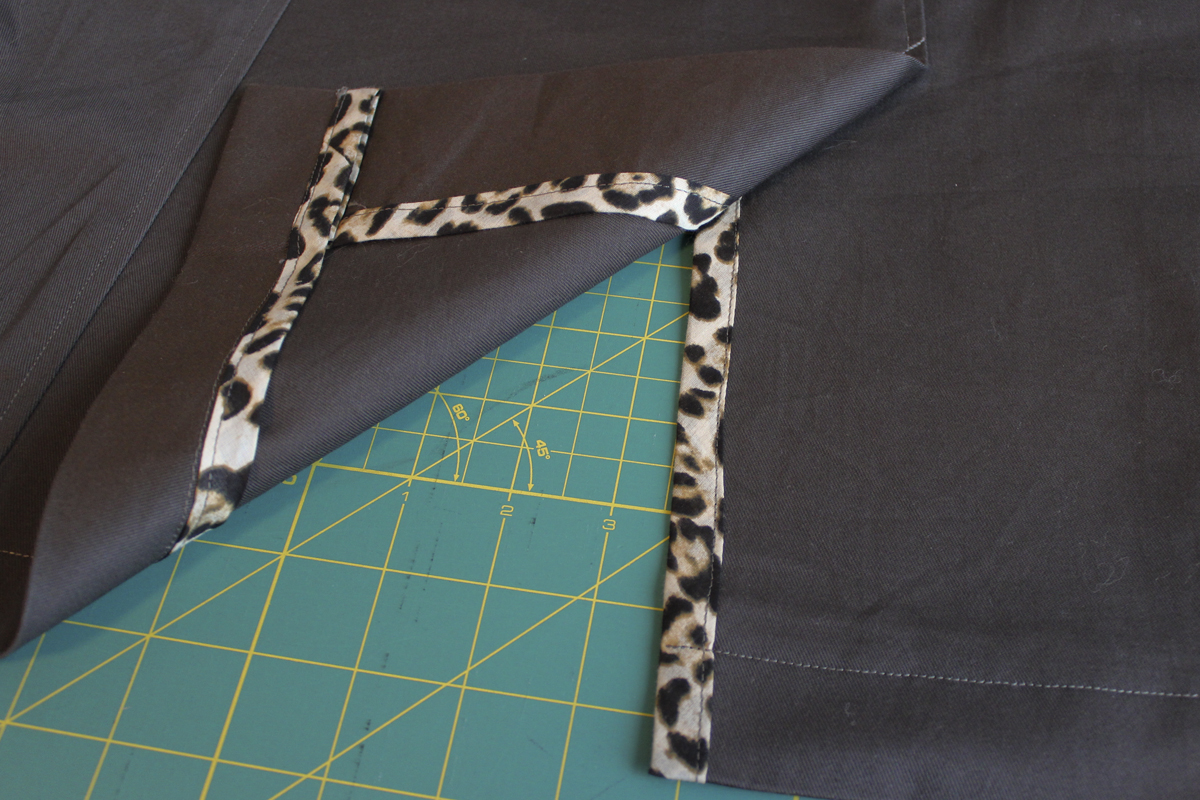
 Before sewing the center back seam, finish the two edges of the vent separately, as shown above on the left. Next you can sew the center back seam, pivoting at the 45″ angle and sewing right up the to edge. Then finish the center back seam allowance together as the pattern instructs. When you get to the edge of the vent, fold under the raw edge of the binding and topstitch to the edge.
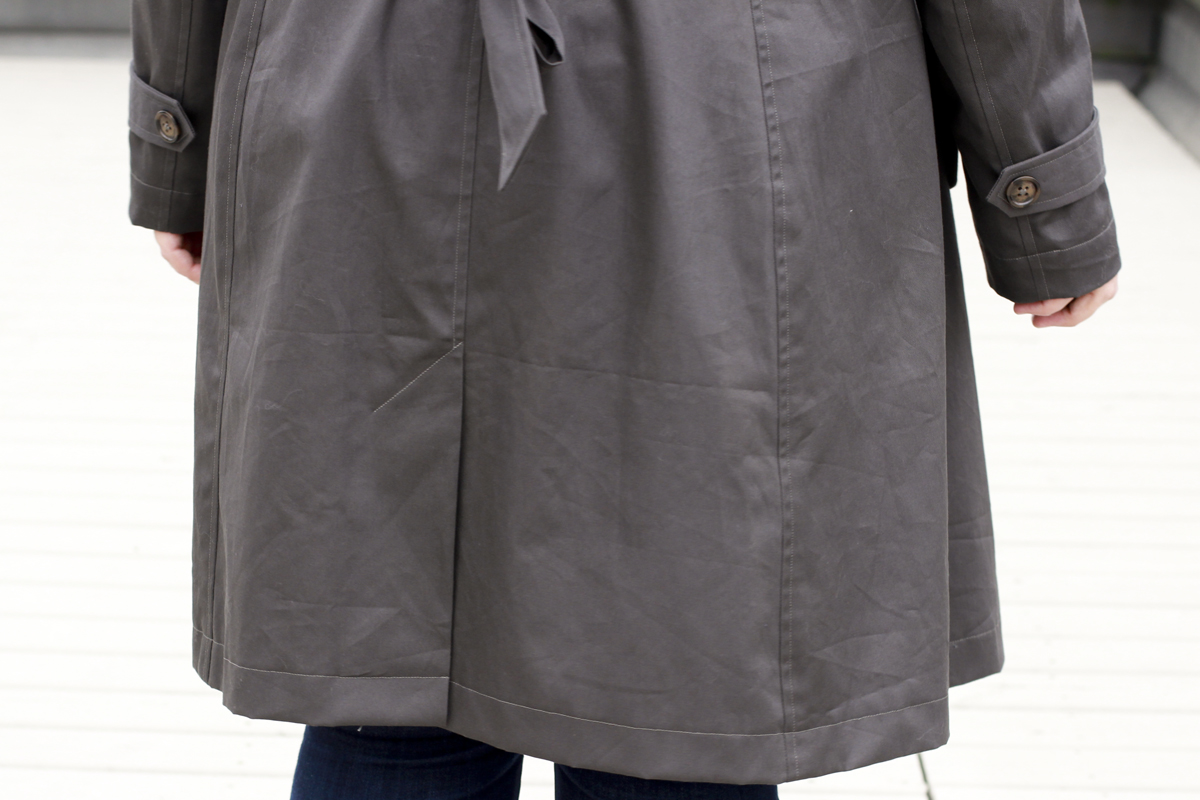
 Next we want to press the vent to the left side, and topstitch it in place at an angle. Then you can topstitch your center back seam as you will with all your other seams, stopping when you meet the vent topstitching.
 When it comes time to hem, just turn up and topstitch all the way to the edge.
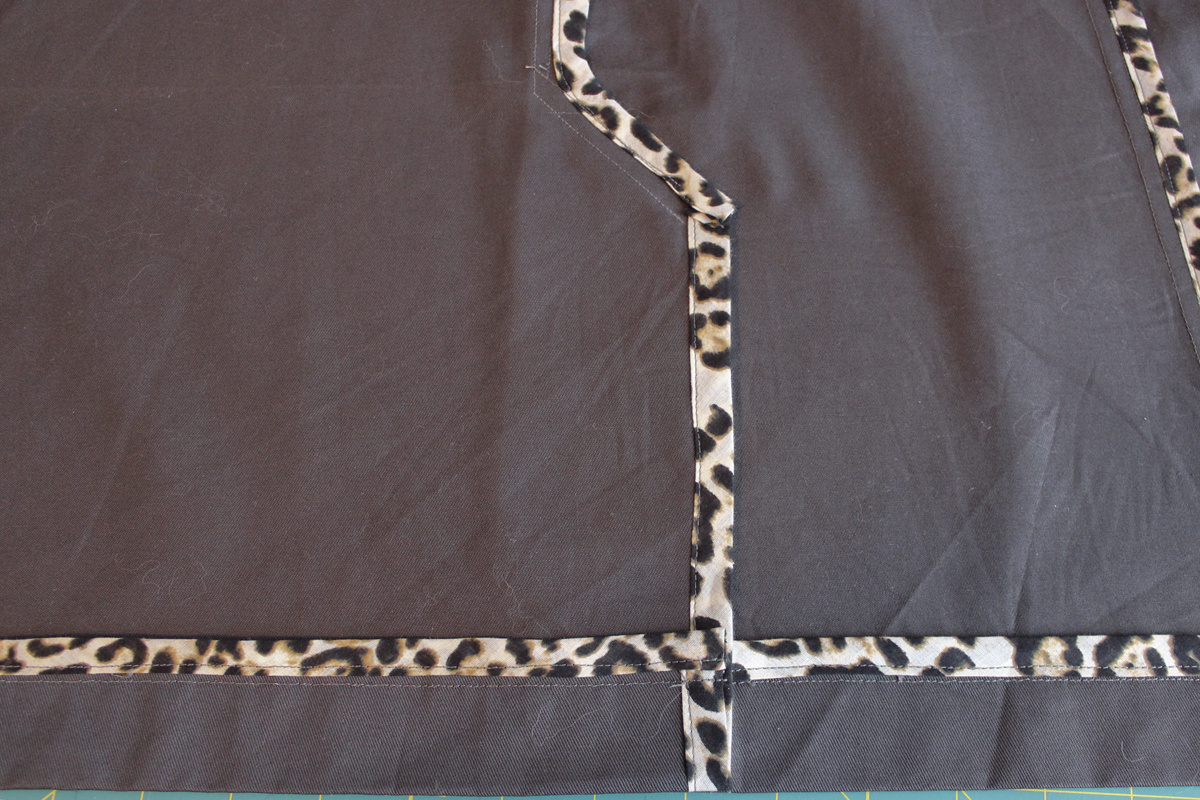 Here is what the inside looks like when all is said and done.
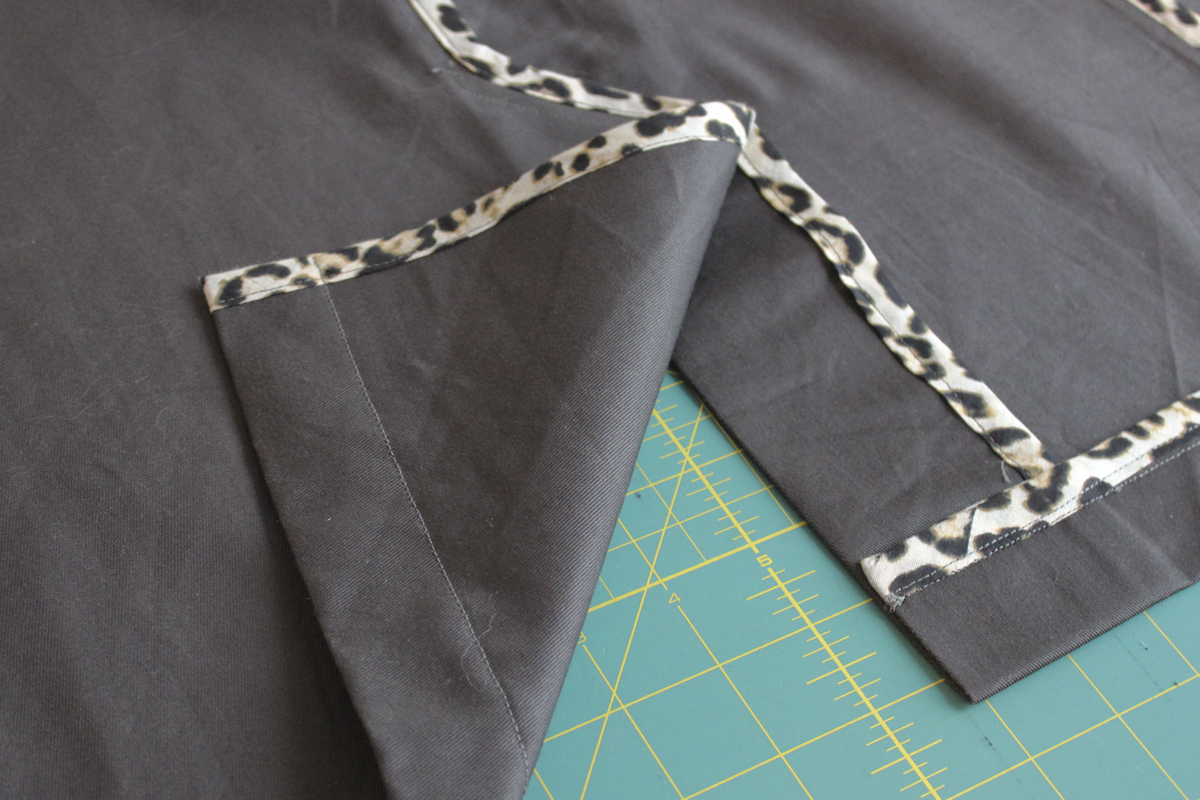 Pretty nice and clean right? I don’t mind that if the vent flies open in the wind, you get a little flash of my animal print binding!
 So there you have it! A super easy modification for the Robson Coat. Has anyone else made a trench coat lately? Share a link in the comments so we can see!
Hi! I just finished making a polka dot Robson Trench coat! The link is here: http://threadcarefully.org/2014/10/28/my-october-minerva-make-sewaholic-robson-coat/
I didn’t add a back vent – it never occurred to me, but I like how it looks on yours :-) Louise.
Your coat is amazing! I love the polka dot fabric. It looks great on you :)
Such a beautiful coat Caroline – love it! And now I’m planning on adding a vent to my own Robson coat (have to find the proper fabric first) – thanks!
Thank you! And no problem :) It’s a great extra detail, I’m happy with the way it turned out!
Beautifully done! Love your coat, wish I could (and I will) sew that good. TFS, Annette
You will! Just takes practice :) You never really stop learning in sewing, I still have tons of sewing skills I could improve on. That’s what I love about it!
I love your contrasting binding! It would make me smile every time I put the coat on.
It does! Thank you Sherri :)