 (Pssst. Need to catch up? Click the link to the left to see all of our Saltspring Sew-Along related posts)
You guys. This is not a drill. We are going to sew our zippers today, and we are going to be successful! There’s nothing I dislike more than jumping the gun and sewing my zip super fast, only to be left under whelmed and unhappy with my quick work. This is the kind of zipper you want to take time on. It’s the kind of zipper you want to sew slowly and methodically. It’s the kind of zipper you’ll be proud of! And I will help you with tons of photos and explanations…. Together we can do this! Okay, that was your pep talk. Let’s tackle the zipper!
First things first! We need to finish our center back edges. I overlocked them!
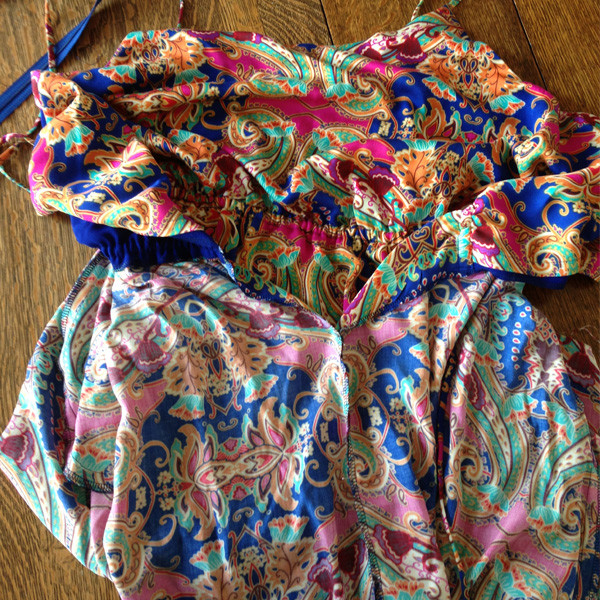
Then we need to sew our center back seam below the circle marking. This marking was on your original pattern piece, so if you haven’t transferred it, you may want to pull that out now and do so! Double check that your zip is the right length for the opening you’re going to leave. You may need to tweak things a bit.
Press this seam open. Super easy. Yay!
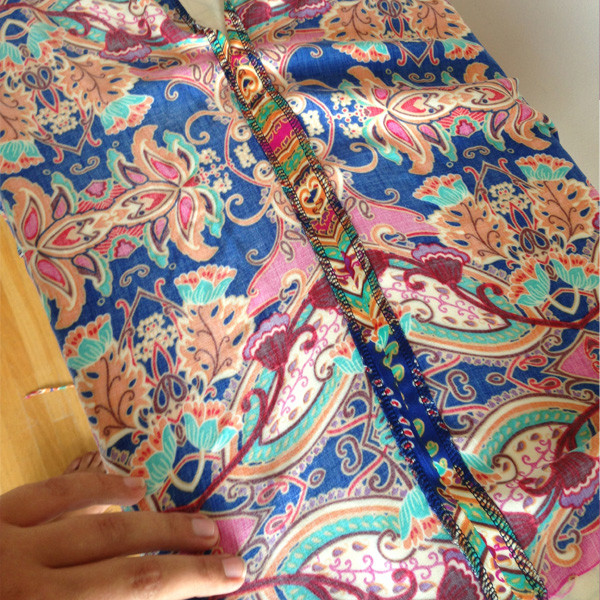
Continue to press the center back edge under 5/8” (1.5cm). Once we get above the elastic, we’ll only be pressing the lining under. Pin, pin, pin as you go!
Now we have a lovely clean edge to pin our zipper to.
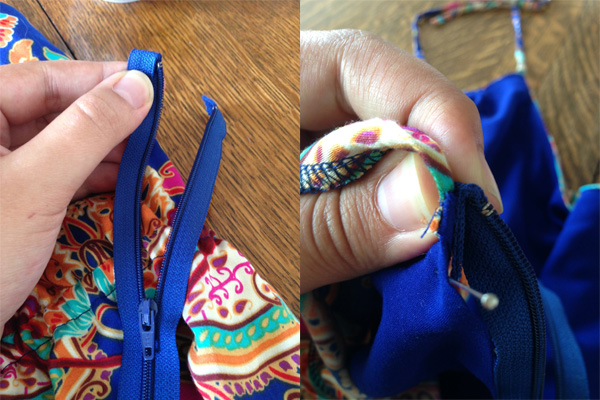
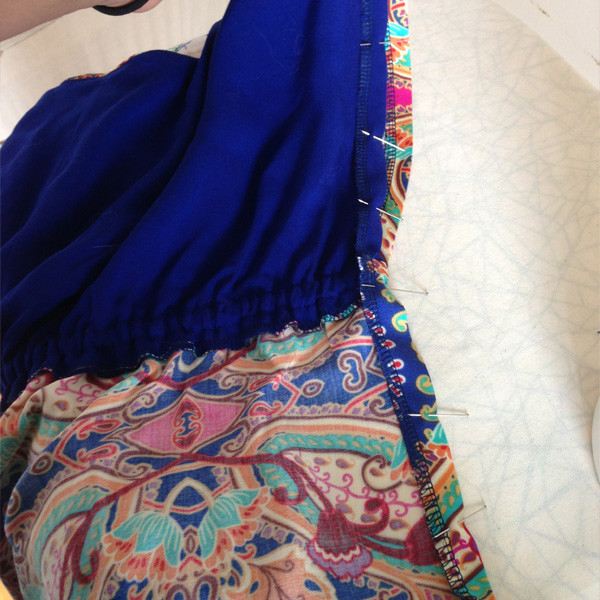
Start at the top with your zipper. The right side of your center back of your dress should be facing you. The right side of your zipper should also be facing you. Take the top left portion of your zipper tape and fold it towards you. Then pin this to the top left of your center back opening. This way your zipper tape will be nicely tucked in there.

I like to continue to work my way down, repining as I go, catching the zipper with my pins.
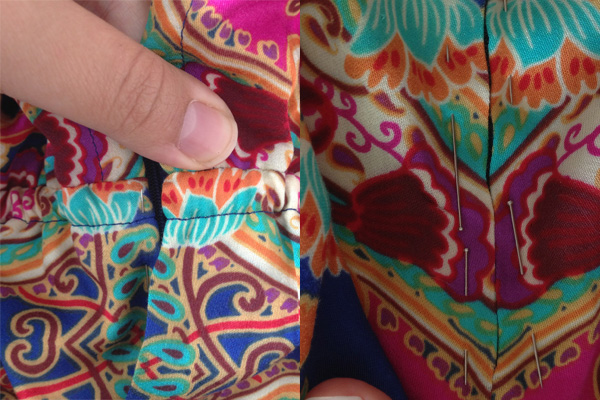
When I get to the waist, let’s zip our zippers up, and pin our waist down on both sides. This ensures that things will line up nicely at the waist! Continue all the way around, using as many pins as you need to keep things in place. Remember to tuck the top of your zipper tape under on the right side as well. If your fabric is delicate, go with some nice light silk pins.
Now maybe I’m a fraidy cat, but I totally suggest basting your zipper in place. It takes about 10 minutes, and it is so worth it. Try it and you’ll see! You won’t have to struggle with pins and zipper feet and stopping and starting to sew. You can just cruise through and not worry about anything moving around. I like to base a little bit on the inside of where my stitching will go. Since our zipper will be top stitched at around 3/8” (1cm) from the edge, I basted my zipper at 1/4” (6mm) from the edge.
Look at how lovely and clean that looks. I used a contrasting thread to it will be easy to spot and pull out later.
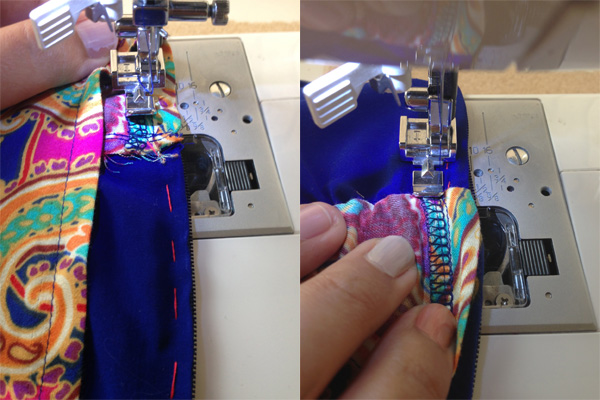
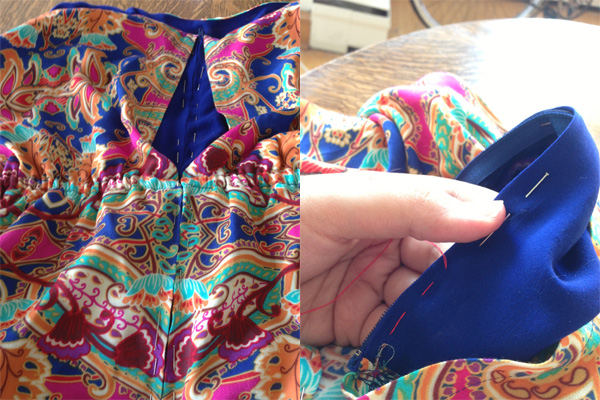
Okay, time to grab our zipper foots, this is the real deal. Ready? Okay. We want to pull our outer layer of the bodice up and out of the way, so we start sewing only along the lining at 3/8” (1cm) from the edge. Continue to sew this straight line until you reach your waist seam (where the elastic is). Backstitch and stop sewing there.
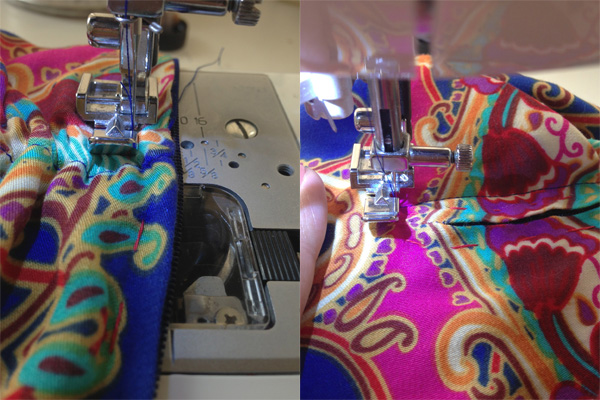
Let’s pull our two bodice layers out of the way. Now we’re starting at the waist. We want to start stitching across the elastic and continue down, still sewing at 3/8” (1cm) as above. Once we get near the bottom of the zip, let’s zip our zipper up to be sure the zipper pull is out of our way. To do this without making my stitching wonky, I plunge my needle down and leave it in the fabric, lift my foot out of the way, zip my zipper, and then lower my foot. The needle staying in the fabric means that nothing will move.
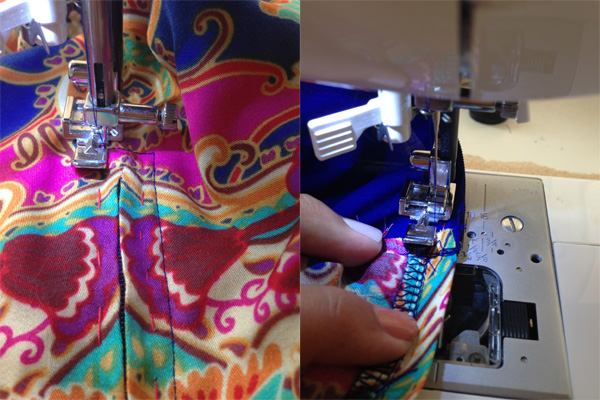
Let’s pivot around the end of the zip, and now we’ll continue up! Same deal when you reach the waist; backstitch, stop sewing, then open up your bodice layers and start sewing again just through your bodice lining. At the top, finish off with a nice sturdy backstitch… and we’re done!
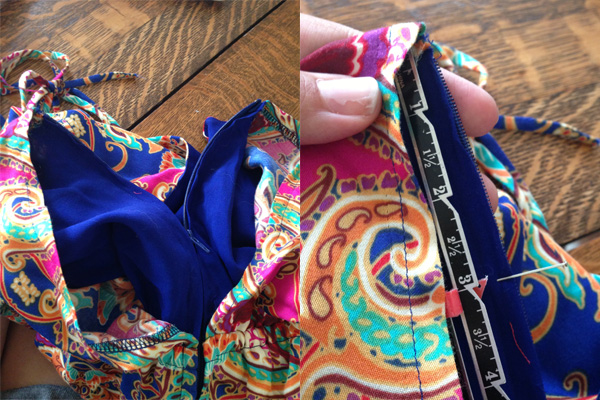
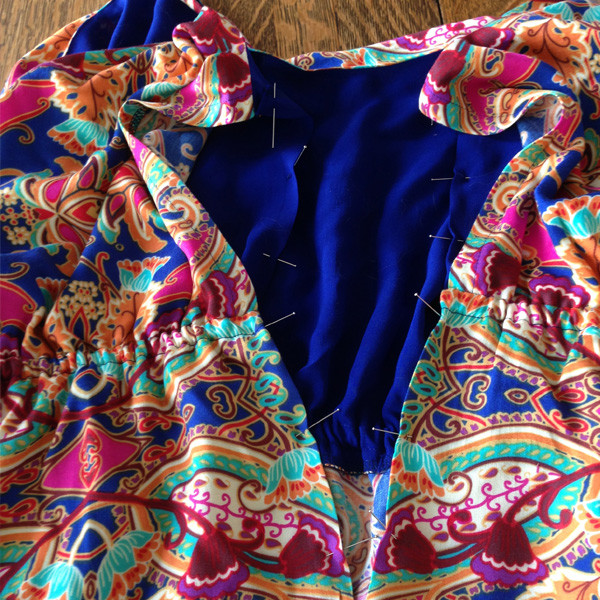
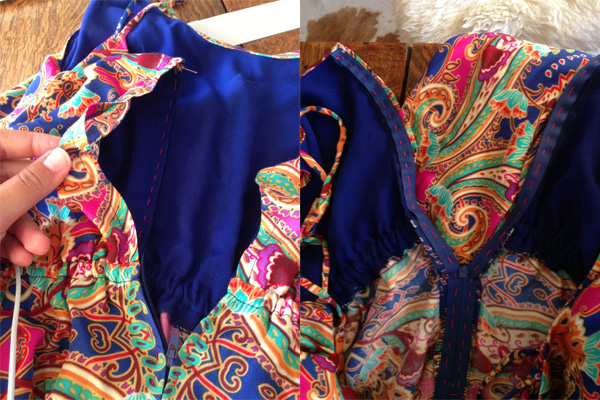
But wait…. Maybe not quite! We have these two bodice layers hanging all loosy-goosy (did I just say that?), and we can see our lining plain as day. We want to sew down our top layer so that the center back of our dress is nice and flat. After all, the blousing is going to happen near the waist, and we want the top of our dress to be smooth and crisp.

Which brings me to the last step! Pin down your top layer about three inches down. Sew down along the same stitch line that is already there, trying to line things up exactly so that it looks as invisible as possible. Now we’re really finished our zipper!
That wasn’t too bad was it?
We are getting so close to the end of this! If you want to get ahead, now would be a great time to hang your dress up and let it settle at least overnight before hemming. Your edges might grow at the side seam and need some trimming. Fabric is weird like that!
We’ll go over hemming next. But now it’s time to celebrate with a strong tea or dare I say a fruity drink! Happy sewing everyone!
Thanks Amanda for such a clear tute…can’t wait to get home to finish Saltspring and start my fall Minoru…My fine knit fabric certainly contributed to my first failed zipper attempt,but mostly I think I got a little anxious…most of my zippers are basted first if not all, so I am with you on that. I will stabilize the seam allowance with fine seam tape…I tested both straight and bias and am going with straight, I think.
Hi Linda! I agree, I think a straight seam tape would work best for this zipper. Just to be totally sure everything will be stable. A bias seam tape works great for some uses, but I think it might be too stretchy in this case. Good luck!
Hey Caroline!! Thanks so much for the clear instructions! I was planning on using Tasia’s tutorial on a hand-picked zipper – will I still follow the same path as you (lining and skirt pieces, then bodice pieces last)?? Thanks so much for all your help!! :)
Hi Amanda! Yes, if I was hand picking the zipper, I would follow the same steps as machine stitching the zipper. Let us know how you make out! I’m sure it will be lovely.
Thanks so much! I’ll definitely post some in-progress pics when I get to the point of putting in the zipper (hopefully very soon!). Thanks so much for your response!
Thank you so much! So much has been going wrong on this dress that I’ve been dreading this day. Howeve, this ended up being my best zipper yet! The hardest part was getting the basting thread out. :) Thanks for the confidence booster!