 Hello everyone! We’re making great progress on our Saltspring dresses. About halfway there! If you need to catch up, you can view all of our Saltspring sew-along posts by clicking the pink badge to the left.
Today is going to be short and sweet! We’ll be sewing our pockets and side seams. I always love a dress with pockets. When I’m wearing a day dress, I often subconsciously reach to my hips searching for pockets, even if they are not there. So I’ve noted to myself that I should try to include them whenever possible when I’m sewing a dress. That’s part of the beauty of sewing for ourselves isn’t it? We can add and remove where we want, and make an item of clothing that suits our needs exactly.
Okay, let’s get started! For those of you who would like to line your skirt, feel free to hold off on your progress for now, soon I’ll share some tips for underlining or lining your skirt, and I’ll share a quicker “cheat” method I used to line my red Saltspring dress.
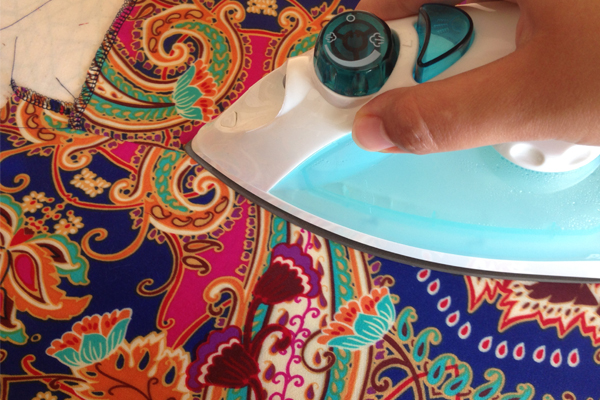
It’s time to go ahead and finish some edges. The most popular methods for finishing edges are: overlock/serger, regular machine zig zag, or pinking. Christine Haynes did a lovely seam finish series for Craftsy, some great tips can be found here and here.
We need to finish the edges of our pocket pieces, and the side seams of our skirt front, and skirt back pieces.
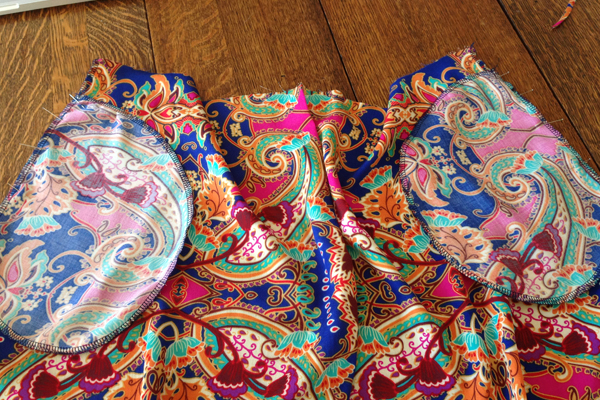
Now let’s pin our pocket pieces to our skirt, right sides together, lining up the notches at the side seam. Keep in mind our side seams are cut slightly on the bias. It’s normal for them to stretch or grow a little bit after cutting. When you match up your notches, you may notice your skirt pieces have more fabric between the notches than your pocket pieces. This just means you’ll have to ease in your skirt pieces while sewing. If you use lots of pins and sew slowly, smoothing out your pieces as you sew, it should ease in nicely.
I like to take the time to check my pieces side by side to be sure the pockets are pinned in the same spot. We don’t want to have to unpick and redo this step if we realize later that the pieces are a few millimeters off.
Now let’s sew these pocket pieces to the skirt front and back, at a 1/2” (1.25cm) seam allowance. The reason we do this is to try to make the inseam pockets as invisible as possible. Once we sew up our side seams at the usual 5/8” (1.5cm) seam allowance, our pocket bag and understitching will be tucked into the side seam just a tiny bit.
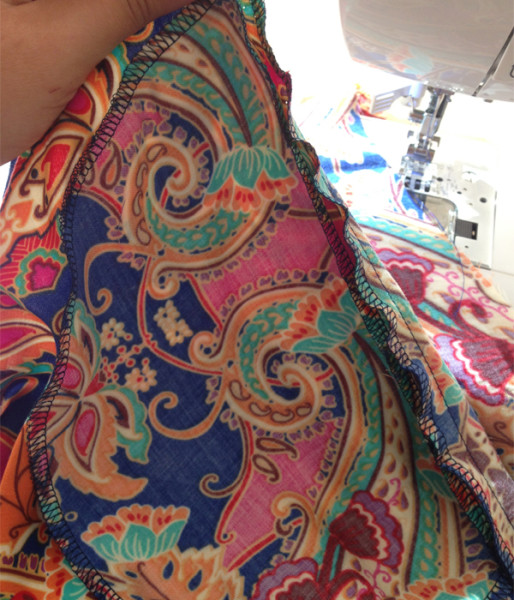
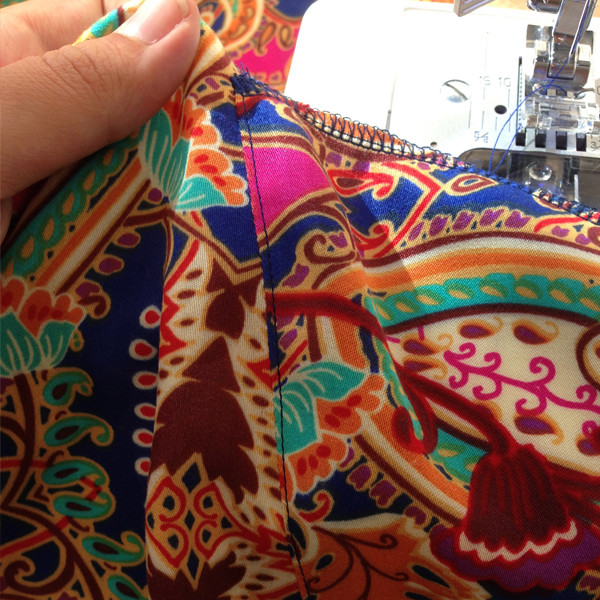
Here I just wanted to show you how my skirt piece was eased in (you can tell because the skirt side seam edge is a bit wavy). There are no puckers or pleats in my seam. A little iron/press will shrink that edge up.
Time to press that seam open! If at all possible, for example on a straight seam, I like to press before understitching. Push all seam allowance towards the outside (pockets) and press the seam nice and flat. You could also just press after understitching. Doesn’t really make a difference, it’s a question of personal preference in this case.
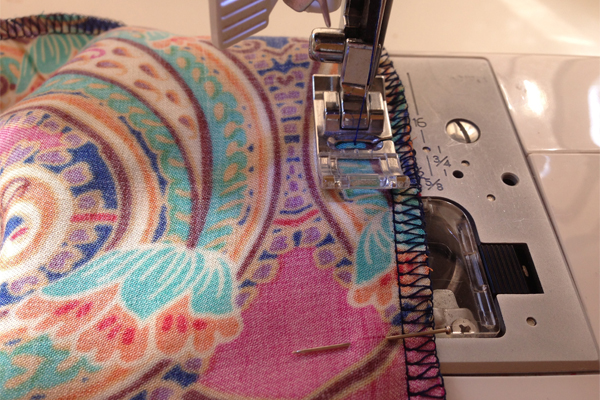
Next we’ll understitch along the pocket piece, about 1/8” (3mm) from the seamline. Be sure to keep your seam allowance to the right side so that you are catching your seam allowance with your understitch. We’re not going to trim any seam allowance before or after understitching this time around. Our fabric is light, so the little bit of added bulk won’t matter. We want our skirt seams to be secure and clean, and not fray from trimmed raw edges.
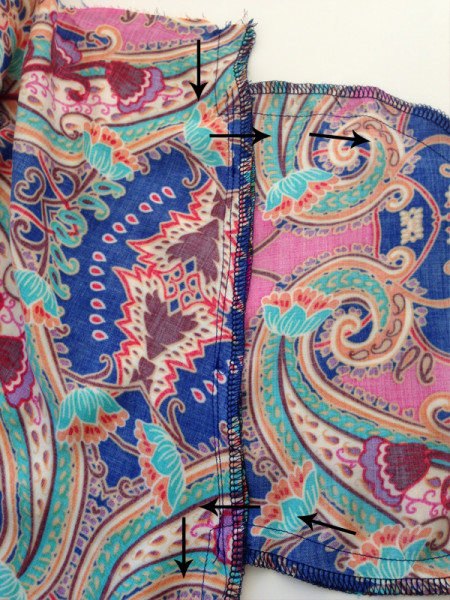
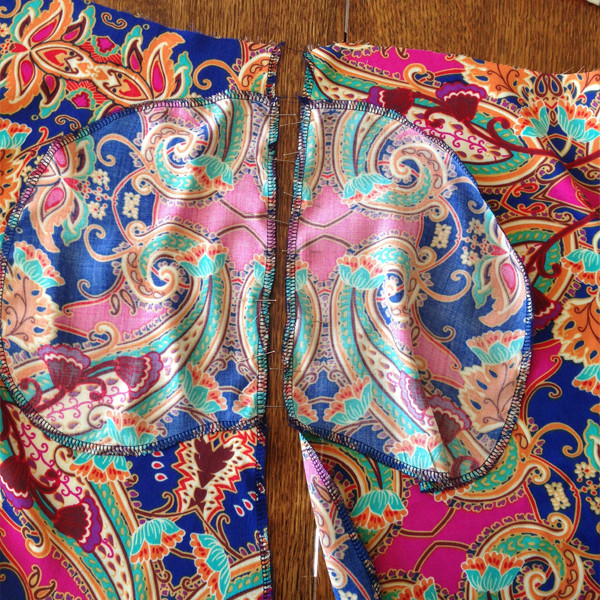
Last step! We’ll now sew our side seams at our usual 5/8” (1.5cm) seam allowance, pivoting around pockets (following the direction of the arrows shown). Once that’s done, we can press our seam allowances, and in turn our pocket bags, towards center front.
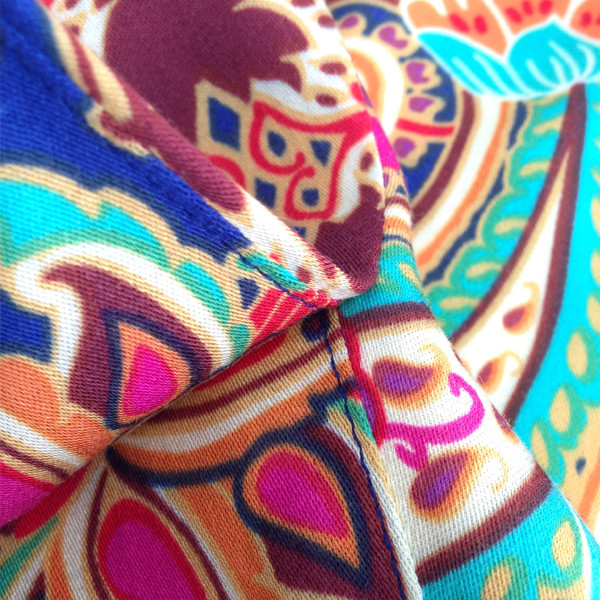
Here’s a quick shot of how clean and tucked in our pocket back and understitching is! This is especially handy if we decide to use a contrasting lining for the pocket pieces.
And there you have it, our skirt is all ready to attach to our bodice! Next up I’ll share skirt lining tips, and then we’ll continue the sew-along!
Great tutorial, Amanda…I did jump ahead to the zipper in my fine rib single knit dress and promptly removed it…..bad, bad…I am hoping for insights for next installation..perhaps I should use a lightweight fusible stay in seam allowance. I always have two projects in progress so I am working on the other until it is” zippertime”.
Hi Linda! If your knit is not stable enough, then it might not do well with the zipper. I think you’re right, the best solution is probably to use use strips of lightweight knit interfacing along the CB where your zipper will be attached. This should give it enough stability and give you an easier time with the sewing of the zip. Hope this helps!
You have me intrigued about the lining. Think I will wait!
By participating in the sew-along I will finish the dress. I want to move ahead but am not. Waiting for tomorrow’s set of directions. Making this dress for my 22 year old daughter
Caroline, I have to say, I really love your cheerful voice on this blog! I mean, I love Tasia dearly so it’s really nice to have 2 lovely bloggers to hear from here! Your posts have been informative, lighthearted, I love all your little asides – just wanted to pop by and give you some appreciation on that front :-). Keep it up!
Thanks so much Jessica! I so appreciate your support :) I’ve really enjoyed blogging on Sewaholic and am looking forward to sharing all of the projects and tips I have swimming in my head (and on my sewing table!).
I like to make my pockets a tiny bit deeper, by sewing/rounding up the curve at the bottom of the pocket up an inch or so where the pocket bottom meets the side seam. After a few tries and making the pocket to small to get my hand into, I got smart and lengthened the pocket. I found if you go straight across at the pocket base, things fall out too easily. Do often need to put a tack at the seam where they meet to strengthen the seam, cause you can carry more (read heavier) things!