 We’re going to see our bodice take shape in today’s post! This is around the time when I get really excited to see the top half of my dress come together, so let’s get to it.
A quick note: Remember when we first staystitched the top edges of our individual bodice and bodice lining pieces? Well you might find that now that you’ve sewn your lining and bodice together, some of your staystitches are peeking through on the right side of your bodice. This happened to me in a couple of places, so I just went ahead and pulled out my staystitches to clean things up. Feel free to do the same! Since our layers are attached now, there’s no need for it anymore.

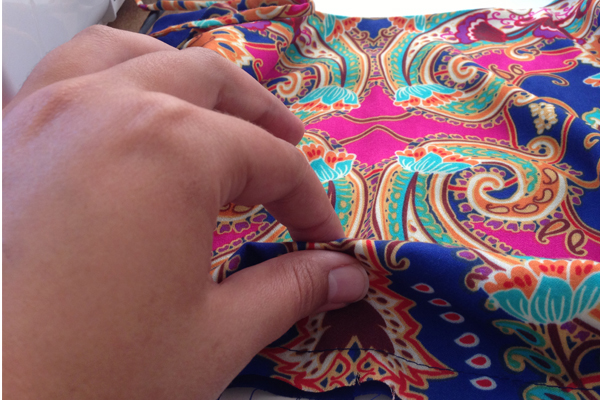
Before understitching our bodice, we want to clip our curves. This is so that the edges lie flat and there is no seam allowance bulk along the top of our bodice. In this photo you can see that since our curves are concave, we’re going to trim triangles out of our seam allowance. Try to clip close to your stitching, but not too close! We don’t want to accidentally snip our stitches. Since I am working with a rayon fabric and I know it tends to fray, I am not clipping right up to the stitching, I’m giving a little extra room.
In the instructions, we suggest to also trim the seam allowances at this point. Again, since I noticed my fabric can fray, I am going to opt to trim my seam allowance after I’ve understitched. You can go with whichever order you prefer. Either understitch then trim seam allowance, or trim seam allowance then understitch. If you decide to trim now, go ahead and trim down to about 3/8” seam allowance.
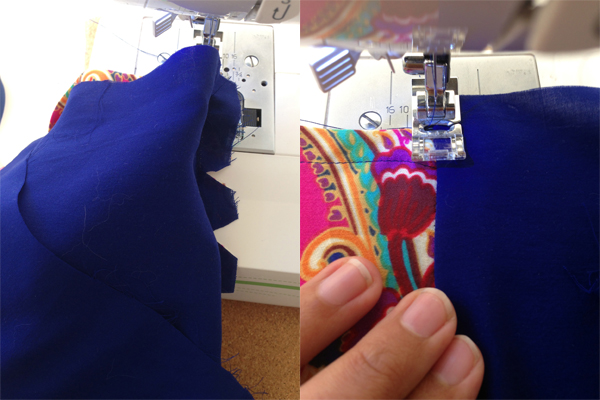
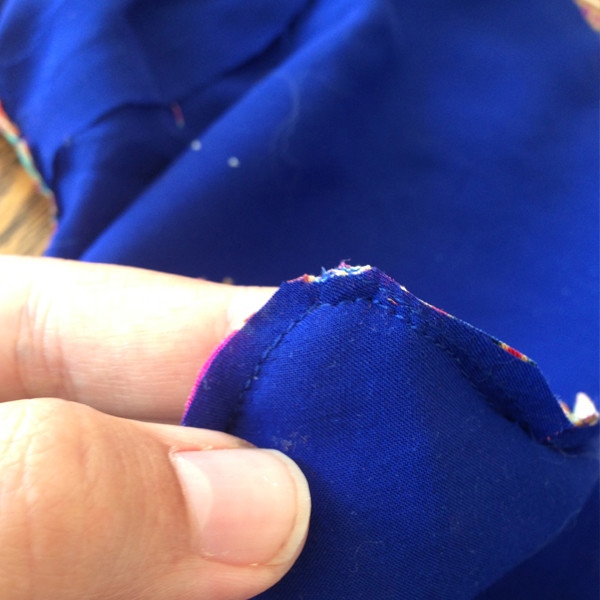
Now time to understitch. This will ensure that the top of our bodice lies flat, and that the lining doesn’t creep out and show from the outside when we wear our dresses. Let’s open up our bodice so that the wrong side is down, and the right side is facing up. Beginning at center back, we want to stitch along the lining edge, catching the seam allowances underneath as we go. You can see in the left photo above, I am pushing my seam allowances towards the right side. We want to stitch about 1/8” (3mm) from the seamline.
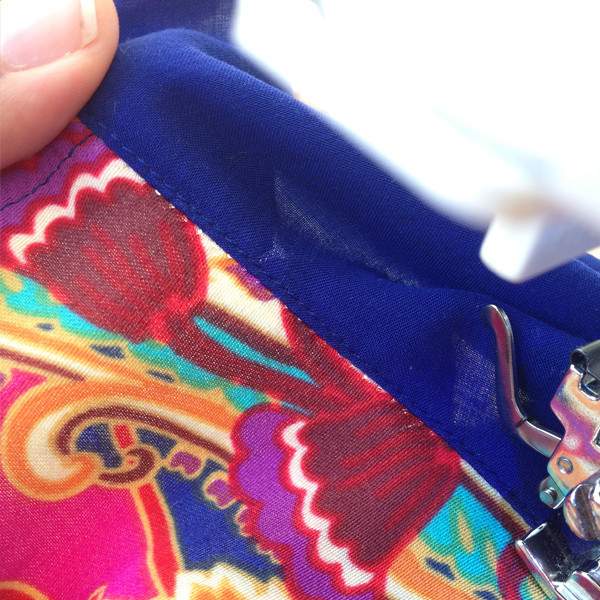
Here’s a photo of how this should look. Be sure that you are holding the seam nice and flat as you sew.

We want to understitch as far as we can get to the strap. I usually end up being able to get within about an inch, but don’t stress out if you can’t get that close. We want our stitching to be clean and even, that’s the most important thing. In the photo above you can see where I stopped understitching. Start again on the other side of the strap. Continue all along the top edge until you end up at the center back again.
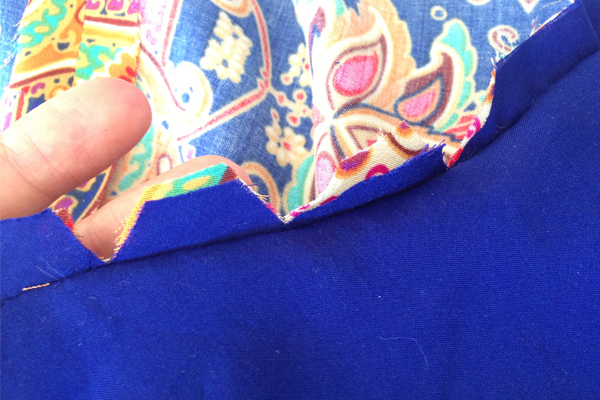
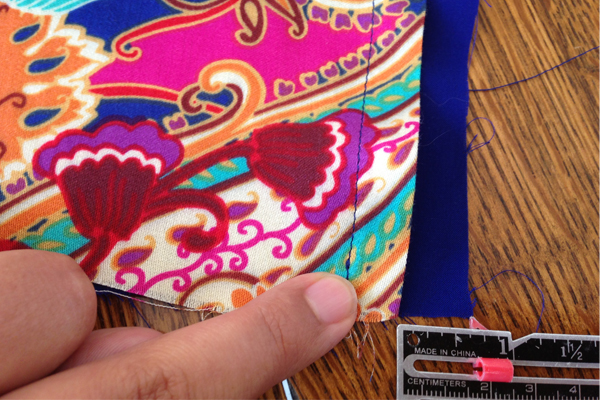
Since I waited to trim my seam allowance, I’ll do that now.
There we go! Looks nice and clean now, and we can still see our little triangles.
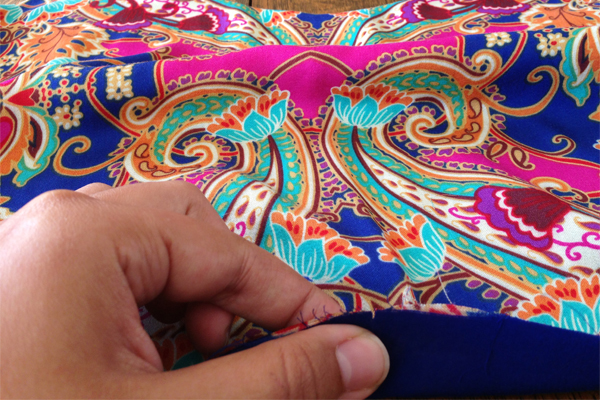
We also want to trim nice and close around the strap so that there is not much bulk in that little area when we turn it all right side out again.

Now let’s turn our bodice right side out. You can pull on the straps a bit to help that area come out nice and flat.

Next we need to iron the top edge of our bodice. See how lovely and professional that looks? Now our lining will never peek out, our and top edges are nice and pressed.
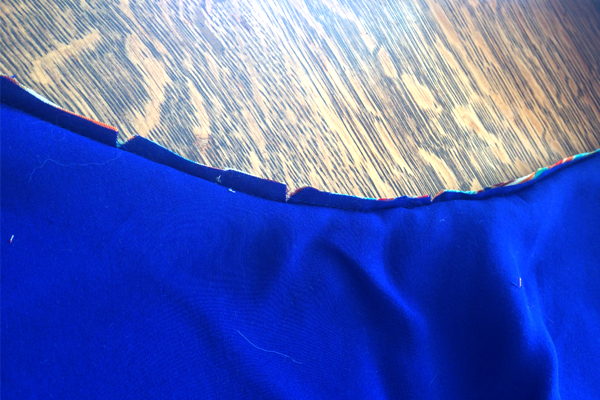
Last step of the day! Let’s baste our bodice waistline. We’ll get to see our beautiful blousing effect soon. I started by lining up the raw edges at the waist, matching the center front notch of our bodice and bodice lining. Pin along the waistline, keeping our raw edges lined up.
When we get to the center back, our bodice lining should extend 5/8” (1.5cm). Now machine baste with a long stitch along the waistline.
Super easy! And see how now we can see that the top layer creates a sort of bubble, since our bodice lining is shorter than our bodice.
Happy sewing!
https://createquiltsew.wordpress.com/
Thanks Caroline! My bodice is done. Went with the wide strap. Cant wait til Wednesday.
Awesome! I’m so pleased with my wide straps, I’m sure you will be too. Happy sewing!
Caroline, thank you for all the step by step instructions. I went with a braided straps. All I have left to do is baste the bodice to the bodice lining. I will do that tomorrow night. Thanks for breaking this process down into little steps that can be accomplished at night after a busy day at the office.
Thanks Marie! I do so much of my sewing in the evenings after a work day, so I can definitely relate to the need for small steps. I’m so glad you’re enjoying the sew-along! All the best!
Thanks so much for the sewalong! I picked a beautiful but difficult fabric. Things are slipping and fraying all over the place. If it weren’t for the sewalong I’d be tempted to quit or at least move slower. This wouldn’t be a great dress for December!
Megan, I’ve had trouble with slippery fabric too. I sew slippery fabrics with plain white paper under the fabric so I can better control it. I know that not everyone recommends this but it works for me!
I’ll be caught up by Thurdsday ( I tend to work in one long stint rather than short stints), I have a quick question: My fabric is very thing and I originally planned to interline the skirt but maybe it would be better to just line the skirt? What do you think?
Hi Nothy, both interlining and lining the skirt could both work! It’s really up to you, they are both great option. If you’d like, you can hold off until I cover this subject in an upcoming post!
Okay I will wait then. The fabric is very sheer so I am thinking that to hide the seams (I hate when they show through) I should interline it, but then I don;t want to change the feel of the dress either…
Hi again Nothy! Just a quick note about interlining. If your fabric is sheer, I do agree that you should probably go with interlining your pieces in this case! Choose a fabric that is not too heavy and has a similar drape, and it shouldn’t change the feel of the dress! Best of luck :)
Hi! I was wondering if you have any suggestions on the best way to finish the bodice if you are not using a lining? As my fabric is substantial enough not to require a lining, and I am doing the no-blousing, no-zipper version, I opted not to do a bodice lining but now am wondering how to get a nice clean finish. I was thinking of attaching the straps as per the instructions, then serging the edge, pressing under and catch-stitching the seam allowance to the inside – do you think that would work?