Hey, everyone! Today I’m back to demonstrating sewing the Renfrew Top, working on the collar of View C next. I’m excited to add this demo to the library as it will answer a lot of questions!
Here’s where we left off, if you’re just catching up – Sewing and Stabilizing the Shoulder Seams. (Get the pattern here.)
Next, we’ll construct the collar and sew it to the neckline of our top. We’ll finish the seam allowances, and then secure the seam allowances to the neckline with zigzag (or other stretchy) stitching.
Remember, you’ll need two pieces of the collar. The collar or cowl is self-lined, which means that it’s double-layered, sewn together at the edge where there would normally be a hem if it was a single layer.
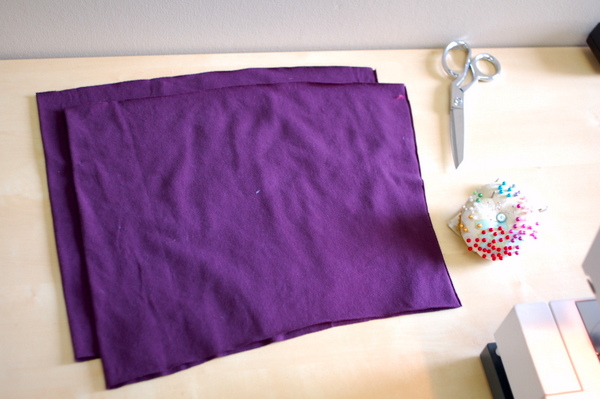
There are two good reasons to do it this way: one, your cowl collar will be twice as warm and two, it’s easier to sew a seam than to sew a nice-looking stretchy hem.
If you have less fabric, or didn’t want to have a double-layered cowl, simply cut one collar piece. Instead of following the sewing directions, sew the centre back seam of the cowl and then hem the edge. (If you have tips on how to get a nice-looking hemmed cowl, let us know!)
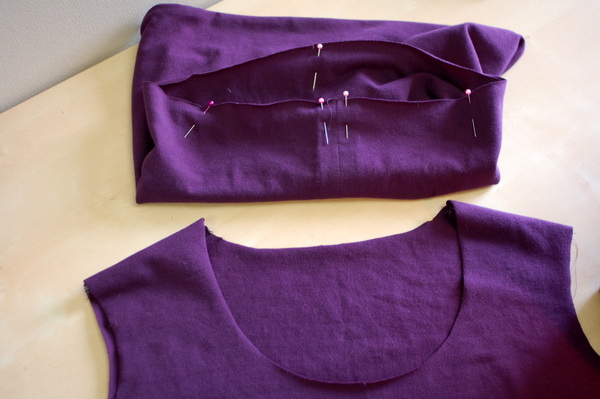
Next, place the collar pieces on top of each other, right sides together.
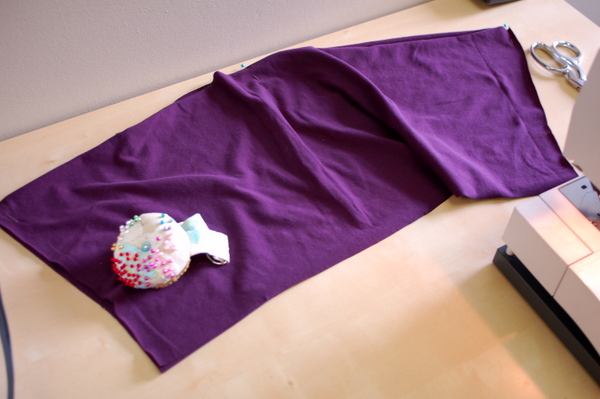
It’s a bit hard to see what’s happening in that photo, I’m pinning along the top edge. The one without any notches, the edge that is wider than the other edge. Right sides of the fabric are on the inside.
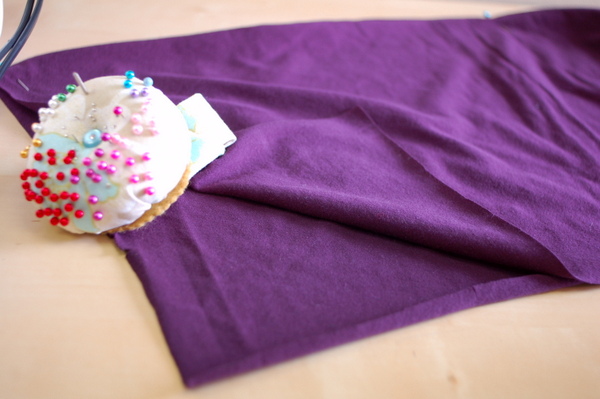
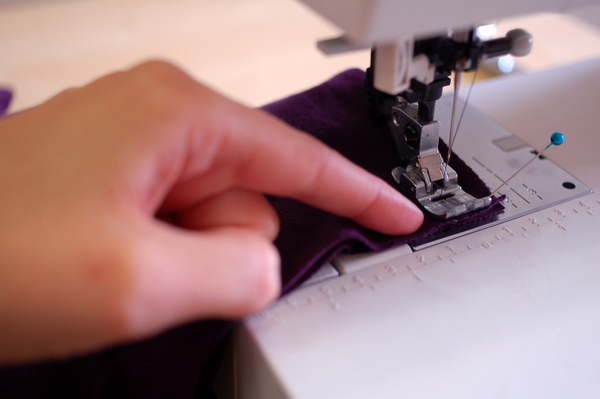
Sew along this pinned edge.
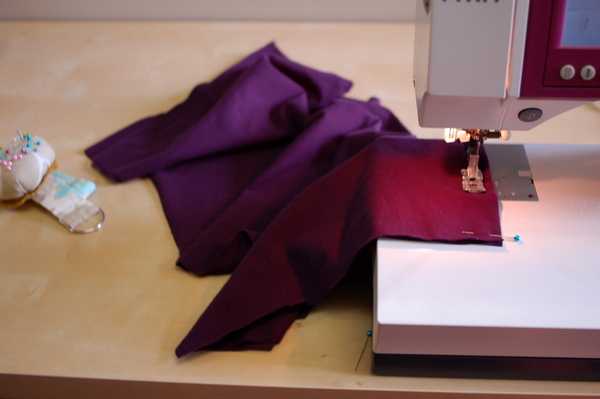
If your fabric is likely to get chewed up by the machine at the edges, stop just short of the edge. (I’d forgotten to make this note but remembered as soon as I saw this photo!)
I’m stopping about 1/4″ (6mm) from the raw edge of the fabric, backstitching, and then going forward slowly, instead of sewing right to the raw edge.
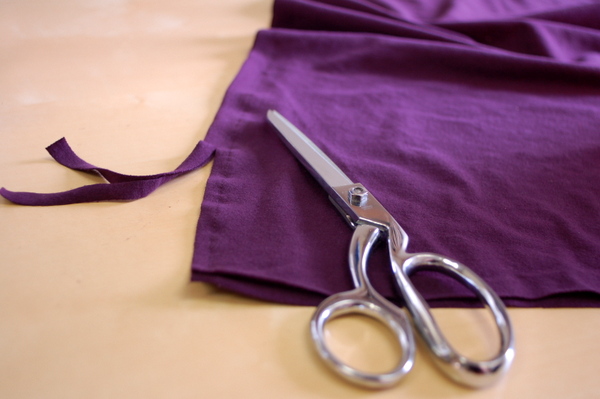
I trimmed the seam allowances of this seam.
Ok. We’re approaching the part where people got confused. These aren’t the greatest photos, but bear with me. I think they demonstrate the collar construction and how to arrange your fabric pieces pretty well.
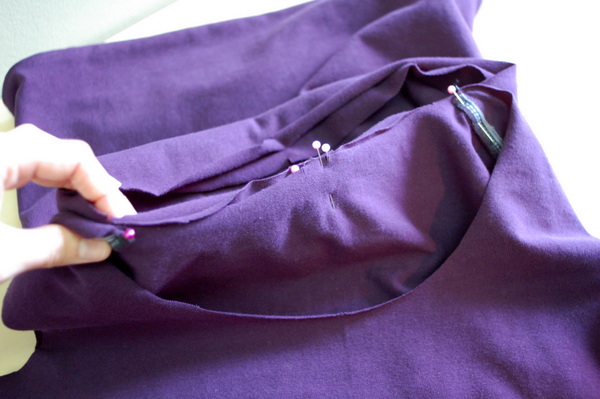
We’ve just finished sewing the seam, right? Our piece is still on the table, right sides together, exactly as it came out of the machine. Now lift up the top layer of the collar..
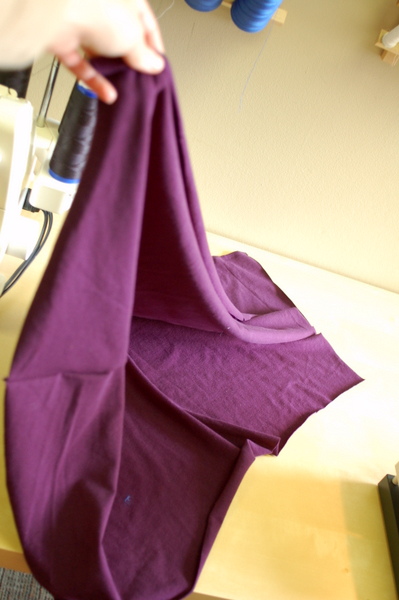
.. and spread the collar piece open. The right side of your fabric is facing you.
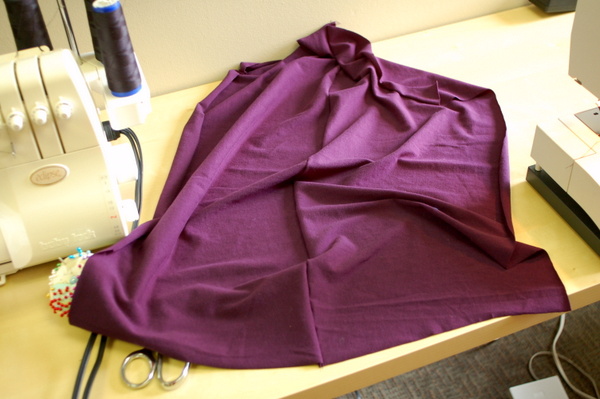
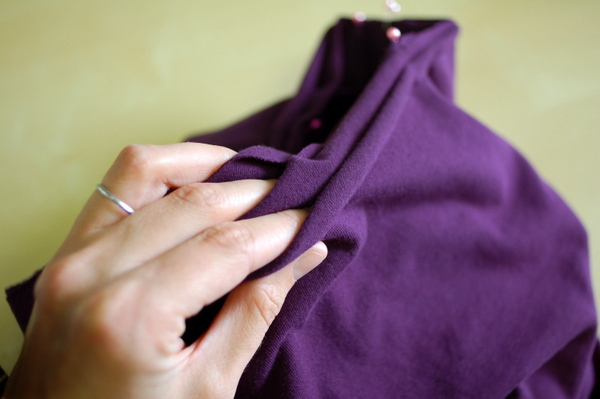
Now grab the closest edge to you, the bottom edge from how the piece is oriented, and lift it upwards like you’re folding a sheet, lining it up with the top edge.
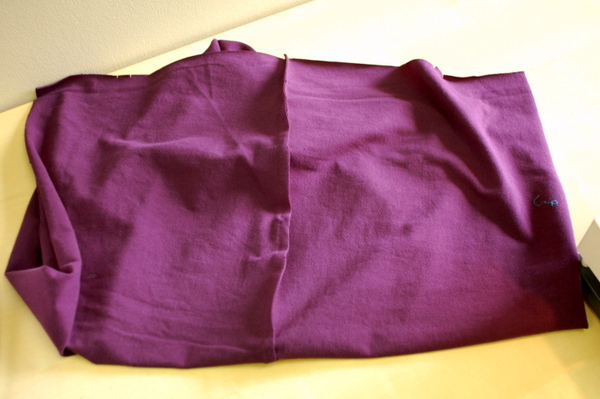
The wrong side of the collar is facing you, the shorter edges are lined up, raw edges together, the right side of the collar is on the inside. Are you still with me?
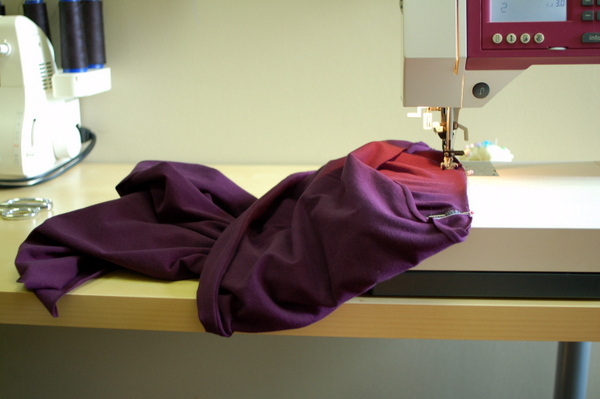
Now pin along the raw edge that’s opposite the folded edge. (I’ve rotated the piece since the image above, what was the top is now the right side edge.)
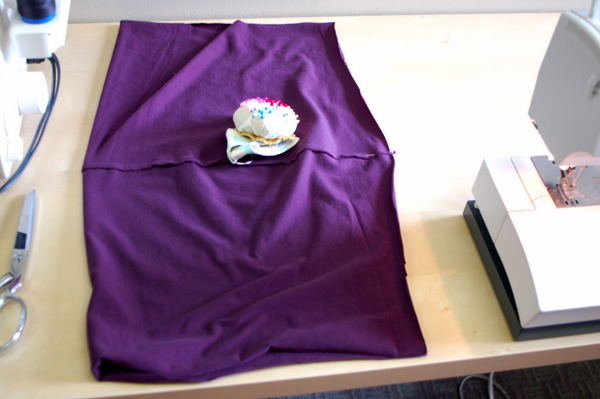
Sew this seam. The picture below has the collar hanging off the table a little just so it would fit.
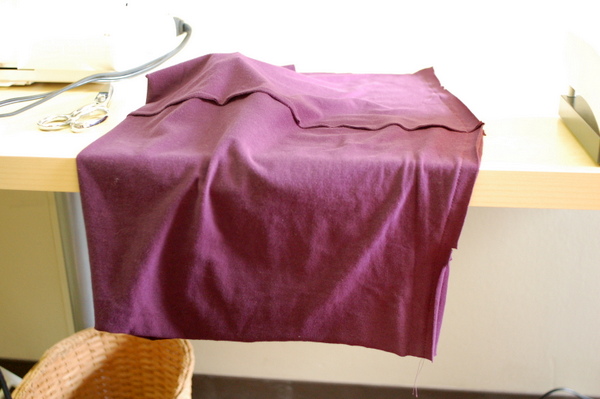
Press this seam open. I used a seam roll so that the seam allowances wouldn’t show on the right side and so I didn’t have to stretch the collar over my ironing board.
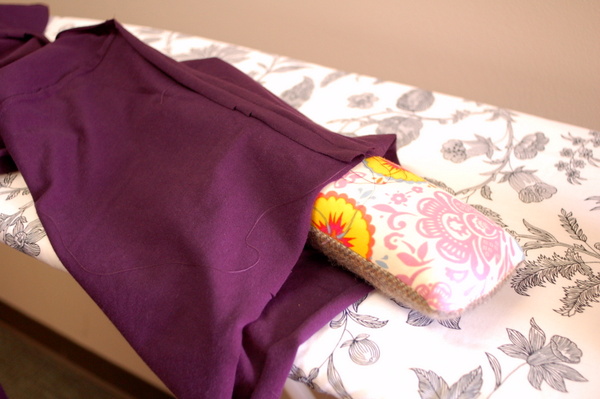
We have a collar tube at this point. Now, fold the collar in half, wrong sides together, lining up the raw edges.
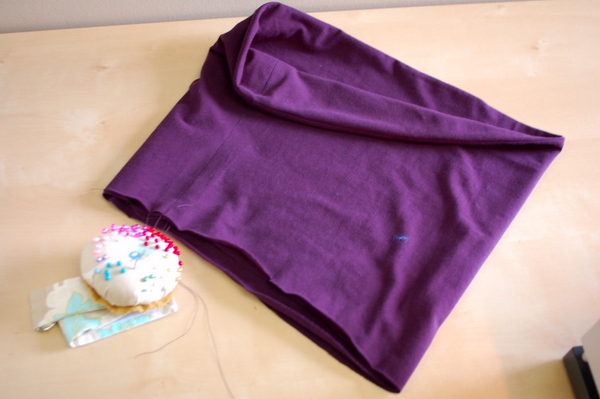
See? Now we have the completed collar, ready to attach to our necklines. I hope this was easy to follow!
Next we’ll line up the raw edges, to prepare them for sewing to the shirt. Make sure the seam allowances are still open when we line them up.
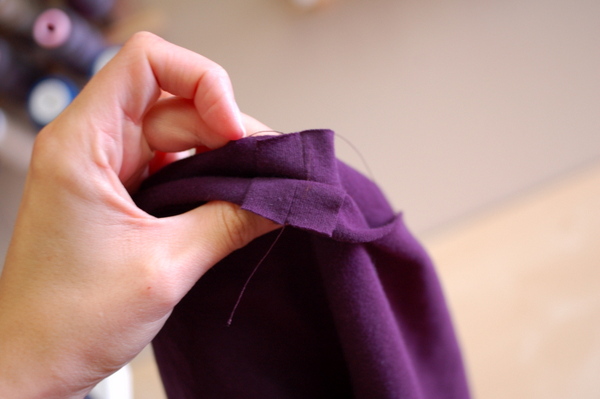
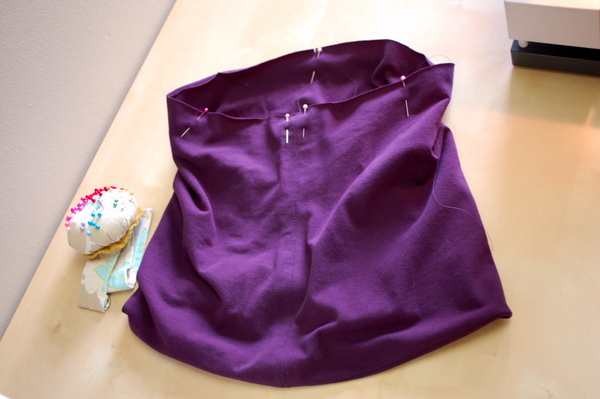
Pin at each notch and seam point, lining up the raw edges. What we’re doing is making it easier to pin the collar into the neckline, if we’ve already lined up the collar’s two edges, then we only have to line up the collar to the neckline, rather than worrying about all three layers separately.
Next, get your top! We’re nearly finished. Arrange your top body so that the right side is facing you, with the top right side out.
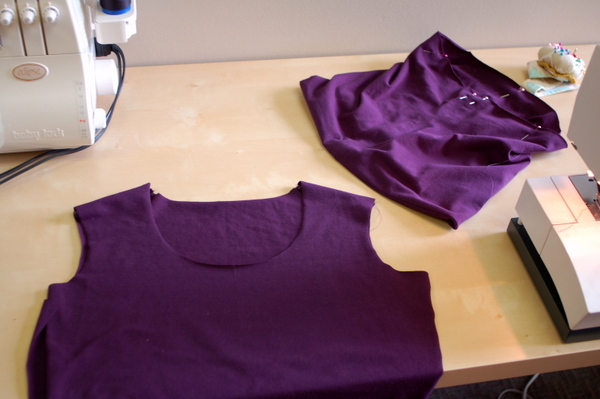
Next, we’ll line up the four points on the collar to four points on the neckline.
Here’s what lines up to what:
- Centre Back Collar Seam – centre back notches on neckline
- Sideseam notches – shoulder seams on neckline
- Centre Front Notch – centre front notch
If you start with the centre back, the rest will fall into place.
Start pinning centre back to centre back, matching the seam of the collar to the notches at the back neckline.
In between the pins at the notches, make sure all three layers are lined up. Use as many pins as you need to feel comfortable sewing the seam.
Next, sew the neckline. This is where you want to use a stretchy stitch. I’m using my machine’s stretch stitch and stretching the fabric ever so slightly.
Here’s what it will look like, fresh out of the machine!
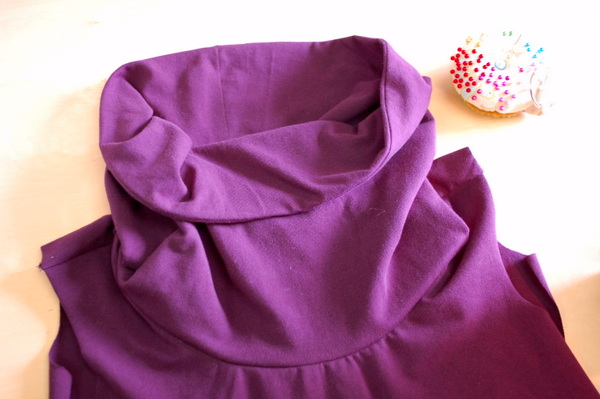
It’s normal for it to look a little puckery around the curve, as long as there are no actual puckers. A good press will take care of that!
First, I finished the seam allowance. Again, it’s optional, but I like the look.
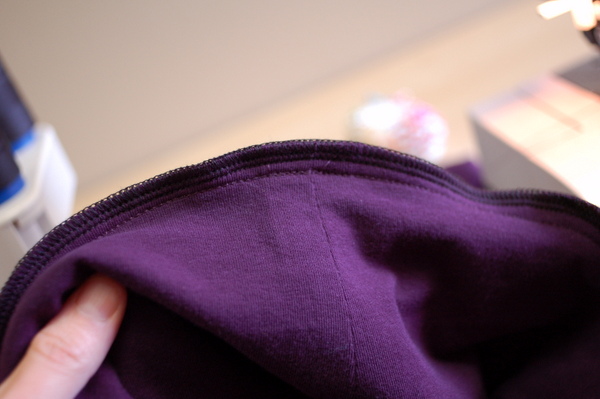
Now, we’ll press the seam allowance down, away from the collar, towards the body.
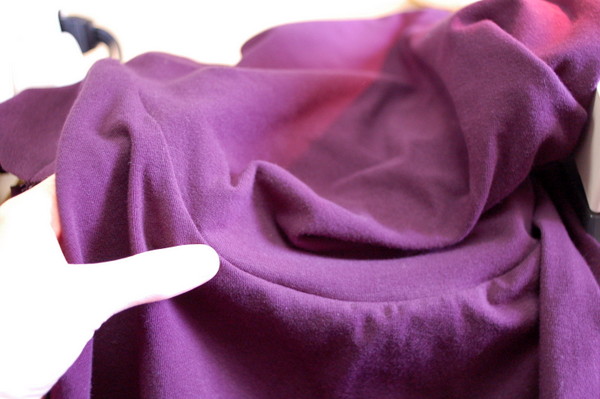
Next, we’ll topstitch around the neckline! This is optional. You don’t have to topstitch around the neckline, but there are a few reasons I do it. One, it keeps the seam allowance secured. Ever had a purchased tee shirt where after washing, the neckline seam would flip out? I like my seam allowances to behave, so I’ll topstitch to keep them in place. It also creates a flatter seam, and defines the neckline. (And if you don’t like it, the cowl mostly covers it anyways!)
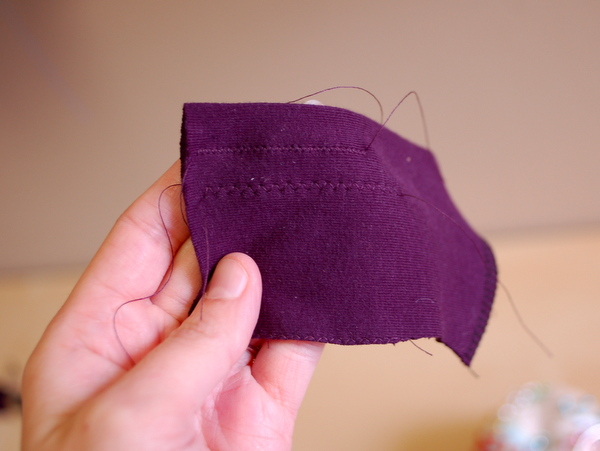
If you do topstitch, use a zigzag or other stretchy stitch.
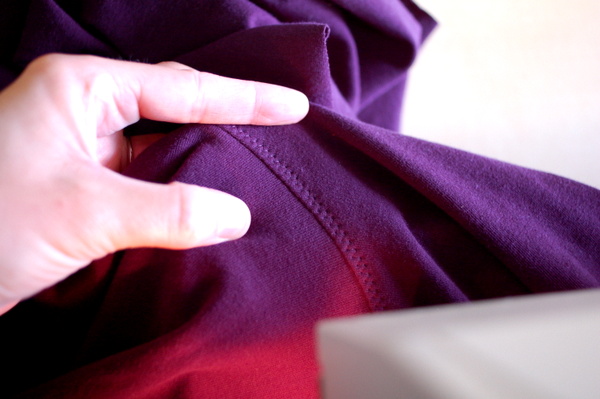
Not sure about how your stitch is going to look, or if it will stretch? Sew a row on a scrap of fabric. Experiment with different stitch lengths and widths to get the look you want.
Press the neckline seam.
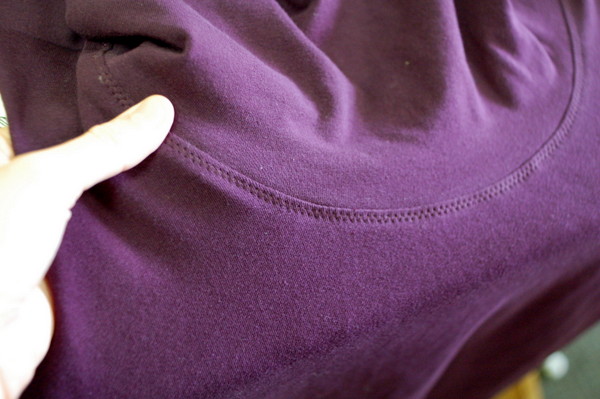
Now that’s a nice-looking neckline!
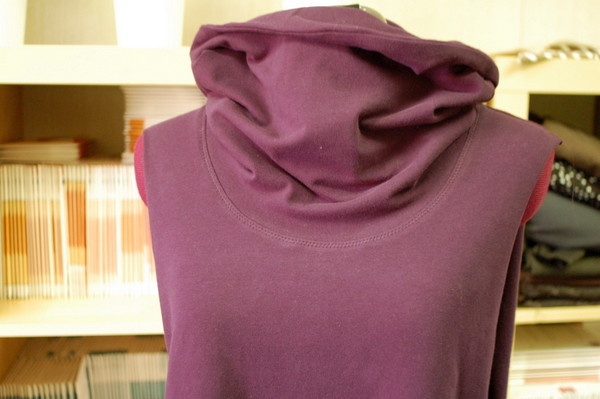
And with the cowl folded down..
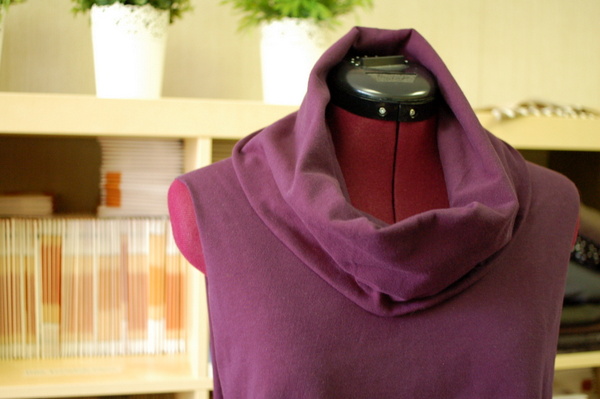
That was a lot of photos! I hope this clears up some of the confusion on how to sew the collar. Once you try it for yourself, I bet it will all make a lot of sense. Let me know if you have questions!

I love the cowl version of this shirt. It has fit into my wardobe nicely, I reach for those shirts over and over.
I have a first edition printing and the typo had me confused but a quick google found the errata. And it did take me a few tries to fold the cowl correctly, a bit of origami there, but once you get it right it all makes sense.
It does feel like origami, that folding part! You’re right, once you keep on going it starts to make more sense. And once you’ve sewn it once, the second time is easy!
I made this cowl version in black knit, and I lost count of how many times I already worn that… it’s a great piece on my wardrobe…
It would be a perfect basic top in black knit! One of those great go-to pieces.
Lovely tutorial! I still need to pick up my copy of Renfrew (I figure after making Cambie and Thurlow I should get to Minoru before buying more patterns!) and have a maybe stupid question. Why not cut the cowl pattern piece on the fold (minus seam allowances) instead of have a seam around the top of it? Is it for a crisper look at the top of the cowl, or to save fabric?
I really mean “more defined look” rather than “crisper look.” :P
Hi Jessica! The reason the top edge of the cowl is not on the fold is because its not perfectly straight. Also, because the centre front is already on the fold, the piece couldn’t be on two folds at once so I’d have to double the size of the piece. But the shape is the main reason.
Hope this makes sense!
Yup, it does! If I had already purchased the pattern I would totally not have had to have asked. :P Someday soon!
No problem! It’s good to ask these questions, sometimes there is a real reason, sometimes it’s just a design decision.
The Renfrew will be in stock again tomorrow, and from now on I’ll have plenty on hand for when you’re ready to give it a go!
This is great! You should consider videos. I love the extra features you give us on Sewaholica patterns.
Thanks!
I’m so glad you enjoy the bonus tutorials I do! It’s nice to be able to share extra information that won’t fit in the instructions.
Video eh? One day perhaps! I’m kind of nervous to be on camera though..
So great of you to demonstrate this! I was one of the ones confused about the cowl construction but eventually figured it out. I was wondering why mine had a seam at the top so I thought I was doing it wrong. It turns out a lot of the pictures I found of the Renfrew on sewing blogs just didn’t show the seam, but I finally found a few that showed it…whew.
Anyhow, one of my favorite patterns for top and getting ready to work on a few more this week actually.
I’m thrilled to hear it’s one of your favorites! Glad that you were able to figure out the cowl construction. You’re not the only one who was confused about how to sew that part! Hopefully for everyone else, these photos help clear up the mystery.
Amazing tutorial! I haven’t learned how to sew yet (I’m a crocheter) but I hope to learn one day and come back to this tutorial! Thanks for sharing! ♥
You’re welcome! There are so many helpful tutorials online for when you’re ready to learn. Not just here, but on many other sewing blogs. It’s never been a better time to learn to sew!
Hi, I was just wondering. Could the collar pattern just be one piece meant to fold over to make a self lining? In that case would it just be possible to place the collar pattern on the fold after cutting off the seam allowance?
Thanks,
Janice
Hi Janice! This is almost like Jessica’s question above, why is there a seam along the top edge. The reason there’s a seam is because the top edge is very slightly curved. If you were to place that top edge on a fold, creating the self lining without a seam (ie. doubling the pattern piece and removing the seam allowance) it would change the shape, making it longer at the centre back in order to straighten out that top edge.
It’s possible to do, but may not hang as nicely and won’t be even all the way around. Which might not be noticeable in a drapey fabric, if you really want to remove the seam and don’t mind as much if the collar shape changes.
I hope this makes sense!
Dear Tasia,
Do you also topstitch the seam at the top edge or just press it? Thanks.
I just pressed it. But if you wanted, you could understitch it, by sewing close to the edge on the side you’ve designated as the inside. You could topstitch it through the folded edge to secure the fold and make sure it always folds in the exact same place. It’s up to you!
One thing to think about though, is that stitching will tighten up that edge, making it less stretchy. If you topstitch the folded top edge, you’re reducing the amount it will stretch over your head. That’s one of the reasons why I don’t – the other is the pressure to get perfect stitching along the fold and the chance that I might not like how it looks, because it’s hard to unpick stitching on knit fabrics.
Hope this helps!
I have made two of these out of a sweater knit and LOVE LOVE LOVE them. I need to post photos soon.
I think I need to get over my mild fear of seing with knits and get this pattern – I need more cowl tops in my life!
Thank you so much for the detailed tutorials!
I bought the pattern last week on line in the UK and cannot wait to make several of them. Still deciding on the fabrics though. I’m thinking of using some bamboo knit with spandex for one of them.
Thank you so much for this nice series of tutorials. I bought the renfrew top pattern a while ago but never found time to sew a version.
Now that there’s a tutorial for exactly the version I wanted to sew, there’s no excuse !
I just have a small question regarding how you finish your seam allowances. I suppose you have a serger to achieve such a nice look ? If so, could you tell me which one you have ? If not, please tell me your secret !
Thanks again for all the inspiration on your blog !
This is the first t-shirt type pattern I have made that fits me!! Fits across my shoulders and chest. No alterations at all. I am thrilled! I am currently sewing my third one, a cowl neck, and plan to make many more. Definitely a black knit one. While I am not pear shaped; I have been able to adapt the pattern easily to fit my more “no waist” body. Thank you! I have two more of your patterns that I am anxiously ready to start.
Thank you so much for your awesome Renfrew tutorial (and pattern!). Based on your thorough cowl instructions, I was able to whip up a Renfrew of my own. (:
I recently started working a cowl-version of the renfrew pattern. This is my first time sewing with knits, which is both scary and exciting. Lol. I was wondering, for the stretchy-stitch what stitch length and width would be recommended?
Hi Kimberly! Good luck with sewing knits for the first time.. it’s different but not that scary!
Here are some links that might be useful:
http://sewaholic.net/approaches-to-sewing-knits-and-book-recommendations/
http://sewaholic.net/a-big-list-of-tips-for-sewing-knits/
On stitches, if you are using your machine’s stretch stitch check the manual, or let it auto-adjust the length and width as you switch to the stitch function. A regular zigzag stitch will work, play around with length and width until you’re happy with the stretchiness. If you’re using a wide zigzag remember that the inner edge is going to be along the seamline, this is hard to explain in words but if your stitch is 1/4″ wide, remember to place that wide stitch INSIDE the seam allowance or you’ll be making the garment 1/2″ smaller along the seam.
I can not figure out the cowl using the pattern or this tutorial. Does anyone have any suggestions. I am so confused.
Just got it,read the correction to the pattern.
Hi, I just started sewing my own clothes, and your tutorials are great.
Question: I made a dress with a neckline cuff and a cuff on the bottom. There is puckering like you showed above, but I dont understand how to press it flat. I tried and it just made creases? Thanks!!