 Pocket time! These pockets will look really familiar if you made the Crescent Skirt, or if you followed the Crescent Sew-Along. The construction is the same although the pocket shape is slightly different. (Click here to read the pocket sewing steps from the Crescent Sew-Along!)
Today we’ll construct the whole pocket, and repeat for the other side of the skirt. I’ll go through this fairly quickly, as we’ve already gone over this construction during last sew-along. Leave a comment at the end, if you have any questions!
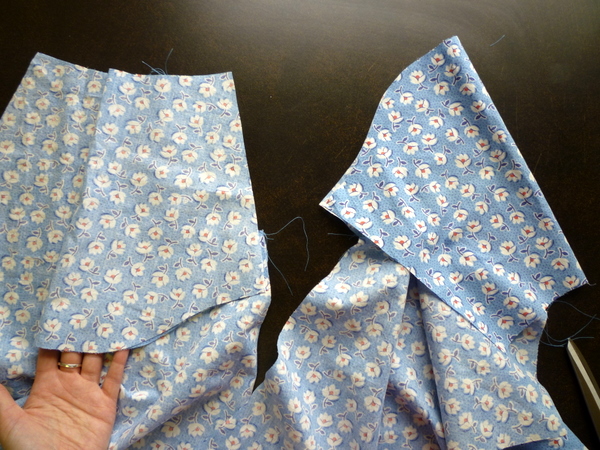
You’ll need your skirt front pieces and your pocket pieces. Place the pocket on top of the skirt, right sides together, and line up the curved pocket opening edges.
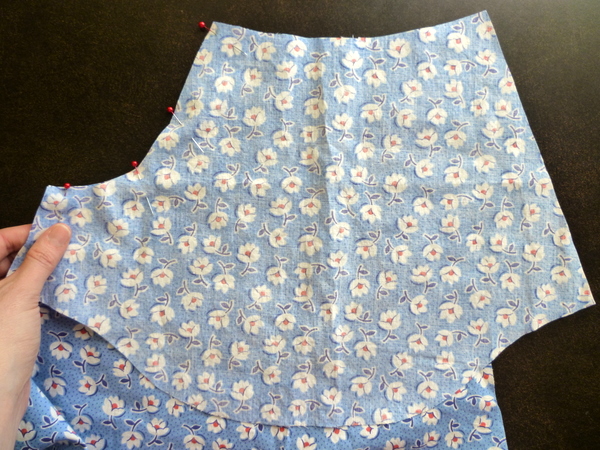
Sew the pocket opening seam, backstitching at both ends.
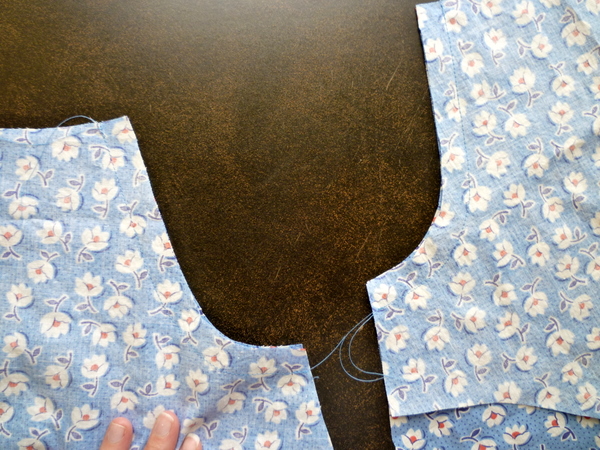
Optional: add stay tape to pocket openings, like we did along the top edge. I’m calling this optional, because this pockets aren’t likely to be as well-worn as the Crescent Skirt. On the Crescent Skirt, the pockets are in the perfect spot to keep your hands warm, or casually hang your thumbs in the opening.
On the Lonsdale dress, these pockets are more discreet, for hiding a credit card and a key. You’re less likely to keep your hands in them for warmth of comfort.
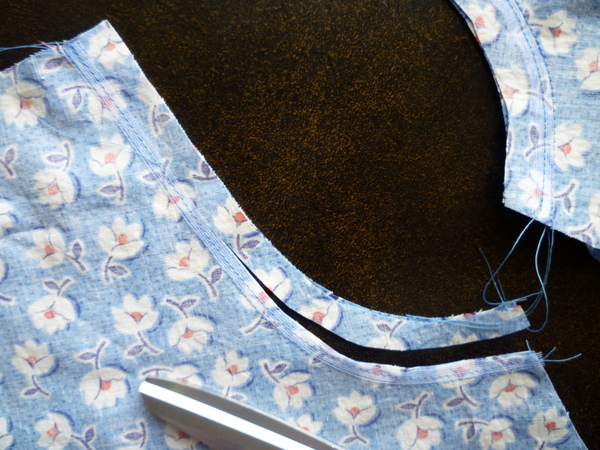 Trim seam allowances, and turn pockets to inside. Understitch the pockets and press pockets to the inside. (Are you starting to feel more familiar with sewing terms like trimming seam allowances and understitching?)
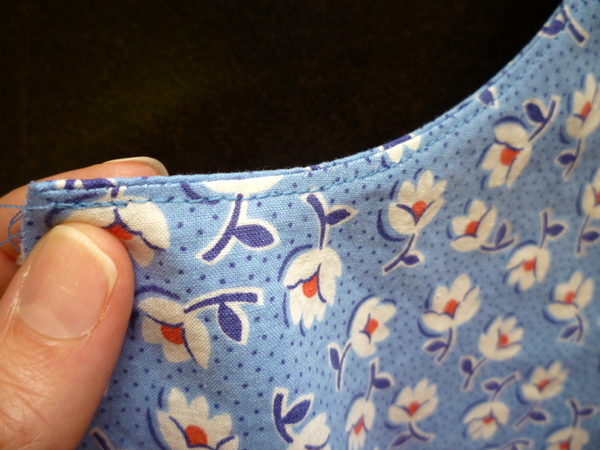 Sew lower edge of pocket. You can either sew it right-sides together and serge or zig-zag the edges, or sew them together in a French seam like we did with the Crescent skirt. (Click here for the French-seam tutorial!)
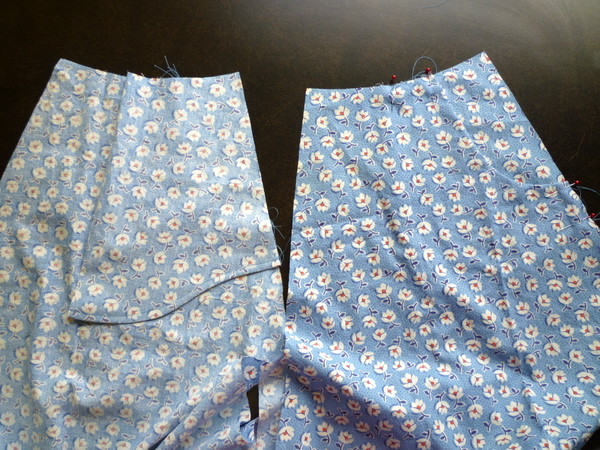
Pin pocket to skirt along top edge and sideseam.
 Here’s a close-up of the top edge. Can you see the notch, at the left edge of the pocket? I’ve notched the fold line so it’s easy to see, and to fold along the line.
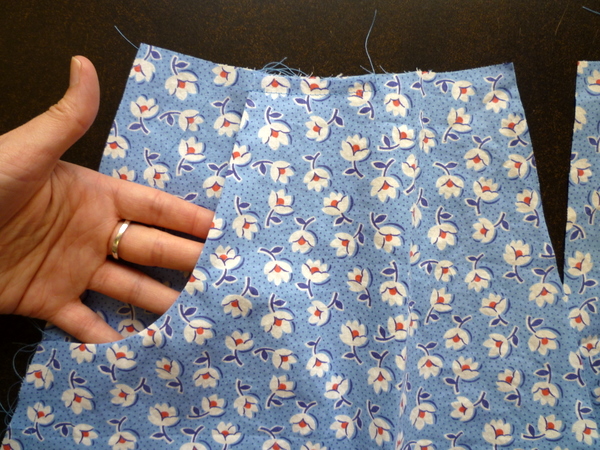
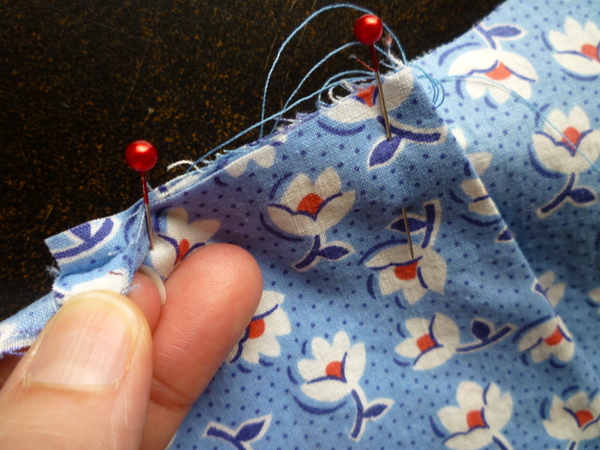 Baste these edges in place. Look, pockets!

This metric-only person has a question about the French seams. Looking at your tutorial above, if the seam allowance is 15mm and you sew the first seam at 6mm, then the second at 6mm again, that only makes 12mm. I guess 3mm won’t make a difference for the pocket, but what about if you were doing French seams down side seams? It would add 6mm to the total width, wouldn’t it? Or is that little enough that it wouldn’t matter?
I’m never sure when you can get away with not being absolutely 100% exact :-)
@Lucy: Hi Lucy! You’re right, it does only add up to 12 mm – I’ve allowed a little extra to account for the fold of the fabric. And you’re also correct to note it doesn’t matter much on the pocket seams, but it will make a difference on the body seams.
One trick is to make a snip 1.5cm from the raw edge, where your seamline is going to be, before starting the french seams. Then, when you get to the last step of the French seam, you have a little snip mark as a guide for your stitching.
Does that make sense? Hope this helps!
A word of caution to anyone using fabric without a clear right and wrong side, make sure you have a left and a right front. Lol, I’m using a light colored chambray and I accidentally made two left fronts! I had already understitched the seams and finished the pocket bottom by the time I noticed.
@Natasha: Good point! One trick is to put a piece of tape on the right side of your fabric, if it won’t damage the fabric. I’ve used scotch tape to mark my right sides before and it was fine! Or, pin a safety pin through the right side so you can easily tell which is the right side. Thanks for the reminder!
Just wanted to say thanks for this–I’ve returned to this and the Crescent page multiple times as I install slant pockets in a variety of patterns.