Here’s a quick post on sewing the pockets, including making pocket templates, for the Granville Shirt! This is the fabric I chose:
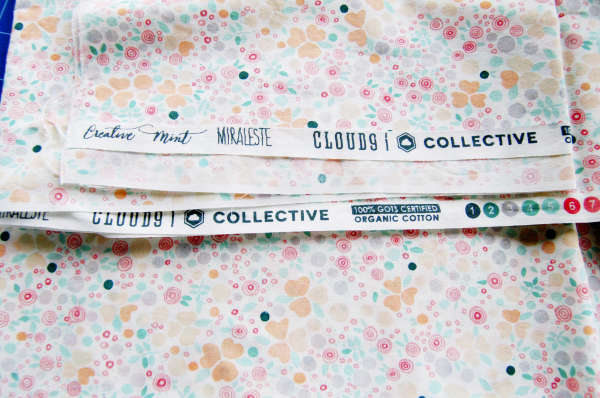
It’s a beachy, summery printed cotton voile. It’s from Spool of Thread, bought last summer, with the intention to make a shirt for the summer. At least I’m ready for this summer instead! I made this shirt a little while back, around the release of the Granville pattern.
Since I skipped the pockets back when I made my Granville Shirt, I thought I’d talk about the pockets on this version. I plan to make many of these shirts, so I spent a little extra time making pocket templates for this pattern.
Here’s how to make pocket templates
First, trace off the pocket piece on a piece of card stock. I like to use old file folders, they’re a good weight, plus I like to reuse things around here. Draw in the seam allowances.
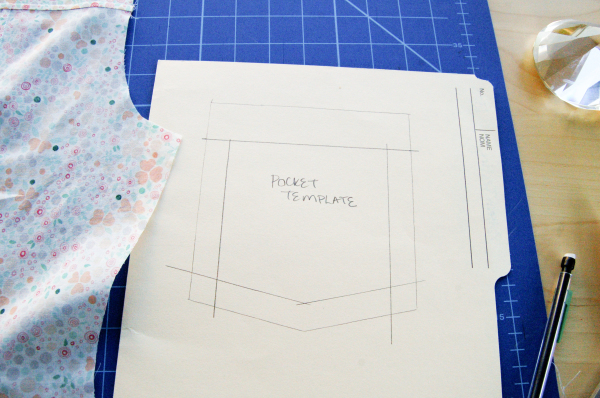
Cut out the template along the seam allowance lines.
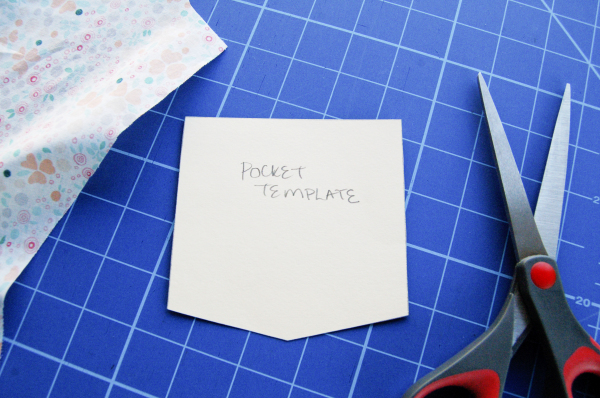
Here’s how to use them
Now, what is this for? It’s a great tool for pressing your pocket. Wrap the edges around the template and press. This will also ensure that both pockets are exactly the same!
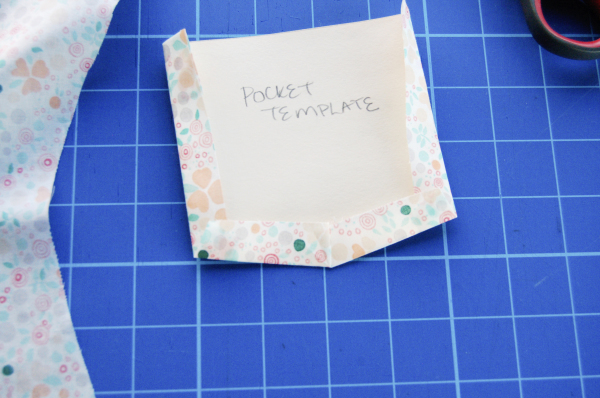
What I liked was the chance to get the bottom corner in the right spot, with the seam allowances tucked evenly on both sides of the point. Normally I’d press one side of the bottom edge, then the other. Try this on your pockets to see what I mean – the template helps!
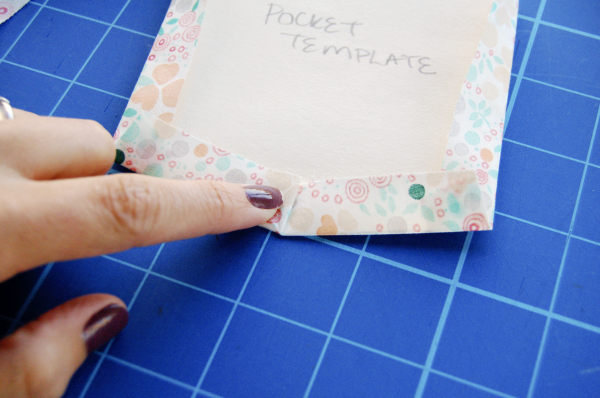
Nice, square pockets.
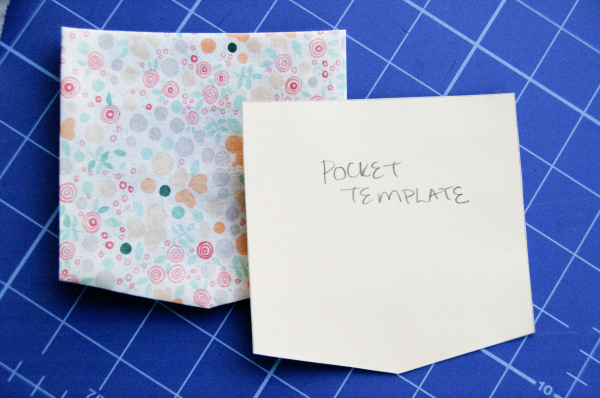
Ok, what else can you use a template for? Make one for the pocket flap!
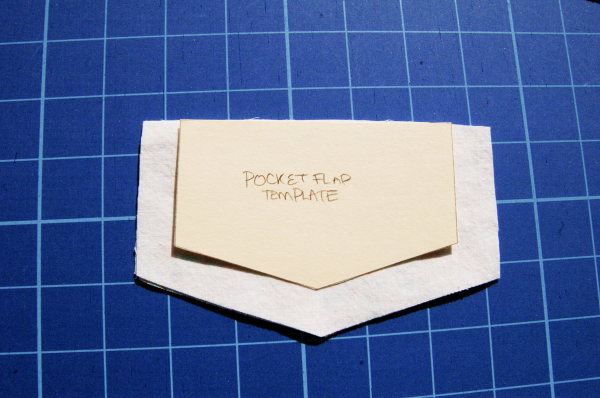
Same as the pocket template, trace off the pattern piece and remove the seam allowances. For the pocket flap, leave the seam allowances along the top edge.
I used this template to trace the stitching line on the pocket flap. This ensures that the pocket flap is the right size, and also ensures that the left and right flaps are identical. I find this more accurate than sewing a 5/8″ (1.5cm) seam allowance because what if the cutting isn’t perfect? This makes the finished flap exactly the right dimensions.
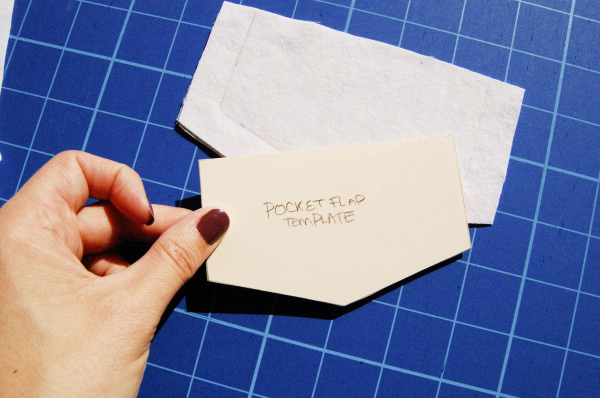
This is especially helpful on my Bernina without any seam guides. (I did add a seam guide later.)
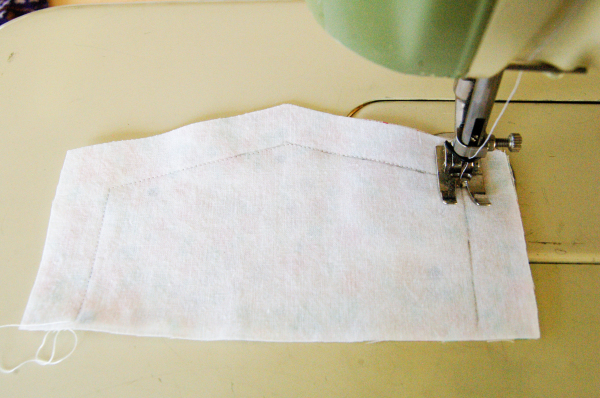
Here is the finished pocket!
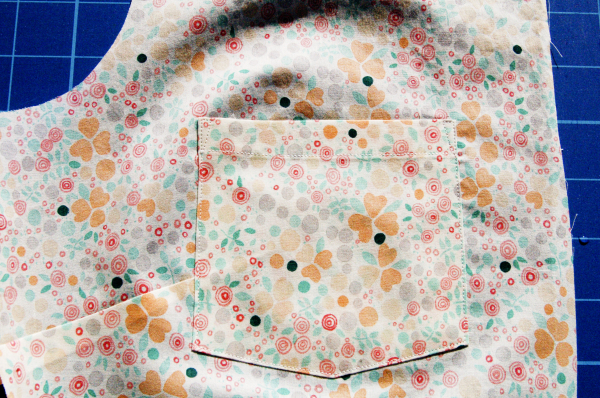
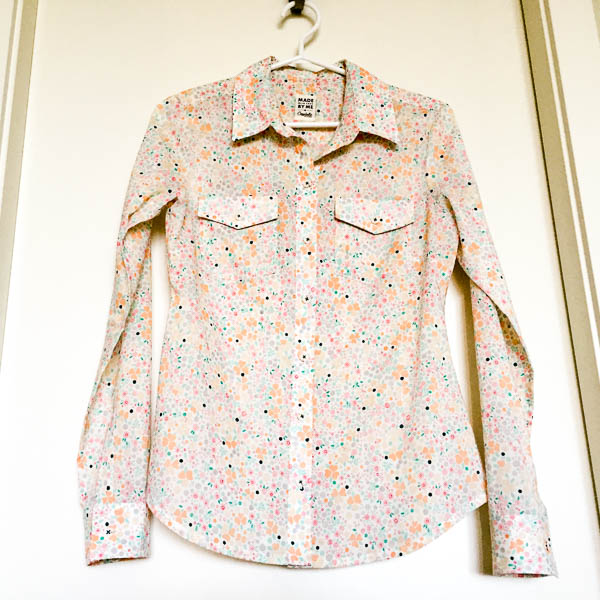
And here are a few quick shots of the finished shirt.
Close-up of the finished pockets:
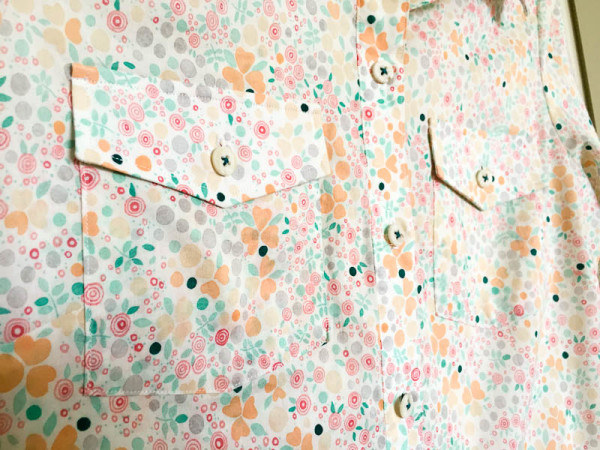
Looks pretty even!
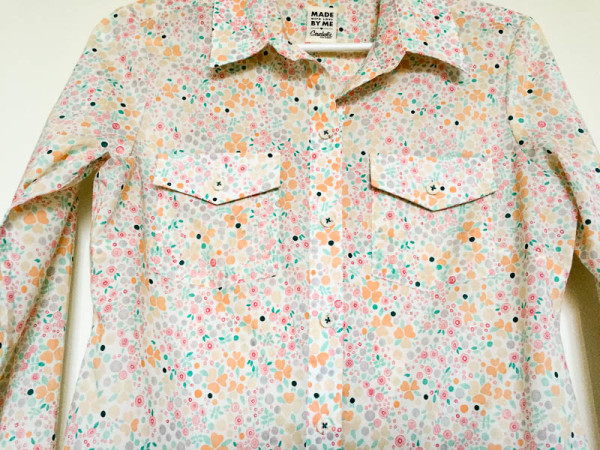
What do you think: is it worth the time making a pocket template? I’d say it is most useful if you plan to use the same pattern several times, if you need to make two identical pockets, or if the pocket is unusually shaped.
ps. Check out all our posts on shirtmaking here!

Love that! I think that would be quicker once the template is made, not to mention neater. I’ve made a white oakridge, and have made the same alterations to the Granville shirt pattern, but not quite brave enough to tackle making the collar yet. But those pockets are really nice…(and the fabrics lovely)
A great tip! I just finished making a Granville shirt, but I decided not to put a pocket on this one because the fabric is so thin (silk). I thought maybe the pockets may pull the fabric down. I’ll choose a different kind of fabric next time and will add pockets!
I agree and I forgot all about this technique! You can also make templates for jean pockets, flaps, flap for a double welt pocket.. etc this is endless thanks for the great reminder!
http://www.curvygirlsarechic.com
Fantastic idea! I have marked out the fold line before but I like the template idea so much more. Thank you for sharing! The shirt looks amazing!
Great idea, I too had ‘forgotten’ about this simple, clever way to make pockets! Thank you!
Neither of the two Granville shirts I’ve made have pockets, only because I have a full bust and don’t need to attract extra attention to the area, but the templates are a great idea. I’m sure I can use templates elsewhere in my sewing.
Really liking the tip! Many thanks, and your fabric and the shirt iteself, beauitful! TFS, Annette
i LOVE this version of this top – so gorgous, and it’s making me want a top with two pockets, LOL!
Such a great tip! Thanks for sharing.
I use a template also, but I use freezer paper which I iron onto the fabric. Of course that means you need to cut one for each pocket,but there is no shifting and the pockets are perfection.
I have never used freezer paper but I like the idea of it sticking in place and not shifting around – great idea!
I’m making a shirt dress right now and I am kicking myself for not basing it on your Granville shirt pattern. I’m going to buy the Granville pattern and make some gorgeous liberty fabric I have into a shirt dress. I have sewn quite a few of your patterns but liked a McCalls shirt dress pattern and I had forgotten how BAD the big 4 pattern instructions are :(
So, my question. From looking at this, the inside edges of the pocket are raw. Is that correct? Is there any way to finish the inside edges so they don’t fray? Or is this just the standard method of doing a pocket.
I’ve wasted so much time doing a placket and pockets with the horrible McCalls instructions. BOO.
I’ve always left the inside edges of pockets raw, since they’re not rubbing up on anything and are unlikely to fray too badly. I’ve never had a problem with fraying inside the pocket.
I think serging makes them bumpy and the serge marks can show through when you press the pocket, so even though that would finish the edges I wouldn’t recommend it. The only thing I can think of if you’re really concerned about fraying is to edgestitch and topstitch your pocket, for two rows of stitching. The extra row of stitching holds the seam allowance in place, and since it’s on top and decorative, it won’t look strange if you press it, like internal seam finishing would look.
Hope this helps!
Hi there. I’m adding a pocket to a t shirt and love your idea. Can you give me the measurements of the pocket template? Are they half inch seam allowances? Thanks so much. Lori