 We’re going to start sewing for today’s post! The first step is to sew the pockets in our Crescent Skirts. These type of pockets are called slash pockets.
I love this type of pocket construction! It’s simple, it’s easy to get good results, and it makes a comfortable pocket.
Plus, it’s easy to make them look clean and professional on the inside, even if you don’t have a serger! (I’ll show you how.)
Let’s get started! You’ll need your pocket pieces, your Skirt Front pieces – three pieces in total.
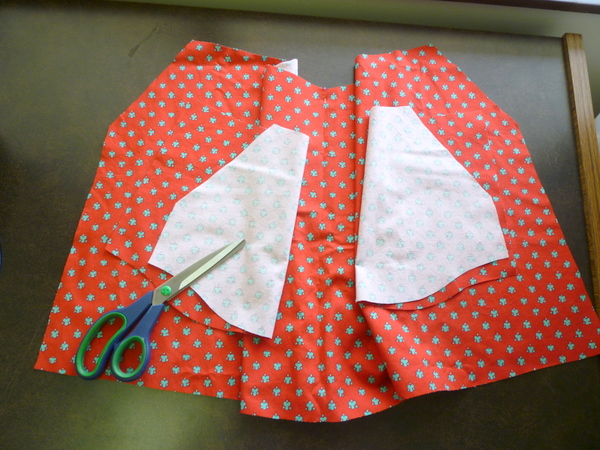 Thread your machine in matching thread, if you haven’t done so already!
 Pin the pocket piece to the skirt front along the pocket opening edge.
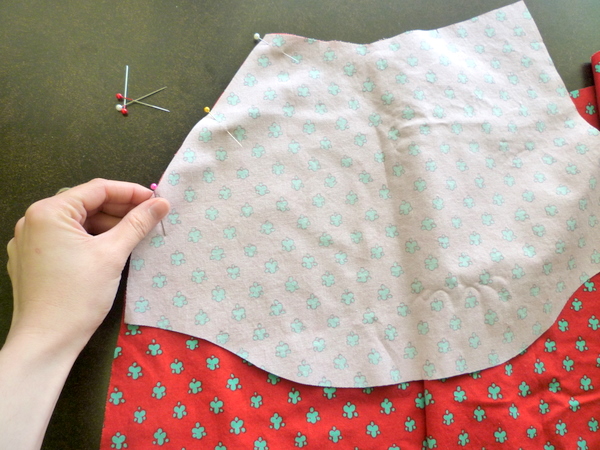 Repeat with the other side of the skirt.
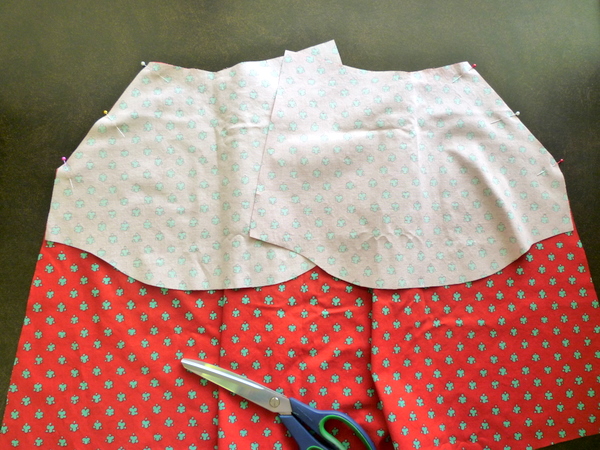
Sew the pocket opening seam with a 5/8″ (1.5cm) seam allowance.
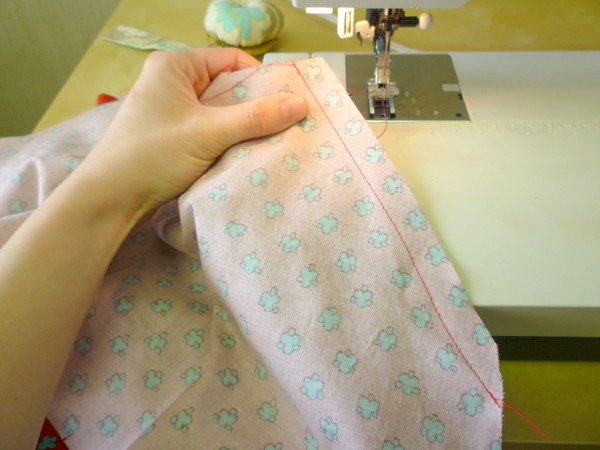 Backstitch at both ends. This red thread shows up nicely on my fabric, so it’s easy to see my stitches.
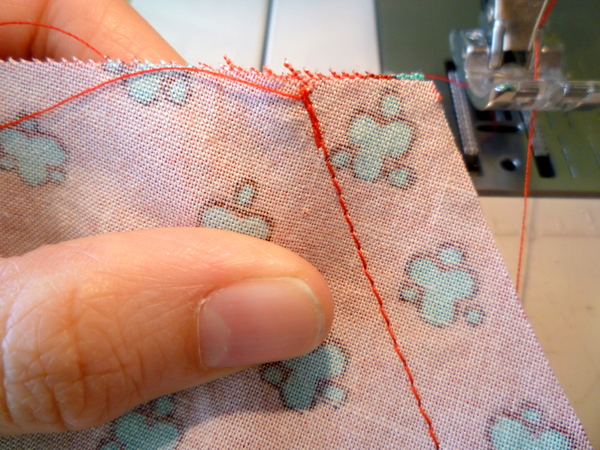 Repeat with the other side of the skirt.
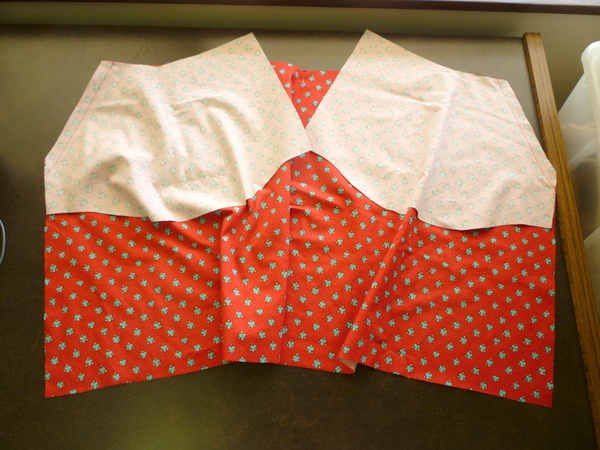 Now, we’ll stabilize our pocket openings. The instructions ask for 1/4″ twill tape. You could also use stay tape, or selvages from your garment fabric.
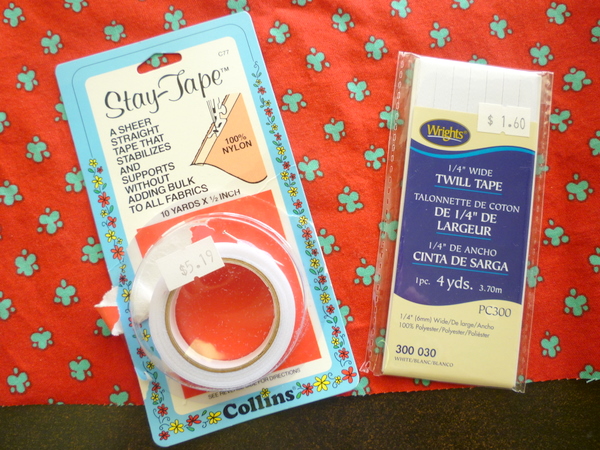 Why did I recommend twill tape? For one, it’s cheap and easy to find. I also liked that it was 1/4″ wide already, no need to trim it down to size.
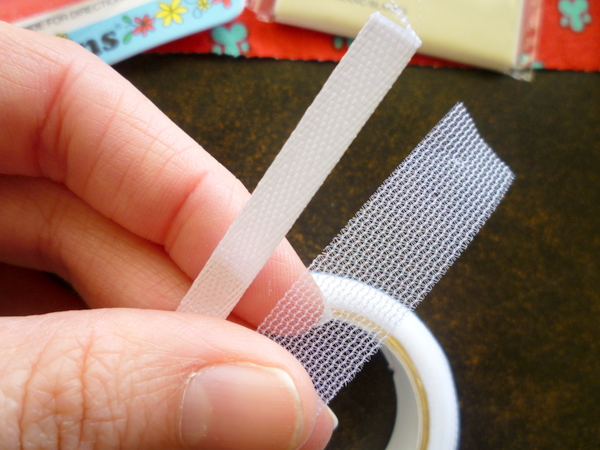 Stay tape is nice because it’s so lightweight, and one roll will last you a long time. You can cut it down the middle for thinner strips, which will use even less!
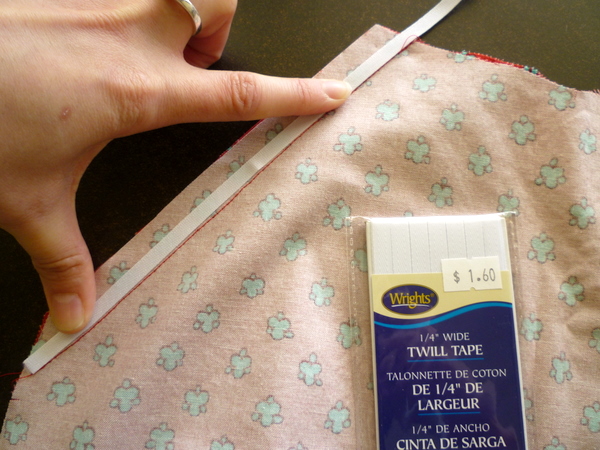 Cut the twill tape the length of the pocket opening, lining up the edge along the stitched seamline.
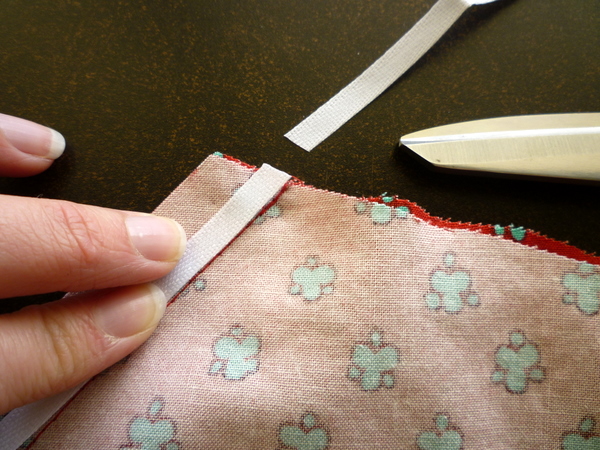 Pin twill tape to seam allowance. Line up the edge of the twill tape with your stitched seamline.
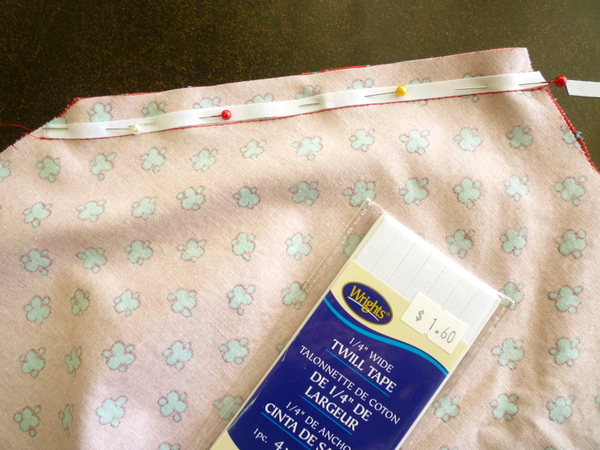 Tip: if you pin with the sharp ends facing up, the pins will be easier to remove as you sew! Hold the fabric the way you’re going to sew it, with the rest of the skirt to the left, and pin upwards.
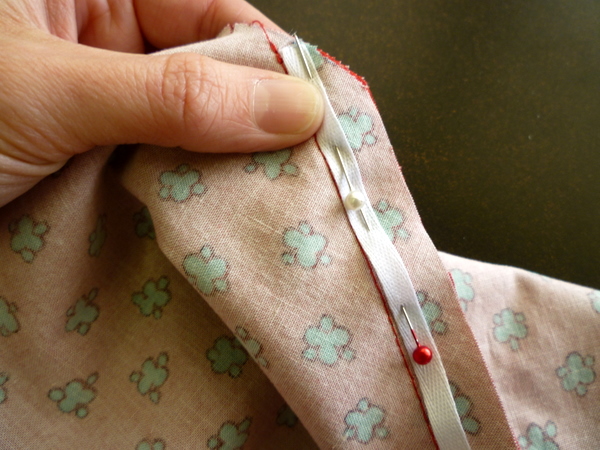 Here’s what it will look like, from far away:
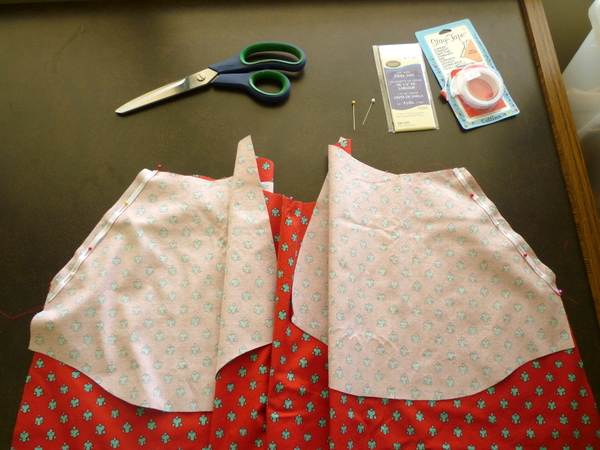 Now, stitch right down the middle of the twill tape.
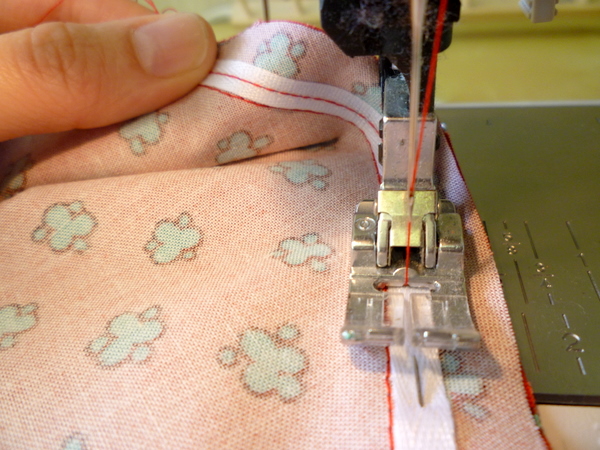 Backstitch at both ends. Here’s a close-up:
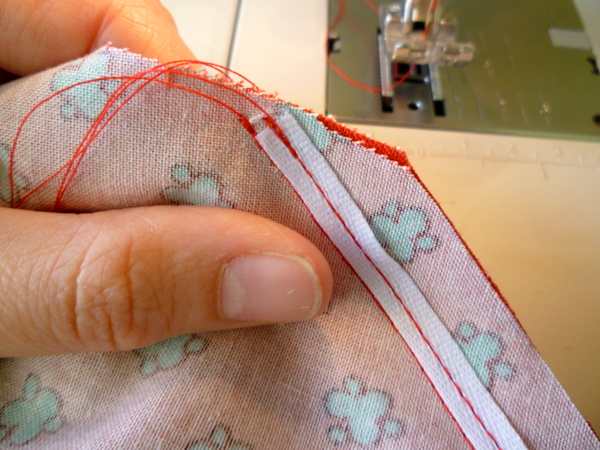 Now, trim off the seam allowance along the edge of the twill tape. See how easy the twill tape makes trimming? Don’t cut the twill tape, just cut off the excess fabric.
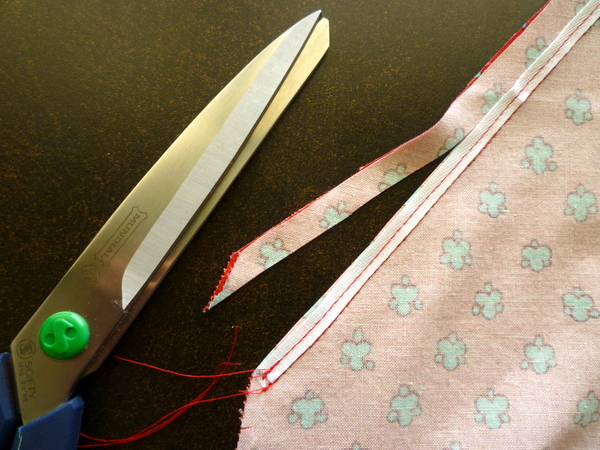 Here’s what your pocket will look like so far:
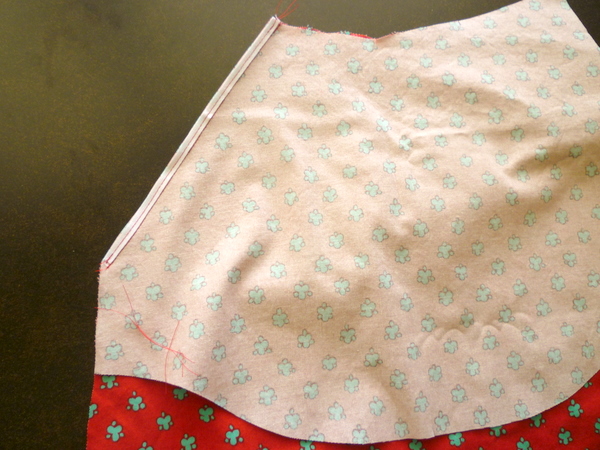 Fold out the pocket, as shown, with the seam allowances facing the pocket.
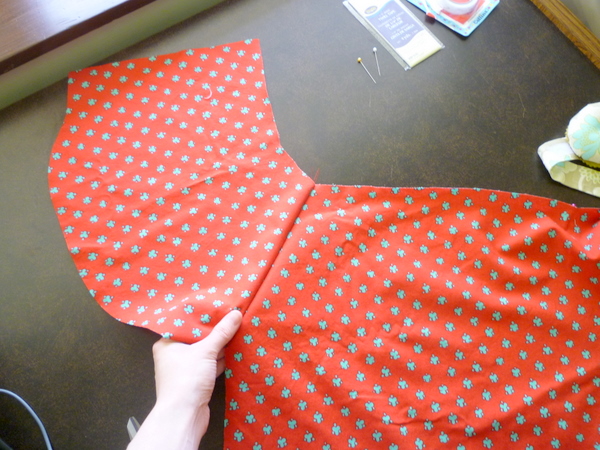 Let’s peek underneath at the seam allowances. Yup, they’re pushed towards the pocket!
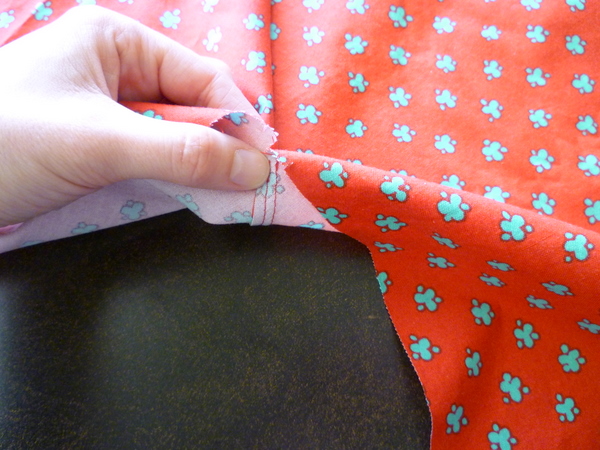 Let’s understitch the pocket seam allowances so they stay towards the pocket. For more on understitching, take a look at this previous post.
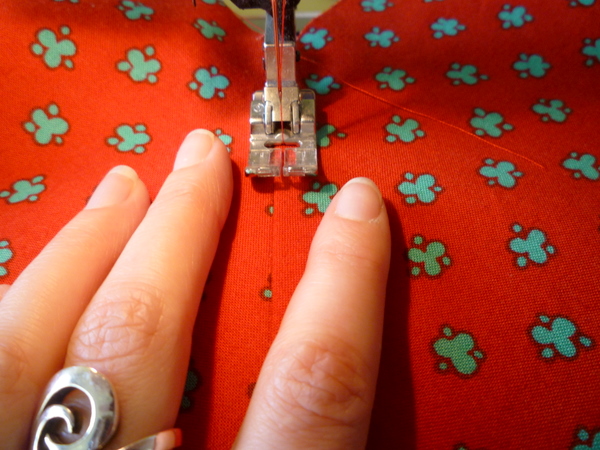 Here’s what it will look like after the understitching:
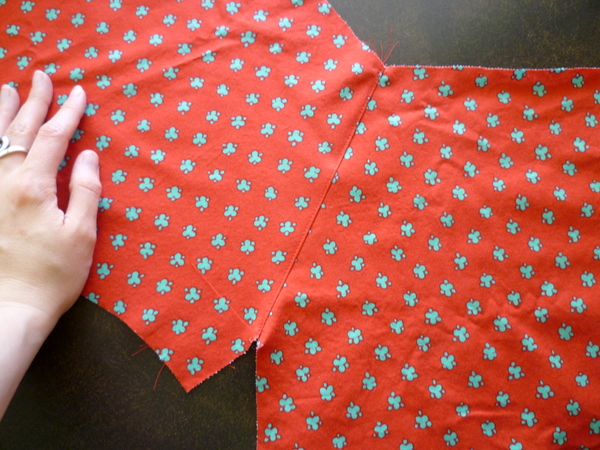 Fold the pocket back towards the skirt, like so:
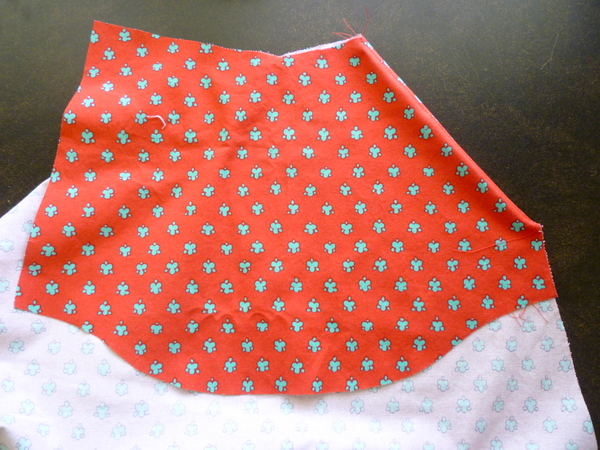 And give it a little press with the iron. Your understitching will show on the inside, but nothing will show on the outside!
Here’s where you can topstitch the pocket opening, if you wanted to. Completely optional!
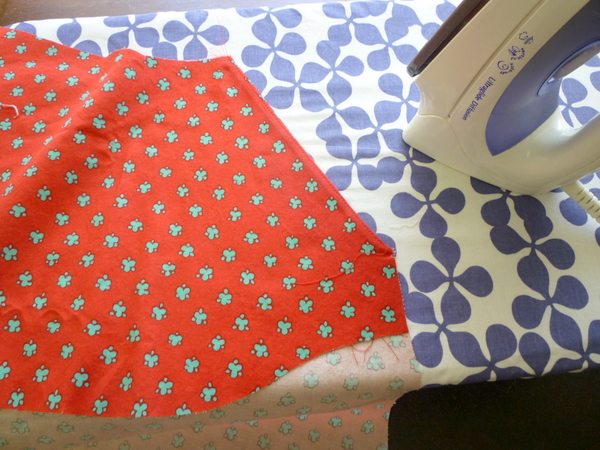 Now we’re going to sew the lower edge of the pocket. I’m going to show you a different method than the sewing instructions, but feel free to use whichever method you like!
If you want to serge or zigzag, follow the instructions in the pattern. Pin the pocket layers right sides together, like I’m holding it in the photo, stitch, and finish seam allowances. Stitch just through the two pocket layers, not the front of the skirt.
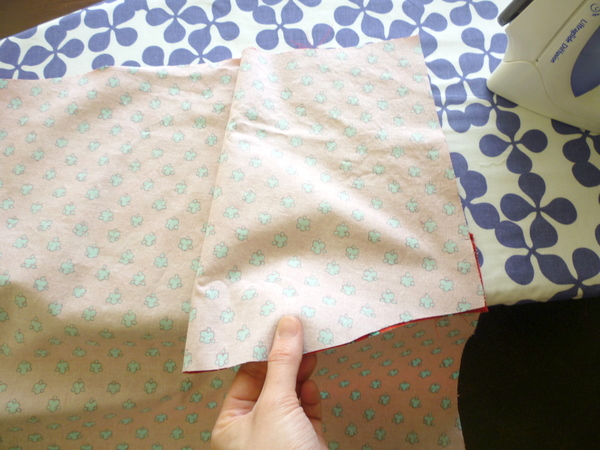 If you don’t have a serger – you can French seam the bottom of the pocket opening! I will demonstrate this method as it looks nice even if you do have a serger.
To sew a French seam, fold the pocket bag in half, matching curved edges, wrong sides together.
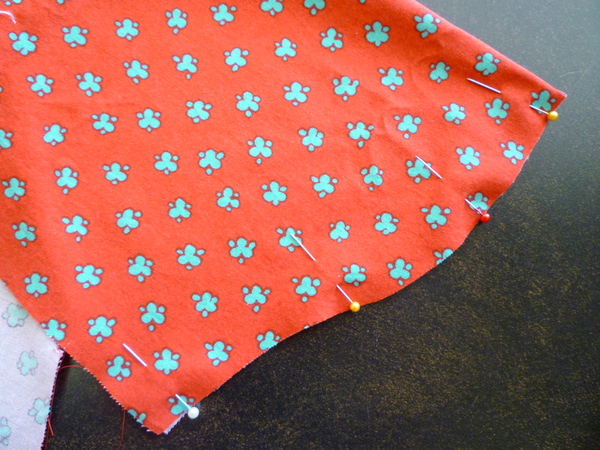
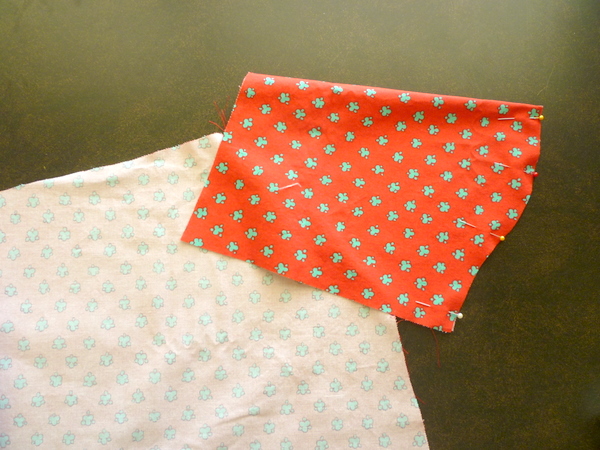 Pin the lower edge together along the curve.
 Now, we’ll sew this seam, taking a 1/4″ (6mm) seam allowance only. I like to use the edge of my presser foot as a guide.
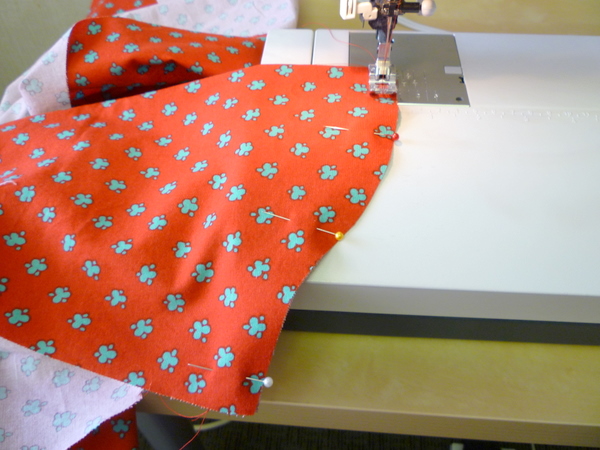
A close-up of lining up the presser foot, depending on your machine’s foot, you may be able to do the same thing!
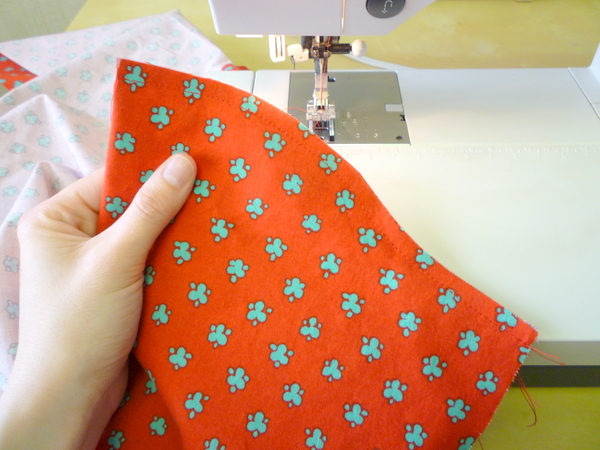
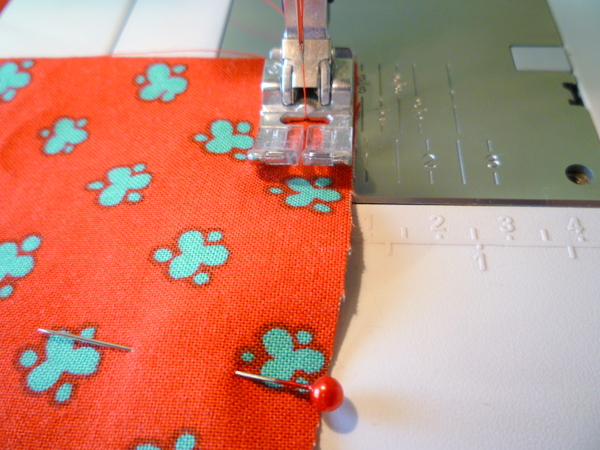 Here’s what the seam will look like after it’s sewn:
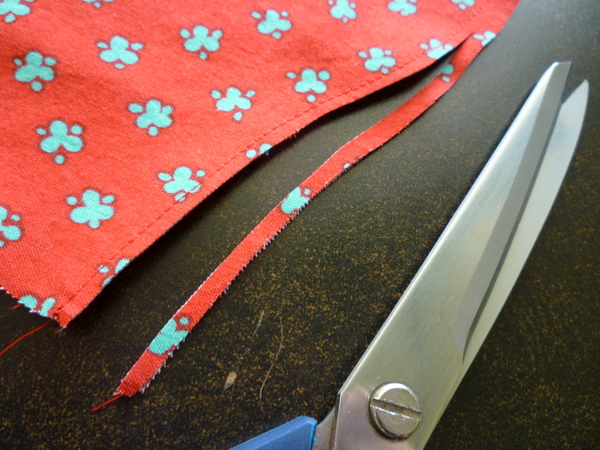
 Trim the seam allowance in half, down to 1/8″ (3mm).
 Turn pocket back inside out, with the wrong side of the fabric on the outside.
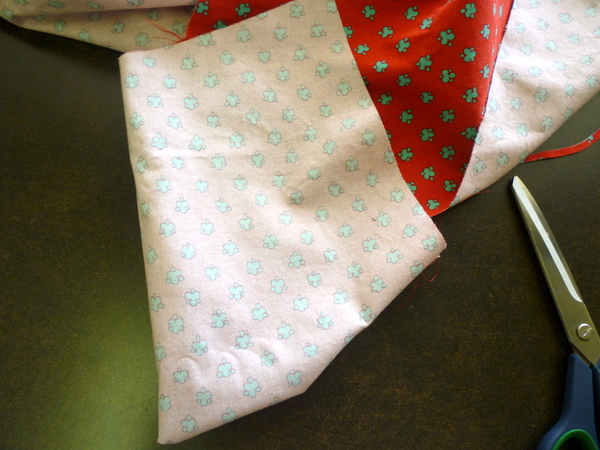 Use your fingers to turn the seam completely inside-out, and press it flat.
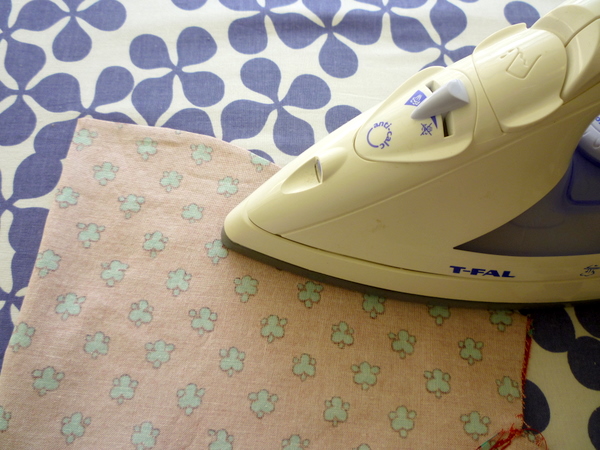 Now, take the pocket back to the sewing machine, and sew another 1/4″ (6mm) seam.
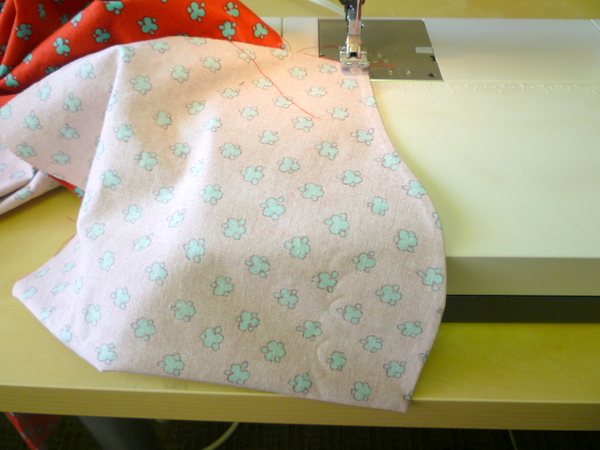 Backstitch at both ends again.
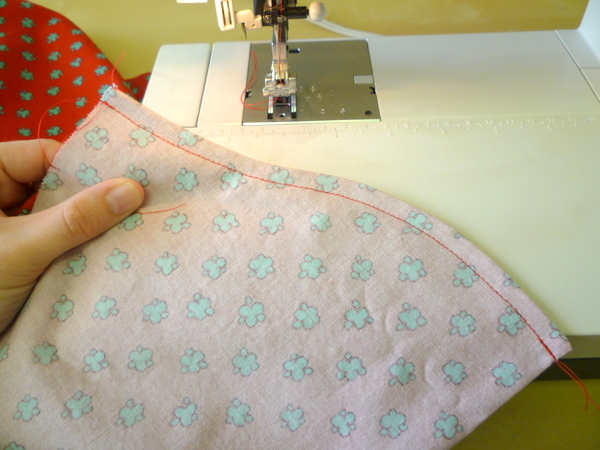 Look how nice the seam looks – no serger required!
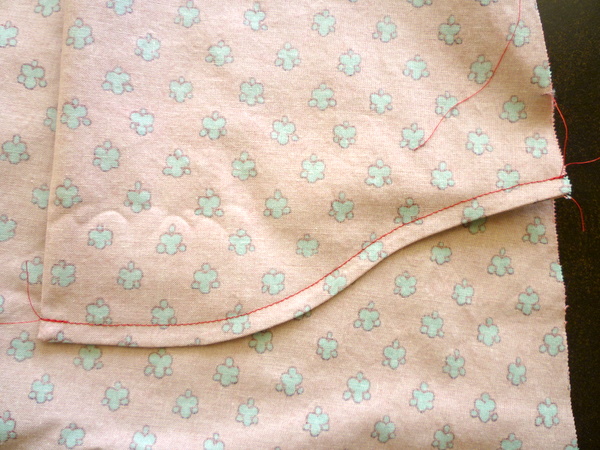 Flip the skirt back to the right side, and pin pocket bag to skirt along top edge and side seam.
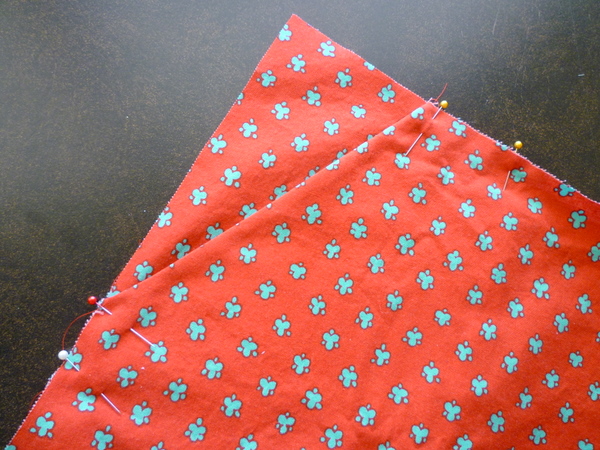 Baste along edges using a long machine stitch.
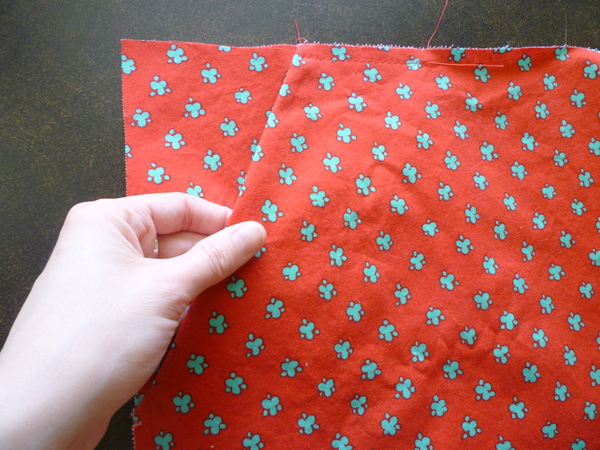 Here’s what it looks like at the end of it all:
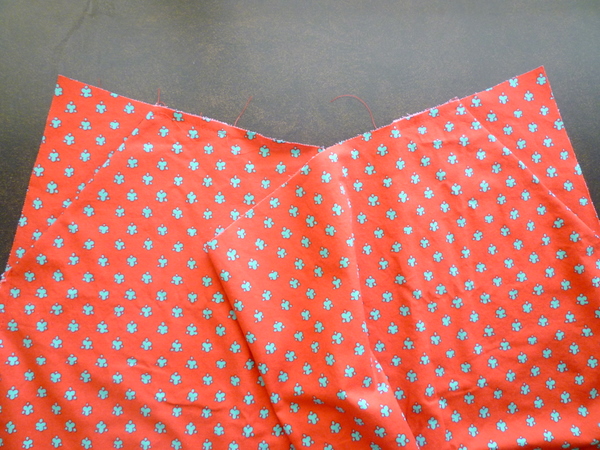 There you have it! Tidy little pockets, no bulges or bumps. It will lie flat on the body without adding any bulk to our hips. The twill tape will keep it from stretching out after use and wear, so it’s a strong little pocket, too.
Any questions? Leave a comment below!

Ooh, I wish I was doing this sewalong! The pattern is on my sewing wish list along with your blouse.
I love the method for adding pockets and the french seaming of the base.
I’m learning so much from your blog – thank you! Your day in the life on Tilly and the Buttons was fun to read too and you’ve introduced me to another brilliant blog!
Ok, so why is the tape required? Does this stop the pocket edges from going baggy with your hands in them all the time?
Thanks Tasia. Twill tape and french seams will be a first for me when I start my skirt. Your instructions are really clear as usual.
Great post Tasia. Quality construction methods, such as taping the pocket edges, is lost on most ready to wear these days. This is why we sew. Your alternative finish for the pocket bag is also appreciated because those who don’t have sergers now have an easy and beautiful alternative. Your do a wonderful job with photo’s and explanations as well.
I’m always hesitant to have pockets in skirts and dresses, since I hate the added bulk at the hips. But these look nice and flat… I think I’ll try to keep the pockets in this one. :)
I didn’t find twill tape in the right width (only much wider). But from what I see in this post, the important thing is the width of the tape, not the material. So, as long as I have something (selvage, gross grain, stay tape, some sort of ribbon …) that does not strech and is the right width, I am fine, I guess. Correct me, if I am wrong.
Eventhough I don’t actually sew a long with you guys I learn SO much just following the blogposts. It’s great fun!
Brilliant!
Hi everyone! This was an easy sewing post, right? :) Lots of photos and tips to keep you going.
Deirdre, you’re right! The twill tape is to keep the pocket edge from stretching out and getting saggy over time. These pockets are so comfy and easy to use, that they’ll get well-worn if the opening isn’t taped. You could skip the twill tape, but it makes for a stronger, nicer and more durable pocket, so I’d recommend adding it in!
I’m glad you guys liked the French seams! That was inspired by Portia I believe, she was concerned about how to sew the skirt if she didn’t have a serger. Looks just as nice, if not nicer to french-seam the pocket bags! A lot of jeans pockets are done this way. If you’re wearing jeans, check to see if the pocket bags are french-seamed!
@Zilredloh: Ah, me too! I don’t like bulky or chunky pockets over my hips either. These are nice and flat and you can barely see them! One of my favourite types of pockets, for sure.
@julia: You’re right, you can use anything to stabilize the pocket openings! All of your suggestions would work, as long as you can either trim them without ruining the tape (ie. stay tape or selvages) or if the trim is narrow (grosgrain or twill tape).
This is what I was waiting for! Ingenious pocket making. :) Now I’ve seen this, and The Snug Bug’s skirt, I’m going to have to get the pattern. And some super cute fabric to make it up in.
These pockets look great. Have you written a tutorial on putting invisible zippers on the openings to make them more secure? Even more complicated would be security pockets (a zippered pocket inside of a regular pocket) like are on travel clothes.
Even though I’m not sewing along, I learn alot from these posts, Tasia. They are so clear and easy to read. You should get a tutorial award!
Hi Tasia, a blog award’s waiting for you at my blog: http://stepalica.blogspot.com/2011/05/jos-jedna-nagrada-another-award.html
Brilliant, I was waiting for some alternatives to twill tape. The place I visited was undergoing renovations and I was lucky to get out alive…alive but sans twill tape :( I have a 5 month old baby so popping into a store isn’t so easy. I’ll use some selvedge. Thank you Tasia!
Aaaah, I wish I’d been following this while sewing mine; the instructions are painfully clear! The one bit that almost got me was with the twill tape; I somehow didn’t account for the seam allowance in mine and the tape wound up quite a bit shorter than it should have been but luckily it still worked just fine for the pockets.
As a complete novice to sewing, (no, really, I haven’t looked funny at a piece of fabric in the last ten years) I’ve been fighting my way through a few different patterns over the last week and when I opened the Sewaholic pattern I was beyond relieved. No unnecessary stuff written all over the patterns, everything is clear and concise, and just by reading carefully and checking a couple terms with the glossary I’ve managed to make this one entirely on my own without supervision. Seeing as I’ve been double checking virtually everything else I do while sewing with my mom before taking action, this is amazing and a HALF. Also, I am definitely a pear shape and while I’ve been making size 10 for my upper half and size 14 or 16 for my lower half in everything else I’ve made so far, these patterns fit me perfectly. Thank you, Tasia, for making patterns that fit real people and are usable for the inexperienced sewers of the world too! Awesome!
Yay, the French seamed pocket bags look fab. I’ll be honest, I’m in construction method HEAVEN with this post. Understitching, top stitching, French seams…..I used grosgrain ribbon instead of twill and it works brilliantly and looks achingly gorgeous too. I love how my pockets are shaping up. I don’t think I’ve ever been so pleased with the finish on anything before. I can’t thank you enough Tasia. Brilliant.
Pxxx
Thanks for this post – I followed it perfectly, no problems and am delighted to have done French seams for the first time without even noticing!
Thanks so much for this post! I was trying to draft slash pockets for New Look 6981, and this tutorial showed my what shape my pockets should be and exactly how to attach they. Super happy with the results!