 Last post for the Crescent sew-along, everyone!
Let’s get hemming! You can hem your skirts any way you like. I’d suggest trying it on again, and making sure you are happy with the length before hemming. You can always go shorter later, too!
I’m going to show you how to use seam binding to hem your skirts. Seam binding can be plain, like mine, or it can be made of lace.
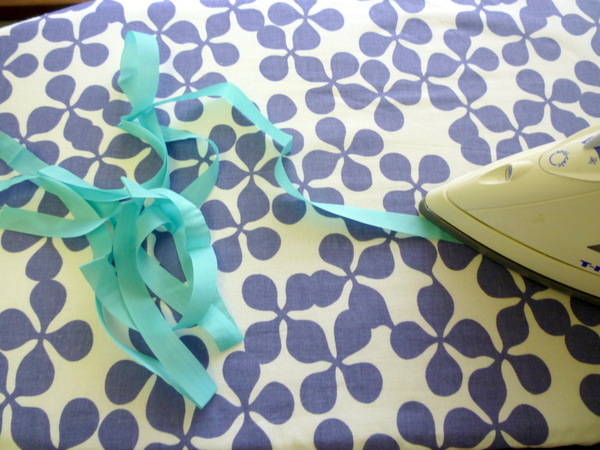
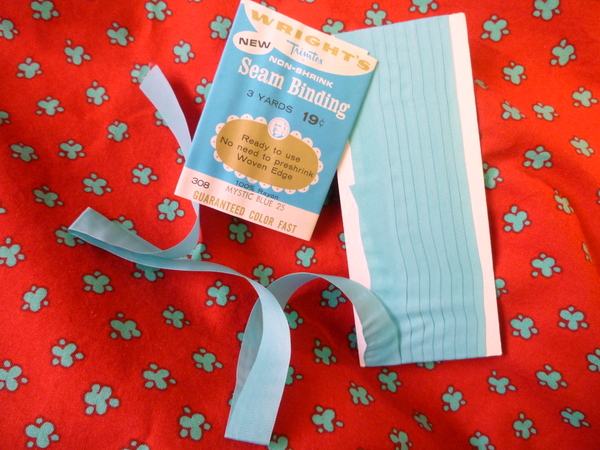 First, press the trim flat and remove any creases, wrinkles, or fold-marks.
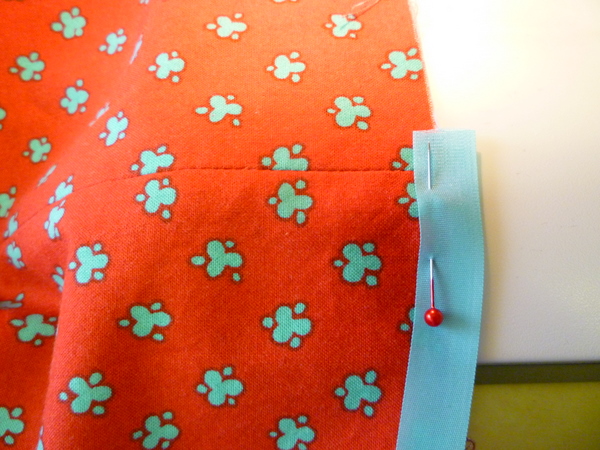
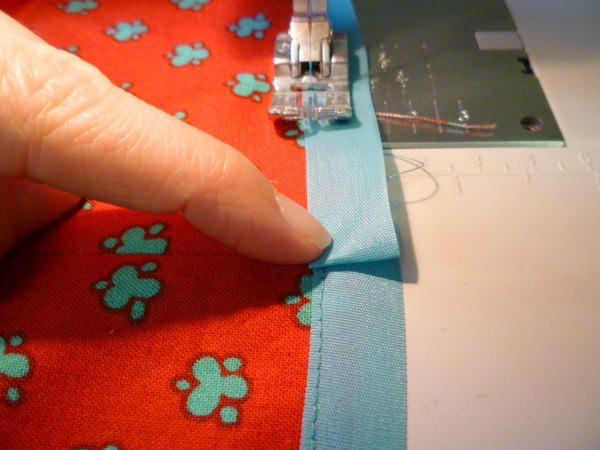
 Now, pin the trim to your raw edge. I’m letting about 1/8″ of the seam binding overlap the raw edge here. I’m also starting at centre back, so that the binding overlap is mostly hidden.
 Edgestitch the seam binding to the hem. I switched my thread to a closer match because my seam binding is a completely different colour, and the red would look messy.
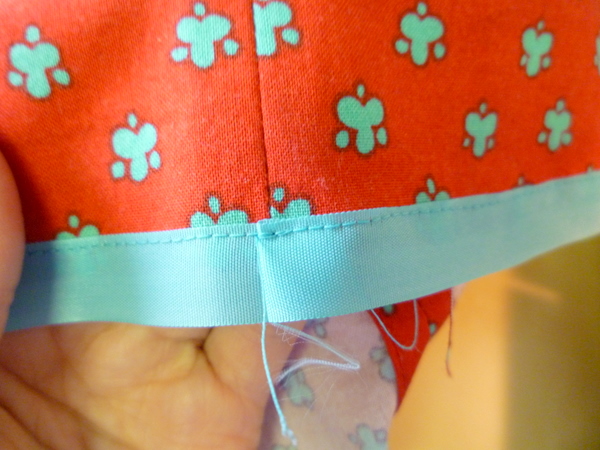
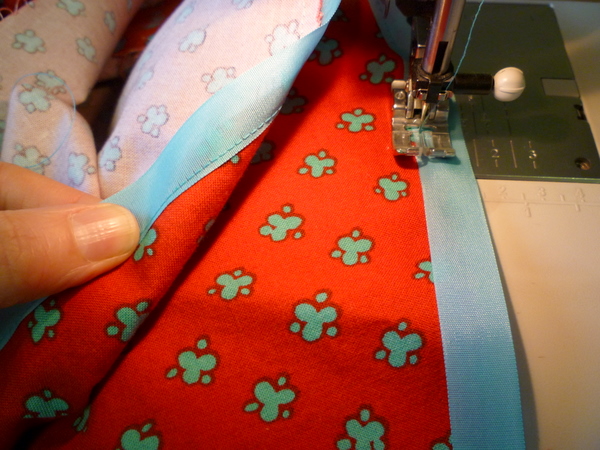 When you get to where you started, trim the seam binding and tuck under the raw edge. We’ll stitch right over top of the folded part.
 Here’s what it looks like at the overlap point:
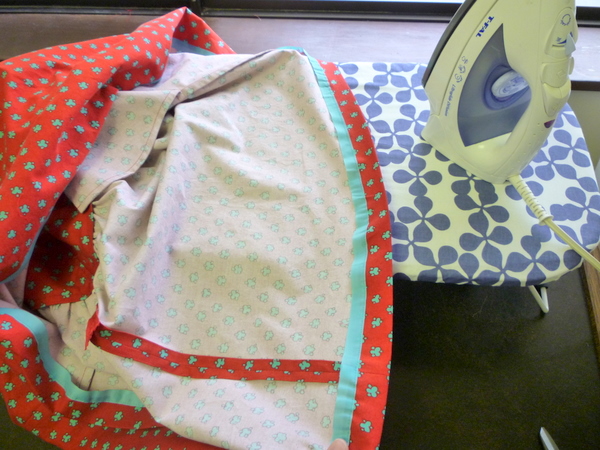
 Now, press under your hem allowance. If you’re following the pattern exactly, the hem allowance is 1 1/4″ (3.5cm).
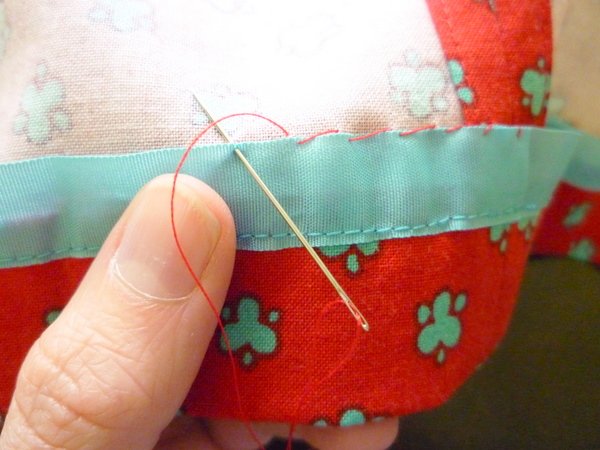
 Hem the seam binding to the skirt. I’m using a hand-sewing needle and thread and invisible hemming stitches to secure the hem. Here’s a close-up of the hand hemming:
And that’s it! You’re all done!

I enjoy reading your tutorials! I often use a catch-stitch when hemming–especially if there’s a lining. http://www.threadsmagazine.com/item/7207/how-to-sew-a-catch-stitch
Ooh exciting!! I’ve always wondered how you are supposed to use seam binding, thanks for explaining! :)
Right, I’m off to revise, then treating myself to some sewing in the evening :)
Ashley x
What a fantastic sewalong, with lots of good information and clear, interesting posts! Thanks so much. I’m going to hem my first skirt and finish my second, hopefully in time for my birthday trip to Victoria this weekend. Pictures will follow now that I’ve found my camera again (it was lost in my wool coat pocket for 3 weeks!).
I’m not doing the sew-along, but this post was very helpful for a skirt I’m currently working on. I picked up seam binding at the thrift store and wasn’t sure where to use it so thanks! Can’t wait to work on my Crescent skirt one of these days :)
Do you trim the seam allowance when you fold up the hem? I recently hemmed a skirt that I used french seams on and the hem is rather bulky but I didn’t know how to trim the allowances without causing structural damage. Any suggestions?
Loved the sew along. I am wearing my skirt and loving it. I am not sure I got the hem completely even (it looks the tiniest bit shorter in the front than the back) but I am thinking because it is so full (and I chose the longer length) that it will be rather forgiving … especially if I stay in motion.
I hate hand hemming! I may use the blind hem foot with mine. By the way, did you say you were going to show us how to do a slip? Have you covered this or is this to come? Many thanks for all the brilliant posts. It’s so handy to have them all to hand now that I’m ready to do my skirt.
So pretty! I’ve only been following the sew-along vicariously, but I will definitely use this tip in the future. It makes such a pretty detail on the hem.
@Amy (quixoticpixels): I usually do, too! I thought it would be too much red thread if I did, and decided the hemming stitch was less obvious. Normally I like the stretch from the catchstitch, plus it seems more secure.
@Ashley: In the package there were instructions on how to apply it – I don’t think they do that anymore, but what a good idea! I love the extra bit of colour it adds.
@Lauren R: Oh nice! Happy early birthday :)
@Amanda: That’s where I got this seam binding, too! I figured I better start using it up, that way I don’t feel so bad collecting more :)
@Elizabeth: I didn’t trim my seam allowance at the hem – I haven’t actually finished hemming the skirt yet, but my fabric is thin enough that I don’t think it will be too bulky. To reduce bulk, you could always trim the french seam down about 1/2″ below where the hemline will cover, so that just the part enclosed by the hemline is trimmed and the part above the hemline is a normal French seam.
Does that make sense? I can draw you a picture if you like!
@Marge: Actually, the skirt is the tiniest bit longer at the back than the front! I forgot to mention this, but It’s designed to go over a curvy derriere, the extra length is needed so the hem doesn’t hang shorter at the back. It’s like the reverse of a Full Bust adjustment that adds extra length to cover a larger bustline. It’s only minor, and if it doesn’t work for you just re-hem the skirt slightly shorter in back!
@Sewingdina: I don’t love hand-hemming either, as I haven’t finished hemming my skirt yet! I wanted it to be invisible and do something everyone can do in case they don’t have a blind hem foot.
Slip tutorial is coming! I mentioned it in today’s post, I’ll have something together this week.
@Stacy: I love the seam-binding hem, too!
@Tasia: Yes, that makes perfect sense. The seam should still hold up because it’s enclosed in the hem, correct?
@Elizabeth: Exactly! The trimmed part is hiding in the hem, the rest of the seam that’s showing is un-trimmed.
@Tasia: Thank you! I’m going to give it a go on my next skirt.
Hi Tasia, great Tutorial. Just a tiny point, the way you are hemming isn’t the best technique. If you use a catch stitch your hem will be much flatter. It’s worked from left to right, very easy to do, gives a secure, professional finish and comes together very quickly.
Sorry, I hope you don’t mind me pointing that out??
Thanks for this tutorial, it is very useful. However, being French but learning to sew mostly from english blogs I don’t always know the french equivalent to the vocabulary. And in this case, I have no idea what could be the french term for seam-binding therefore I don’t know what to buy to hem my skirts with your technique.
Is it a simple ribbon and would a satin ribbon replace your vintage rayon seam-binding? Or do you know a better equivalent which I could find easily even in France?
@Litchi: Hi Litchi! In Canada, usually there will be both English and French on the labels. I checked a few of the packets I have and here are some translations:
ruban a bord
ruban pour ourlet
Do either of these make sense? It’s a simple ribbon, but it comes in packages of about 2.75m and it’s slightly thinner than regular ribbon. Although, regular ribbon or lace would do the trick, too!
Hi – just found your blog and patterns. I’m a fan of sewing and have recently gotten back on the horse after not sewing for a while. I am absolutely thrilled to have found a BC, Canada pattern drafter and have just purchased the two patterns you have. Looking forward to receiving them and giving them a sew – and for new patterns to appear this year!
Keep up the EXCELLENT work!!
@Tasia: Thanks for your explanation. It seems to be called “Ruban √† bords”. The “ruban √† ourlet” is always a fusible ribbon to hem without sewing. It doesn’t seem to be as easy to find as seam-binding in america but if I can’t I will try with classic ribbon.
Thank you so much for this tutorial! I used it tonight to lengthen a pair of pants I just loved, but had in the donate pile because the short length drove me crazy every time I wore them. Thanks to this tutorial, they’re not the perfect length! Thanks for the awesome tutorial.
Hi Tasia, well I worked my way through the skirt today and I just finished! Your sewalong is the best I have ever seen for a pattern sewalong. I loved the small posts with the tiny details though I was also glad to be able to do the whole thing in one day too. I had seen the folding over the top of the zipper into the lining technique somewhere before but I couldn’t ever get my head around it. You explained it SO much better. Also, I really loved the tip about winding the gathering threads around the pin. Genius! Thanks so much for going to so much effort to help us along. The only thing I did differently was to put in a blind hem. The skirt is great – and it’s going to be a sunny weekend so I’ll get to wear it!