 Today is all about working with fusible interfacing. I have a few tips to get the best results, from my own experience working with fusible interfacing.
First, cut all of your waistband and waistband facing pieces from fusible interfacing. If you haven’t done this yet, they are pieces 6, 7, 8, 9, and 10. Remember to cut two of piece #7!
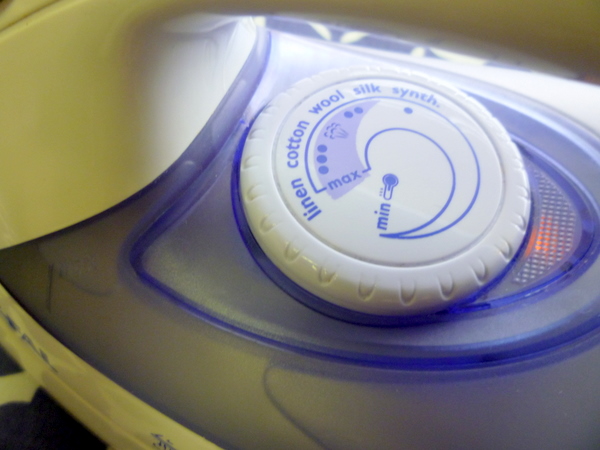
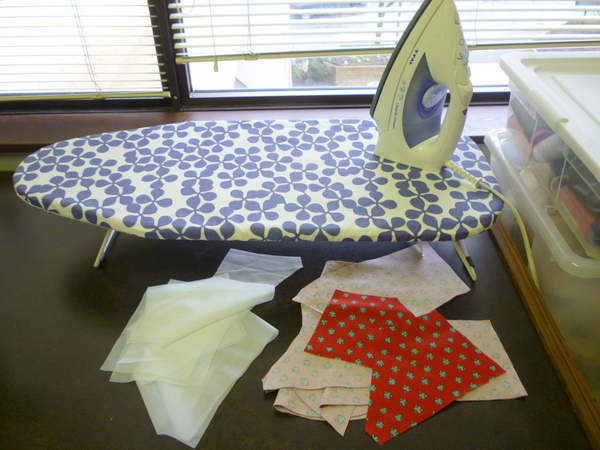 Now, turn on your iron and get it warmed up. Set the dial to the appropriate setting for your fabric. Mine’s dialed into ‘Cotton’.
 While you’re waiting for the iron to heat up, start lining up your pieces. Place your fabric right-side-down on the ironing board, and line up the fusible piece sticky-side down on top of the fabric piece.
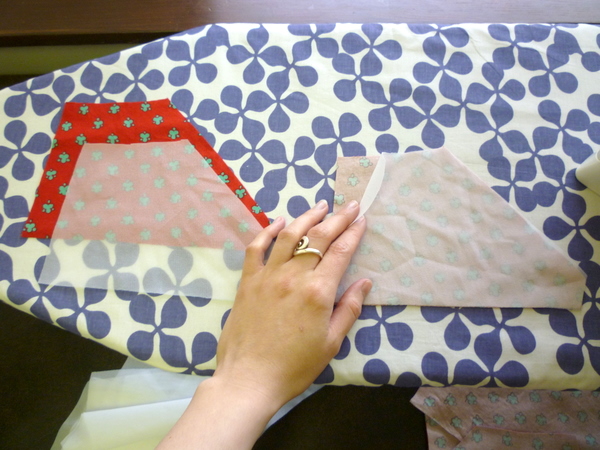 Line up the edges as closely as you can. It’s OK if they’re a little bit off, we can fix that!
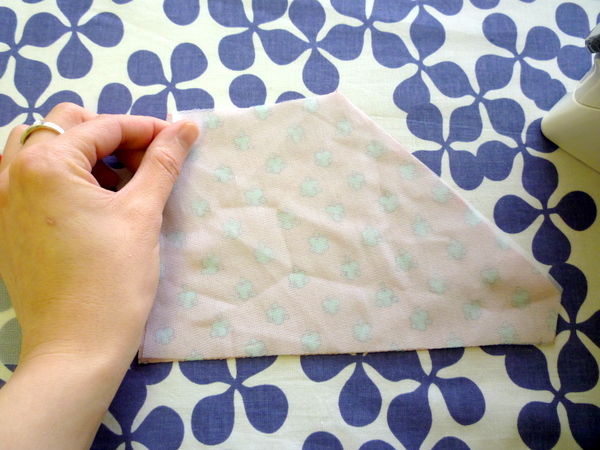 Hint: if you can’t tell which is the sticky side, look for shine, sparkles or texture. That’s the sticky side!
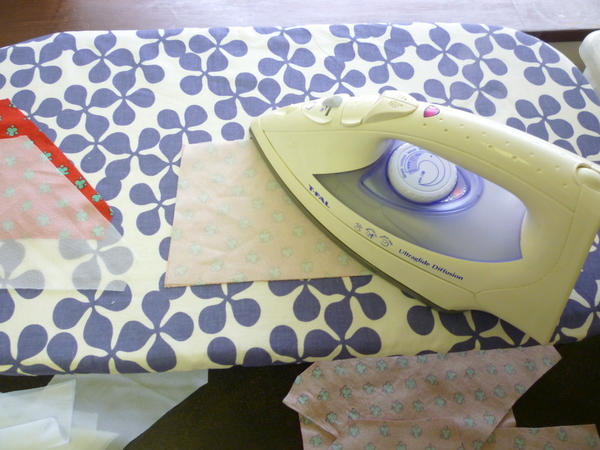 Once the iron is hot enough, press down on the interfacing and apply pressure for 10 seconds.
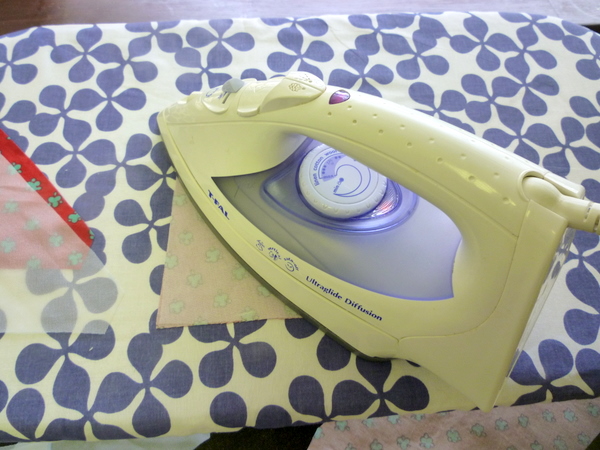 Lift up the iron, and place it down on another section of the fabric-interfacing piece.
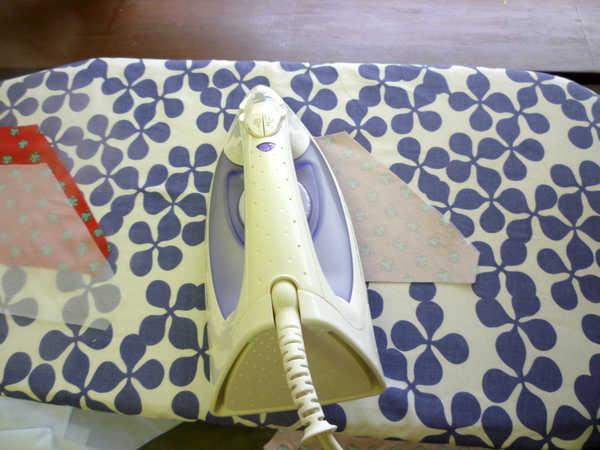 Don’t slide the iron across the piece, or your interfacing might shift, or you’ll stretch the piece. Lift and press!
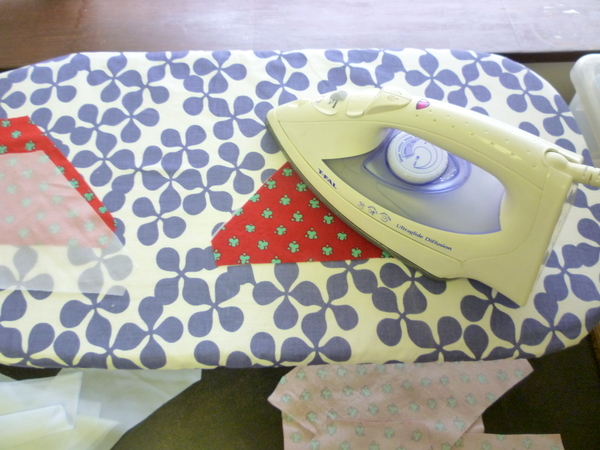 Turn it over, fabric-side-up, and press again. I like to do this to make sure the interfacing is really secure.
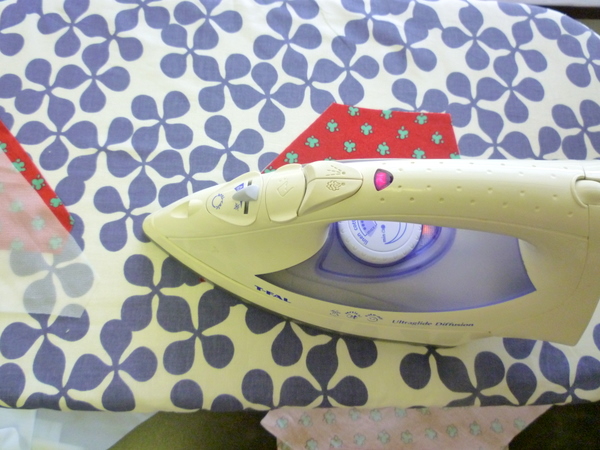 Again, it all depends on your fabric. For cottons and linens, you can press without worrying! For synthetics, be careful not to overpress or melt your fabric. Use a press cloth to cover the piece you’re about to iron and press. I use a muslin press cloth usually. For wool, use a press cloth to avoid shine.
Most of you are using cottons or linens, so you should be fine! When in doubt, test on scrap before pressing your real garment pieces.
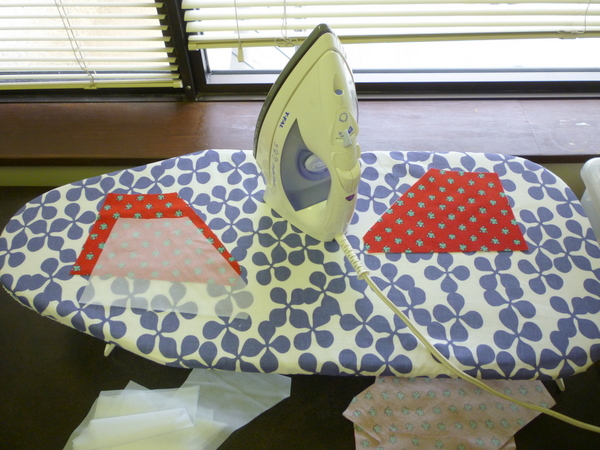 Leave the freshly-pressed piece to cool, and move on to the next piece. If you want to work faster, while one piece is under the iron, you can start lining up the next piece.
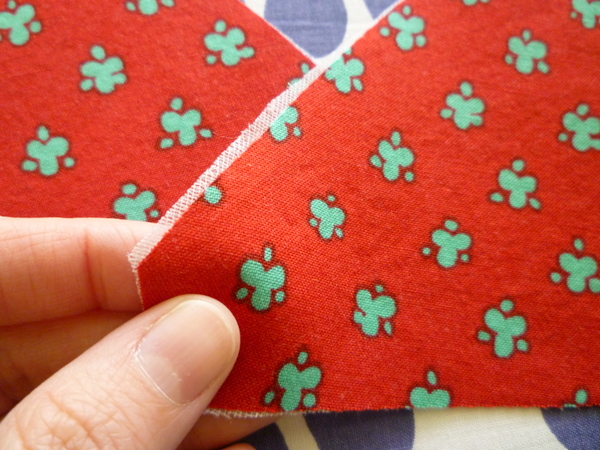 Trim excess fusible interfacing from the edges. You don’t have to, but this little tip will make it easier to sew the curved seams and line them up properly!
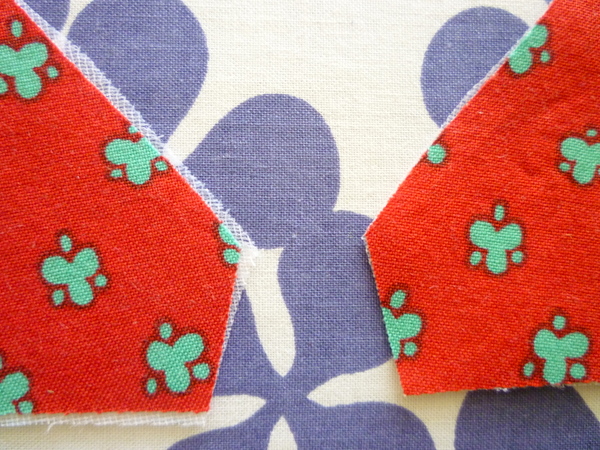 One last tip: make sure any trimmed bits of interfacing are far, far away from your iron and ironing board! Otherwise you’ll have little bits of interfacing glued to the board cover, to your iron, or worse – to future sewing projects! (Or your household ironing. None of those are good!)
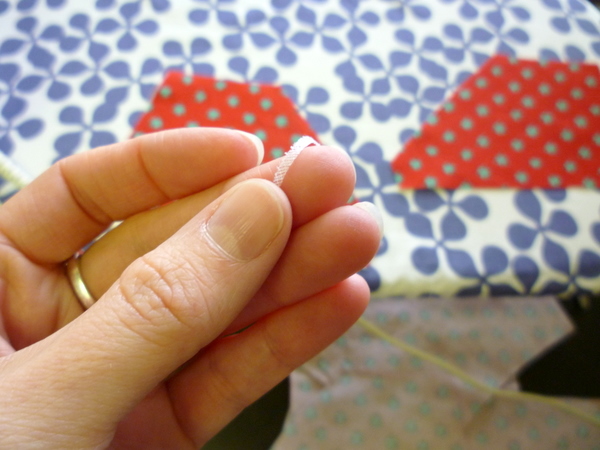 Repeat until all of the pieces are interfaced.
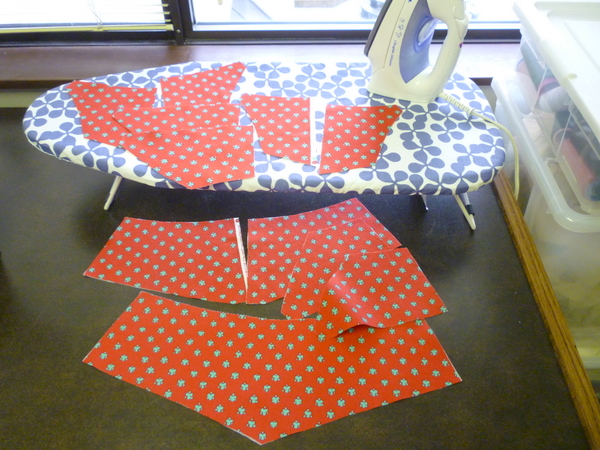 That’s it for fusing the interfacing! Easy to do. Fusing your pieces properly now will ensure they don’t peel apart and pucker later on.
Any questions? Do you have interfacing tips and tricks to share? Leave us a comment below!

This would be a great candidate for the “sewing the interfacing on to finish the edges of the facing trick”! On the facing pieces, put the non-sticky side of the interfacing against the right side of the fabric. Sew along the bottom edge, trim the seam allowances, then turn so the wrong side of the fabric and the sticky side of the interfacing are touching – then fuse. Now the bottom edges of the facings are already finished. I can’t think of any reason this’d be a problem later in construction… but i’m only halfway through my first cup of coffee!
Thanks for the tip about pressing the right side too :) I’ve still got to cut out the interfacing, I’d best get going!
Ashley x
I usually pin my fabric pieces to the interfacing and cut around them. Is that a good approach? Or are there better ways?
I’ve only ever used non-woven interface and would like to get some woven interfacing but not sure what words to use to ask for, and what is good or bad. Any tips?
I had some lightweight non-woven interfacing so I did this step last night whilst doing the family ironing!!
I would love to have your take on the quality of interfacing. Also (tip from me), I think often it’s easier to block fuse and then cut around the fabric pieces.
I find that spraying the fusible interfacing with water, before placing the hot iron it work extremely well – I get a better adherence and a little interfacing pre-shrinking at the same time.
I haven’t looked at the fabric layout yet, but with a whole bunch of pieces to do, this also seems like a good candidate for fusing a big piece of interfacing to a big piece of fabric, and then cutting the interfaced pieces *after* the fusing. Easier than lining up all eight pieces. (I was going to try this—is that what they call blockfusing? Plus, less cutting! I hate cutting.)
Thanks for this! (I’m not doing the sewalong, but I love the skirt and really want to make it when I have time.) I’m a total newbie, and I tried to fuse according to the directions on the interfacing for a collar last night… big mistake. The interfacing clung to the fabric sort of limply and came off if I looked at it sideways. Luckily it’s the muslin, so it’ll be okay, but I’ll definitely take your tips into account for the final project!
Two tips. My advice came from a bad experience. Save a section of the instructions that come with yardage interfacing, store it in a zip-lock type bag with the interfacing. Moisture can interfere with the bonding properties of the fuse. The bag protects that. Second, be careful not to over-fuse as Tasia has already mentioned. Those instructions you saved will tell you to fuse 12 seconds or 14 seconds, whatever. Pay attention and adjust according to your fabric and iron, test, test, test. I had a piece of cotton ruined because I fused too long, the glue actually came up through the fabric and laid on top of the fabric. You know that shiny side Tasia mentioned? It was on the right side of my fabric. Lesson learned.
Thanks Tasia. A quick question – Would you dry or steam iron this?
@Patty: That’s a great tip! The only part where you might have trouble is the pointed waistband facing piece – the one that goes on the inside of centre front. Also, you may end up with little pointy seam allowance bits at the end of each curved seam – hard to explain but imagine if you hemmed a dress first, then sewed the sideseams, if one side is longer it will stick down farther. On the yoke because the seams are curved, that’s probably going to happen! I definitely want to use this tip at some point though!
@Ashley: No rush! Next sewing post is coming up on Wednesday, so you have time! And the whole sew-along is at your own pace, no need to feel rushed!
@julia: You can do this – as long as you don’t stretch the main pieces when you fuse the interfacing. I’ve done this before and if you drag the iron across the fabric piece, it may stretch and end up slightly larger. On a waistband with this many seams, that can really add up! So just be careful and lift-and-press the iron.
@Louise: It all depends on what’s available in your stores! It seems that different stores call them different names. The one I like best is sort of a knit meshy interfacing, it’s soft and bendy and seems to press well and stick to everything. Here it’s called Sewer’s Dream. I think it could also be called tricot knit interfacing? Price is usually a good indicator of interfacing quality. I think the Sewer’s Dream that I like is $6/yard and the cheapo stuff is $2/yard. (Luckily, we have half-price Long Weekend sales here! That’s when I stock up.)
I think this is similar:
http://www.fabric.com/ProductDetail.aspx?ProductID=2e980ed1-4c27-4f04-9132-d24a29b550c8
It’s hard to tell without feeling it! I figured out what I like after years of practice and testing – and plenty of bad experiences! If you have a really good fabric store nearby, they may be able to help you pick out the right interfacing for your fabric, and make recommendations too. Hope this helps!
@G: It probably is easier – and more stable to cut, too! I do both, but I’ve experienced ‘growing’ fabric pieces the last time I block-fused, so this time I cut both and then fused. I also tend to use up leftover bits and strange-shaped pieces of interfacing instead of buying a fresh cut for each project, so it’s easier to cut pieces since there’s not enough ‘wide open space’ to block fuse.
@Lady Jenn: I’ve never tried that – thanks for the tip!
@daiyami: Yup – you can block fuse, for sure! Just be careful not to stretch out the fabric. Also, make sure the grainlines are lined up on the fabric and the interfacing. Hmm.. i should do a post on this sometime!
@Cory Ellen: It could be that the interfacing isn’t the right match for the fabric – or it could be a combination of heat (too little/too much) or pressure (too little) or time (not long enough.) If you’re unsure, do a couple of tests on scrap to find the best time/heat/pressure combination!
@Corinne: I’ve had that happen! The glue-dots coming through, that’s no good. I’ve done it on really lightweight fabrics. You’re right – test, test, test! (And don’t fuse while watching TV – I melted a project that way! Ooops.)
I never get instructions with my fusible interfacing! Maybe they figure I know how already and save the instructions for other people…
@Sewingdina: Hi! It all depends on your fabric. Mine is cotton, so I used steam with mine. If you have cotton too, then steam away! I tend to go with the iron setting – between synthetics and silk, there’s no steam. Wool all the way up to cotton and linen has steam. The iron does the thinking for me!
If that doesn’t help, leave us a comment with the kind of fabric you have!
Why not cut the facing – iron it on and then cut out the pieces? That way you’ll skip a cutting proces.
I do really like the cut-sew-turn-iron idea though
I always cover my ironing board with a piece of unbleached muslin just in case — just to keep it clean from any possible interfacing mishaps.
–C.B.
I did a different method of applying the interfacing with my friend – almost block fusing but still using small pieces of interfacing and fabric – we cut pieces of fabric and interfacing a bit bigger than the pattern pieces, fused them and then cut out the pattern piece from the fused bit. A little more cutting, but the extra cutting replaces one lot of precise cutting with two lots of approximate cutting so it’s a bit of a compromise. I posted a slightly longer description and pictures here: http://mymessings.blogspot.com/2011/04/crescent-skirt-cutting-time.html
I’m in Australia and I would love in any other Aussies could recommend interfacing. McCalls have the Weft Interfacings (made in America) and Lindcraft sells them as well. (Not sure about Spotlight.) They are:
Sheerweft – Smooth surfaced semi-sheer to lightweight synthetics and blends
Textureweft – Textured light to medium weight synthetics and blends
Whisperweft – Light to medium weight loosely woven dress to suit weight fabrics
Armoweft – Medium to heavy weight loosely woven suit type fabrics
Anyone use them?
The McCalls site (au) has a special on for Sew Loyal Club members for the Sheerweft. (I would totally recommend joining the Sew Loyal Club)
These are great tips for basic interfacing! :) I’m not participating in this sew-along (so many projects, so little time right now!), but I have been enjoying all the posts–keep it up, Tasia!
– Casey
As a total sewing novice, I’m eternally grateful I used a press cloth while fusing; I didn’t think to double check that I had it the right way and narrowly avoided covering my mom’s iron in glue. Lesson learned: check twice and fuse once!
oooo! nadia you totally reminded me! If you DO accidentally iron the wrong side of the interfacing, or are using messy interfacing that gets all over the place and gets the iron icky, you can clean your iron by ironing a dryer sheet! Just swipe your hot iron over the dryer sheet – there’ll be oily stuff on the iron (and a very, very strong fragrance!) then ‘iron’ some scrap cotton. I had a serious iron mishap and this worked like a charm! oop! stole a phrase from mom!
It never hurts to be safe than sorry ………….if you use a press cloth you will be protecting your iron which as we all know is a very important sewing tool we do not want to mess up. I have obviouslly learned this the hard way.
I hate the fiddly business of trying to precisely match the edges of the cut interfacing piece to the cut fabric piece. Wouldn’t it work just as well to cut the interfacing pieces a little smaller since you usually end up trimming your seams anyway? Then there would be less chance of interfacing sticking out and getting on the iron or ironing board.
Coming a bit late to this, but I just wanted to say I love the Palmer/Pletsch perfect fuse interfacing, it’s so much nicer than what’s available in the shops here. Also, the ‘top tip’ on their packaging is a good one, I think, basically make sure you overlap where you place the iron, so you don’t miss spots and leave them unfused.