Today I’m going to talk about sewing the Renfrew Top. We’ve done several posts leading up to this moment, talking all about knit fabrics, cutting, choosing a view to make, and general tips for sewing knits. The sewing is going to seem so quick compared to all of the preparation!
First, let’s sew the shoulder seams. We’ll add stabilizing tape to the shoulders, so that they don’t stretch out over time.
Sew the shoulder seams, backstitching at both ends. I didn’t worry about sewing with a stretchy stitch as we’re going to reinforce these seams to remove all stretch.
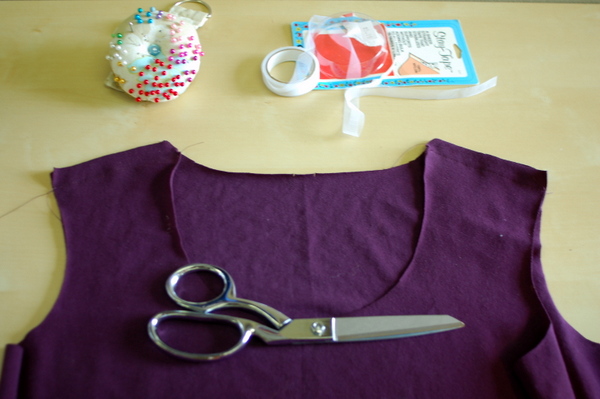
You can see I’ve got my stay tape ready! Measure off the amount you need for the shoulder seam.
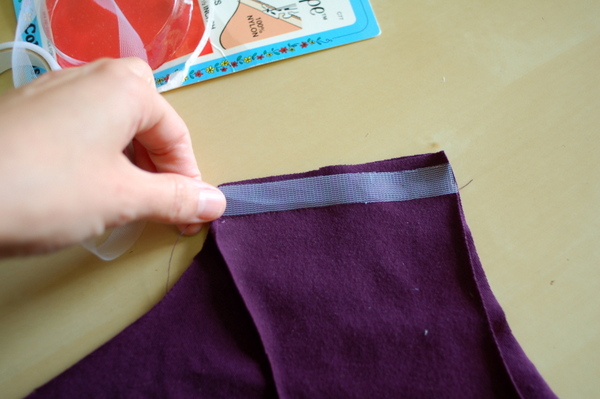
I cut down the middle of my tape so I have two pieces! You can’t do this with any kind of tape. Stay tape like this works, because it won’t fray when cut lengthwise. Fusible tapes would work, but regular woven tapes will fray and lose strength.
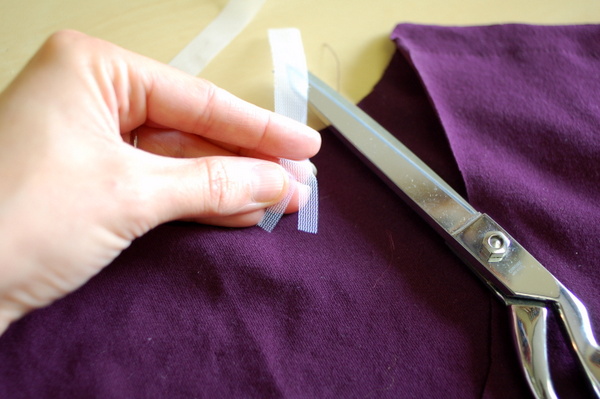
Next, pin the stabilizing tape to the seam. I like to pin mine just inside the seam allowance. The reason I like to pin inside the seam allowance, rather than exactly on top of the seam stitch line, is because this tape is a little inflexible. If I were to stitch it right on top of the seamline, and then tried to press the seam allowance, the tape would stop the fabric from pressing nicely. If I keep it inside the seam allowance, so that the edge of the tape doesn’t cross the shoulder stitch line, I’ll be able to press the seam allowances without the tape interfering.
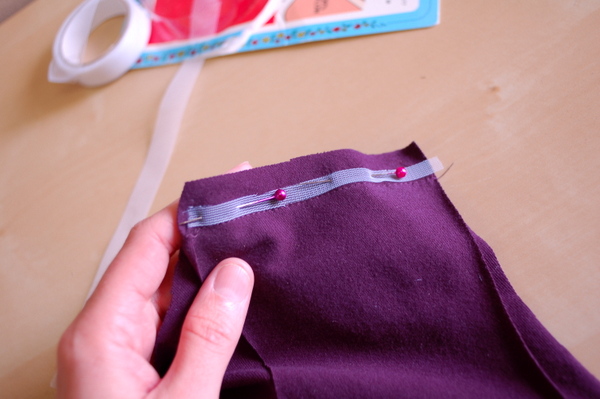
Stitch through the tape.
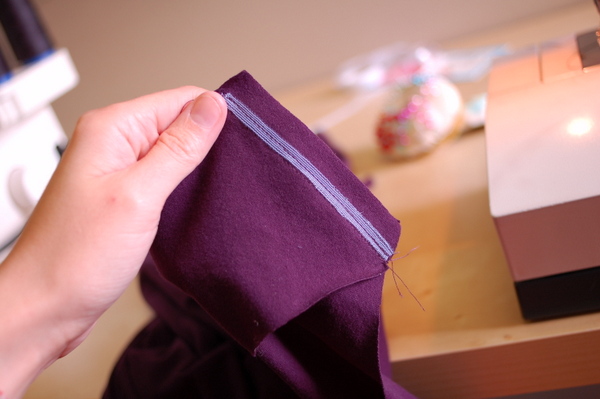
Then, finish the seam allowances. You don’t have to finish the seam allowances. Most knit fabrics are not going to fray or unravel, and we’ve stitched the seam twice (once for the seam, once to add the tape) so it’s going to be nice and strong. I like to finish the seam allowance for looks mostly.
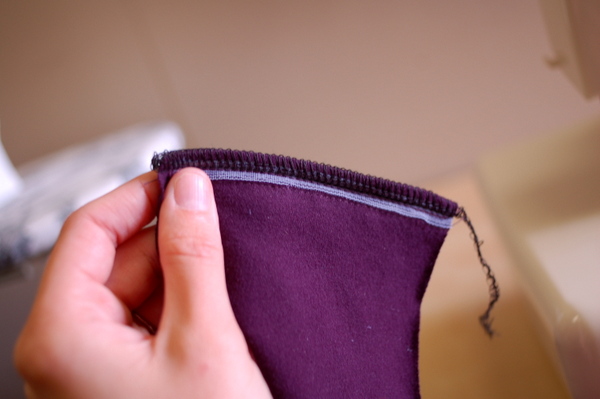
Repeat for the other shoulder seam, if you haven’t already!
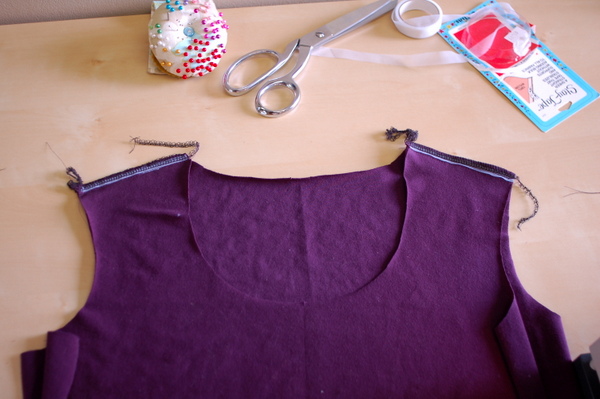
Ok. You can see I’ve placed the stay tape on the front side of the shoulder seam. Now, you might want to do it differently if you’re sensitive to scratchy tape.
Take a look at the photo below:
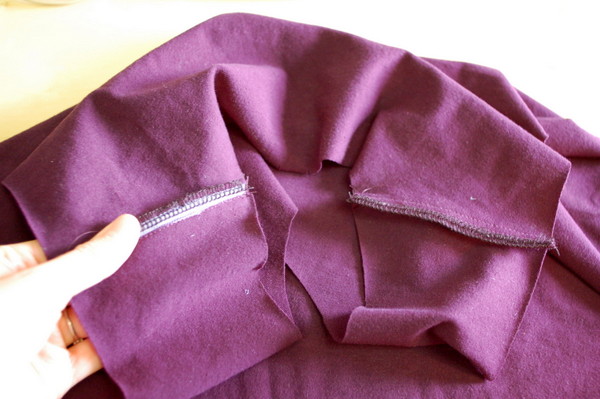
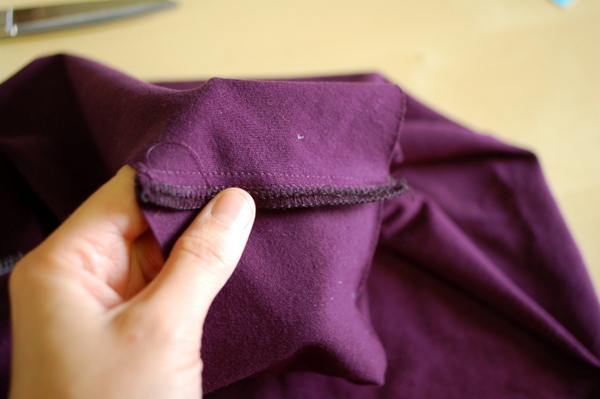
The seam allowances get pressed towards the back. So if you apply the stay tape to the front, like I did, the stay tape is what ends up on the outside against your shoulders. You can see on the right side, where the seam allowance is pushed forward, how much softer it might be.
So, if you’re worried about feeling the tape on your shoulders when you wear the finished top, apply it to the back of the seams instead!
That’s it for now! In the next post, we’ll sew the cowl for View C. I still get questions about how to sew this cowl collar, so I’m hoping that being able to see it in step-by-step photos will be helpful. Everything is clearer to understand when you can watch it happen, rather than read about it in words.

Just want to say how much I enjoy these posts. I have the pattern and am getting ready to start my first Renfrew, and will re-read these again as I get started.
I agree! I love checking out this blog. I want to try some of the patterns as well, but I just had a baby so I want to wait until my body has gotten back to normal.
I usually use 1/4″ grosgrain ribbon to stabilize my shoulder seams! :) It’s soft on the skin & you can get it in any color!
Funny coincidence, I made my first Renfrew top yesterday, and I was searching your blog to find out how to sew on the stay tape at the shoulder :). I ended up sewing the tape to the seam allowance after sewing the shoulder seam, which is what your pattern instructions indicates.
Thanks for this tutorial, II think I’ll use this technique for my next renfrew!
I also made my first Renfrew over the weekend! I blogged it yesterday and am wearing it today, and I am totally in love.
Just chiming in to say how much I love these posts, too!
Hi Tasia, great post today. I always sew the seam, then affix the stabilizer and sew again. AN extra step for nothing! You’ve inspired me to make a few more Renfrews as well. I cut out three fabrics last night. I want to make one a night – but I may end up making them all on Saturday…
I’d love to buy the pattern, but see they’re sold out. Please let me know when they’ll be offered again, or if there is another location where they can be purchased. Thanks!
Hello Naomi! I know, they just sold out over the weekend, much faster than I expected! I’ll have more around November 15th. Here’s a list of retail locations that stock my patterns, that might have the Renfrew top in stock: http://www.sewaholicpatterns.com/retailers. Depending on where you live this might even be a faster method!
Or, if you’d like to order from me, I can email you when they’re back in stock. Let me know if you’d like me to do that!
thanks so much for this post Tasia – for some reason, I just couldn’t get my head around this step (and of course, now it seems so obvious)! I know what I’m doing this weekend!
I sewed for the first time the Renfrew top last week and now that I read your post, I realize I did a dirty work on the shoulder :S But I’ll do better next time, now that I saw how you did it ! Thanks Tasia!
No problem! Glad it was helpful. The good think about less-than-perfect shoulder seams is that they’re hidden on the inside so no one sees them!
This is so clear and helpful, thank you Tasia. I have found some clear elastic in my stash – hurrah.