 It’s the first sewing day of the Yaletown Sew-Along! If you’d like to catch up on all of the sew-along posts so far, click the badge to the left. Here is a recap of the posts! Feel free to click the links to go to that specific post.
Yaletown Sew-Along: Fabric Suggestions, Choosing a Size, and FAQ
Yaletown Sew-Along: FBA and SBA Tutorials and Tips
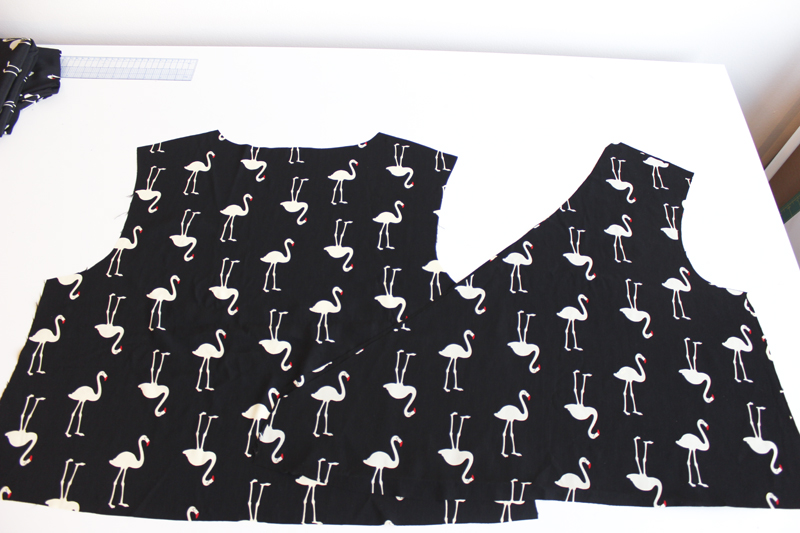
Yaletown Sew-Along: Cutting, Gathering Supplies
Today: Preparing Bodice and Sewing Facing (Instruction Steps 1-4)
TBA – Finishing Facing, Sewing Bodice Side Seams (Instruction Steps 5-7)
TBA – Sewing Skirt / Lower Blouse (Instruction Steps 8-10)
TBA – Sewing Bodice to Skirt, Sewing Elastic Casing (Instruction Steps 11-13)
TBA – Sewing & Attaching Sleeves (Instruction Steps 14-17)
TBA – Hemming, Sewing Tie Belt (Instruction Steps 18-19)
TBA – Thread Loops and Securing Neckline (Instruction Steps 20-21)
Today we will be sewing our bodice and facing shoulders, attaching our facing to the bodice, and then we’ll understitch the facing. Feel free to follow this sew-along in conjunction with your pattern instruction sheets, if you’d like! I’ll be referencing the step numbers in case you are wondering where we are in the instructions. We already covered step 1 last week, fusing our front and back facing pieces. So today let’s get going on steps 2 through 4.
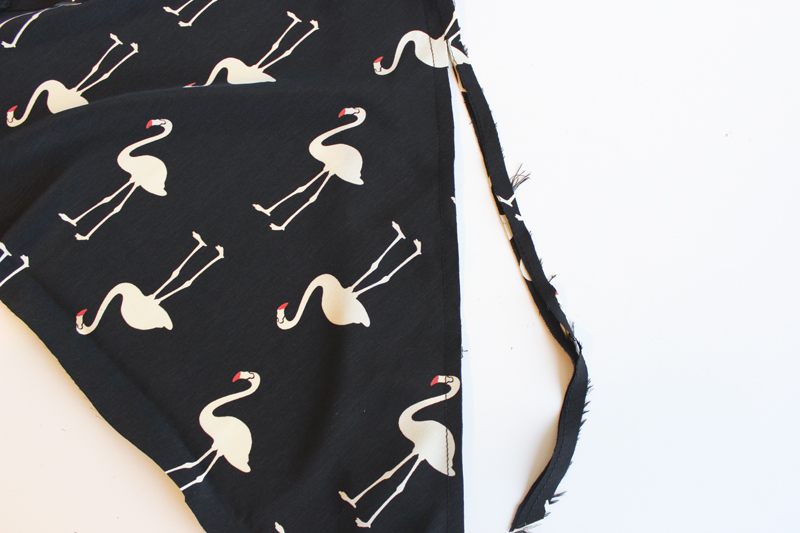
 Let’s start by staystitching along our bodice neckline. This will be the back bodice neckline, and the front bodice neckline which is just the diagonal part of the front bodice pieces.
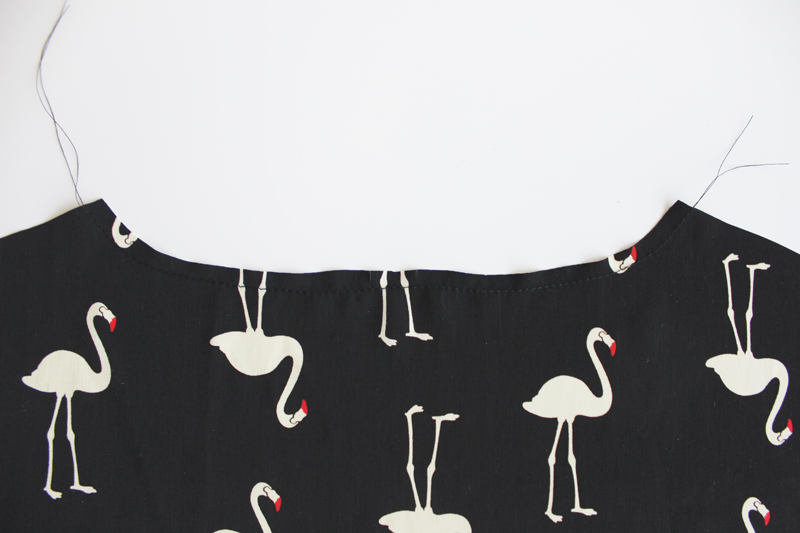 I like to staystitch with about a 3 – 3.5 stitch length. I sew about 1/2″ (1.25 cm) from the raw edge, so that it’s just inside my 5/8″ (1.5 cm) seam allowance.
Why staystitch? Our neckline is on the bias, so as we handle it, it may warp or stretch. We want to avoid that as much as possible, so the staystitch will keep the neckline nice and tight and prevents it from stretching out.
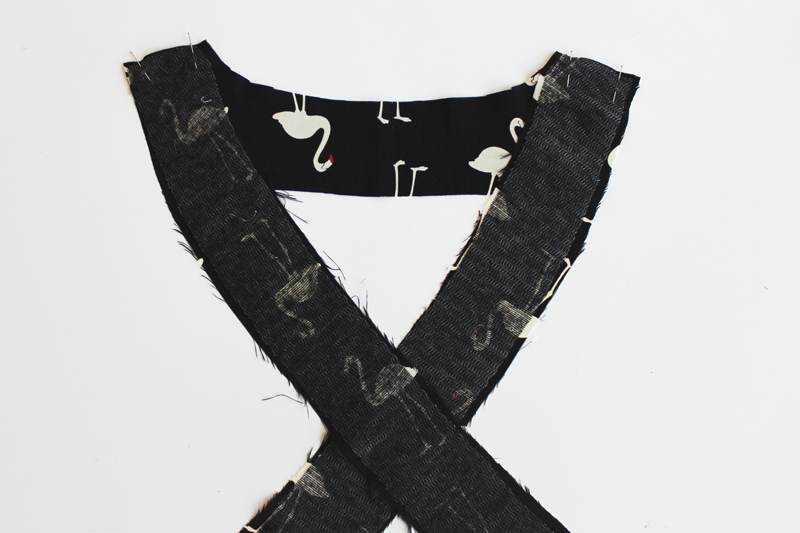
 Now let’s pin our front and back shoulders, right sides together.
 Sew your shoulder seams. Don’t forget to change your stitch settings back to your usual! My Bernina’s default stitch length is 2.4, but 2.5 is just fine.
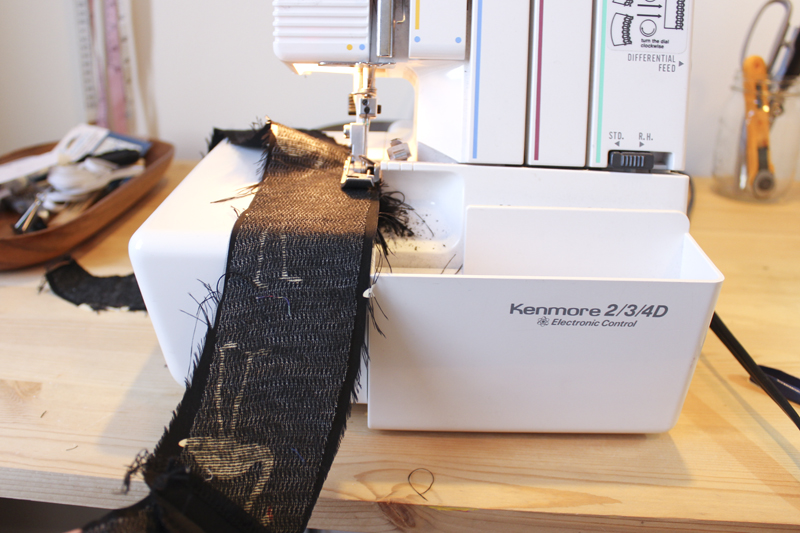
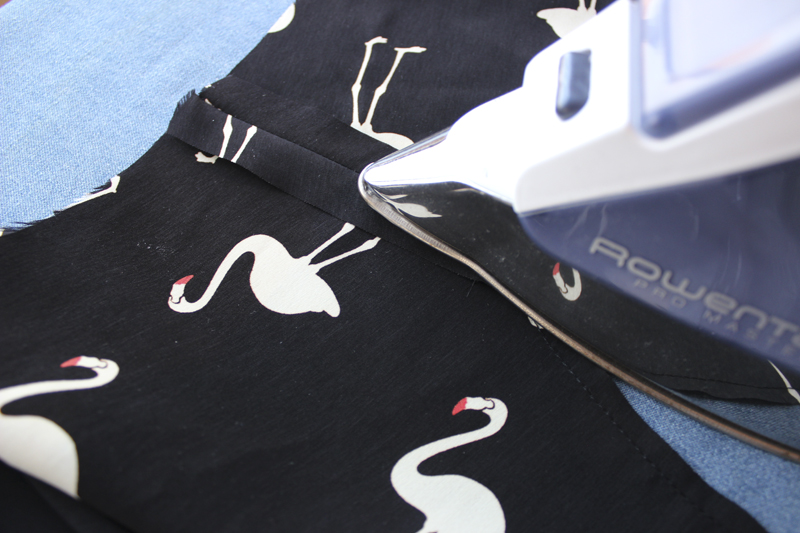 Next let’s finish these seam allowances. I like to sew a seam, press open, and then finish my raw edges with my serger. You could also sew, finish, and then press open. Or, you can finish your seam allowances, sew them, and then press them open. It’s really up to you! If you finish your seam allowances first, just be sure not to trim any extra off the raw edge as you do this.
 Alright, so we’re sewing, pressing open, and finishing our shoulder seams.
 Let’s repeat this with the front and back facings. Pin back to front facings, right sides together.
 Sew these two itty bitty seams.
 Press them open and finish the raw edges in whatever order you prefer!
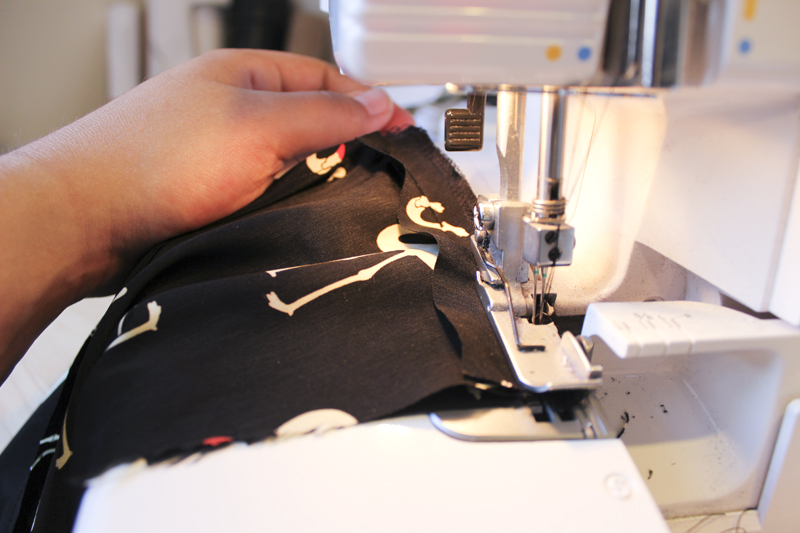
 Next, let’s finish the outer edge of the facing. This is the edge that will be visible on the inside of the garment. So we want it to look nice and pretty!
 Now let’s pin our facing to the bodice along the neckline, right sides together.
 Be sure to line up the notches, and the shoulder seams as you go.
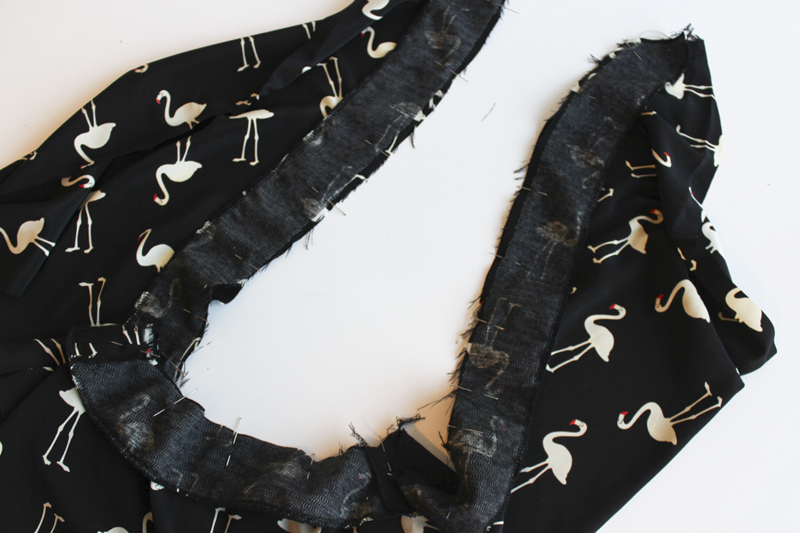
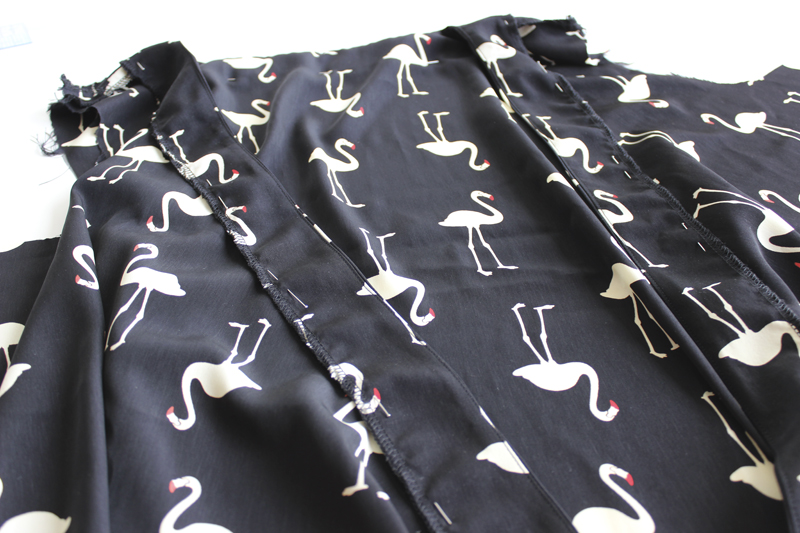
 Next, sew facing to bodice. Sew with the facing on top, this will help to ease the bodice neckline in. I’m trying to show this above. See how there seems to be excess fabric hanging? This is because our bodice neckline is on the bias. The facing has the fusible interfacing to keep it from stretching out. But even though we staystitched the bodice neckline, it will still need some easing in.
 If you sew with your facing on top, and match your notches as you go, the bodice neckline should just ease right in as you sew. See how that looks in the photo above? It works quite well.
 Now let’s trim our neckline seam allowances in half.
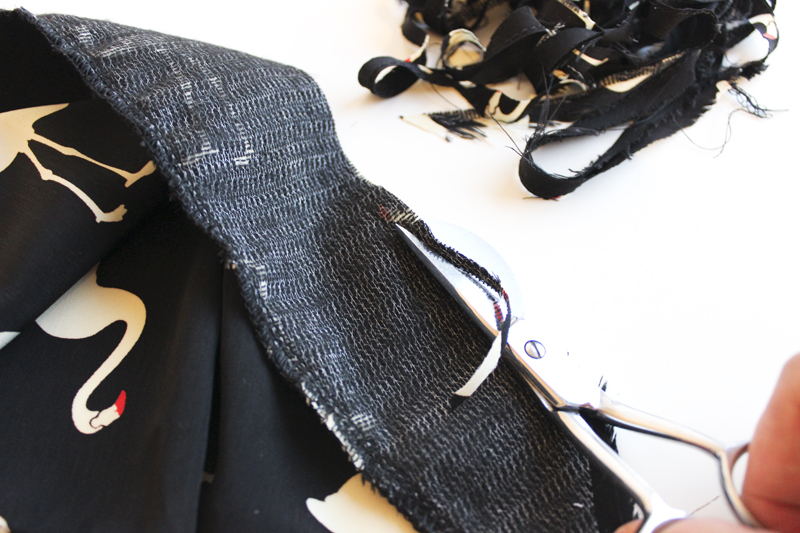 Finally trim the facing seam allowance only, in half again.
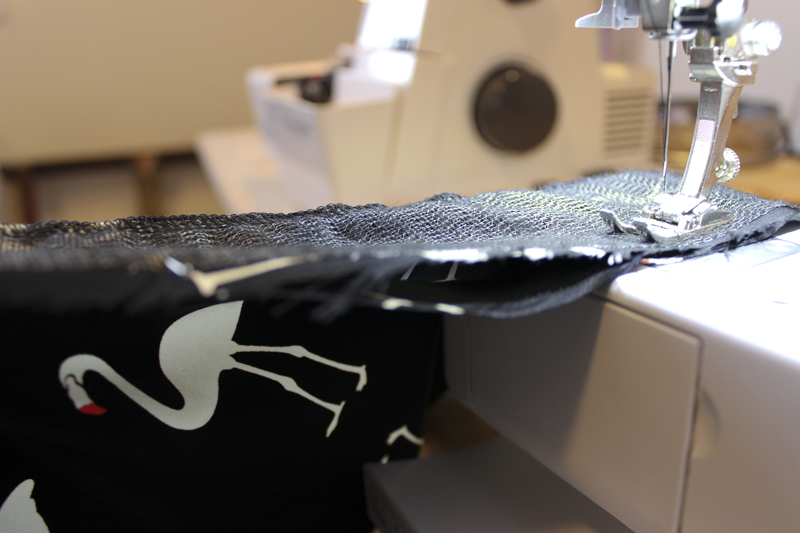
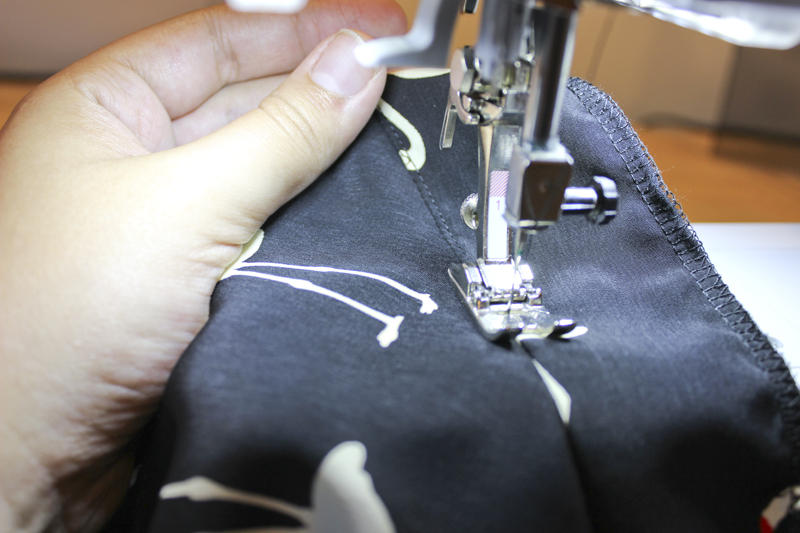 Time to understitch the facing. Stitch close to the seamline, on the facing side of the seam. Don’t worry too much about exactly how close, just go as close as you can comfortably go! I sew about 1/16″ – 1/8″ (1.5 – 3 mm) from the seamline. You want the seam allowances to be pushed towards the facing as you understitch, so you’re catching the seam allowance as you sew.
 I like to push the seam allowance over with my fingers as I sew, like so!
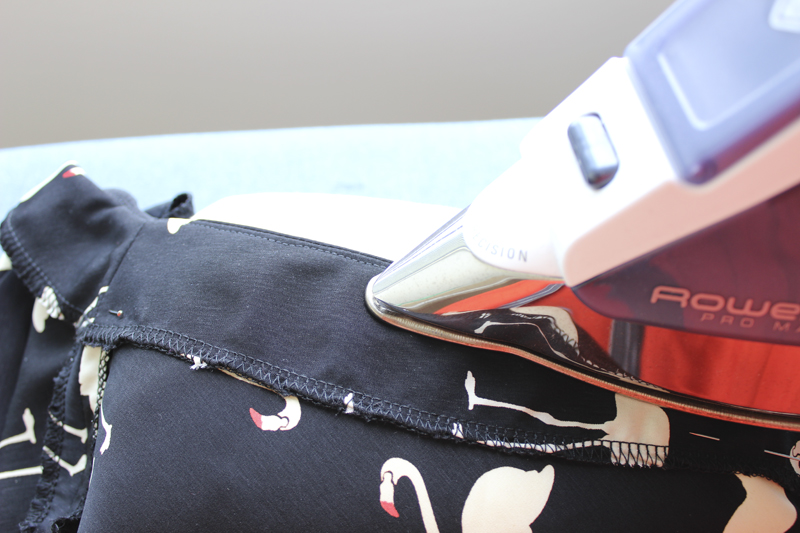
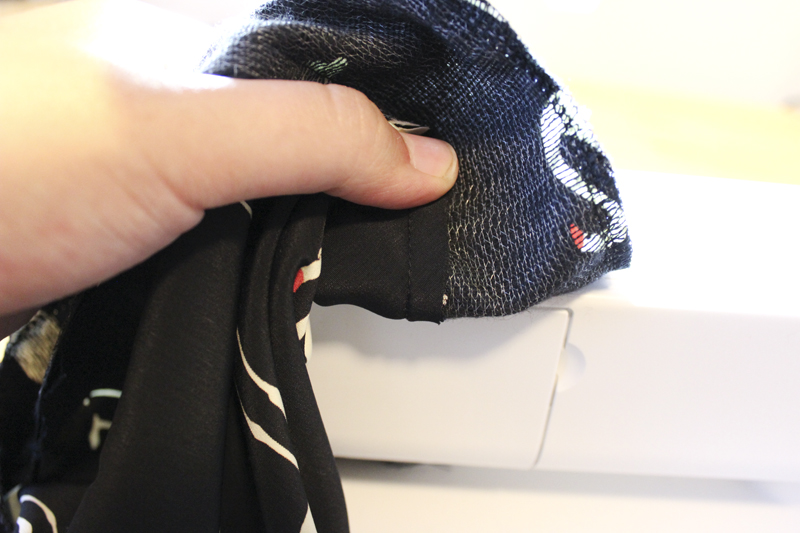
Now let’s press our lovely understitched facing to the inside of the bodice. The understitching creates a crisp edge, so pressing should be easy.
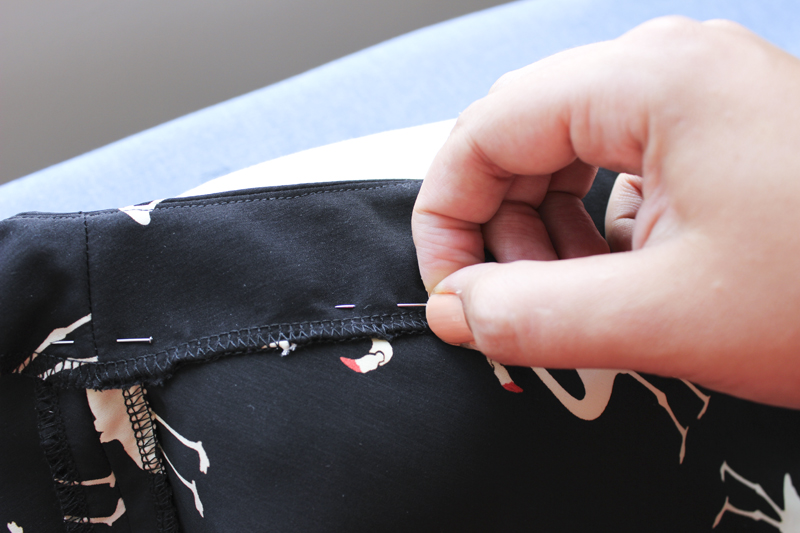
As you press, pin the facing in place. We’re getting it ready for topstitching.

Be sure to match up your facing shoulder seam with your bodice shoulder seam.
 This is where we’ll stop for today! Later this week we’ll be topstitching the facing in place, and finishing the bodice.
If you have any questions about the steps today, feel free to ask me in the comments. Happy sewing everyone!
Hi Tasia,
I hope all is fine since we meet a few weeks ago at my sewing school? The kids are excited at the prospect of sewing the Cambie dress during the workshop in October. Some adults are interested in making the classic blouse, ( can’t remember the name of it right now!). Can’t wait myself! I am cutting your Yaletown blouse and I was wondering where do you suggest I should alter to accommodate a Dcup like me. I am a size 10. I thought cutting the back size 12 at the underarm and the front overlay size 14 to allow more fabric to cover the bust? What would you do? Thanks, France Dorais