Hi sewing friends! Today we want to show you how to draft a swing top from your favourite basic tee shirt pattern. This is a super quick and easy hack for our Renfrew Top. The result is a tee with a really casual breezy fit – great for warmer months or layering in winter.
The volume in this case is starting from the shoulders, not the bust. That’s what I’m going for with today’s hack. It will resulting top has lots of “swing factor” and a really relaxed fit.
Alright let’s get started…
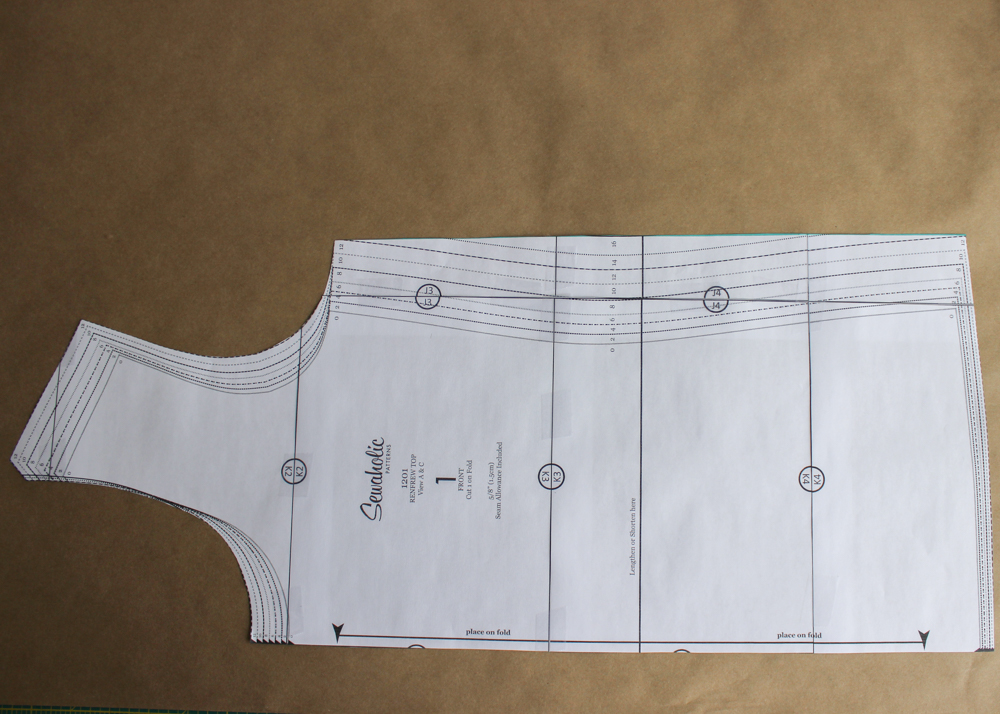
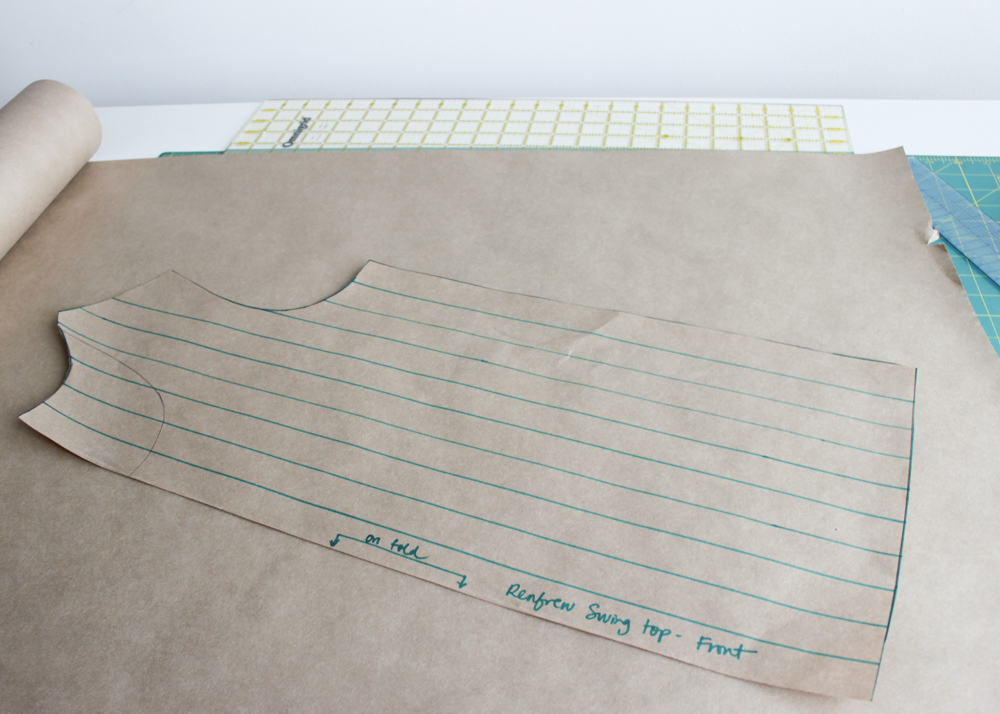
We’ll begin by tracing the front piece of our Renfrew Top pattern. Since we will no longer require any side seam shaping, draw a straight line from the underarm to the hemline corner to eliminate that shaping. I am also going to raise the neckline on my version, just because!
After tracing and cutting out your piece, draw lines parallel to the grainline. I did my lines 1″ apart because I want to add a lot of volume and I want it to be distributed really evenly. You can do fewer lines if you’d like.
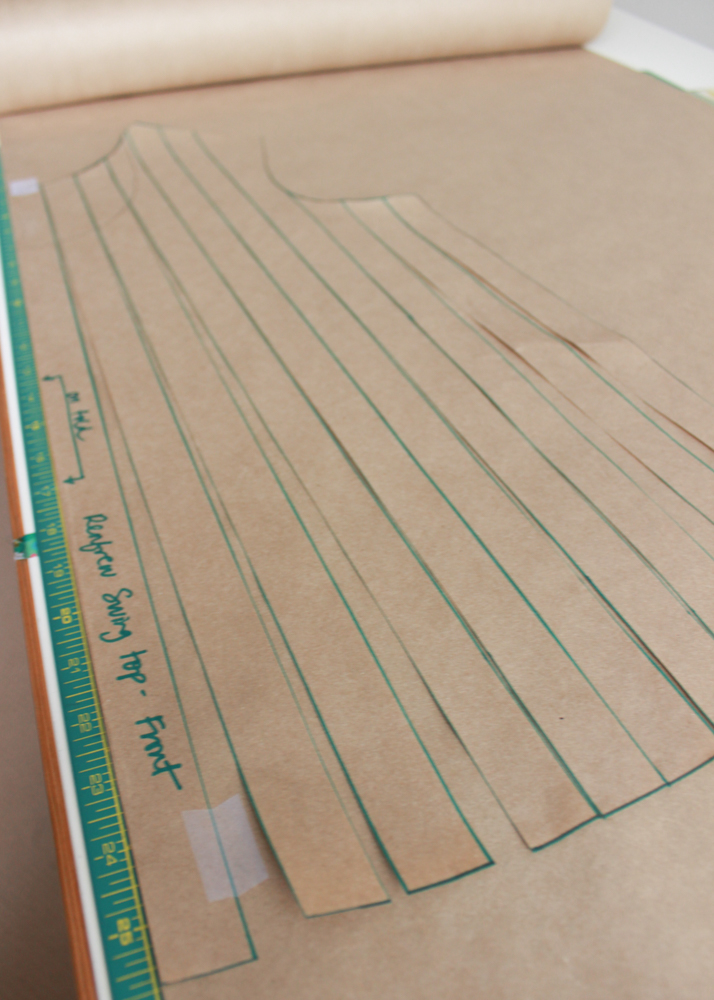
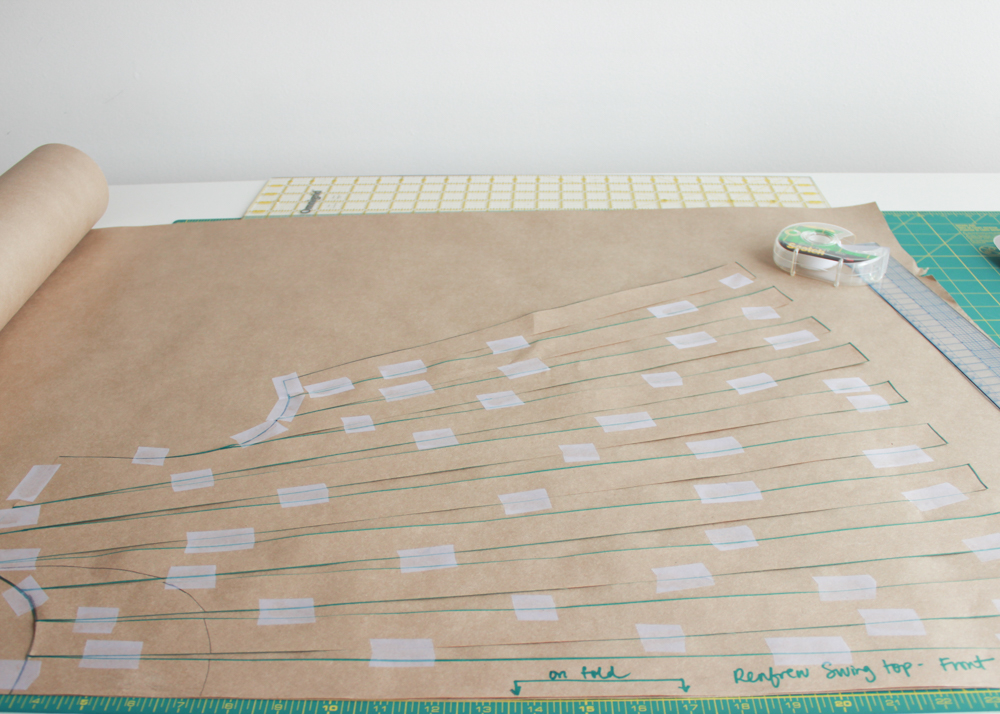
Slash your lines, cutting from the bottom to the top, taking care to leave a tiny bit of paper uncut at the top to create a hinge. Work from the center and spread each opening by 1″ (2.5cm) at the bottom edge. You can tape to secure as you go, just make sure each piece is nice and flat before you tape it down.
Here it is all taped up and ready to be trimmed. That’s a lot of tape, huh! Now is a good time to lengthen the pattern by a few inches if you’d like – you can do this from the hemline. I’m going for something shorter on this version so I’m leaving it as-is. At this point you can trim out your front piece, and repeat the same thing for your back piece!
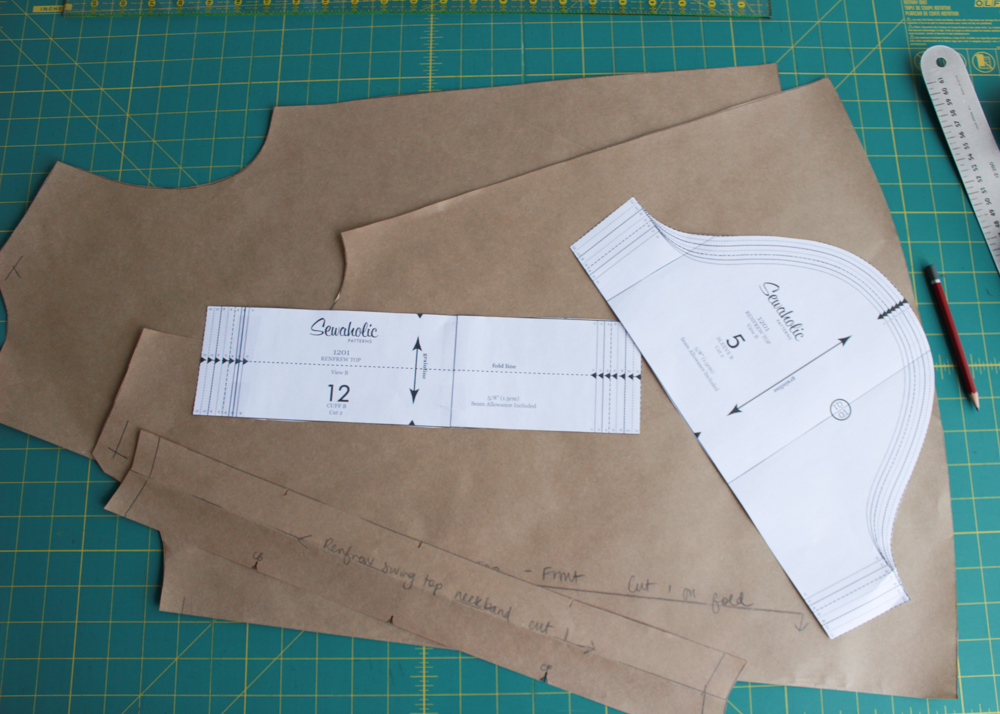
After hacking up and trimming my front and back, I retraced them. Since I raised my neckline, I also re-drafted a neckband piece. Here’s a tip: as a general rule when I’m drafting a neckband, I measure my neckline (without seam allowance), and then calculate 5-10% less for the neckband. 5% for a knit with low stretch, 10% for a higher stretch knit. I also grabbed my sleeve and sleeve band from View B.
You can now sew up your t-shirt as per instructions! Obviously we wont be using the hemline band for this garment. For my version I simply serged the raw edge, turned up a 1/2″ (13mm) hem, and then topstitched with a stretch stitch on my regular sewing machine.
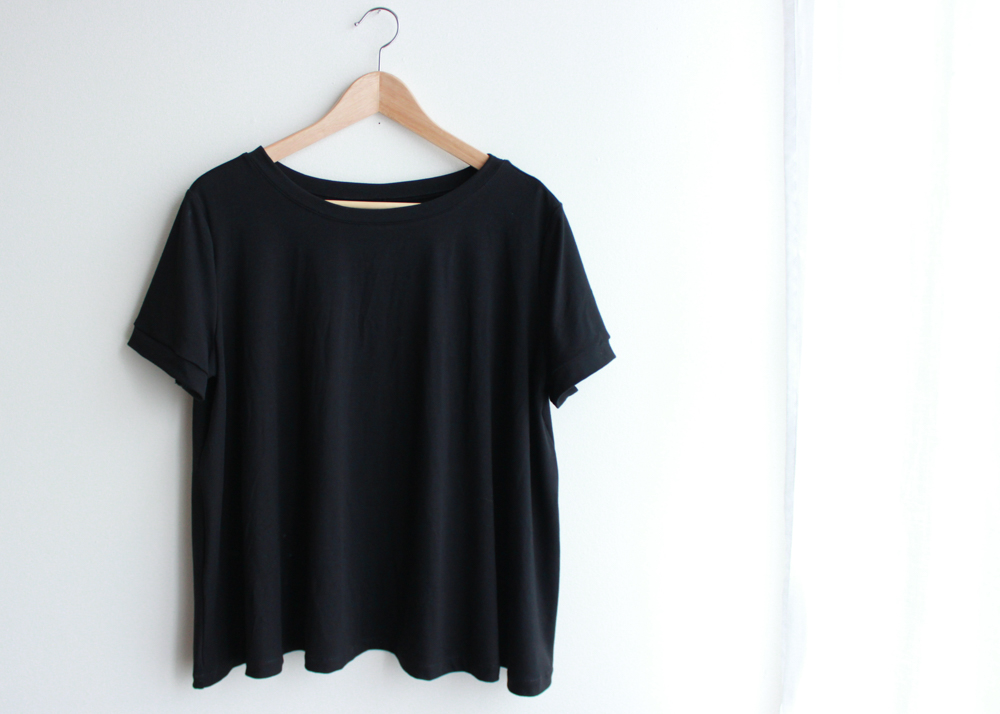
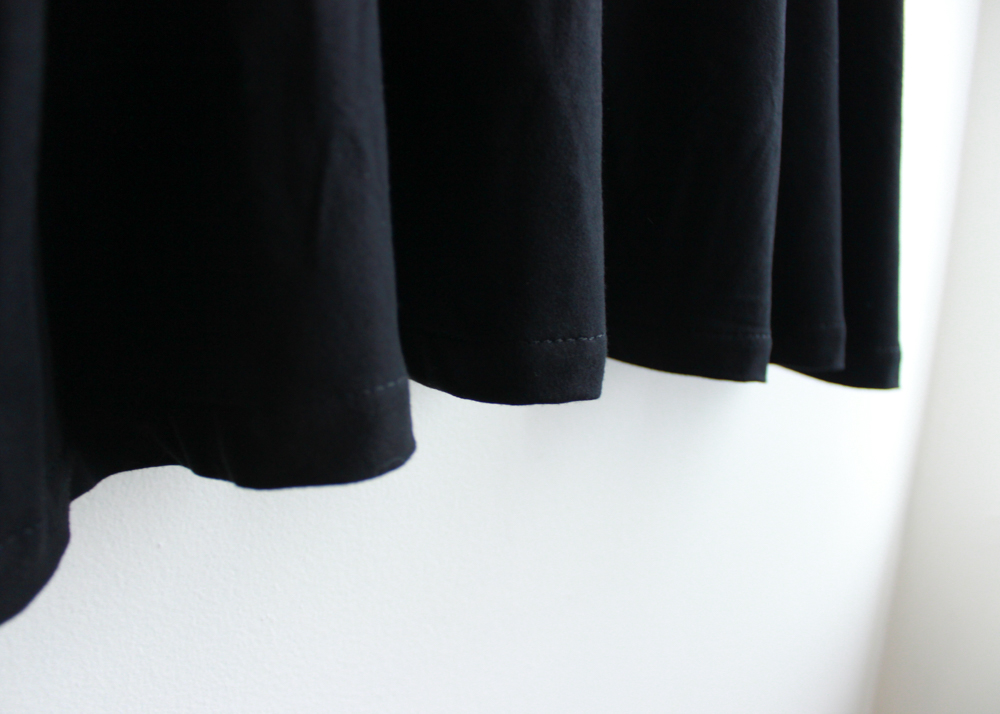
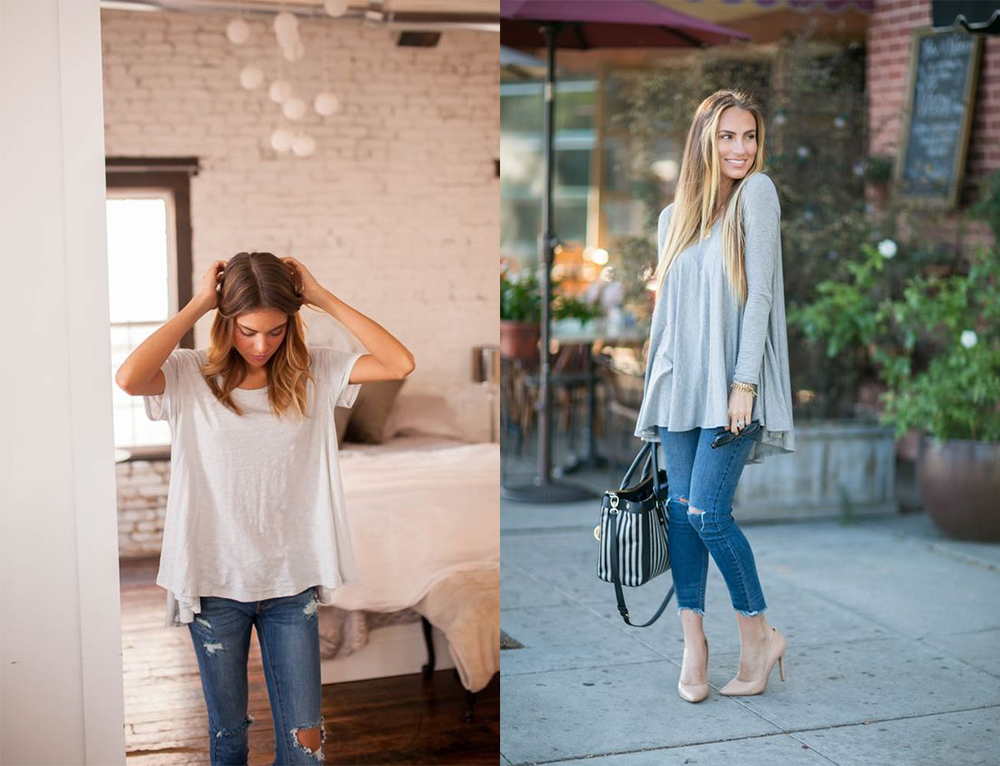
The end result is loose and super comfortable. I love the way it looks layered under a long chunky cardigan with skinny jeans. You could lengthen it into a dress for an awesome summery piece, or change up the hem (I love the idea of a high-low hem!). I’m already planning a long sleeve and lengthened version to wear with leggings.
Voila, c’est tout!

Thanks, Caroline. I plan on doing this….I usually do it without a plan with mixed results.
On a more personal note, is Tasia all right?
Hi Colleen! Tasia is fine :) She is focusing her energy on other things so I’m helping out and filling in on the blog for a little while. It’s sweet of you to ask. Thanks for your concern!
Thank you Colleen for the question about Tasia and Caroline for the answer.
I had this question in my mind to.
Gertie
I had the same question also.
It looks beautiful!!! Thank you for this hack and great instructions. I will be definitely trying this!
Awesome tutorial, thanks!!
I am very glad that Tasia is okay, though I didn’t have any doubts (HA!). That being said, I love your :hack” and thank you. I will be trying this one out!
This has to be kismet because I was just planning on whipping one of these up on my own tonight! I’m working with a limited amount of fabric though and I was thinking of maybe only doing 2/3 slashes evenly spaced with 2 or 3 inches of space in-between. Do you think that would just result in less gathers while still giving the ‘sway’ look?
Thank you Caroline! Really helpful guidance – love those light and breezy t’s in the summer – I have just lengthened them (up to 6 inches!) but I like the idea of the swing and fanning the bottom part of the pattern out evenly keeping the grainline on the fold stable. I discovered a helpful tip myself! Bathing suit material makes GREAT banding around the arms and neck – lots of stretch and it’s strong too. AND it comes in all sorts of gorgeous colours and prints.
Could we see a pic of you wearing this please?
I love this hack and would love to see it on you! Thanks for sharing!
I would love to see a pick of you wearing this too!
I was also wondering about Tasia’s absense (although appreciate your ongoing blog posts) and would love love love to see this top on you! It would really help a beginner like me understand how the “2D” shape translates its shape and drape on a body :)
I was just thinking about altering the Renfrew pattern slightly myself, so the timing couldn’t have been better! (Although mine won’t be as swinging)
Oh, so that’s how it’s done! This is a great hack, thank you:).
Great Hack! And thanks for the neckband tip as well. I just guesstimated a neckband length and it was too loose. Now I can go fix it.
Thanks for the tutorial! I had never considered making a tee like this before but I’m super intrigued and kind of want to make a hi-lo version… maybe a 3/4 sleeve hi lo version? And it could be fun to play around with how swing-y to make it! Great idea… please post photos of your long sleeved version when it’s ready. :)
What a fun hack! I’ll have to give it a shot, because this looks like a great way to keep using my beloved Renfrew while trying to camouflage my middle. The old ones aren’t so flattering post-baby, sadly. And thanks for letting us know that Tasia is ok!
LOVE!!!!
Ditto! I’d love to see it on you so I can see how much swing is created by the extra you added.
Thanks for the tutorial! I have been seeing a lot of these types of tops on Pinterest and really wanted to recreate it and now I can! One question I have is, if I wanted to make this a sleeveless top, should I adjust the armhole in any way? Or do you think I would be better off to just take a sleeveless top pattern and make these adjustments to it?