I’ve had this idea for a Saltspring camisole hack for a while now. When I like a pattern, I tend to imagine a million different versions and hacks. I love making the most of a pattern I love!
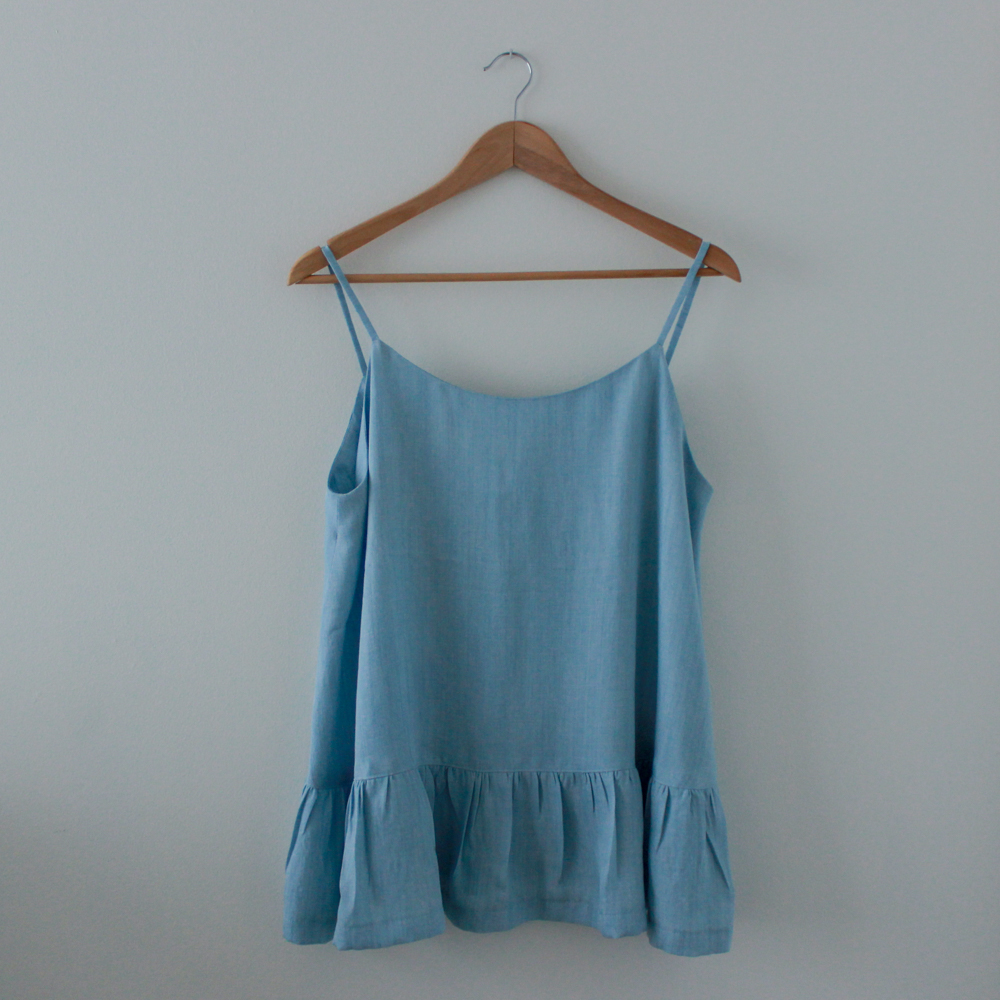
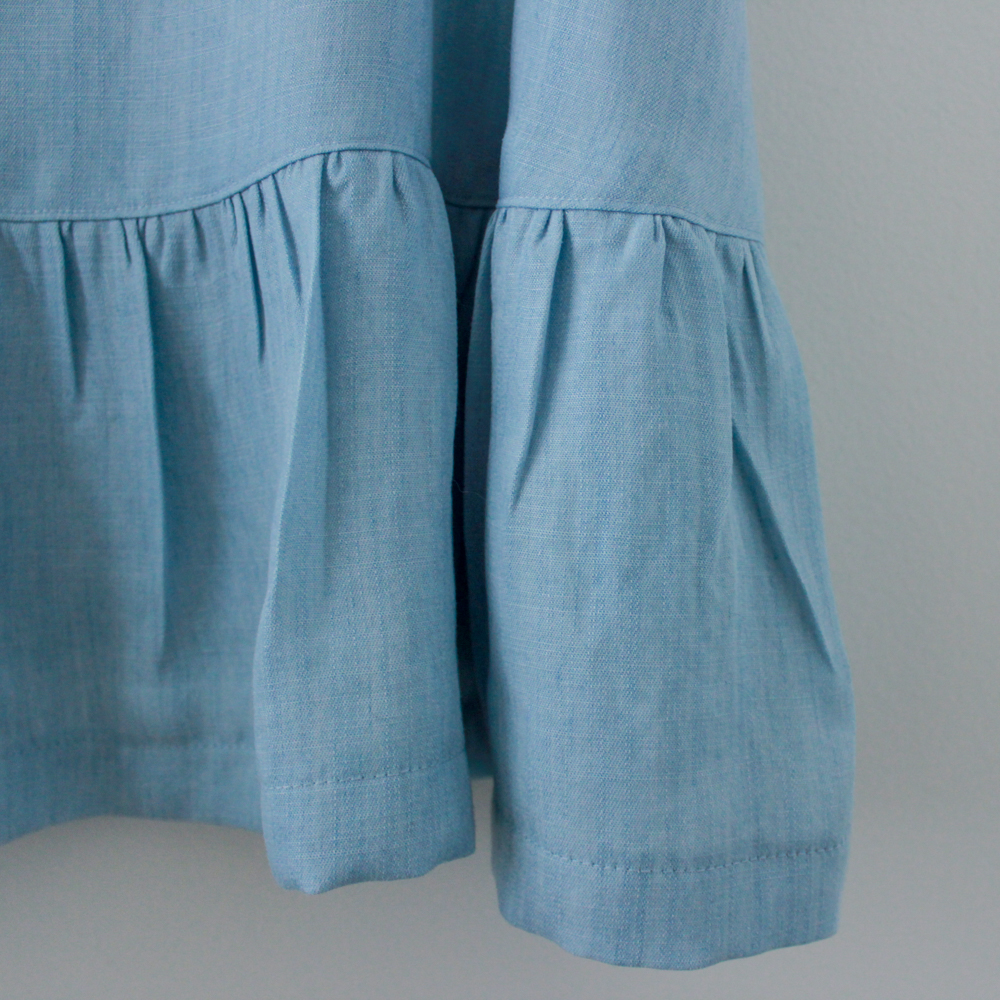
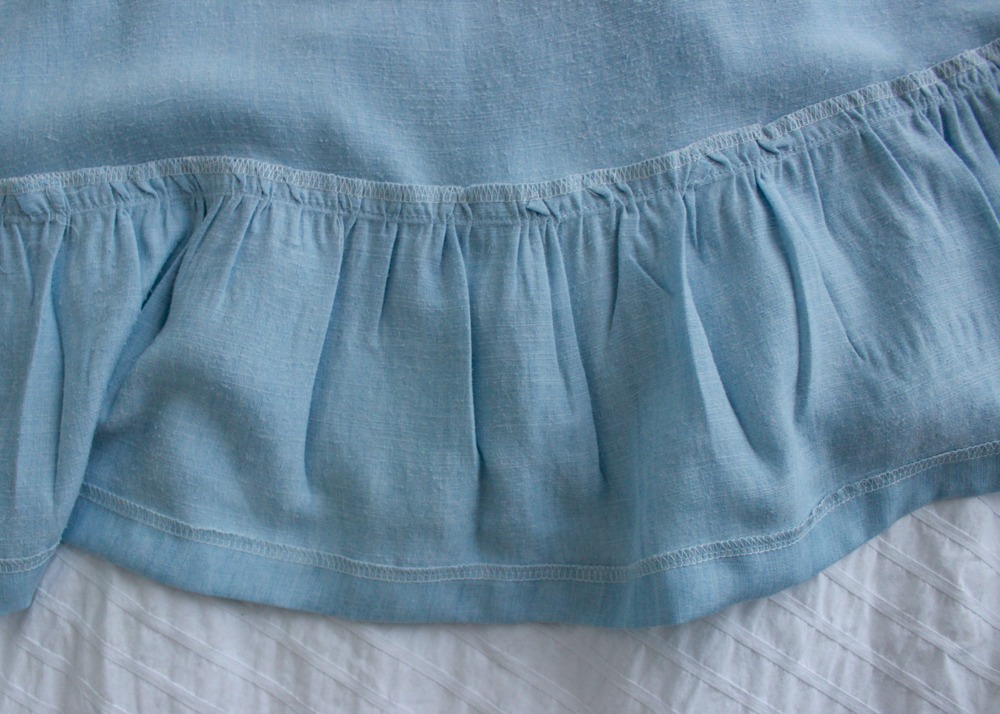
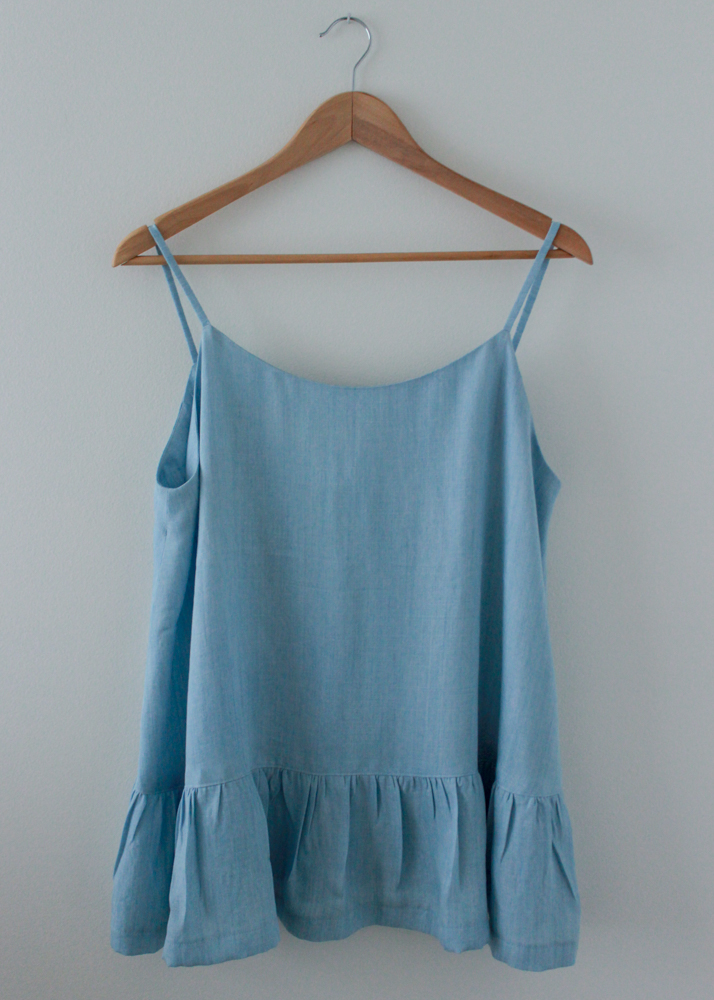
I first made a tank top variation of the Saltspring dress a few years back. I loved this top, and wore it a lot. For this version, I decided to go for a more delicate look. I envisioned spaghetti straps, a simple facing (instead of lining), and an extra gathered panel at the hemline. You could easily do this hack without the gathered panel for a super simple camisole. I’m planning on making a few of those too.
Here’s how I hacked the Saltspring dress to make this camisole!
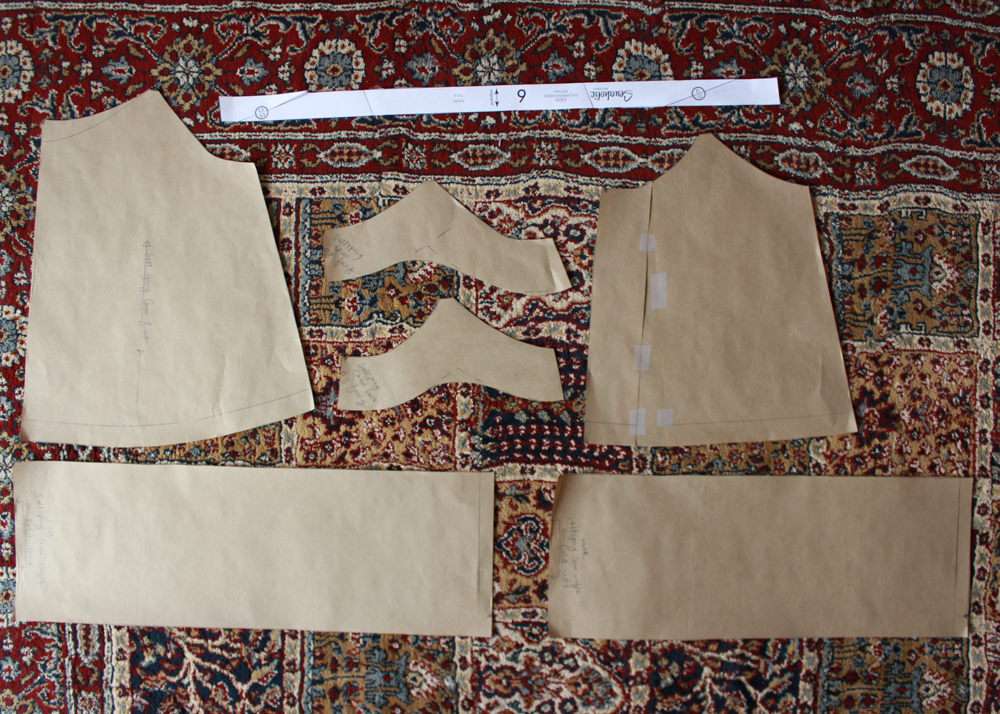
- I started off with a 1″ (2.5cm) FBA. I outlined this during the sew-along here. Instead of keeping a dart, I closed it and transferred the fullness to the hemline. I’m going for an a-line shape in this tank so this was perfect. If you aren’t doing a FBA, you can simply slash and spread the pattern in a pie shape.
- To match the a-line shape of the front piece, I slash and spread the back by about an inch as well.
- I eliminated the seam allowance at center back to cut it on fold.
- I lengthened these pieces by 1″ (2.5cm) at the hemline.
- I drafted two rectangular panels for the hemline. To do this, I measured the length of the hem, and then drafted rectangles that were 1.5X this measurement. Hem allowance was 1″ (2.5cm), and seam allowance 5/8″ (1.5cm) as usual.
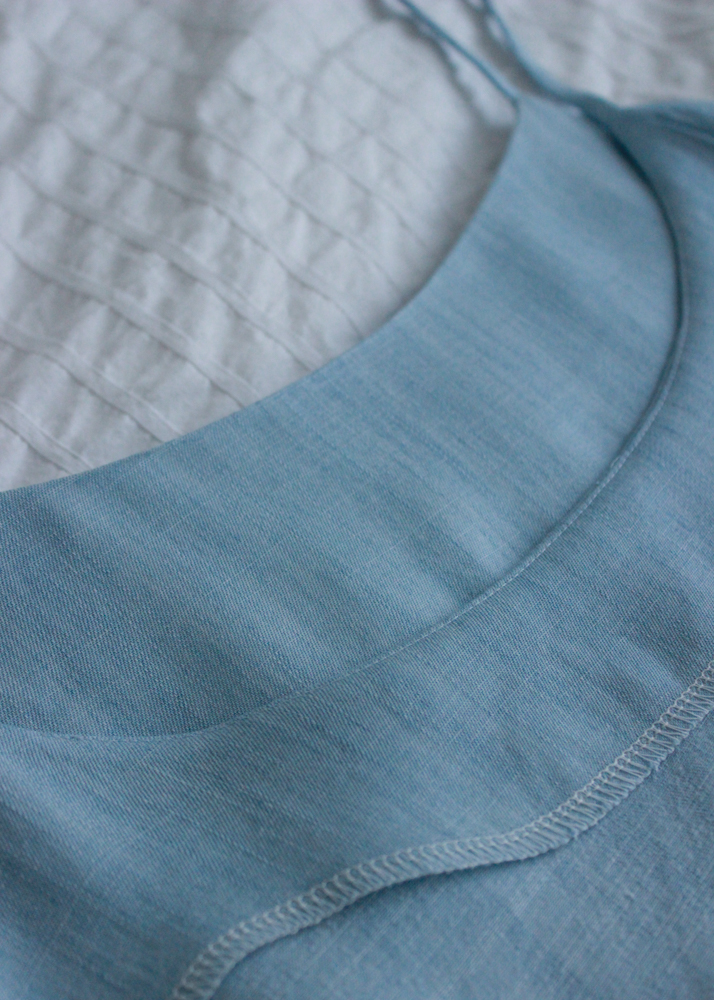
- I finished the neckline with 2.5″ (6.5cm) facings which I drafted by tracing the top edge of the tank pieces and then traced 2.5″ (6.5cm) from that edge.
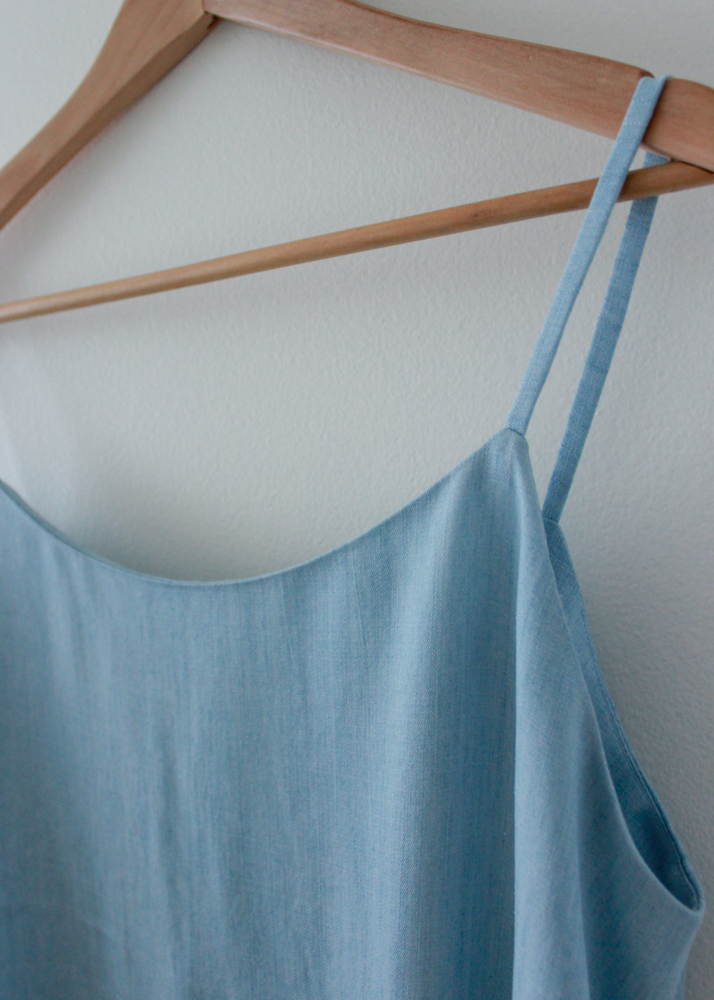
- I raised the front neckline by 1″ (1.5cm) – this was just a personal preference, I wanted a higher neckline.
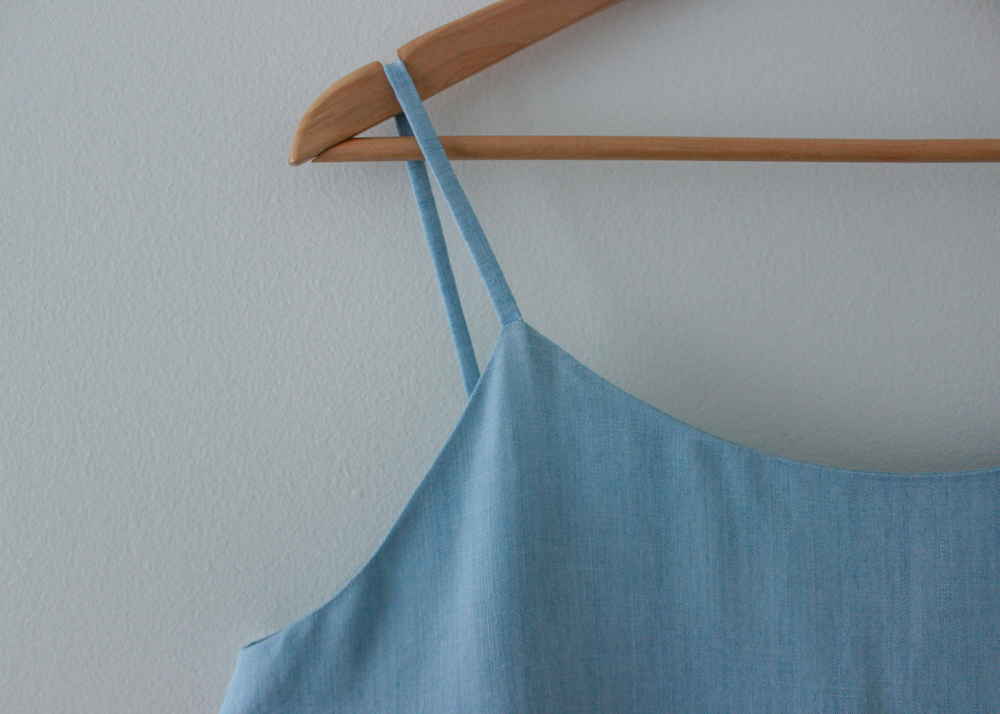
- Finally, instead of tie straps, I went for simple spaghetti straps. I used the same pattern piece and just cut two lengths instead of 4.
Here is what I ended up with:
In terms of construction, it was pretty straightforward. Here’s the rundown:
- Stay stitch neckline of bodice and facing. (Start at the center front and sew towards side seams to prevent skewing.)
- Sew side seams, finish seam allowances, press side seams open. Sew from the bottom up to prevent skewing.
- Sew facing side seams, finish seam allowances and bottom facing edge, press seams open.
- Sew your straps.
- Do a quick try-on and pin straps at the length you like. Measure the length you pinned and mark/trim your straps to the correct length.
- Sew the neckline/straps as per the pattern instructions or the sew-along (1, 2)!
- Gathered panels: Sew side seams, finish seam allowances, press open.
- You can hem the panels now, it will be easier to handle.
- Sew two rows of stitches with a long stitch length, first 3/8″ (1cm) from the raw edge, then 1/2″ (1.3cm) from the raw edge. Gather the panels to fit your bodice hem.
- Attach panels, finish seam allowance. I also topstitched the seam allowance towards to top to keep everything in place.
I am pretty in love with this camisole! The fit is spot on and it turned out exactly as I envisioned.
Thoughts? Would you guys give this hack a try?
Beautiful, Caroline. Love the color. What is the fabric?. Looks a bit linen- like. I will copy you here😉
It’s a bleached tencel denim! (I didn’t bleach it myself, it came like that). It’s a really beautiful fabric. I used to sell it in my shop but I can’t get anymore unfortunately.
I LOVE this! So delicate and pretty. I love the clean look of a spaghetti strap. Recently I’ve become kind of obsessed with hacking patterns I already own instead of buying new ones… this is a perfect example!
Thanks Elle! Same here.
This turned out beautifully! Your stitching looks tidy and lovely, too.
Thanks Morgan!
Would love to see what it looks like on! Super cute.
A camisole has been on my sewing to do list forever! When I saw yours, I gasped. Well done and I would love to see what it looks like on you!
Love this so much! great hack :) This could potentially be done with the new seamwork catarina dress too :)
I think this is really lovely, you have given me a reason to buy the pattern, which I love but didn’t feel it would look right on me. Thanks for sharing such lovely pictures too.
Nice Saltspring Camisole! love the color, great for spring! thanks for the tips.
Gorgeous top. I love the flounce, so pretty.
I love this! This looks so pretty and feminine. I could wear it alone. It looks comfortable enough to wear to bed!
How do I get the pattern?
Hey Casey,
We’re currently sold out of the paper version of the Saltspring, but it will be back in stock soon. If you’re ready to sew right away, check out our PDF version here: http://www.sewaholicpatterns.com/saltspring-dress-pdf-sewing-pattern/